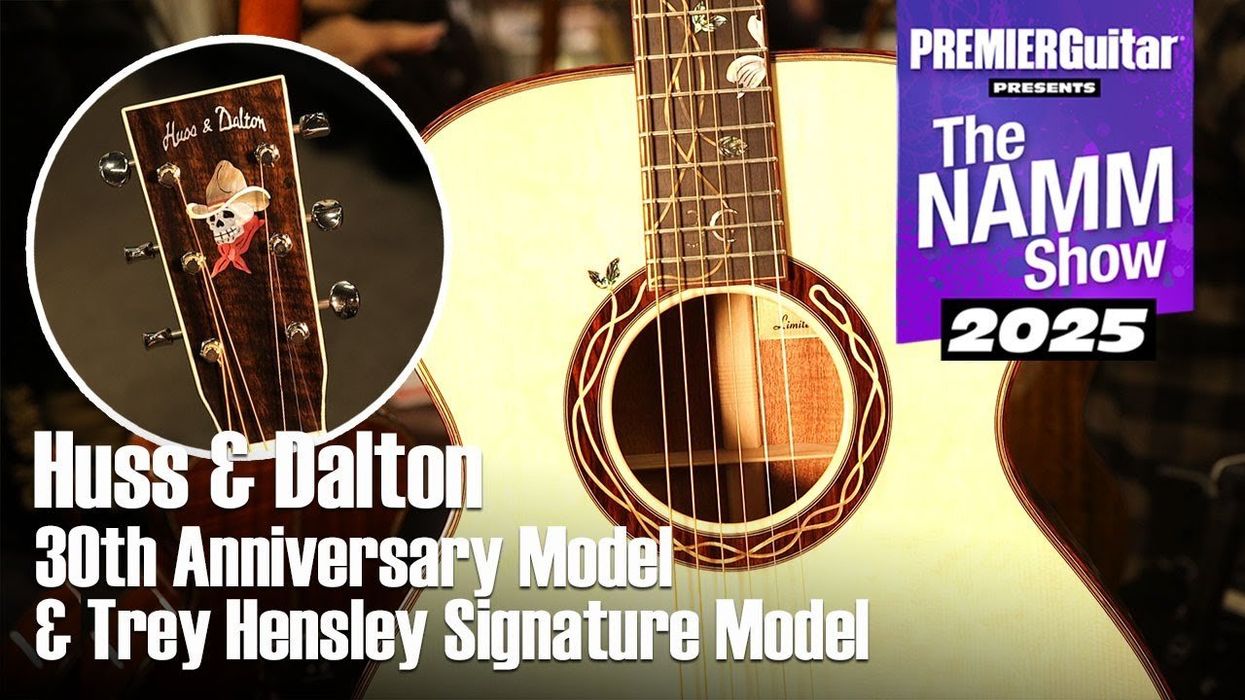
NAMM Huss & Dalton 30th Anniversary & Trey Hensley Signature Demo | NAMM 2025 Perry Bean Jan 23, 2025
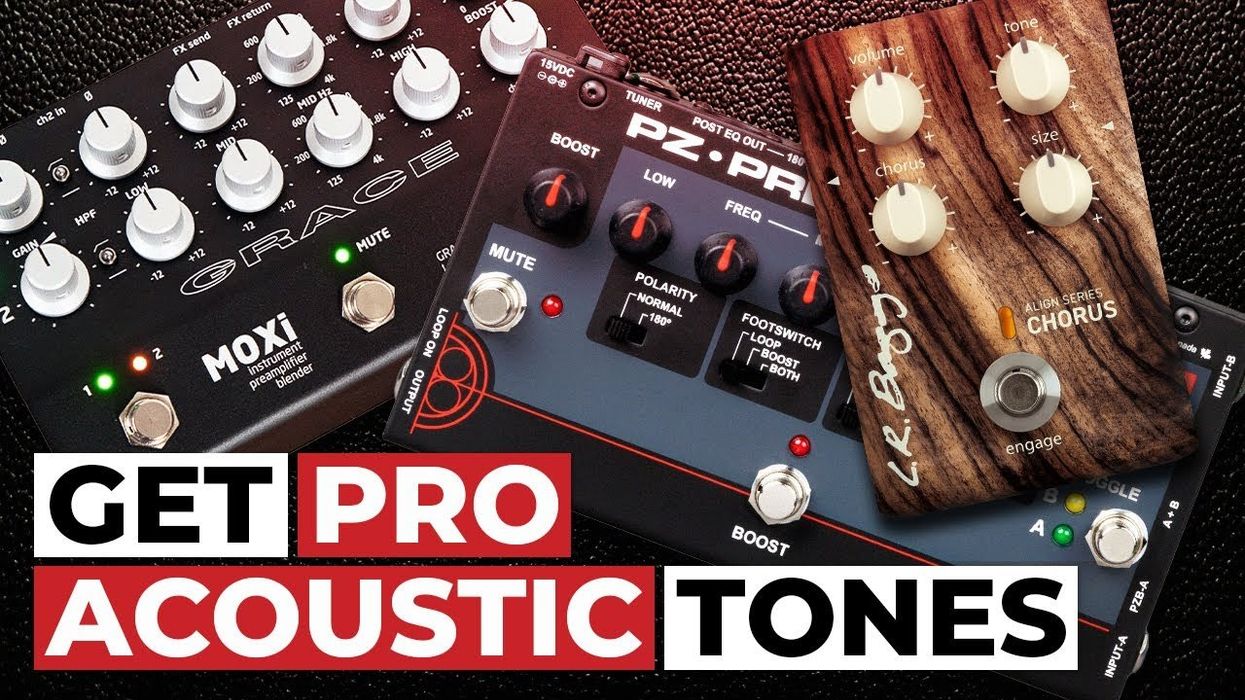
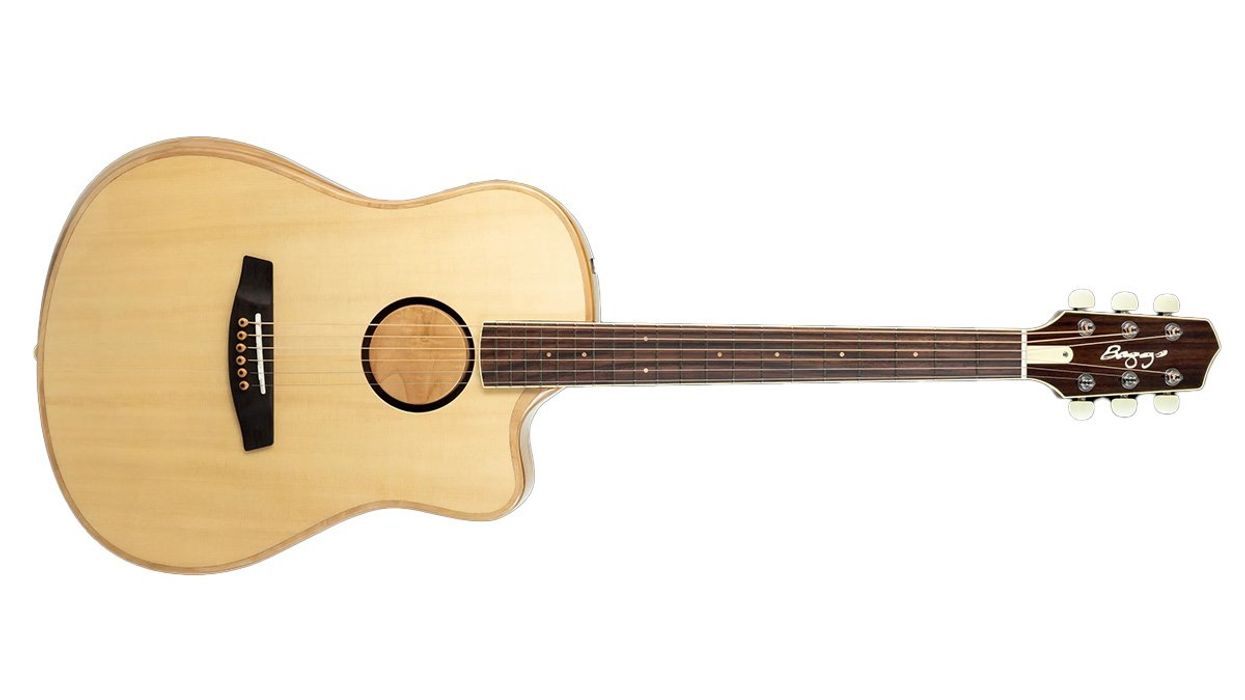
Gear Features Lloyd Baggs: From State-of-the-Art Guitars to Great Pickups—and Back Again Following the release of the AEG-1, the multi-dimensional creative and intuitive engine behind acoustic-guitar pickup manufacturer L.R. Baggs shares the fascinating story of how he’s always been a builder, too. Kate Koenig Jan 07, 2025
Reviews L.R. Baggs AEG-1 Review A forward-thinking, inventive, high-quality electro-acoustic design yields balance, playability, and performance flexibility. Charles Saufley Nov 26, 2024