Effects Rhythm Rules: Gypsy Jazz Primer Decode some of Django’s musical mojo by exploring the basics of his rhythm guitar style.Shawn PersingerApr 26, 2014
Effects Rhythm Rules: Chops, Speed, and Rhythm Exorcise all your technique demons with a few simple exercises.Fareed HaqueMar 08, 2014
Effects Rhythm Rules: Brazilian Guitar 101 Blend syncopated rhythms with jazzy chords and delve into the world of Brazilian guitar.Doug MunroDec 21, 2013
Effects Rhythm Rules: Polyrhythms 101 Sound like two guitarists playing at once with a few simple—but very effective—exercises.Tom MondaNov 23, 2013
Effects Rhythm Rules: Syncopated 16th-Note Rhythms Stay in the pocket! Learn how 16th-note rhythms work in funk, rock, and acoustic music.Alex NolanAug 17, 2013
Effects Rhythm Rules: 6 Essential Exercises to Improve Your Groove Unlock some of the secrets of the metronome with these essential polyrhythmic exercises.Aurelien BudynekJul 20, 2013
Effects Rhythm Rules: 5 Ways to Make Your Chords Cooler Singer/songwriter Keaton Simons shows you five easy ways to breathe new life into your chord progressions.Keaton SimonsJun 22, 2013
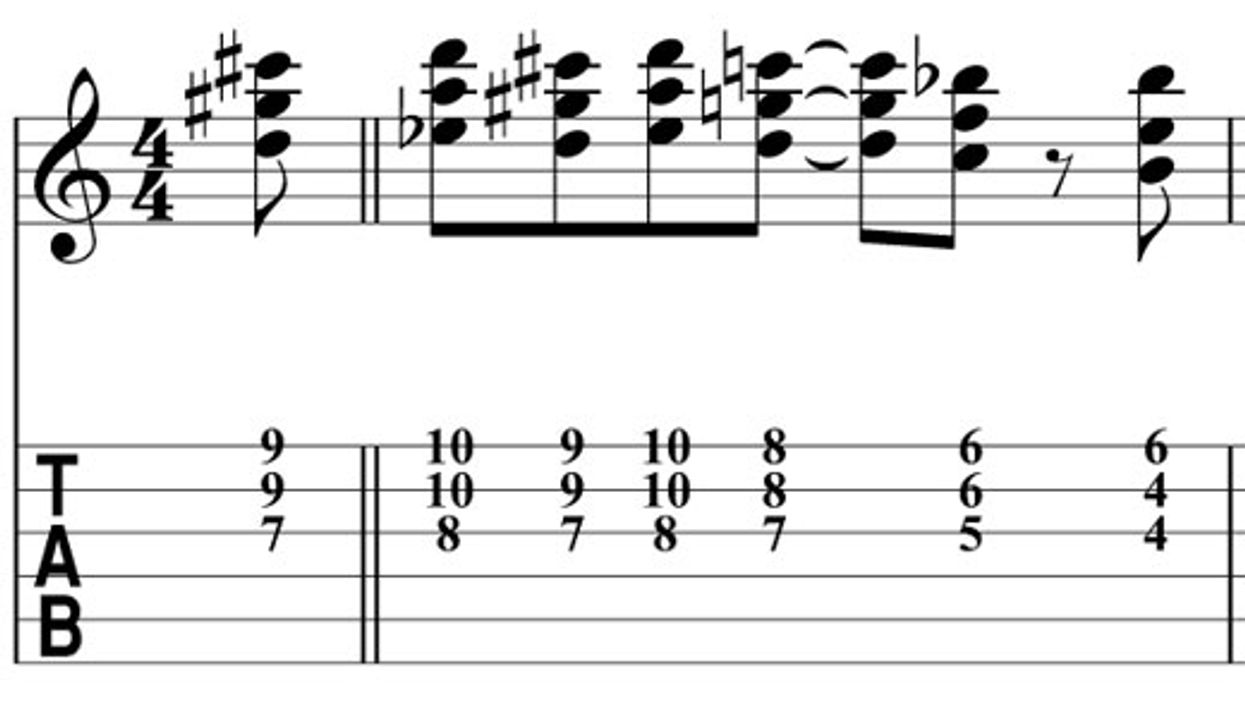
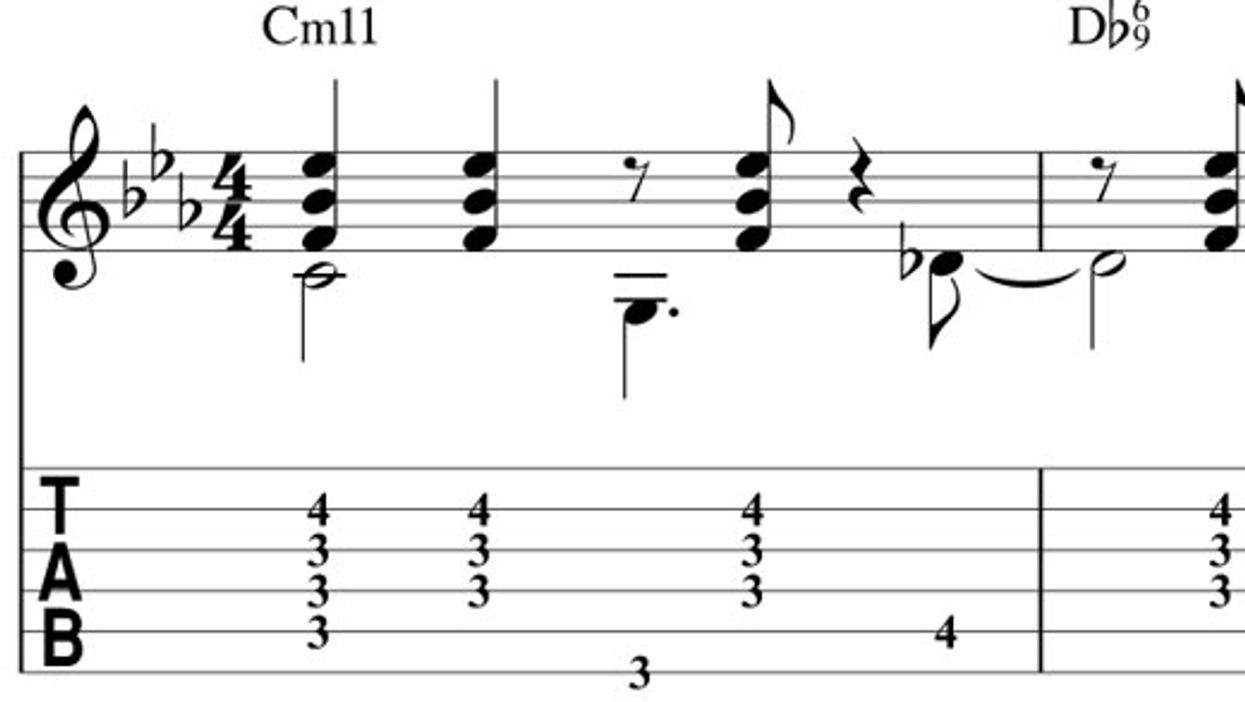
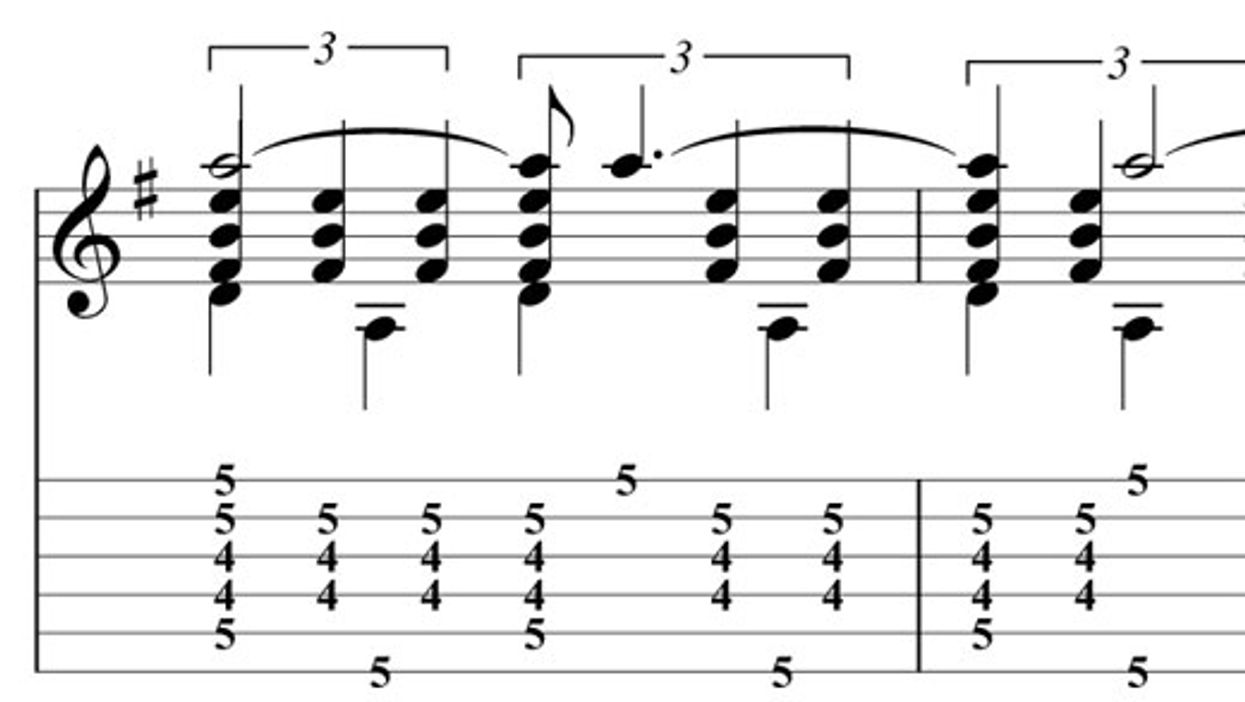
Effects Rhythm Rules: Atypical Funk Move past the typical "James Brown" chord shapes by incorporating stacked fourths, 7#9, and 7sus4 shapes to breath new life into your rhythm playing.Avi BortnickMay 21, 2013
Effects Rhythm Rules: Call-and-Response Funk Guitar Create funky grooves in the style of James Brown, Fela Kuti, and Nile Rogers by developing a "call-and-response" approach to funk guitar.Avi BortnickMar 11, 2013
Effects Rhythm Rules: 16th-Note Accents Chops: Intermediate Theory: Beginner Lesson Overview: • Develop a strong command of 16th-note rhythms. • Create syncopated rhythms using muted strums. • Learn how to move accents around withinAlex NolanJan 15, 2013