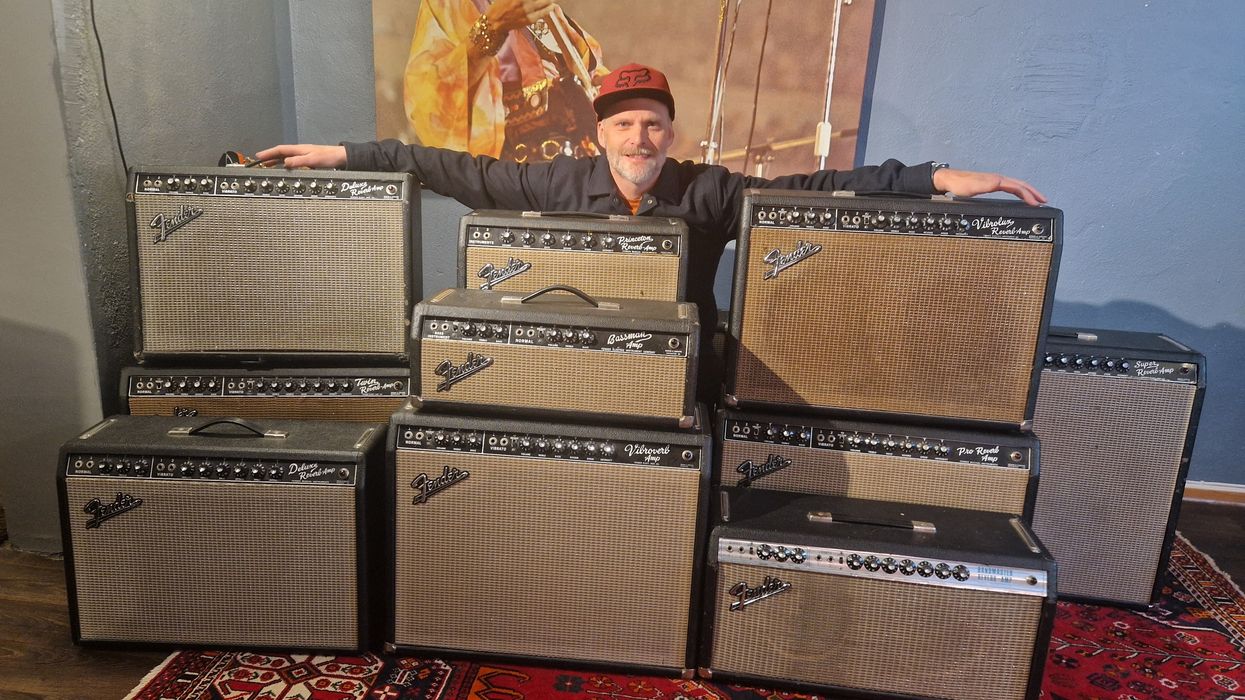
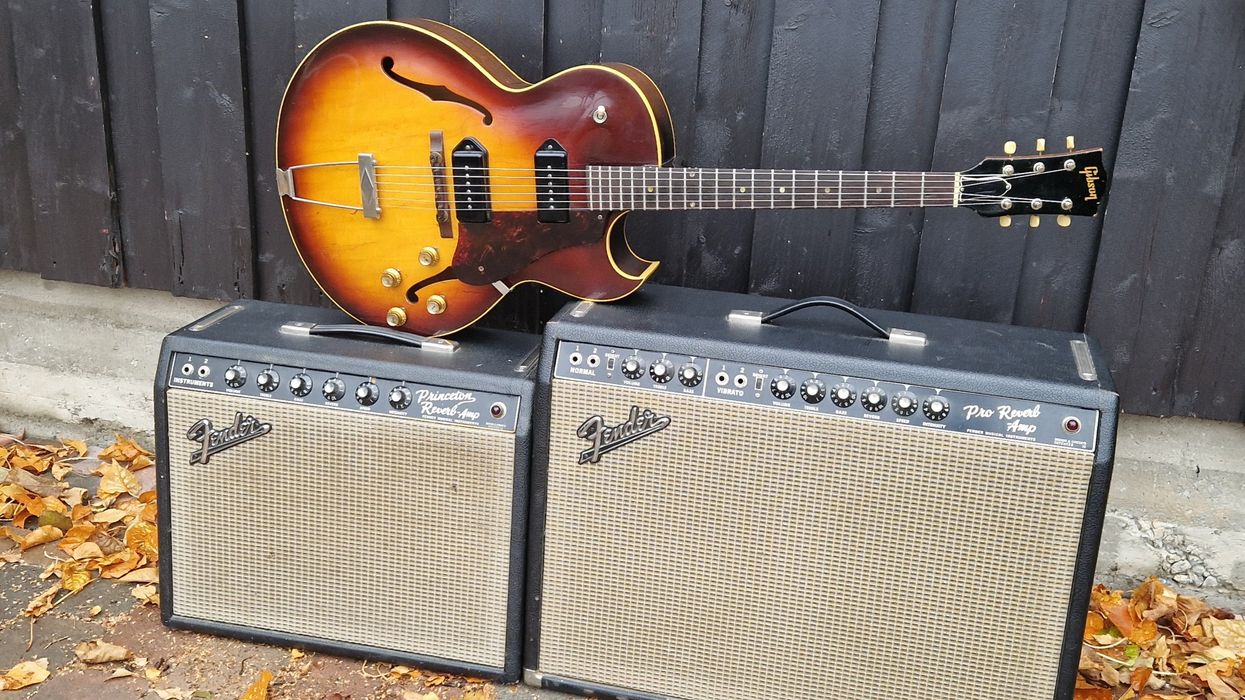
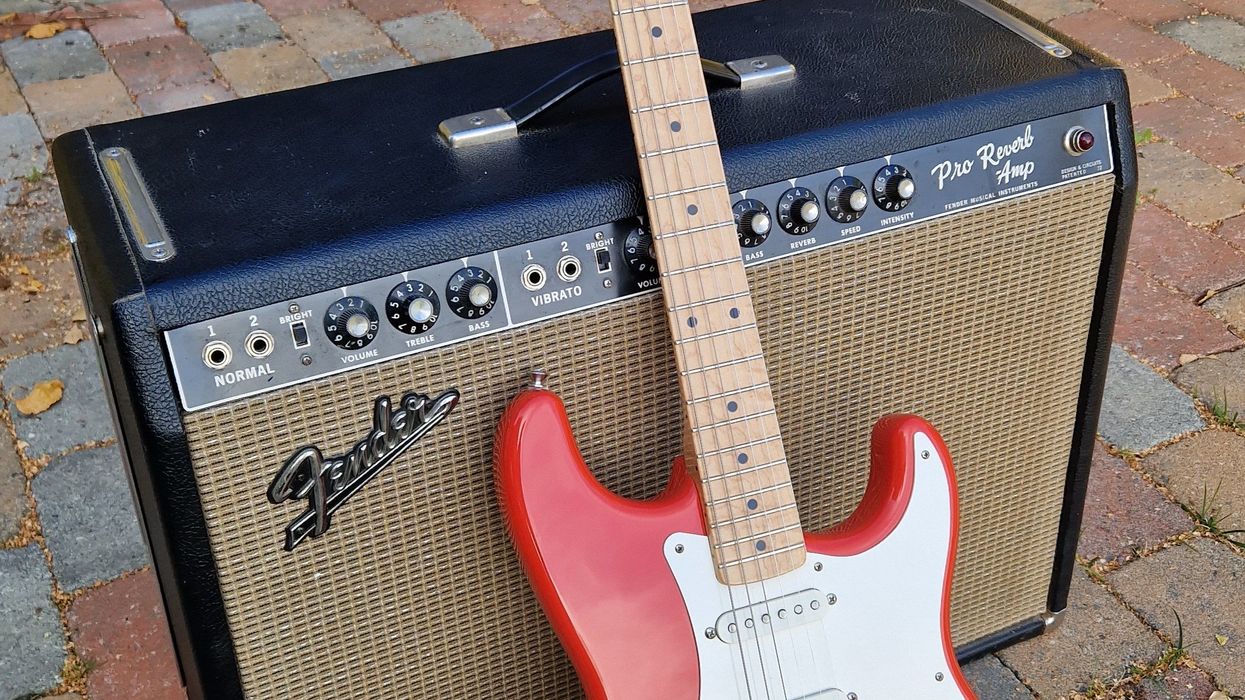
Wondering how to get the most out of your Fender amp? Our columnist shares his top amp-and-cab combinations to boost your tone and volume for any situation.
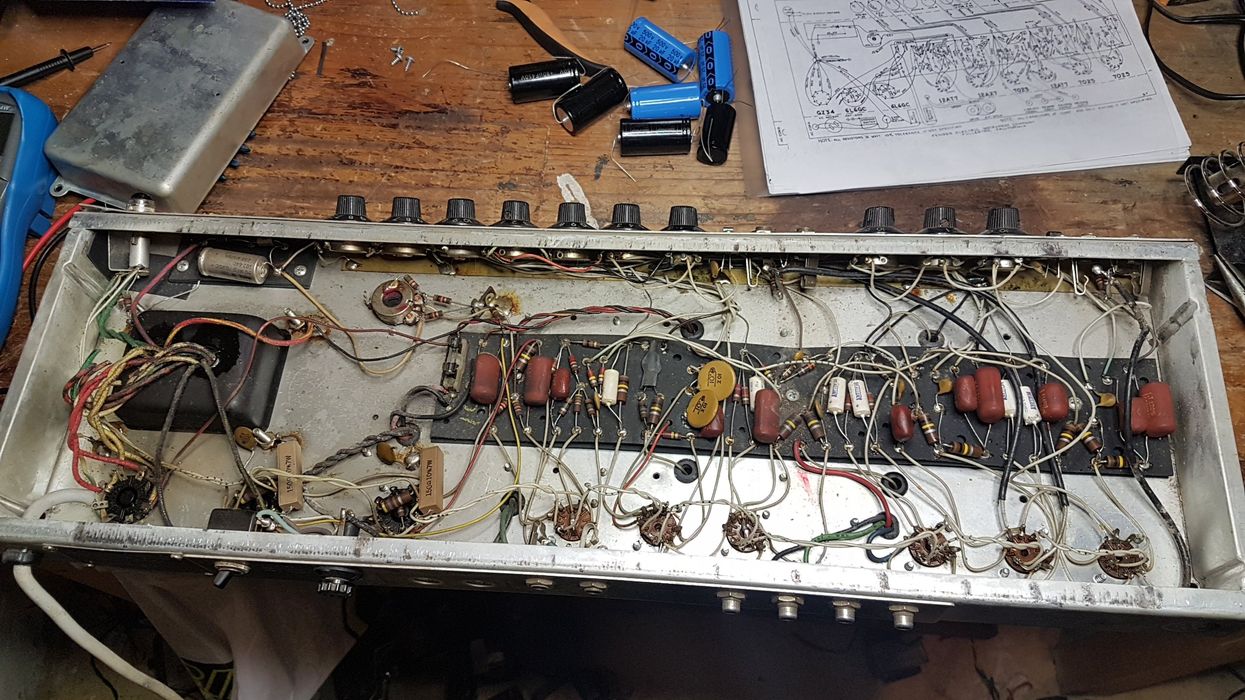
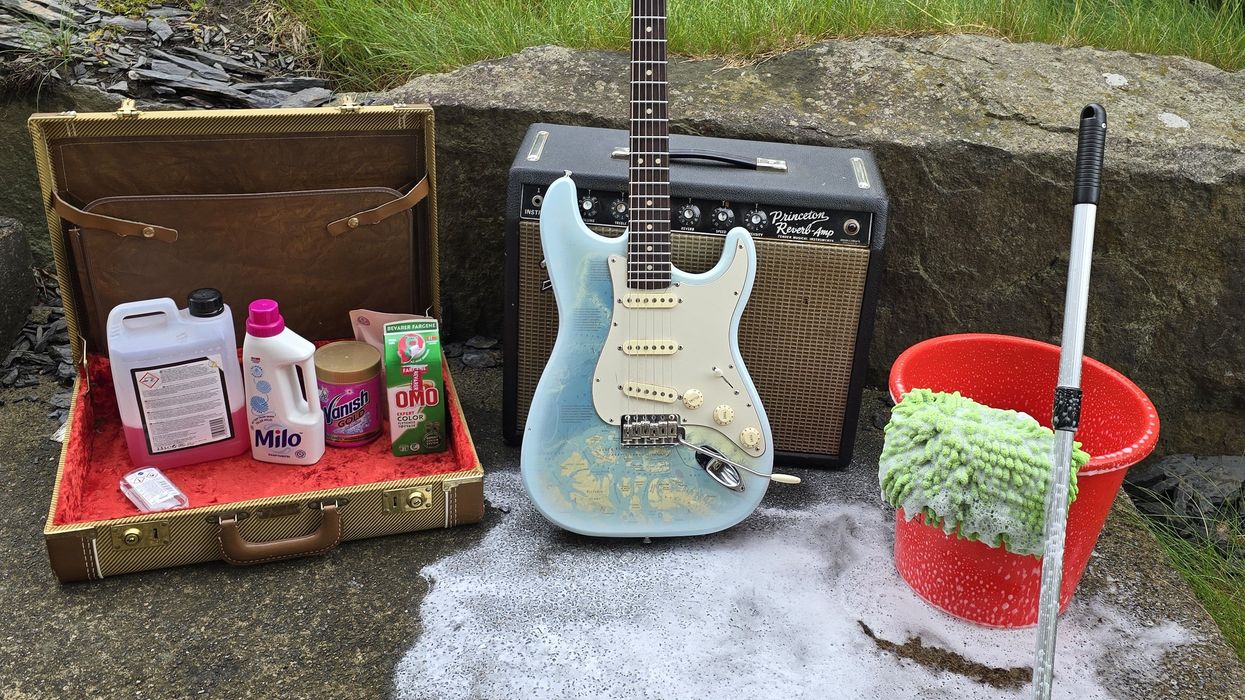
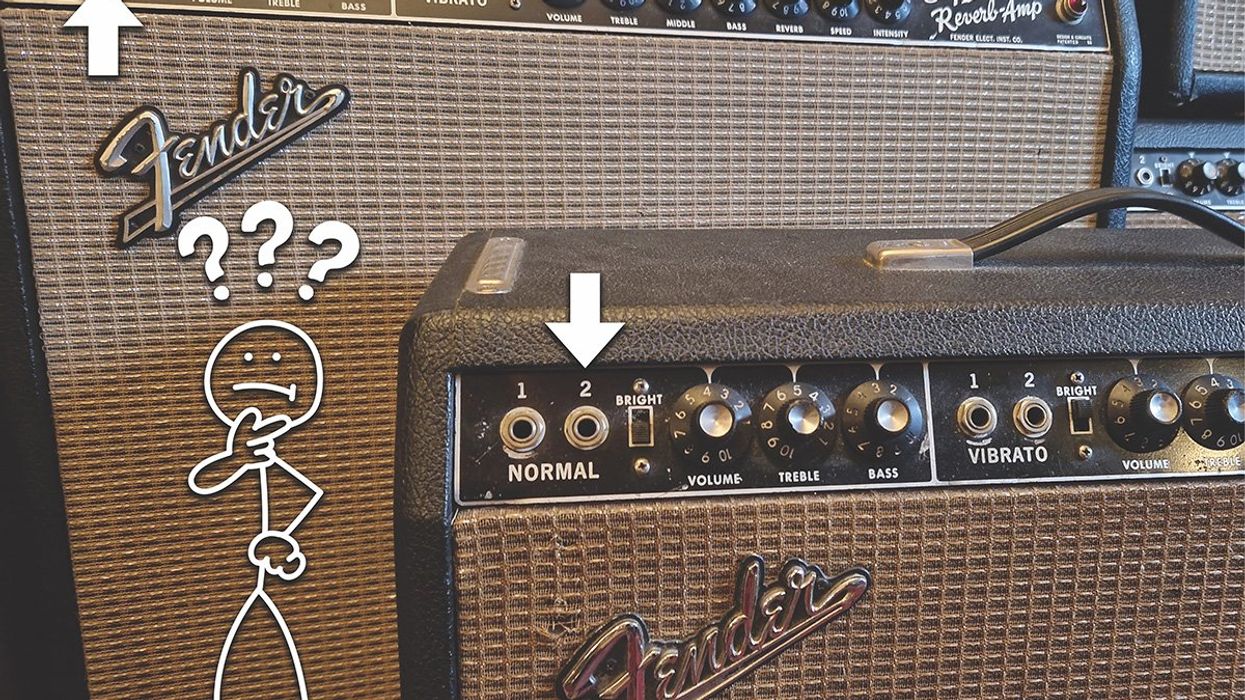
Our resident Fender amp guru, Jens Mosbergvik, usually sings the praises of Fullerton’s classic offerings, but this time he switches sides to unpack his biggest gripes with the manufacturer’s legendary noisemakers.
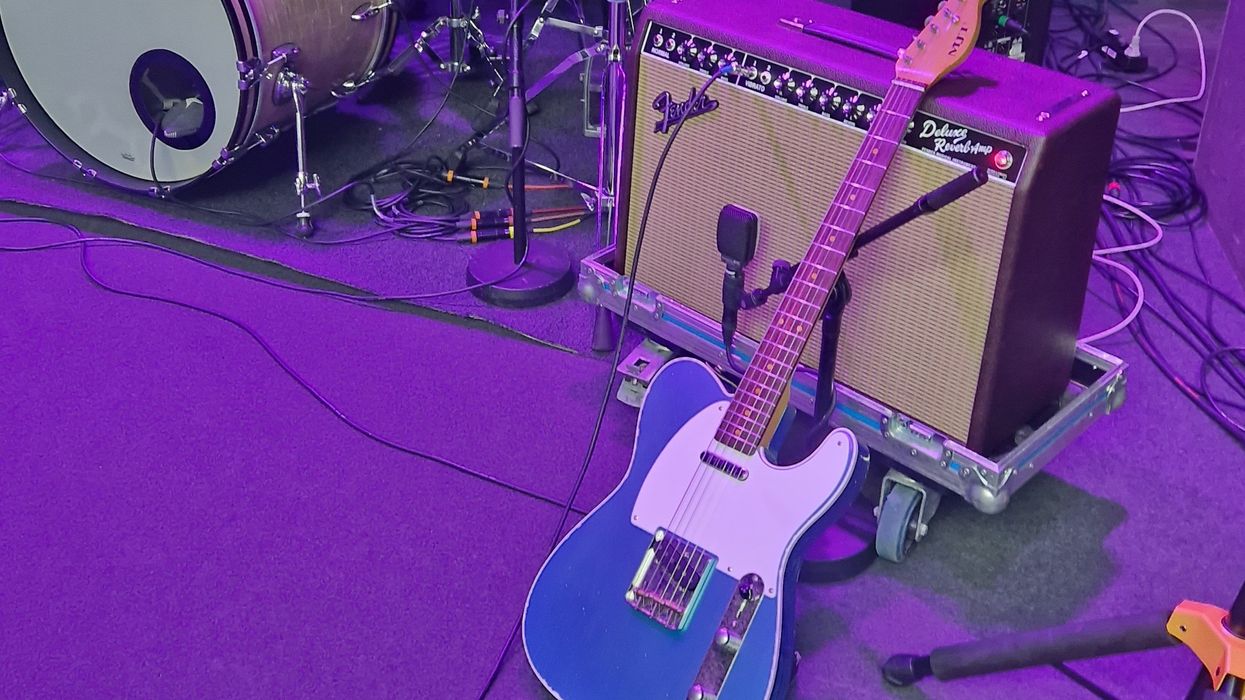
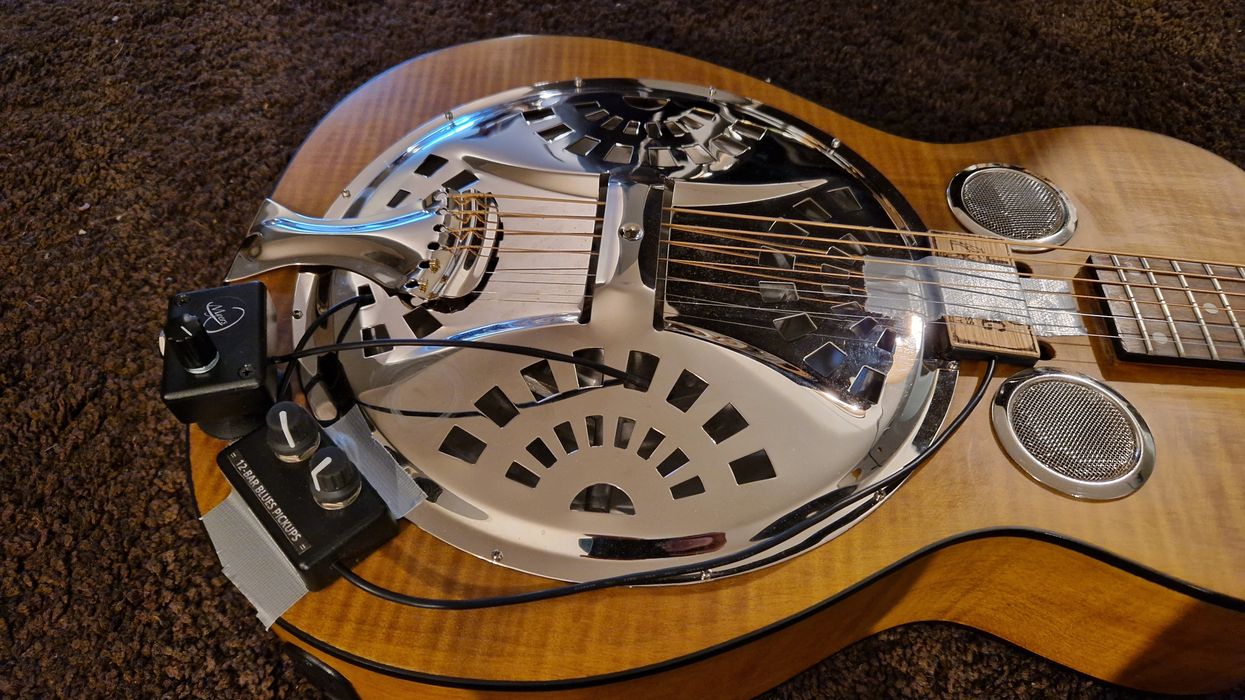
Our columnist recounts what he’s learned about getting the sound of a projection cone to an audience, and his ultimate solution: two mounted mics and his faithful Super Reverb.