The last twenty years or so have really seen a revolution in recording, playing, and learning music. Computers have changed everything from what we use to record, to what we play, to where we get our music lessons. But when it comes to recording acoustic instruments, the song remains the same: we still need microphones, cables, speakers, and more.
The good news is there’s more good gear available now than ever before. The bad news is, there is more good gear available than ever before. Unless you have unlimited resources, it can be hard to choose what you really need to get professional-sounding results. We’ve all heard of “GIGO”—Garbage In, Garbage Out. If you’re looking to record yourself, or just a few musicians at a time, what gear is essential? Hopefully, this can help you choose what you really need to get going and avoid some problems along the way.
Power
Just about every current recording program gives the user more than enough computing power to rock the audio world, with results surpassing what was available in million-dollar studios only a generation ago (in terms of distortion and noise). Once you’ve picked your software and digital interface or standalone recorder, the most important thing is electrical power.
Nothing ruins a recording session more than having a take disappear because the power voltage level dropped, or went off completely before the take could be completed—or in the case of recording to a computer, saved. Buy an uninterruptible power supply (UPS) with enough battery backup to power your recorder or computer, external hard drives and computer monitor long enough to save and shut down safely. Even if you record with a laptop computer, which has a battery, you still need the UPS for the external hard drives you’re recording to. You’re not going to record to the system drive where you store all your programs, are you?
Storage
Storage is your next big issue. Audio eats up disk space fast—faster if you use higher sampling and bit rates. Backing up is crucial in the digital recording age. Analog tape stores signals semi-permanently and resists erasure. Digital data can disappear in a click of a mouse. Rule of thumb: if digital data doesn’t exist in at least three places, it doesn’t really exist. You should have a fast hard drive (at least 7600 RPM) to record your sessions to, and another drive of some type to back up to at the end of each and every session. Later you can also back up to other recordable media, including CDs (CDRs), DVDs or flash drives. Most current recording programs have a feature to simplify back-ups. If yours doesn’t, it’s a simple matter to copy the necessary files to another drive.
Speakers
The next most important thing to have is a good pair of speakers. This is the biggest factor in how your recordings will sound when played on other people’s speakers, and in your car. If you already have speakers you’re very familiar with, start with those. Listen to a variety of commercial releases through them to get a good sense of how they sound. Then you can judge more accurately whether your own recordings have a similar balance of bass and treble, depth, width, and clarity.
If you choose to buy new speakers, take the time to learn how they color the sound. A bass-heavy speaker will make you mix “bass shy” and a bright speaker will make you mix “dull” until you get used to them. Powered speakers can be more expensive, but with factory-matched components and easy connectivity to recording interfaces, they do make setup simpler.
If you’re going to be multitracking or overdubbing, you’re going to need headphones. Make sure they cover the ear completely to prevent sound from leaking into “open” microphones. You’ll need a pair for every musician being recorded simultaneously. Common choices include AKG, Sennheiser, and Sony.
Headphones are great for checking left and right panning when mixing, but don’t expect to get the best result if you try to mix your entire project on them. Save them for checking details when mixing, but trust your speakers more. Both speakers and headphones will typically plug into the audio interface you choose if you don’t use a mixer. If you’re using a standalone recorder, you don’t need an interface, and there will usually be at least one headphone out, sometimes two. If you need more headphone outputs, there are inexpensive headphone amps that make multiple outputs available.
Microphones
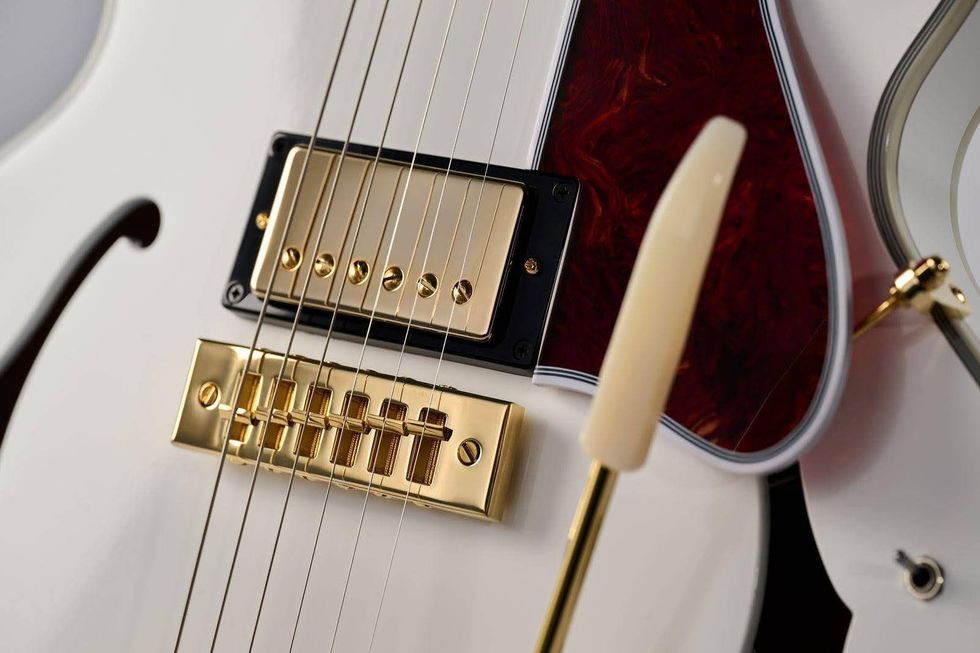
Picking the right microphone means picking one that colors the sound the way you want. To keep things simple, start with some time-tested favorites. If you only have one microphone in your toolbox, make it a Shure SM57.A standard for guitar amps, snare drums, even vocals, this is the mic you see in every club.
If you’re recording acoustic string instruments, a condenser mic is a great choice. Most professionally recorded vocals are also done with condenser microphones. These have either a solid-state or tube preamp built in to bring the extremely tiny voltage from the capsule up to “mic level,” but condensers still need a mic preamp to bring the level up to where it can be recorded. They’re typically brighter and more detailed sounding than a dynamic mic like the SM57. Solid-state condensers in the $300 range have flooded the market in recent years, and many sound amazing. AKG, Audio-Technica, and Rode make superior, cost-effective condenser mics. Make sure that your interface provides phantom power (labeled 48V) to power the microphone if it can’t be battery powered. If you use a tube mic, you must use its accompanying power supply to power the tube. Do not apply phantom power to a tube mic.
Ribbon mics have come back into favor; they tend to hear much like our ears do. Recently, several ribbon mics costing under $200 have appeared that rival mics costing five times that. Great for vocals, horns, room mics, and amp cabinets, they deliver an un-hyped natural sound. Most ribbons have lower output than dynamic or condenser microphones, so make sure that your mic preamp can provide enough clean gain to get an appropriate level into the recorder.
Having a good variety of microphones is a luxury, not a necessity. Having one microphone is like having one guitar. You can use it for everything, but it’s not as much fun. Having a lot of different mics is like having a lot of guitars. You may not use all of them every time you record, but having a variety is a very good thing.
Outboard Gear
Which interface you use will in part be determined by which software platform you use to record. Digidesign’s Pro Tools requires you to use one of their approved interfaces to run the software, as it acts as the copy-protection dongle. At this point, most other interfaces will work with most other software, but make sure that they’re compatible with both your computer and recording software. This info is available on the manufacturer’s websites and from knowledgeable sales personnel.
Most audio interfaces come with solid-state mic preamps. Having an additional tube mic preamp will give you another choice of sound. Like a good tube guitar amp, tube mic preamps can add even-order harmonics to your mic signal and can even be intentionally overdriven to add a little grit if desired. The humble SM57 takes on a whole new life when plugged into a good tube preamp. Even an inexpensive one can bring a new quality to a mic’d sound. Remember that if you’re using a separate mic preamp, you must now plug its output into the line level input of your recording interface to properly match levels to your recorder.
In these days of recording into a computer, it’s not uncommon to record without a mixing board. Audio interfaces provide the analogto- digital and digital-to-analog (A/D and D/A) converter and connections for your microphones and line level sources. The software provides a virtual mixing board for playback and monitoring only.
Real life can exceed the dynamic range of recording equipment. When recording digitally, it’s essential to keep the level below zero DBFS (dB Full Scale) or you’ll create unmusical noise. Some newer interfaces provide some kind of level limiter to make it easier to stay below zero. However, to really bring the sound of your instrument front and center, you need a compressor/limiter. (For more on this see “The Truth about Compressor and Limiters,” PG May ‘09). Not only can this be used to keep your levelsfrom going into the red, but it can bring the softer and louder levels of an instrument closer together, and help them to stand out in the mix. It’s especially useful on vocals and other acoustic instruments, and can help glue an overall mix together. Budget-conscious versions come in mono, two (or more) channels, and stereo versions. Some two-channel versions can be linked in stereo. Alesis’ 3630 and FMR Audio’s RNC (Really Nice Compressor) are great affordable options, along with several dbx models.
Essential Extras
For every microphone you use on a session, you’ll need a mic stand. Boom stands make it easy to place a mic where you want it, especially those with telescoping booms. Tripod bases can support more weight on the boom arm, but be careful to always position one of the legs under the boom arm to prevent the stand from tipping over.
It is amazing how a mic cable can improve or degrade the sound quality of your recordings, even if it’s a short cable. This is not the place to skimp if you care about sound. Have at least one pair of good quality cables. If you’re recording vocals, get a pop filter. It’s a good idea to have a bunch of audio adapters: 1/4” stereo to 1/8” stereo phone plugs; XLR to 1/4” phone plugs (male XLR and female XLR); RCA female to 1/4” male plugs; and a Y-cable with a 1/8” stereo plug on one end that splits into RCA plugs. As manufacturers cram more features into small boxes, the 1/8” plug is becoming more common.
Although most interfaces have 1/4” D.I. inputs (direct input on the US side of the Atlantic, direct injection on the other; it’s often referred to as “going direct”) to plug in electric guitars, keyboards, and other electronic instruments for mic-less recording, it’s a good idea to have a direct box. Make sure to buy one with a ground lift switch to deal with ground hum problems that can arise when taking signal from the instrument directly and from an amp at the same time. Many records have been recorded taking the bass guitar direct only. These days, guitar is often taken direct, so as to process the sound through software virtual amps and effects, or to “re-amp” later. Pro users favor units from Countryman, Radial, and Whirlwind, among others, and there are tube versions available as well. You should also have a few three-prong to two-prong plug adapters to solve ground hum problems with guitar amps (and other gear), especially with vintage amps that may or may not have functioning ground lift switches.
Optional Extras
If you want to record different microphone signals to one track in real time, you will need a mixer. If you want to equalize a signal before you record it, you’ll need an outboard equalizer or a mixer. Of course, these things can be done after they’ve been recorded, but having a mixer can make things easier. Even if your interface only has two mic and two line inputs, you could plug the left and right outputs of a mixer into the line inputs and record a set of drums live to two tracks.
In a professional studio, the mixer is the hub of the control room that, among other things, allows the engineer to send the mix to different sets of speakers and control the volume. This feature alone has spawned a new category of gear: monitoring stations. These can range from simple, external volume controls so you don’t have to hover over your interface to submixers, multiple speaker pair selectors with mute, dim, and mono controls, to multiple mix outputs with sample rate converters. Rather than buy a complete console, you can buy a channel strip that can combine a mic preamp, EQ, compressor and output control. Some have extra features, like an additional de-esser and output limiter. If you’re only intending to record one thing at a time, this can be a useful addition.
Modeling amps and their ilk can make recording guitar, bass, and other instruments easier as well, especially if you’re recording while others nearby are trying to sleep. As much as I don’t like to admit it, they do a great job of channeling the sound of the many vintage amps I own and record regularly. In the final mix, anyone would find it nearly impossible to say with accuracy which guitar was recorded with an amp and which one wasn’t.
When you rent time at a recording studio, you’re paying for a controlled acoustic environment. Recording at home is another story. Remember to turn off phones and any other noisemakers in your recording area. If you hear a noise, so will the microphone. If a room booms or echoes, those reflections can be diminished by hanging packing blankets, comforters, or bedspreads on extra boom stands, positioned like a big ‘T’. You can even make isolation booths with them for recording vocals and other acoustic instruments. Having a blanket over the amp may not make it quieter in the room, but it might keep other unwanted sounds out of the mic on the amp. “Bagging the kick drum” (draping a packing blanket over the mic and the front side of the drum) is another common studio technique.
G.A.S.
If you thought Guitar Acquisition Syndrome was bad, Gear Acquisition Syndrome can be exponentially worse. Words like boutique, vintage, reissue, and classic can bring on bouts of lust for recording equipment we must have to capture that elusive thing called “great sound.” Buy quality whenever possible, and that means spending a little more sometimes, but many of the newer budget items do a great job—and in some cases deliver results that exceed vintage gear. Software plug-ins emulate a lot of the vintage standards that recording engineers and producers demand. Although some are pricey, they are a lot less expensive than buying one each of the real vintage units, and you can usually use more than one instance of them in a session without having to pay for extra for each one.
Reading articles about recording techniques and interviews with those who record for a living can be extremely valuable. I’m frequently asked, “What’s the most important thing to making a good recording?” Sir George Martin said, “All you need is ears.” My answer is, “A good performance, a good-sounding instrument, and a good microphone, in that order.” Great gear makes the job easier, but you can get the results you want with less—you just might have to work a little harder. It’s not the machine, but the monkey who runs it. Knowing what to use and when to use it comes with experience. There are no hardand- fast rules, and even if there were, well, you know what they say about rules. Besides, if it sounds good, it is good.
If you have questions about specific aspects of recording, email me at: glennf@aol.com, and I’ll do my best to accommodate you.


![Jared James Nichols [2026]](https://www.premierguitar.com/media-library/image.jpg?id=66892615&width=1245&height=700&quality=70&coordinates=0%2C0%2C0%2C0)