On our workbench this month is a Gibson ES-125, which came to us with a collapsed top. It had been this way for years but, as of late, had increasingly gotten worse.
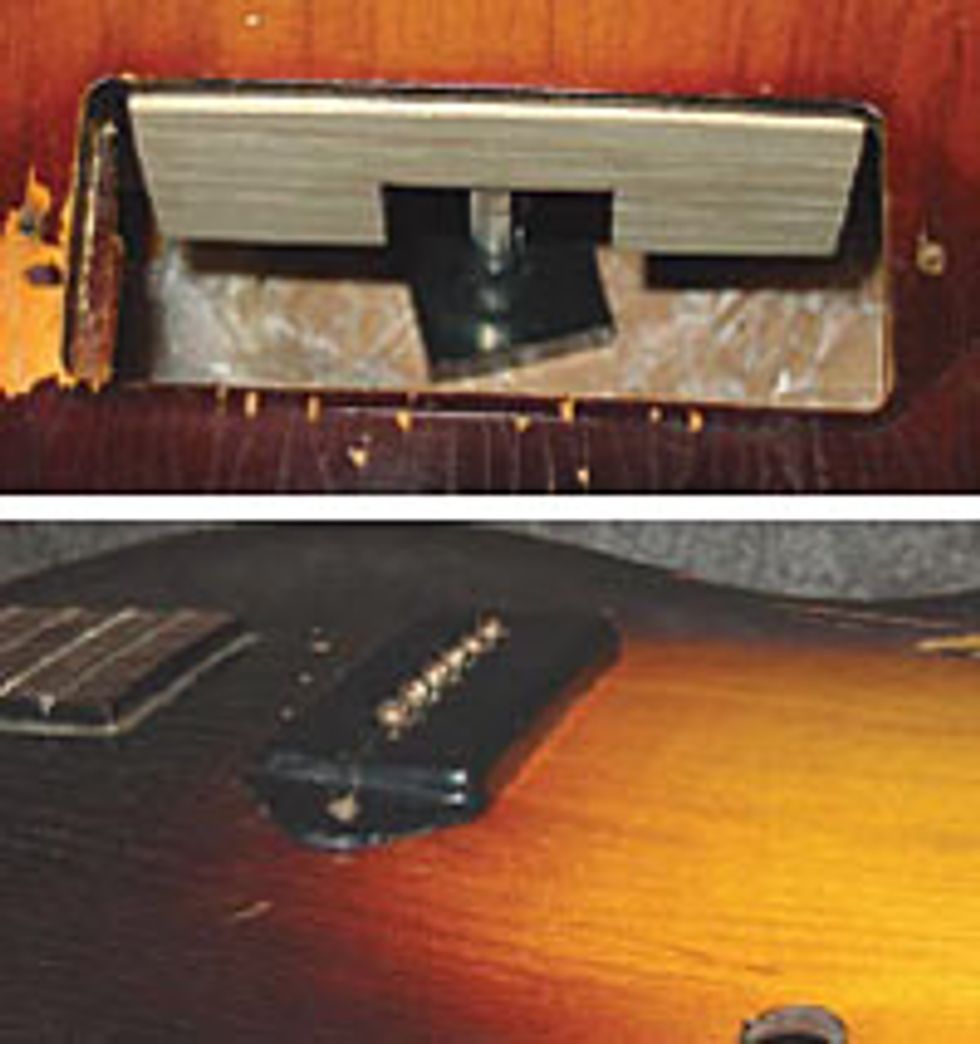
 Our first step was to inspect the inside structure of the top by removing the two screws that held the P-90 in place, then wrap a protective foam cover around the pickup and place it inside the body. I purposely do this so that the solder joints won’t be altered by desoldering the hot and shield pickup wires for a complete but unnecessary removal.
 Inspection
With the pickup removed, I was ready to go through the top pickup route to get inside the body cavity with a flexible inspection mirror and work light. Once inside, the first thing I noticed was that the parallel braces were loose midway up toward the neck. At this point, I realized there would be a few steps to this repair before any gluing began.
Re-warping the Top
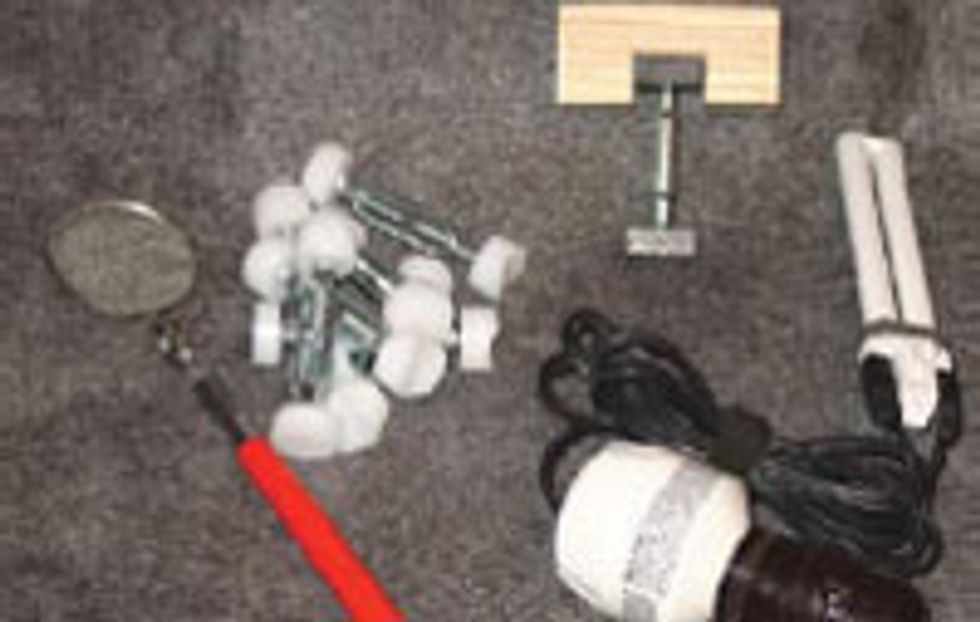
The first step to this repair was re-warping the top to its original uniformity. Adam Meyer assisted me in the shop with designing this radius clamping call. It was basically one of our BGF Brace Repair Jacks with a radius maple wood block attached to one end.
 Wax paper was placed inside the guitar to protect the back from any glue or water stains. Over a period of three weeks the inside of the top was moistened with a damp pad and expanded with our custom repair jack. It required expanding the clamp a total of four times, each time adding slightly more pressure, to achieve a uniform top.
 Parallel Braces
After re-warping the guitar’s top, I used a thin and long spatula to work a small amount of water between the brace and top. This preps the area and gets the Titebond II premium wood glue to flow in between more smoothly. Since this top wasn’t going to be removed, we chose not to use hide glue, as the glue’s workability properties would make the process more difficult and give us sloppy results. The Titebond II premium wood glue sets up quickly with very strong properties.
 After the glue was in place, I used our BGF Brace Repair Jacks to clamp up the parallel braces, using damp cloths to clean up the excess glue and leaving the clamps on for no less than 48 hours. After investing a few weeks of time, why rush the end of the repair by taking the clamps off too soon – just to save on a few sitting-on-theshelf hours?
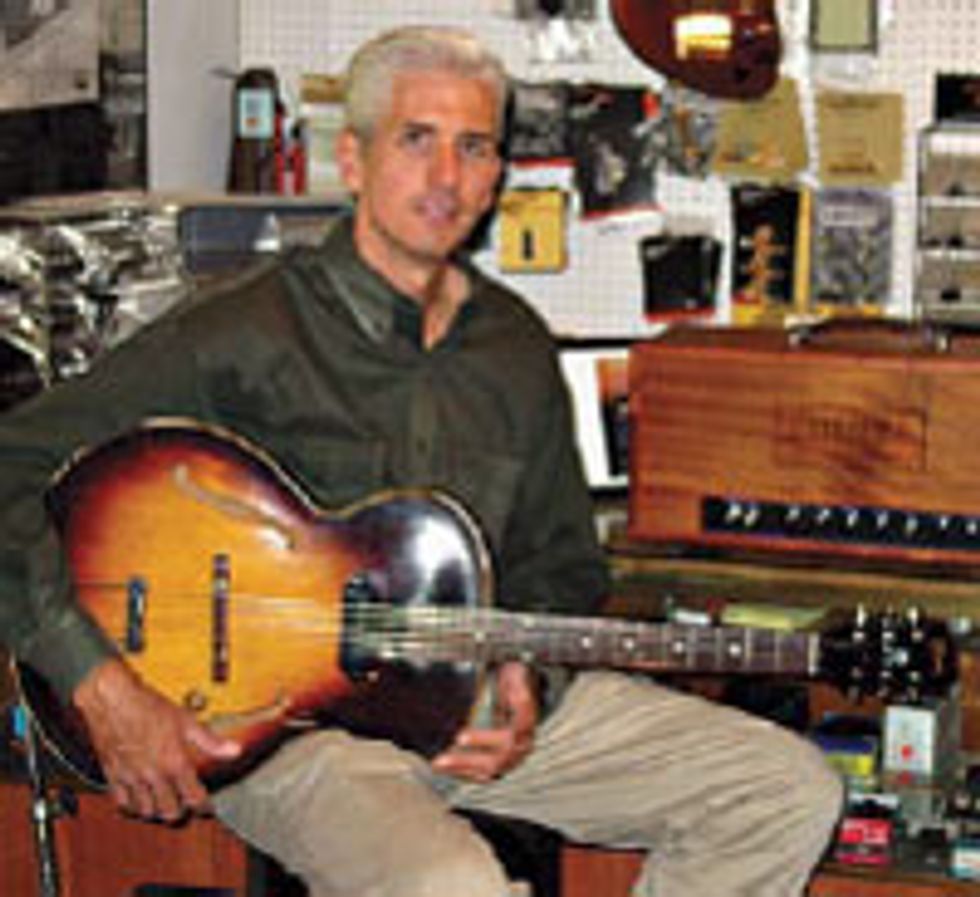
 After weeks of work and patient waiting, we’ve managed to fix up this old Gibson. As you can see, Harry Straub quickly had his restored ‘55 Gibson ES-125 in hand and ready to be plugged into that sweet amp of his.
Thanks to Harry Straub of Straub Amplifiers (straubamps.com), and thanks to all you Restoring an Original readers. We’ll see you next month.
John Brown
John Brown, of Brown''s Guitar Factory, is the inventor of the Fretted/Less bass. He owns and operates a full guitar manufacturing and repair/restoration facility, which is staffed by a team of talented luthiers. He is also the designer of guitar making/repair tools and accessories that are used today by instrument builders throughout the world.
www.brownsguitarfactory.com
info@brownsguitarfactory.com