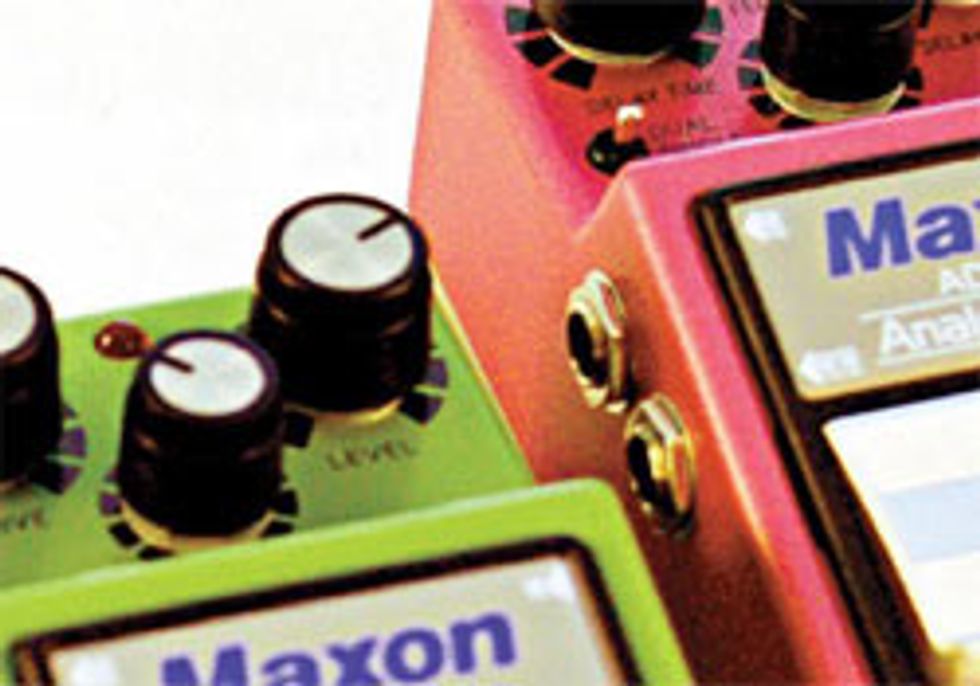
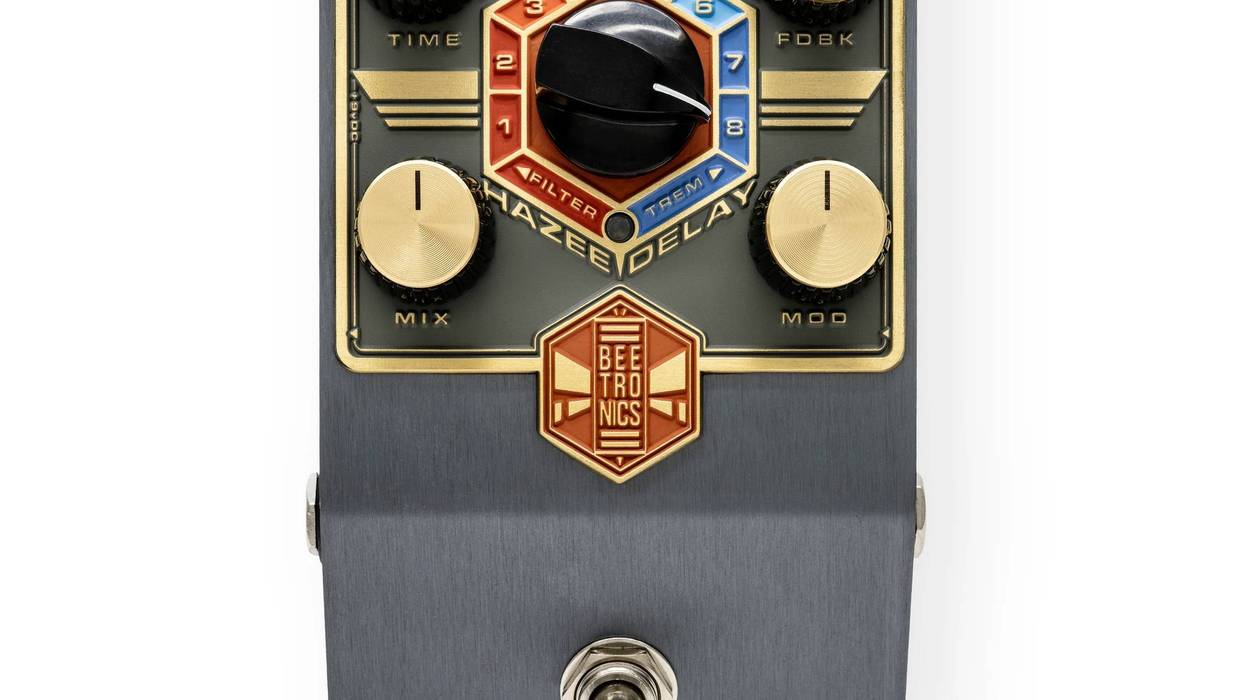
 Maxon has recently released three new overdrive pedals and a new take on an old favorite delay. What sets these pedals apart from traditional reissue pedals is the fact that Maxon has taken existing designs - notably the AD-9, OD880 and OD820 - and rather than rehash them into yet another vintage reissue, has instead used them as inspirations for new designs. All of the new effects feature Nine Series cases and mechanical, true bypass switching. The results of their efforts are the AD-9 Pro analog delay, the OOD-9 Organic Overdrive, the OSD-9 Overdrive Soft Distortion and the VOP-9 Vintage Overdrive Pro. Being fans of all things Maxon, we were anxious to plug these babies in.
  |
I have to admit to a love/hate relationship with the original Maxon-made Ibanez AD-9. Years ago, I would sort through several to find a "good" one in an attempt to replace a coveted but ailing RE-201 Space Echo. I would dig the AD-9 for a few months, then slowly begin to notice its shortcomings - most notably uninspiring, dull sounding delays - eventually casting it away and renewing my search for a replacement. After invariably tiring of the replacement, I would find another "good" one at a pawn shop and repeat the process.
Recent Ibanez AD-9 reissues not made by Maxon offered up little more than reasonable prices and lackluster delays, making me keen to see what Maxon had in store for the AD-9 Pro. First up is an increase in delay time to 450 milliseconds, achieved through the use of four proprietary MC4107D IC chips. An RMS level sensor, an 18dB dynamic range and a max input level of +12dB helps deliver analog delay goodness to all sorts of signals in a quiet-as-a-digital-church-mouse fashion. Another plus is the Single Head/Dual Head mode switch. Single Head mode allows the AD-9 Pro to deliver standard, bucket brigade-style delays. In Dual Head mode a midstream delay signal is added to simulate the sound of a multi-head tape delay, providing ping-pong and ambient delay capabilities. Mechanical true bypass switching further ices the cake.
The clarity and added delay time give the AD-9 Pro more flexibility than the original by a wide-margin, allowing it to work well for both Gilmour and Edge-type ambient delays, as well as crisp slap-back and Albert Lee-inspired, I''m-not-really-playing-this-fast double stops. To quote Tim and Eric, "Great job!"
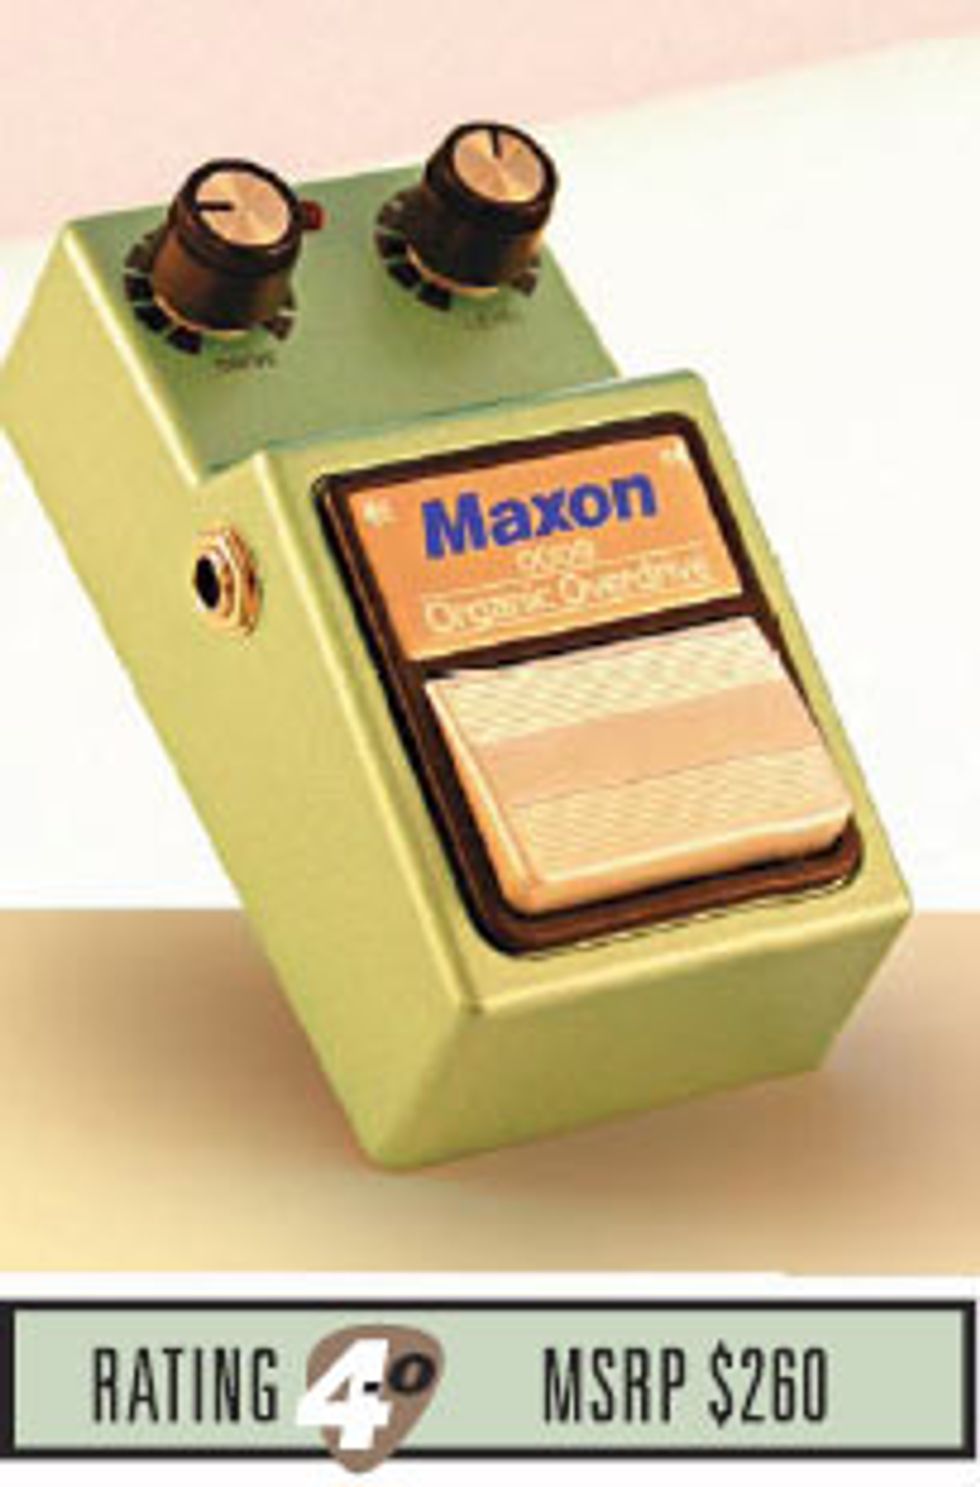 |
Two of the new pedals - the OOD-9 and the OSD-9 - are based on Maxon''s OD880, which are currently fetching prices that make originals too valuable to Velcro. The OOD-9 Organic Overdrive features a JRC 4558 op-amp found in the Maxon-made Ibanez TS808 and TS-9, rather than the 741 op-amp found in the original Maxon OD880. This combination of circuitry and op-amp gives the OOD-9 a - you guessed it - more organic feel than the typical Tube Screamer variant. The characteristic midrange honk is still there, just not as pronounced as in a TS-9 reissue or even the VOP-9.
The OOD-9 passed the first acid test of providing convincing overdrive through a clean tube amp. Single coils provided great dirt, despite Maxon''s ad copy proclaiming that "the OOD-9 compliments humbucker-equipped guitars perfectly by offering a creamier, thicker overdrive than the OSD-9." In fact, I''ve usually found that overdrives based on the 808 circuit tend to get too thick with humbuckers; they seem singularly suited for giving single coils humbucker-like midrange compression and a bit more oomph, making me keen to release the Lester from the case and put their claims to the test.
What greeted me was some nice, UFO-like crunch with the Level knob set just past unity and the Drive knob set anywhere from noon to around three o''clock. There were lots of cocked-wah like mids tempered by plenty of warmth. At higher distortion settings the OOD-9 harkened back to the eighties, perfect for some Fastway or Motörhead covers. The OOD-9''s characteristically nasally but not un-appealing tone and gobs of gain on tap made coaxing feedback a breeze.
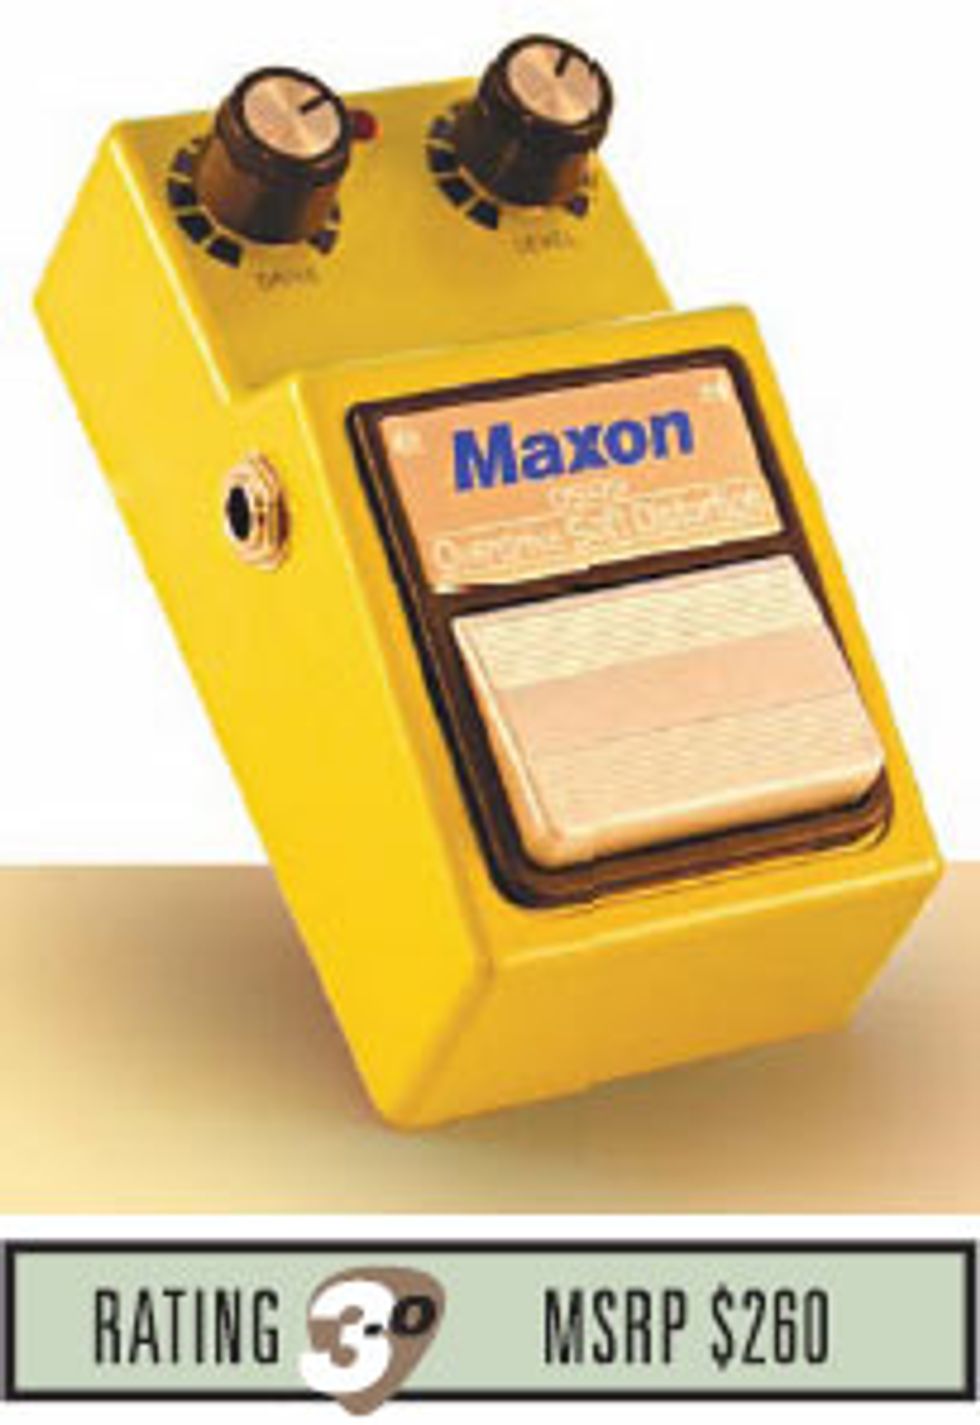 |
The second of Maxon''s new pedals based on their OD880 is the OSD-9, but this time around Maxon keeps the 741 op-amp firmly in place, giving the OSD-9 a tone as fat as a Christmas goose. It also gives the pedal an admittedly seventies vibe. I plugged a LP into the pedal and out to a tweed Deluxe style amp and was able to cop Marc Bolan''s crunch on "Ride a White Swan," which is never a bad thing. The OSD-9 can get really close to fuzz tone duties, and would be perfect for that good-time rock n'' roll band you''ve been dreaming of putting together. Molly Hatchet, here we come!
Of course, my Strat and Nocaster also sounded great through the little green box. The Overdrive Soft Distortion features the same two-knob layout as the OOD-9 with the same Drive and Level designations. The OSD-9 sounds good, but seems to be more of a one-trick pony than the ad copy on Maxon''s site would suggest, although that same ad copy also indicated that most people don''t get 741-equipped pedals. Maybe I''m one of "those people," and for those people, Maxon has the OOD-9, which features the nice, safe, familiar JRC 4558 chip. But anything that makes it this easy to rock convincing T-Rex tones has to be worth it for just that, right? Now if I can just remember where I left my dragon embroidered satin bell-bottoms and my size 11 Mary-Janes…
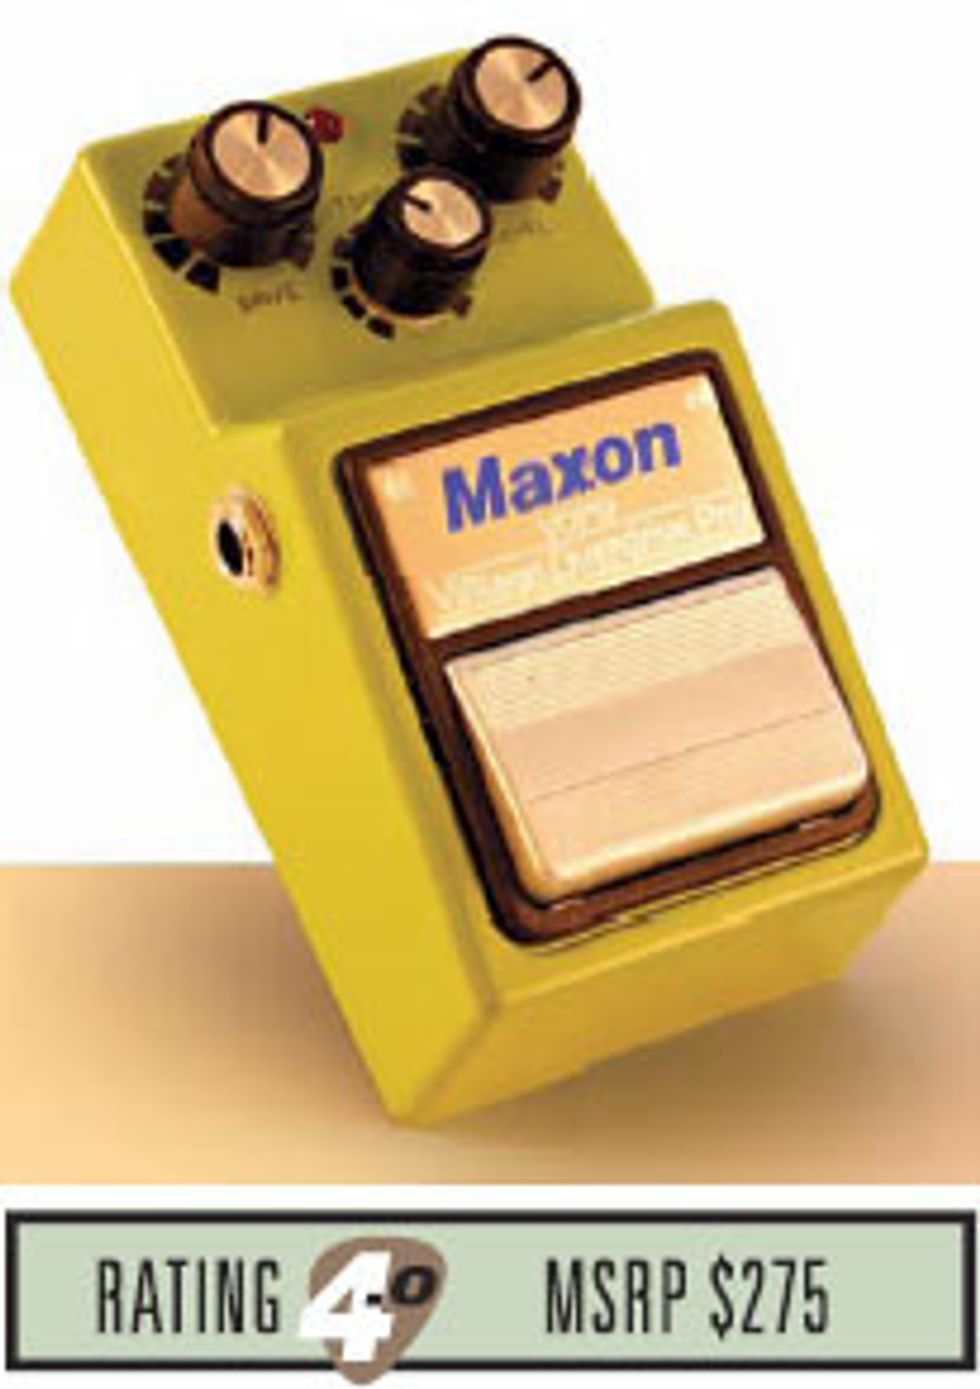 |
The VOP-9 is also an updated vintage reissue, but instead of basing another pedal on the OD880, the Vintage Overdrive Pro is based on the OD820, a pedal developed in the mid-nineties as an alternative to the glut of boutique, ''screamer-ish ODs being released at the time. In that respect, things haven''t changed much since rock stars all looked like lumber jacks.
Housed in the ubiquitous Nine Series chassis, the VOP-9 borrows the OD820''s JEC NJM4558D op-amp and negative feedback loop clipping diode. The original pedal operated at 18 volts for improved dynamic response, while the VOP offers selectable 9 or 18 volt operation for additional, surprisingly vast tone tailoring.
The VOP''s control layout will be familiar to Tube Screamer aficionados, sporting knobs for Drive, Tone and Level. What may not be familiar is that the Drive knob acts as a blend control between the clean and distorted sounds, meaning that when the Drive knob is set to zero, no clipping is present. With traditional ''Screamer-derived designs, clipping is always present. This allows a broad range of tones to emanate from the VOP-9, from clean boost to balls out raunch.
Rolling the Drive - or clean/dirty blend - to around one o''clock, Tone at noon and Level between noon and one o''clock delivered tons of gain and output. Just for giggles, I A/B''d the VOP with a particularly nice, modded TS-9 featuring a JRC4558D chip, and the VOP walloped it as far as gain and output at the same settings. As far as the corresponding tone, "wooly" seems like an appropriate word. This pedal seems well suited for folks who are convinced that traditional Tube Screamer circuits are much too polite.
The Final Mojo
If one of these three overdrives isn''t capable of satisfying your boost needs, chances are nothing off the rack can. They offer great tones and bulletproof construction in iconic, attractive packages. The lone holdout is the AD-9 Pro. While the increased headroom and clarity is appreciated, the AD-9 Pro is still a subtle analog delay, dutifully serving those with discerning ears, but it may be too refined, ultimately disappointing players who dig greasy tape and bucket-brigade delays.
Maxon
maxonfx.com
Our expert has stated his case, now we want to hear yours. Log on and share your comments and ratings.


![Rig Rundown: The Black Crowes’ Rich Robinson [2026]](https://www.premierguitar.com/media-library/youtube.jpg?id=66952027&width=1245&height=700&quality=70&coordinates=0%2C0%2C0%2C0)