 Let’s start this column out by taking a look at ribbon microphones and how they can help you capture some great guitar sounds. Don’t think they should just sit in front of an amp either – ribbons can also be used to warm up that acoustic track.
 While actually a type of dynamic microphone, the ribbon is quite simple in its basic design. Typically, a thin corrugated aluminum ribbon is mounted between poles of a magnet. Sound waves then cause the ribbon to move and electromagnetic induction helps generate voltages. A step up transformer is used to help increase the voltage and output impedance. Tech talk aside, ribbons deliver a sound that is usually described as natural, warm, big and smooth.
The first ribbon appeared around 1931, developed by Dr. Harry F. Olson at RCA. That RCA PB-31 model was eventually followed by the classic 44 and 77 series mics, many of which are still in use today. Currently, you can find a handful of manufacturers making cool ribbons, from vintage replicas to brand new modern designs (see list below). Ranging in price from a few hundred to several thousand dollars, your budget will obviously dictate what you use – unless your favorite studio has one on hand.
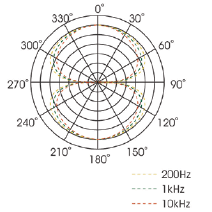
Most ribbons, except for certain stereo, multipattern and hypercardoid models, have a bi-directional or figure-8 pickup (polar) pattern. That means sound will be recorded both directly in front of the mic and from the rear as well.
On the negative side, ribbon mics can be sensitive to blasts of air and you’ll need to avoid using +48V phantom power so you don’t end up with an expensive paperweight. Since I happen to use Royer ribbon microphones (their R-122V and SF-24 models are the only ones that needs phantom power), I will be referring to them for this column. Just know that the same recording principals will apply except for the sonic variations among different types.
When used on a guitar amp, a good place to start is six to twelve inches off the speaker and just off the center of the cone. When using a 4x12 or 2x12, always listen for a preferred speaker (or two). Once you’ve found a basic sound you’re happy with, experiment with moving the mic closer to the cabinet. Ribbons feature the classic “proximity effect,” where the bass response of a mic increases as you get closer to the source. Use this to your advantage and go for that super warm tone. You can always back it off should you find there’s too much bass or remove it with EQ later. Note that some older ribbons can’t handle the subsequent high sound pressure levels, but newer models like the Royers can handle upwards of 135dB.
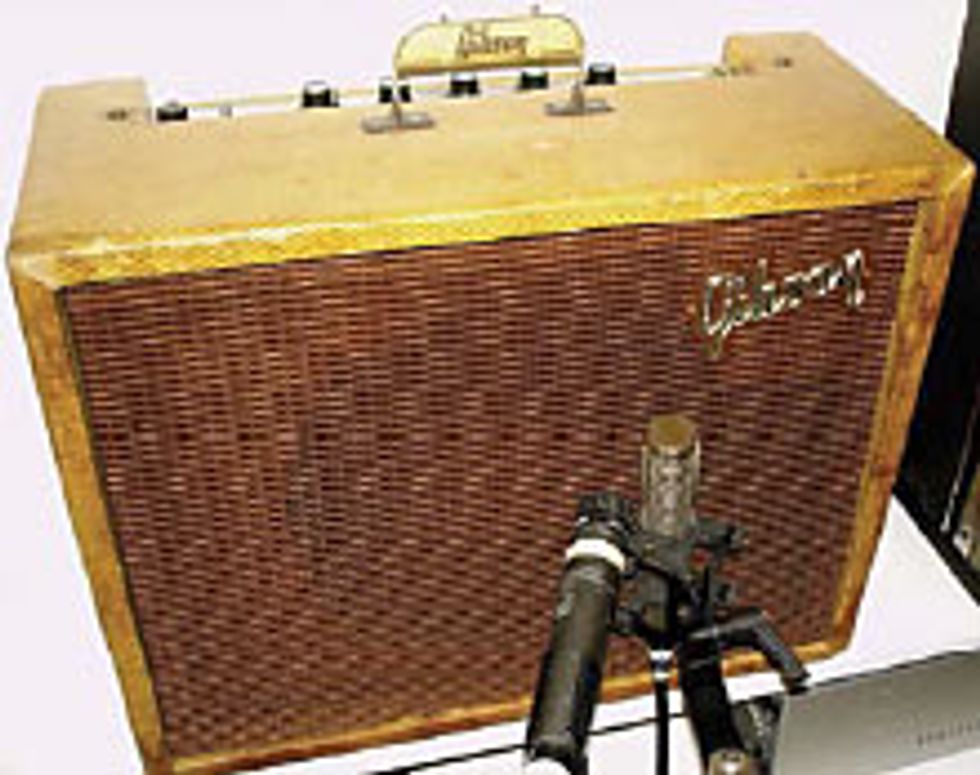 As we mentioned, most ribbons are figure-8, so use that to your advantage as well. The rear of the mic will pick up all that room tone, so try to put your amp in a good recording environment – place your amp in a corner or use gobos to help project the sound outward. Room tone is like having an additional microphone set up, and it can help create that distinctive guitar sound.
 Speaking of extra mics, ribbons work great when mixed in with a partner (or two). Try using the classic Shure SM57 or a Sennheiser 421 alongside your ribbon. By placing them literally tip to tip, allowing the sound to hit each one at the same time, you’ll avoid phase issues. Try adjusting the angle of the 57 to go on or off axis – whichever way sounds better to your ears.
On the console or in your recording software, take the two tracks and pan them together. Adjust the faders and listen to the different sonic options created by the blend. You can also try panning them to opposite sides for a wider soundfield. The only way to know what’s “right” is to listen within the context of the song and use each accordingly. In general, the ribbon will provide the warm, creamy low-end and the SM57 will give that distinct midrange growl.
With acoustic guitars, ribbons can capture a deep, natural tone. I tend to blend them with a good high-end omnidirectional or cardioid mic, such as Earthworks, Schoeps, or DPA models. By placing the ribbon on the body and the other mic near the edge of the soundhole, it offers depth that a single mic can’t provide.
Once again, using the backside of a figure-8 ribbon will offer extra room sound on your acoustic track. But when mic’ing up close, the back side of mics, such as the Royer R-121 and 122V, have a slightly brighter sound than the front. By turning them around and reversing the phase, you’ll have some extra highend to work with. As always, experimentation is the best way to find what works for you, so try a ribbon on your next guitar session.
Here are some links (and models to check out) of several current ribbon microphone manufacturers.
Beyerdynamic.com (M130, M260)
Coleselectroacoustics.com (4038, 4040)
Nady.com (RSM-2)
Oktava.com (ML52)
Royerlabs.com (R121, R122, SF-1)
Wesdooley.com (R44C, AEA R84, AEA R88 stereo)
Rich Tozzoli
is a producer, engineer and mixer who has worked with artists ranging from Al DiMeola to David Bowie. A lifelong guitarist, he’s also the author of Pro Tools Surround Sound Mixing and composes for such networks as Discovery Channel, Nickelodeon and National Geographic.