On “When the Levee Breaks” from Led Zeppelin IV, Jimmy Page’s guitar parts are panned left and right, and mixed quite dry with some deep flange. Conversely, the drums
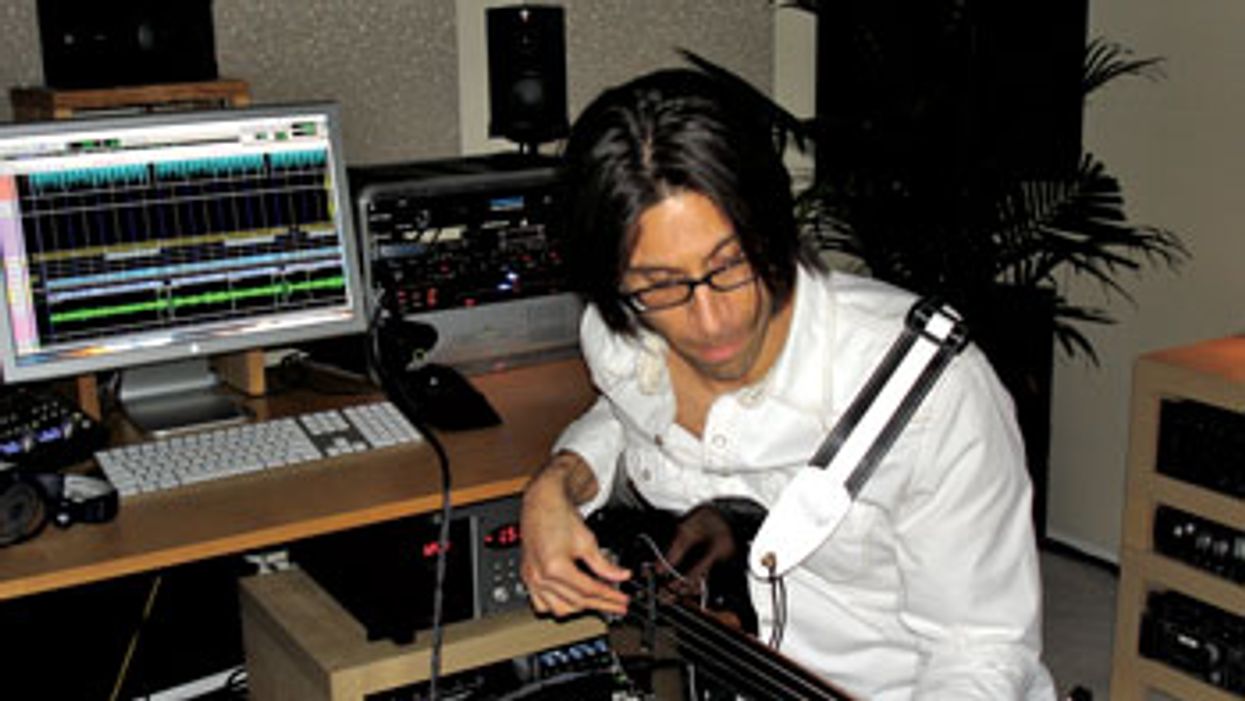
At Clubhouse recording studio in Rhinebeck, New York, owner and engineer Paul Antonell has a collection of more than 50 new and vintage amps, and guitarists from around the world seek out his studio and personal expertise to deliver memorable tones.
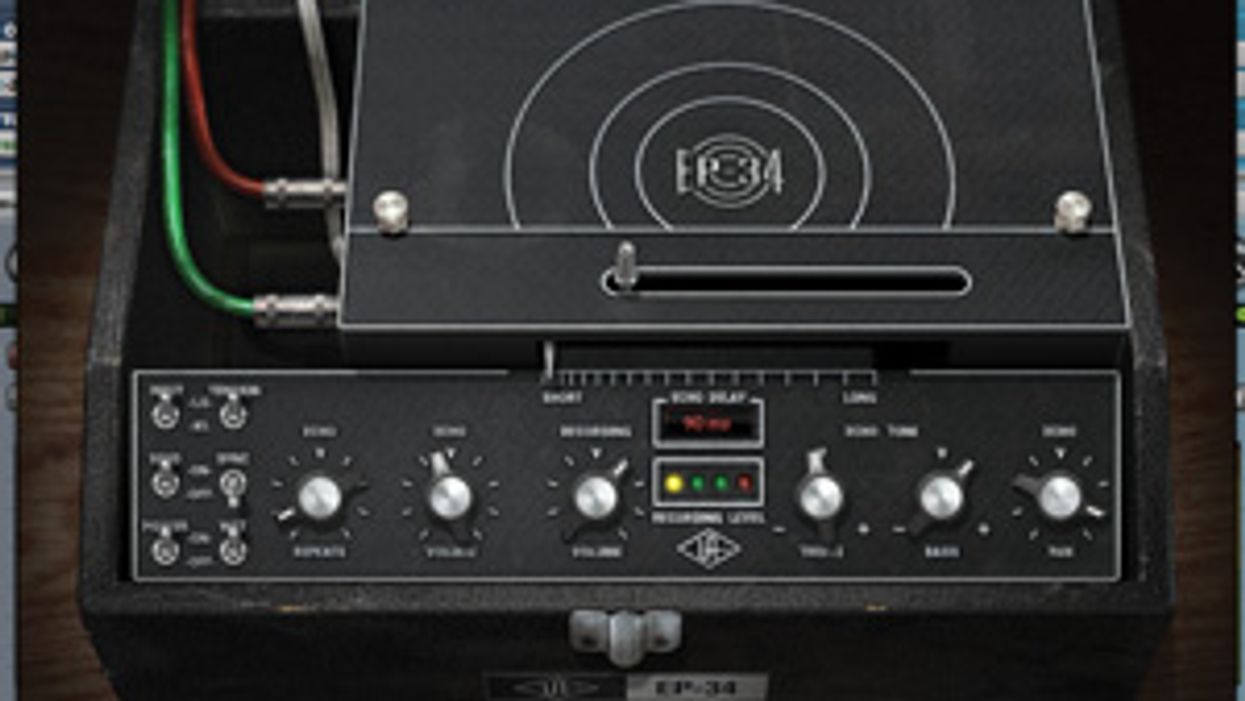
To give yourself—and your mix engineer—the greatest flexibility in the final stages of production, consider splitting your signal before it hits the delay and capturing two guitar tracks, one clean and one effected.