I see you’re brave enough to check back in for this month’s edition. Sharpen up those pencils and tools because we’re getting in deep this month. Remember that a complete written plan is important, so keep your brain on track – some things you can decide as you go, while other details must be known in advance. Here we’ll address things in a day-by-day format.
Day One
We have to create our rough parts, starting with our neck center measuring 38” long x 2.400” wide and anything greater than 1.915” thick. If you decide on a six-inline tuner design, you may need more length than our three-on-a-side headstock. This underscores the importance of making a full size pencil or CAD drawing, so you know the dimensions in advance.
Next we have our body wings, measuring 5.5” wide by 19.5” long for the bass wing, and 17” long for the treble wing, with both also being greater than 1.915” thick. If I’m using narrow lumber – like 5.5” wide – I like to create the wings using consecutive pieces so the grain patterns match nicely, referred to as a “drop match.” If you have 11” wide raw material, you can simply slice it up the center and place it on either side of the neck blank.
The headstock “earlobes” measure 6” long x 3/4” wide and greater than 1.915” thick. Earlobes are added by many companies to utilize a neck blank roughly the width of the end of the fretboard, therefore not wasting as much wood. The 1.915” thick specification you see is all depending on how rough of a surface you have; rougher surfaces use thicker material, smooth surfaces use thinner. The difficult part is that lumber yards call this 8/4 lumber, which means roughly 2” thick, but it’s usually undersized, so be sure to take dial calipers when you go wood shopping. Also, if staying with a transparent finish use excess from the neck center to create your earlobes so they get a good color and grain match.
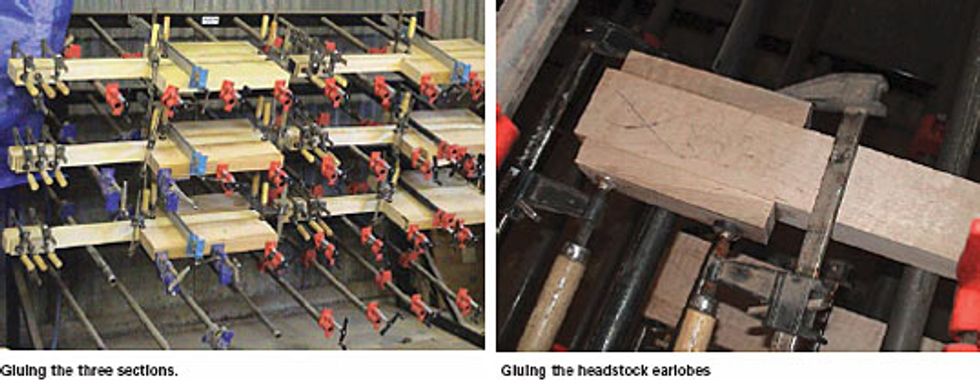
Once the material has been rough-sized using a skillsaw or table saw, we then need to make sure the gluing edges are jointed – sanded flat and square with the face for a good gluing surface. The faces don’t need any attention as of yet unless they are heavily cupped, in which case you would joint the face first to create a flat surface, then place the face flat against the fence and joint the edge. These two edges are now square. If the faces are close to being flat, don’t worry about it just yet. They’ll get cleaned up soon enough; just remember to place your flattest face against the jointer fence while jointing.
Now that the materials are ready it’s time to glue them up. The most important thing to keep in mind here is to not let the wood slide much, if at all, up or down. Using C clamps, very lightly pull the surfaces level to each other, then use bar clamps and tighten until the glue oozes from the joint, wiping up the exces. The key is keeping the back of all three sections (wing, center and wing) flush. The front will eventually get a lot of surfacing when most of the body will be machined down to 1.780”. The neck section is where we will need every bit of the 1.915.”
Manipulating the Beast
In case you have to use wing material that is thinner than 1.915” – yet thicker than 1.780” – you can simply glue two strips of wood to the face of the body measuring roughly 17” long by ½” wide by ¼” thick. These will eventually get machined off, but we have to surface sand the front and rear and these sticks will help us tremendously if you end up with too little material. If the neck is at full thickness and the wings are undersized, the material will teeter while being surface sanded, because the thickest section is only 2.400” wide and located in the center. With the overall body width roughly 14”, these extra little sticks placed far left and right on wing faces will help stabilize the mass to keep things nice and flat. If the thicknesses are all the same, you’ll have no worries! Check back next month, when we’ll begin day two.
Gene Baker
Any questions or comments visit
www.finetunedinstruments.com
www.meangene.org
email me at b3gene@verizon.net
Fine Tuned Instruments LLC, home of his “b3” instruments.









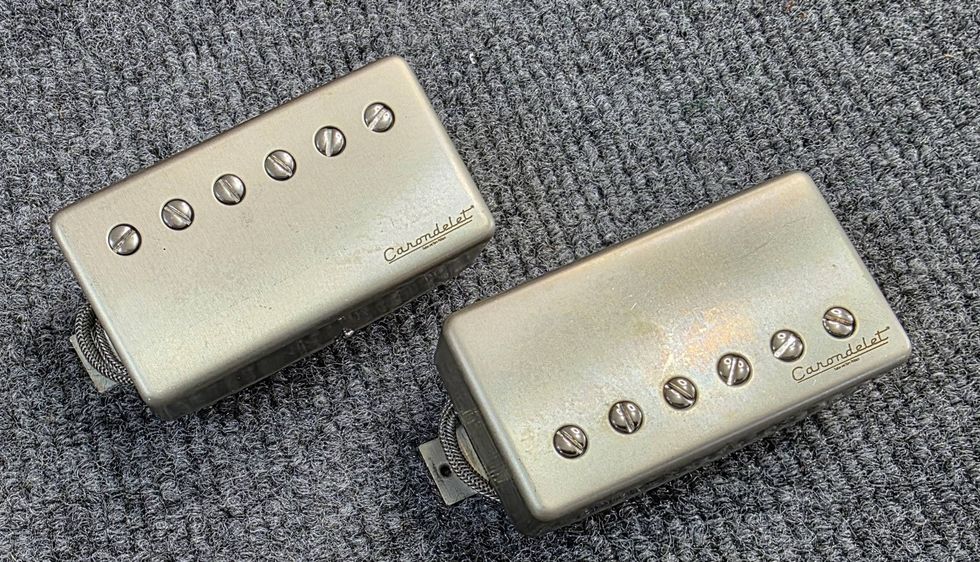 Carondelet Introduces OTB Ultimates Vintage-Style PAF Pickups