|
Radius Routing
This step requires that I rout the fretboard radius. As a workaround, pre-slotted and radiused fretboards can be sourced from various suppliers, or you can rearrange the procedure to fit your needs. I approach the radius with a .500” ball nose cutter.
A quick review of fretboard radii is in order: 7.25” or 9.5” for vintage to modern Fender, 10” or 12” for Gibson and modern Fender, and 16” or 20” for shred guitars. Additionally, compound radii such as 9.5” at the nut to a 16” at the 22nd fret are a possibility. Compound radius fretboards are further evidence that if you can draw it, a CNC can cut it.
|
The nut width is 1.687” and the butt width is 2.250”. Finally, I cut the radius on a shaper table with a 12” radius cutter. For some operations a CNC will be faster, but that ultimately depends on the operation, tool capacity, machinery and the mind.
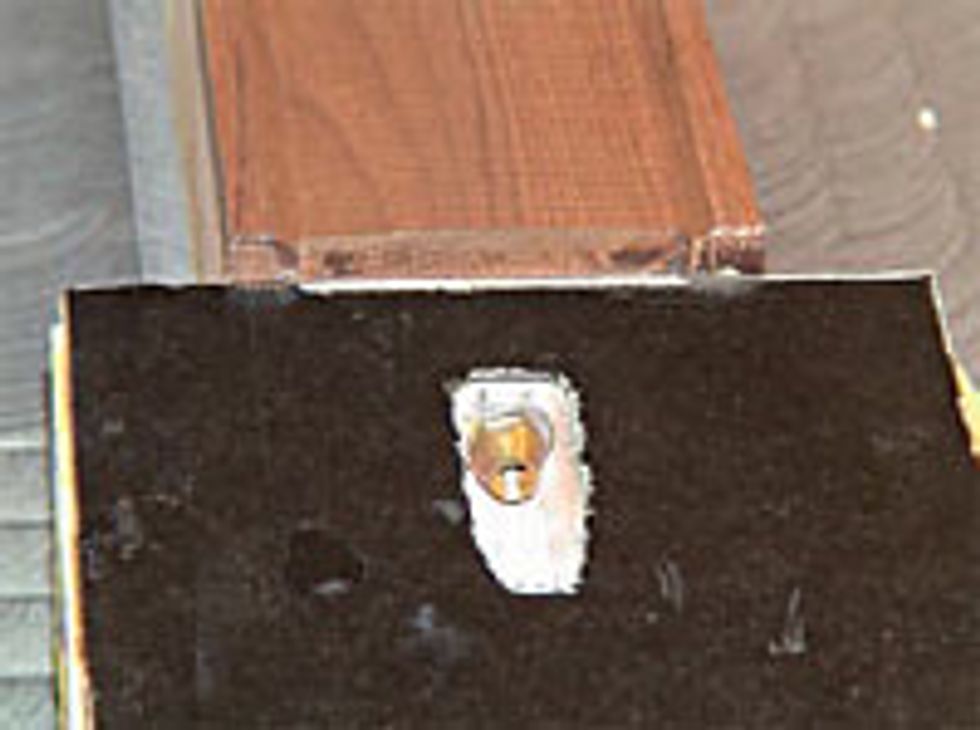
I use a .125” end mill for a Fender-style nut slot, up to a .187” width for a Gibson-style nut, in addition to opening up the adjusting area for the truss rod, which is then covered up with the headstock veneer.
Additionally, you can opt for something like a zero fret, which utilizes a fret slot and fret at the 0.000” origin, making open strings sound the same as fretted notes.
Neck Perimeter and Headstock
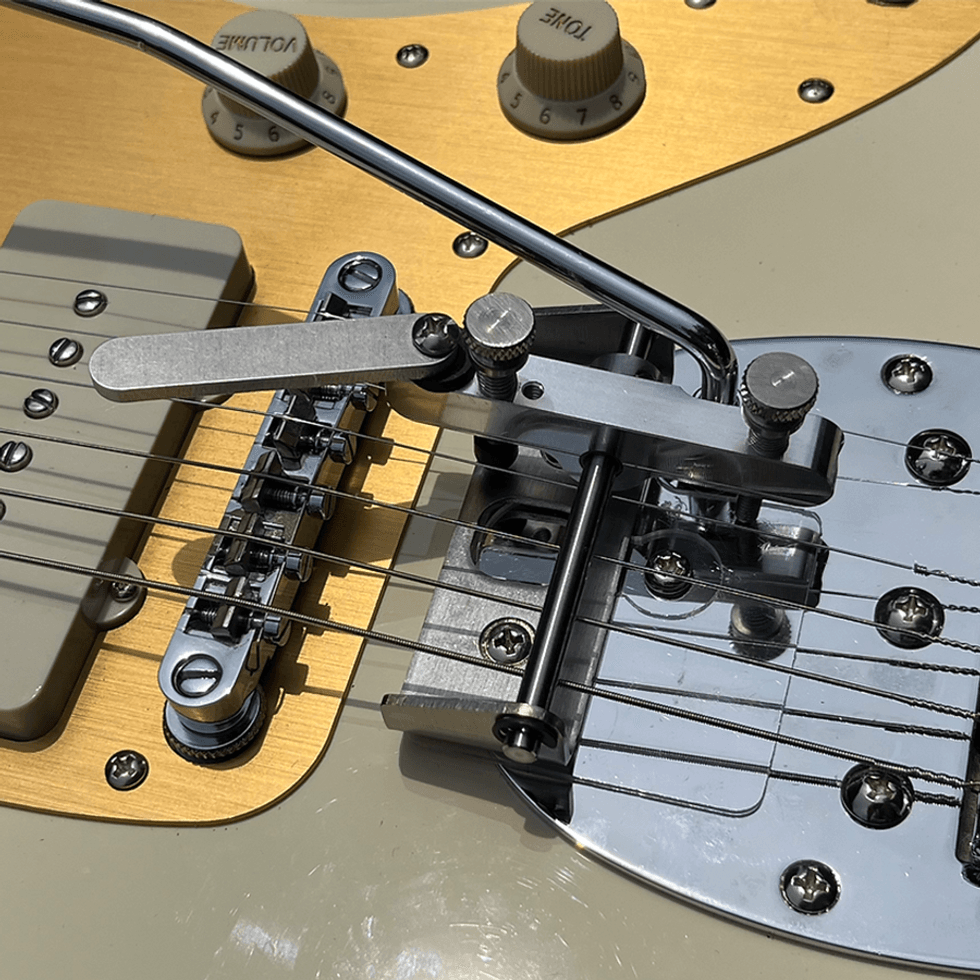
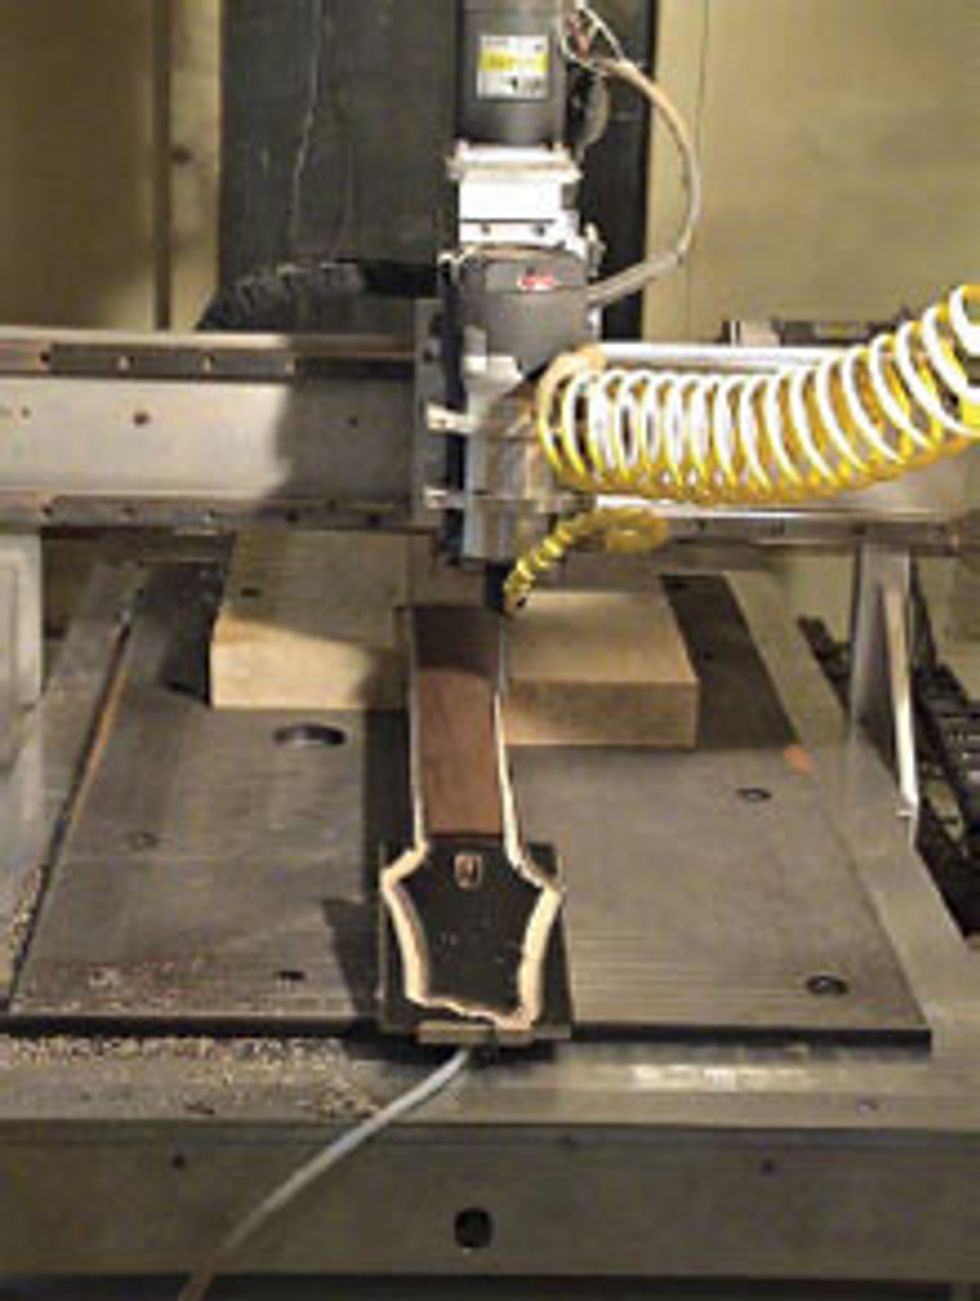
Next up is cutting the neck perimeter and headstock. A pin router would work here if you don’t have a CNC, but requires devising a key pattern to guide the router pin where you want the cut. Since this is a tremolo model, I also need to route the tremolo recess at this time to utilize the installed cutter as much as possible.
Here I fly cut the surface of the body to a final thickness of 1.780” using a 1” end mill. It wraps around the end of the fretboard, where I look for a .375” height offset from the end top center of the fretboard radius to the top surface of the body. This measurement works well for standard Tele or Strat tremolo bridges.
|
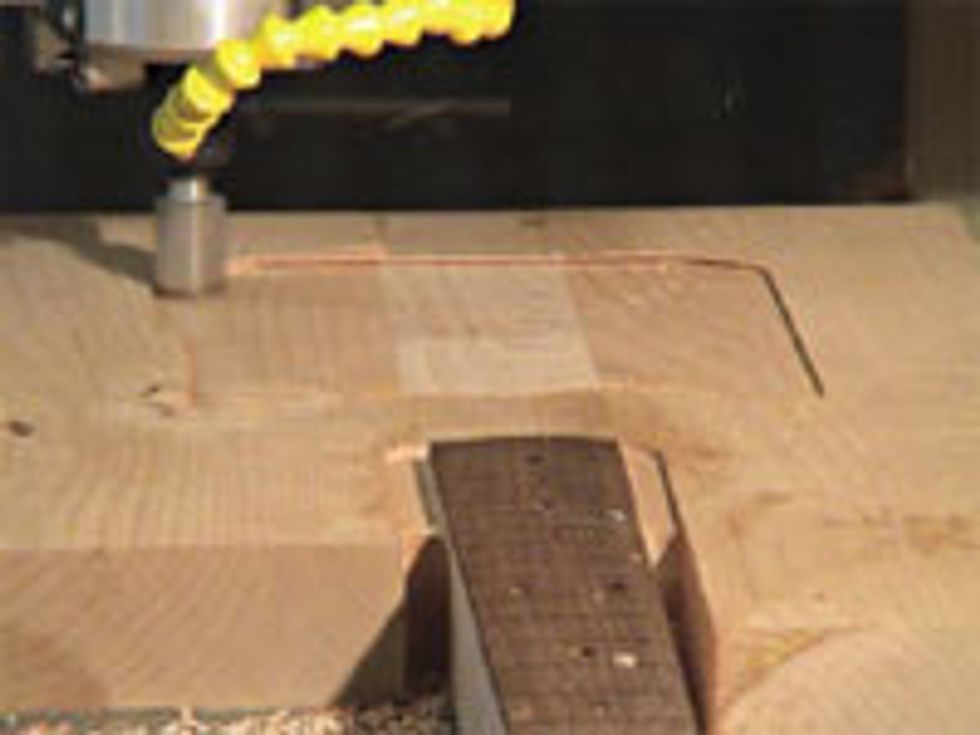
For fret slotting I use a .023” end mill; other diameters can be used for harder or softer woods, or if your fret wire has a wide or narrow tang. With my approach, I don’t slot through the side of the fretboard; the slot stops shy at about the thickness of a bound neck, .045”. This requires me to use a fret that has been nibbed. The advantage here is that you don’t see the fret slot from the side, fret sprout is rarely an issue and it sure looks pretty. Also, while in this position, I use the same cutter to stab center holes on the headstock for tuner locations.
I use a .250” end mill and drill my fretboard face dots and my bridge pivot posts. If you were planning on using rear loaded electronics, you could now cut your face control holes.
That does it for this month; next month we’re going face down for rear routing operations.
Gene Baker
Any questions or comments visit
www.finetunedinstruments.com
www.meangene.org
email me at b3gene@verizon.net
Fine Tuned Instruments LLC, home of his “b3” instruments.