Skip to content
Search & Section Navigation
Sign up
Contact
Shop
Open Search
Login
Subscribe
Site Navigation
Reviews
Guitars
Amps
Pedals
Acoustic
Bass
News
Videos
Rig Rundowns
Gear Demos
Gear Roundups
DIY
Features
Artists
Gear
Builder Profile
Columns
DIY
Advice
Gear Talk
Lessons
Beginner
Intermediate
Advanced
CAGED
Blues
Rock
Country
Podcasts
Shred With Shifty
Wong Notes
100 Guitarists
Win
Digital Magazine
close Search
Search
Latest Stories
Close
Start your day right!
Get latest updates and insights delivered to your inbox.
Enter your email
I’m in!
Login
Subscribe
Close Search & Section Navigation
Reviews
Guitars
Amps
Pedals
Acoustic
Bass
News
Videos
Rig Rundowns
Gear Demos
Gear Roundups
DIY
Features
Artists
Gear
Builder Profile
Columns
DIY
Advice
Gear Talk
Lessons
Beginner
Intermediate
Advanced
CAGED
Blues
Rock
Country
Podcasts
Shred With Shifty
Wong Notes
100 Guitarists
Win
Digital Magazine
Sign up
Contact
Shop
Appstore
Google Play Market
Home
>
digital modeling
digital modeling
News
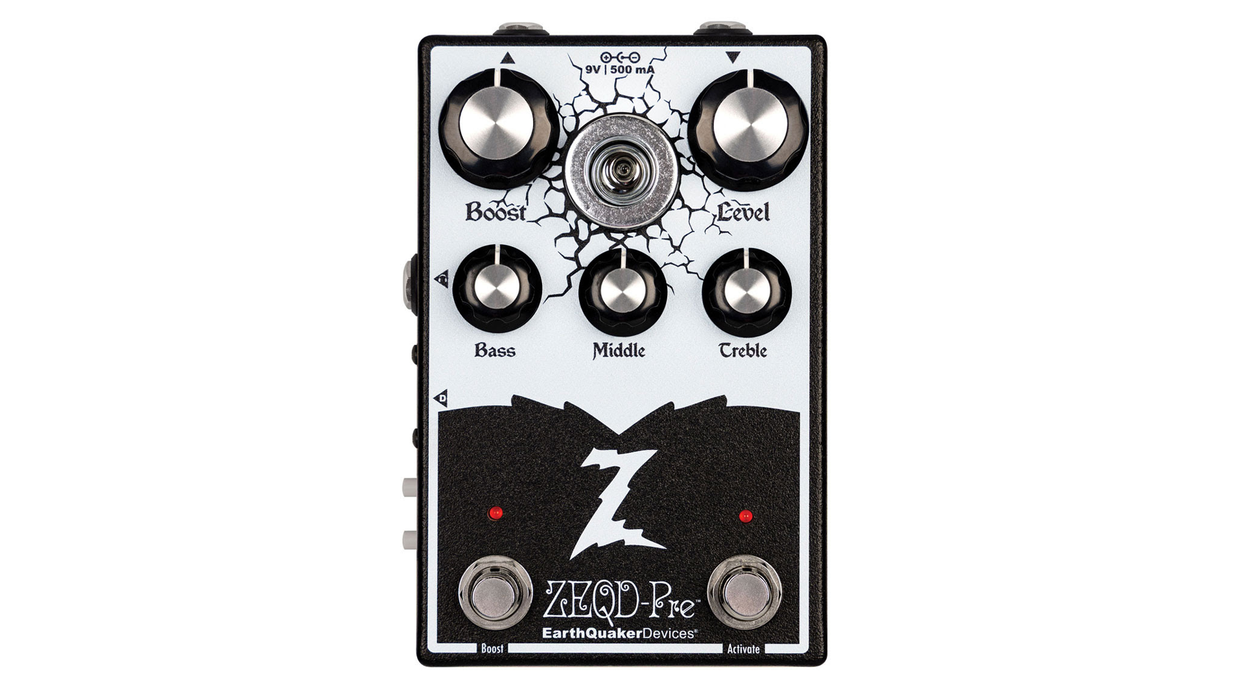
EarthQuaker Devices & Dr. Z Amplification Announce the ZEQD-Pre Tube Pre Amp
News
Jan 08, 2026
Reviews
IK Multimedia TONEX ONE Review
Jason Shadrick
Oct 07, 2024
Reviews
Line 6 Catalyst 100 Review
Joe Charupakorn
Jul 07, 2022
Gigging Advice
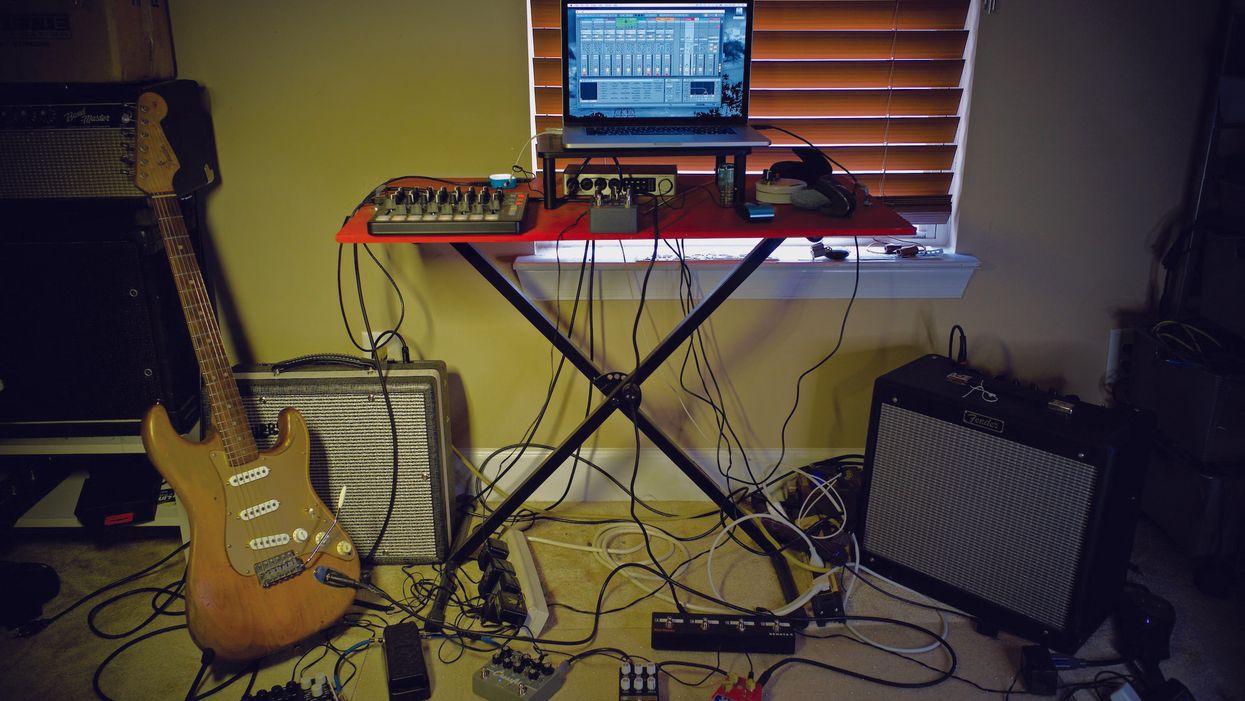
Should You Add a Laptop to Your Live Rig!?
Michael Ross
May 12, 2022
Guitarists
Jimmy “Scratch” James: Playing for His Ghosts
Mark Finkelpearl
21 May
Don’t Miss Out
Get the latest updates and insights delivered to your inbox.
Enter your email
I’m in!
Recent
Amp DIY
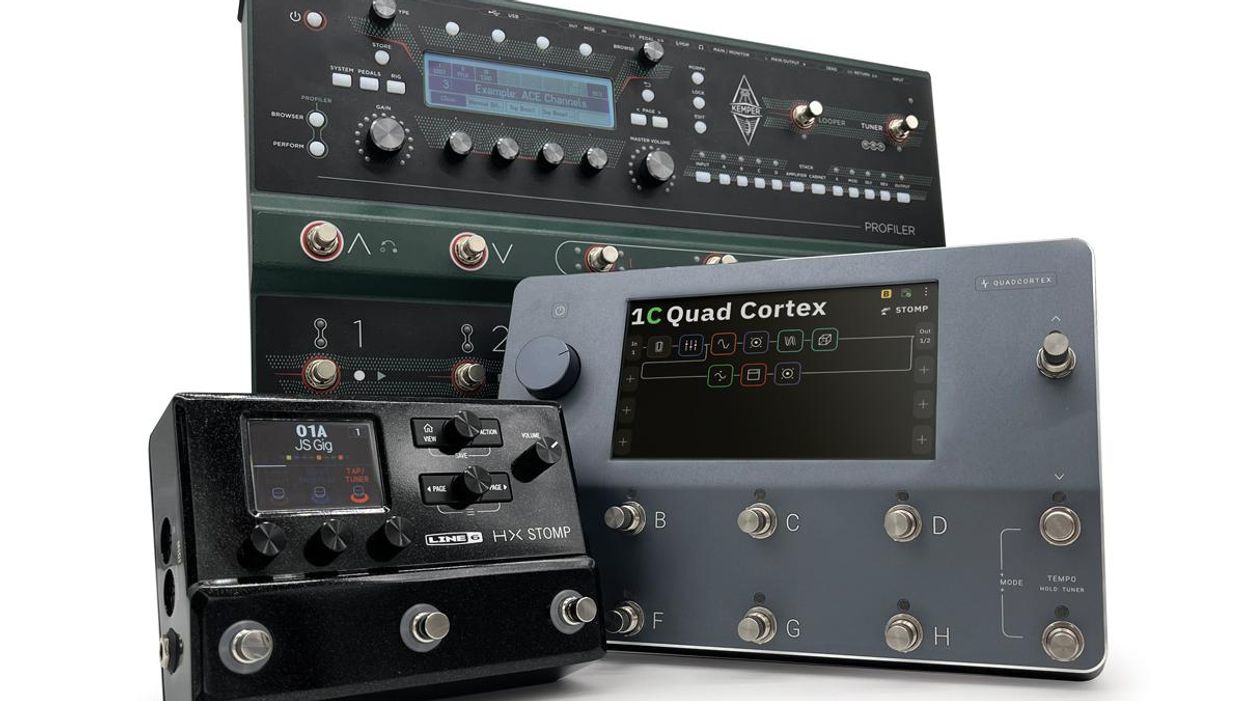
Are Digital Modelers For You?
Jason Shadrick
Jan 20, 2022
load more