 Welcome back to our current project: repairing a broken headstock on our ‘65 Gibson. Up until now, we have been focusing on the back side of the neck. The headstock has been grafted and glued back onto the neck. Two quartersawn mahogany reinforcement splines have been inlayed, with a feathered overcoat of toner and topped with clear nitrocellulose lacquer. This month we will be completing this portion of the rebuilding stage.
 Peghead Overlay Veneer
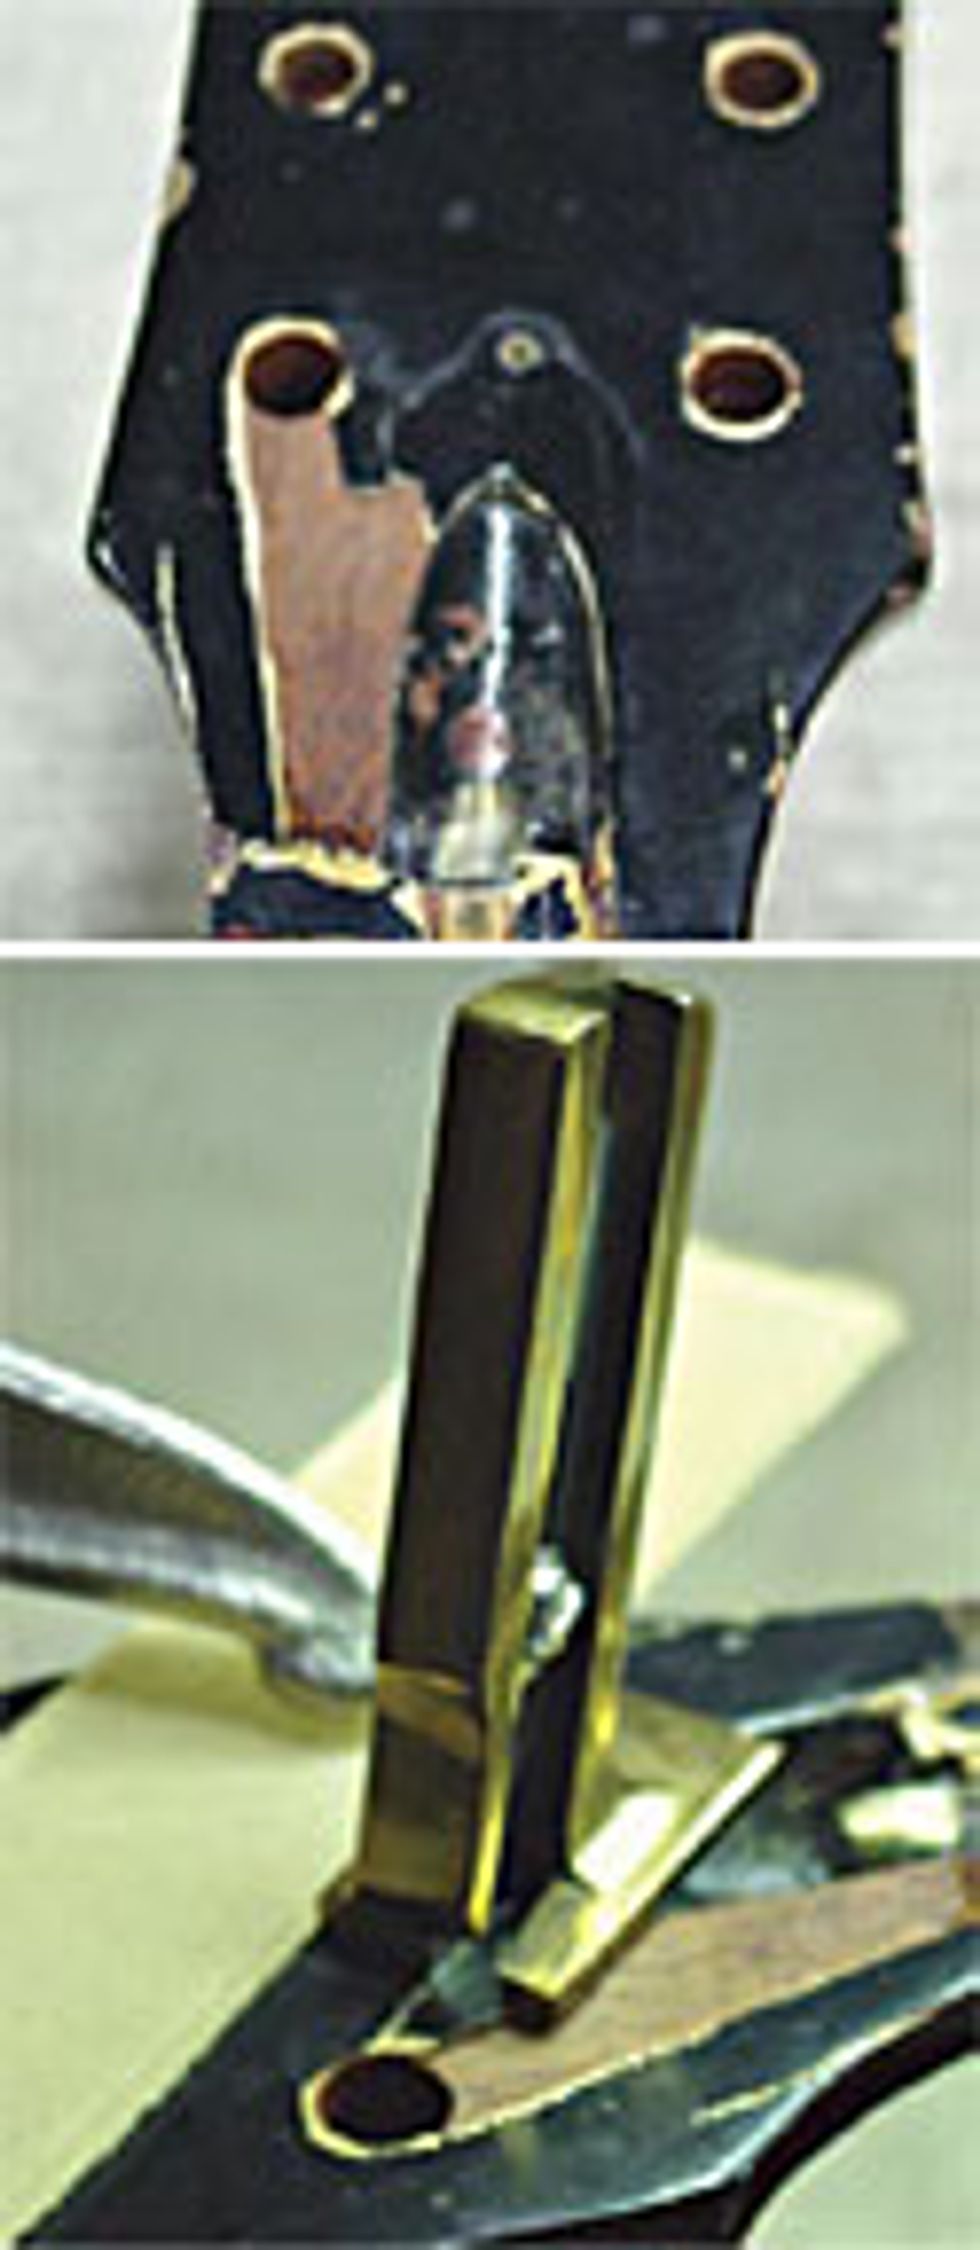
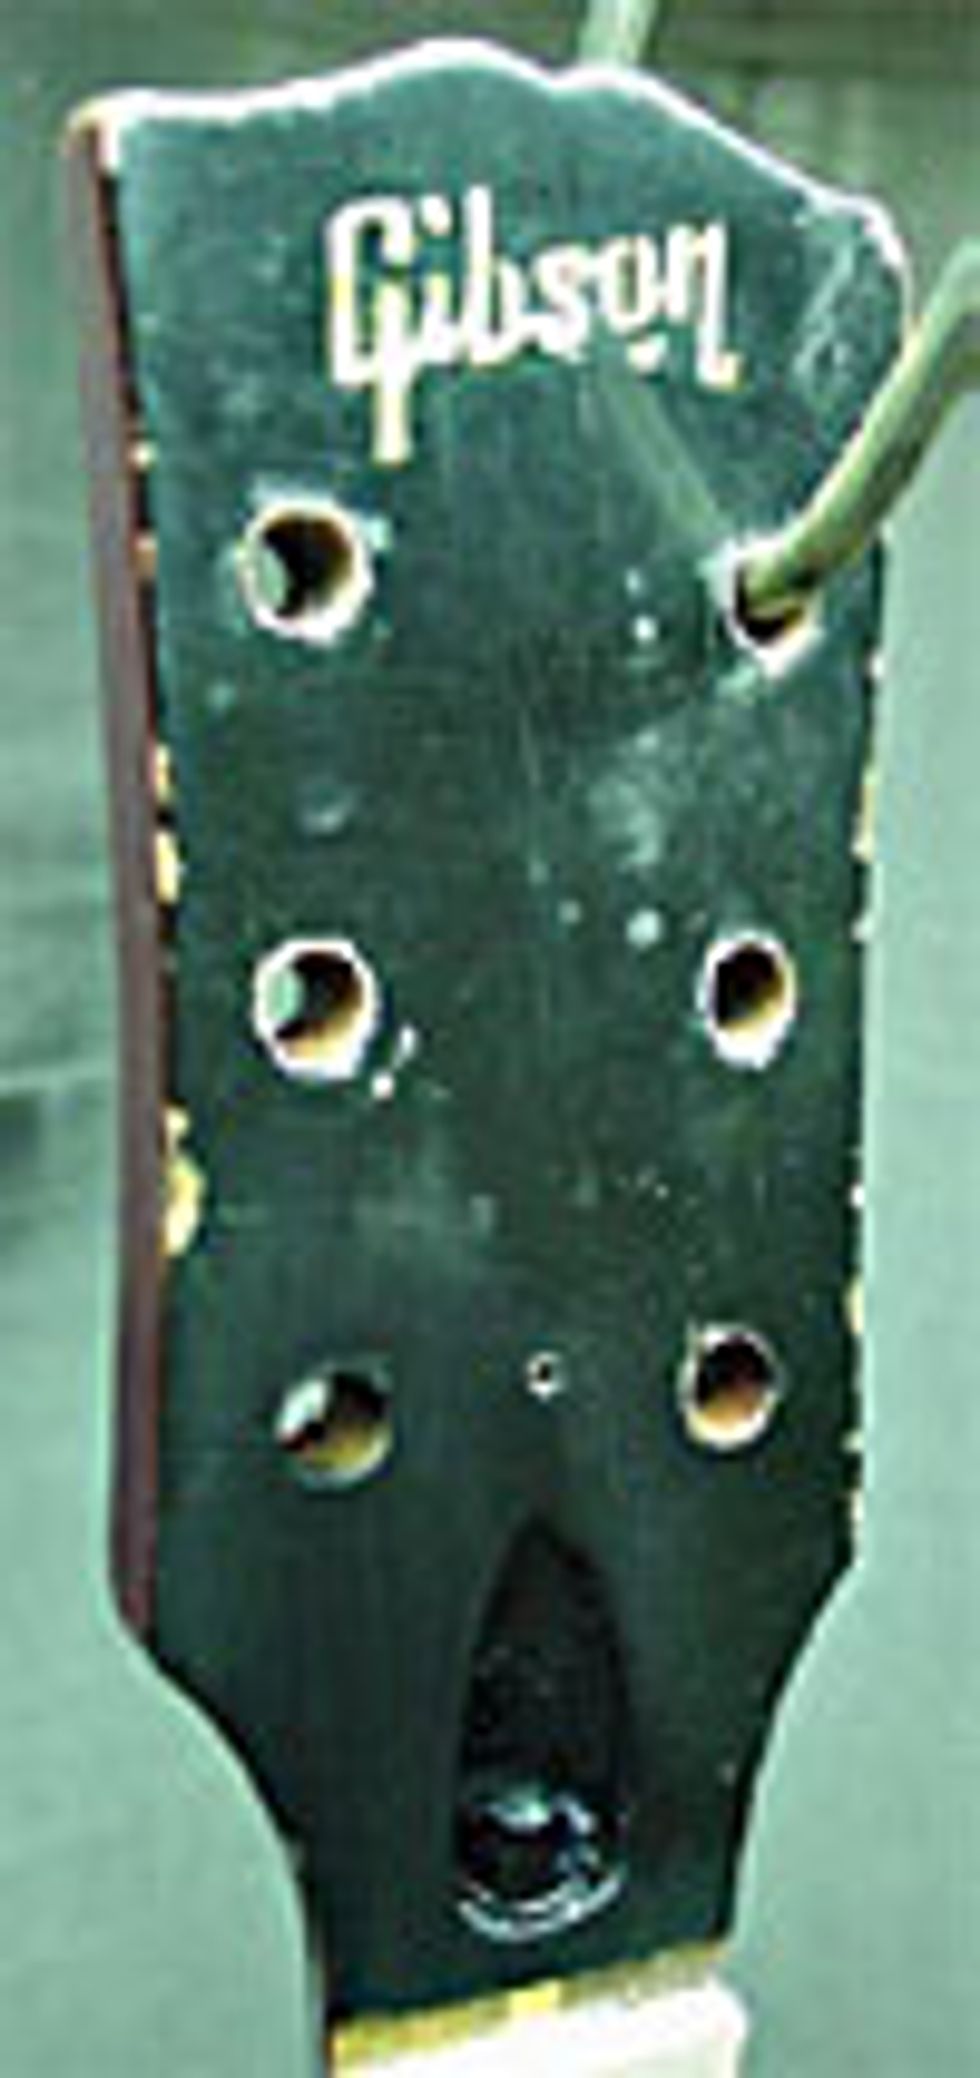
As you can see from the front view of the peghead overlay veneer, it is damaged and missing in some sections. It is important to square up the damaged sections so that there will be a clean edge to graft in the new replacement veener. I am honored to use my Sloane Crack Repair Knife, designed by the late Irving Sloane.
A strip of ¼” Plexiglass is clamped down to the veneer and used as a fence to guide Irving’s knife, squaring up and removing the damaged veneer edge. Removing the least amount of wood is always taken into consideration when restoring an original.
 Sizing Up
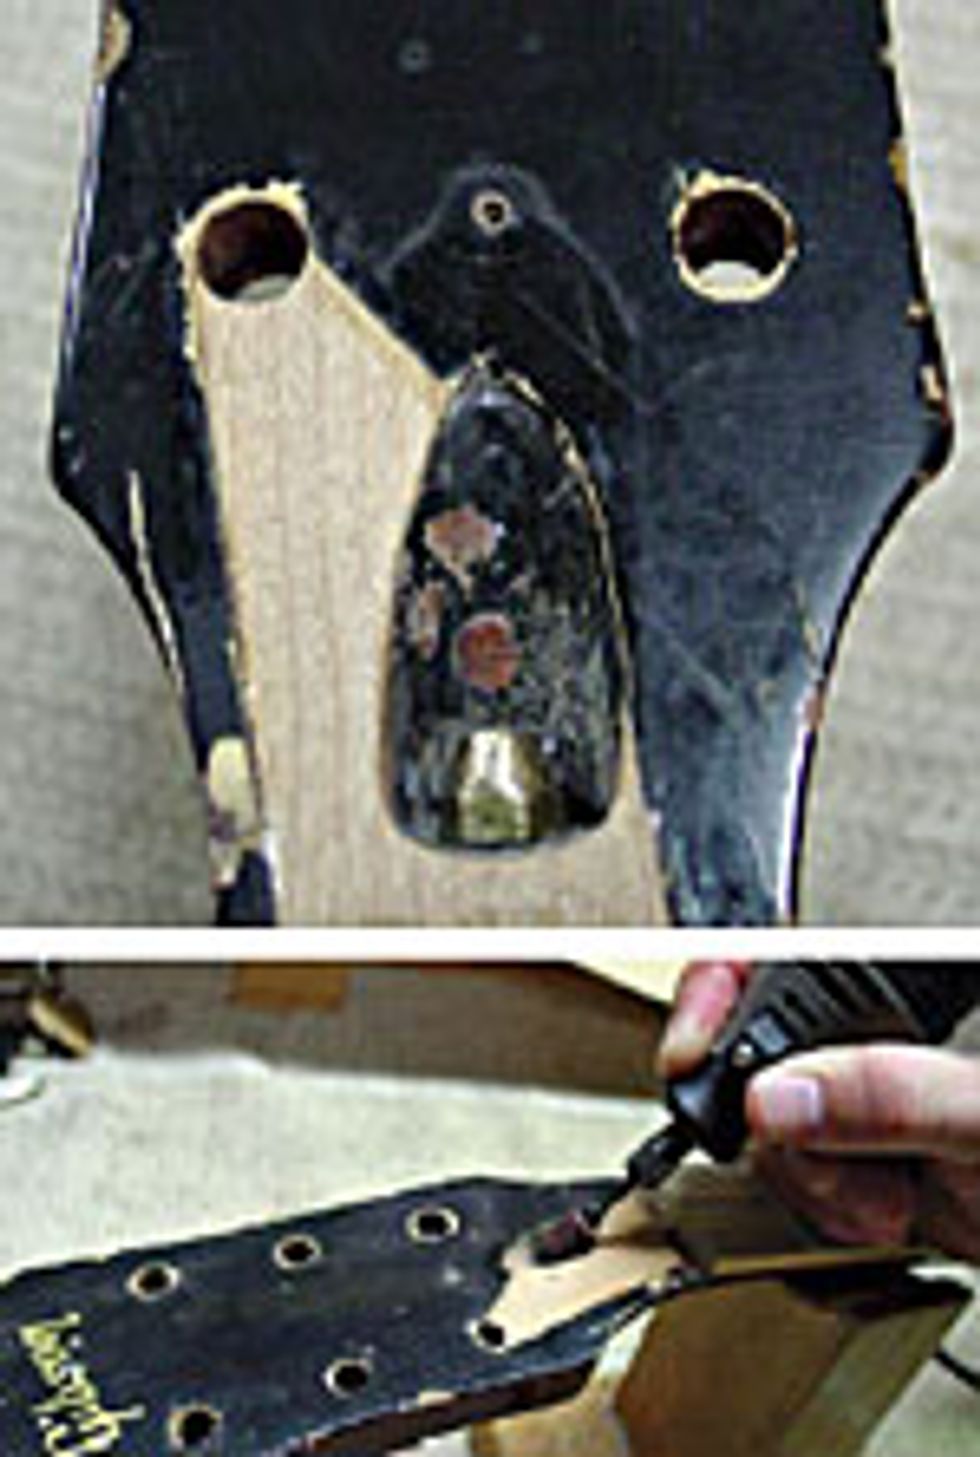
Once the damaged edges are squared off, we’re ready to size up the replacement piece. By carefully inspecting the overlay veneer, it is clear that Gibson used maple for their choice of wood. Even though this section gets sprayed with black nitrocellulose, I will still want to use maple as the foundation for this repair.
It is of great importance to follow through with the original intent of the Master Craftsmen and preserve the integrity of the instrument.
A template is made from cardstock, tracing out the cavity onto a .026” thick maple veneer. The template is positioned so that the grain lines of the replacement section run parallel to the original peghead overlay veneer grain lines. A new razor blade is used to cut out the maple veneer replacement. For the final fitting I use 180-grit sandpaper on a flat surface and gracefully sand the maple sides until I achieve a perfect fit. 2P-10 Adhesive Jel, by Fastcap, is my glue of choice.
 Using a layer of jel texture (the thickest available) versus medium or thin glue will allow me the extra curing time for fitting the veneer into its proper position. Note that parts will bond in 10 to 20 seconds.
 Gluing this way makes it speedy so that I can begin the final trimming process using my Dremel and luthier files.
After the trimming is complete, the finish touchup can begin, with sealer, black color, and nitrocellulose clear top coats. Also note that we melt in the new and old finish with butyl celloslove in between each coat. Our aging process will be the very last step to completing this finish touchup.
Thanks to all of you loyal readers and newcomers. If you have just joined us and would like read previous articles on Restoring an Original, including earlier steps in our SG restoration, please go to premierguitar.com or brownsguitarfactory.com
John Brown
John Brown, of Brown''s Guitar Factory, is the inventor of the Fretted/Less bass. He owns and operates a full guitar manufacturing and repair/restoration facility, which is staffed by a team of talented luthiers. He is also the designer of guitar making/repair tools and accessories that are used today by instrument builders throughout the world.
www.brownsguitarfactory.com
info@brownsguitarfactory.com