Although I’ve never repaired amps for a living, I have repaired a lot of amps through the years. I get a lot of questions e-mailed to me from amp-repair novices about how to fix amplifiers, and this was one reason why I wrote the Tube Amplifier Debugging page at: https://geofex.com/ampdbug/ampdebug.htm.
Through it, I hope to help the novices out and give them a good start at how to think about fixing amps. In addition, I have advised a lot of people who do make a living repairing amps. These guys don’t ask me about simple cases, so I get involved with a high percentage of the odd or tough cases, usually by email or telephone. It doesn’t always work, but it’s a real kick when I can help someone get to the bottom of an amp mystery.
One of our amps came in for warranty repair. The owner needed it for a gig in two days, and was very anxious. As you might guess, it had failed suddenly on him about two months earlier and only got to us when the gig was two days away. |
I just ran into a new-to-me problem; this may help you if you run into it. One of our amps came in for warranty repair. The owner needed it for a gig in two days, and was very anxious. As you might guess, it had failed suddenly on him about two months earlier and only got to us when the gig was two days away. Our repair tech called me when the obvious fixes had no effect at all. The tone stack on these amps is similar to the traditional tone stack, with bass, mid, and treble controls in the conventional arrangement. Turning the treble knob down all the way made it very loud and very bass-heavy. Turning the treble knob up produced lower volume, but almost no increase in treble until the sound suddenly went treble-y and thin most of the way up.
This one is easy, right? New treble pot, a couple of voltmeter checks and we’re done. Not so. Replacing the treble pot had no effect. Ah… one of the other pots, the bass or mid, is bad. You might get that behavior with an open on the bass pot wafer. And while we’re at it, let’s check the wires going from the PCB to the controls, and measure all of the pots for total resistance and wiper remaining connected from end to end of rotation. All of the pots and wiring checked out. This was becoming frustrating, even remotely by telephone. Ah-ha! Shorted/open cap. Nope, no leaking DC voltages, and all the parts looked to be of the right value. Meanwhile, the owner is standing there trying to look unconcerned, and it’s coming up on closing time.
With no other option, I asked our repair tech to start measuring resistances from lead to lead on parts to be sure that there was not a broken solder joint or some similar malady, even though he had previously re-melted all of the solder joints on the back of the board. All of the lead-to-lead connections checked out. In desperation, I asked for a check of all the resistances of every single part in the tone stack. When we got to the 100K slope resistor it measured zero ohms! Quickly removing it, we measured the errant slope resistor and found it measured—yes, you guessed, it, 100K. A quick measurement between the pads on the board measured zero ohms! Just to be sure I asked for one more measurement, and now it was open between the pads. We were never able to get a shorted measurement again.
Somehow, the glass-epoxy board had worked perfectly for several months and then developed an invisible short, which vanished as we worked on it. Like other shorts on circuit boards, this can be corrected with a few careful slices from an X-Acto knife around one of the shorted traces. I’ve seen open slope resistors, and drifted (or drifting) slope resistors, but never a shorted slope resistor. So in spite of my kit-bag of experiences with amps, I was a complete novice to this problem. I’ve seen them shorted by other stuff, like in the amp whose owner cleaned up the panel with a little steel wool, or by beer residue, but not by themselves in an otherwise clean amp.
In spite of our experiences, we are all novices when we hit that next funny kind of problem that we’ve never seen before. To solve these, you have to be open to dropping back to first principles, and testing for things on a much simpler, less sophisticated level than you usually do. Going back to basics is a very useful tool to keep handy in your mental toolbox.
R.G. Keen
Cheif Engineer
Visual Sound
www.visualsound.net


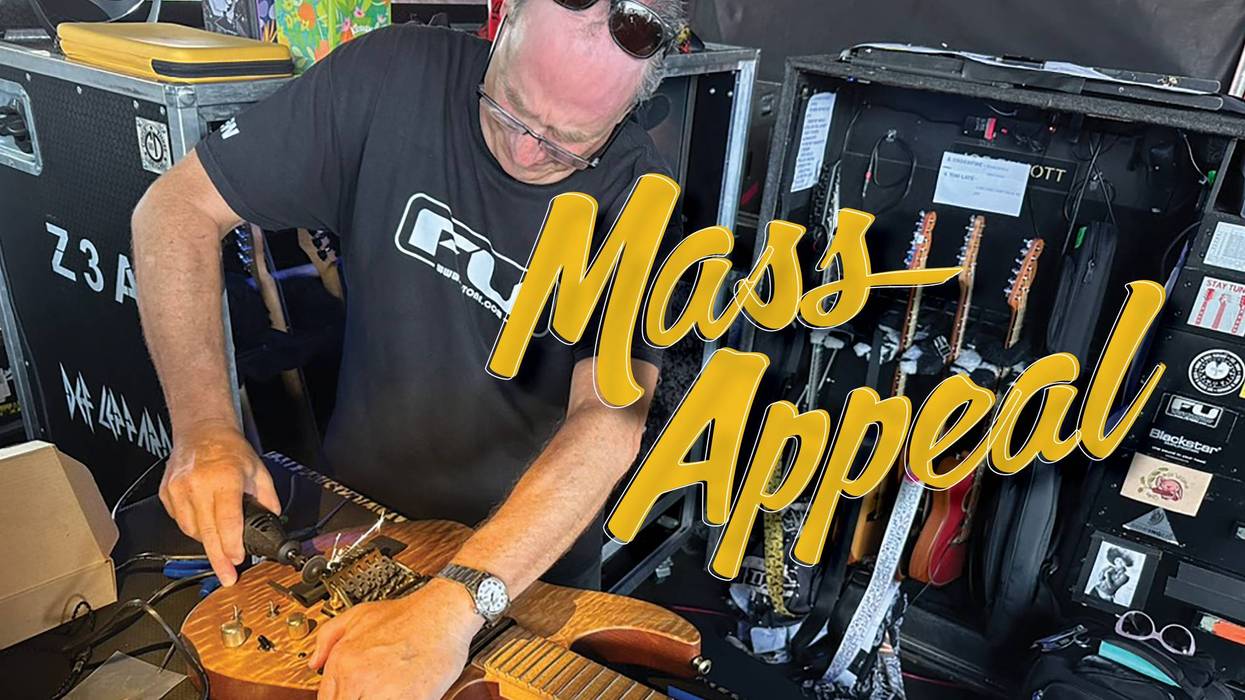


 Headstock surgery saves the day on a beautiful but top-heavy Epiphone.