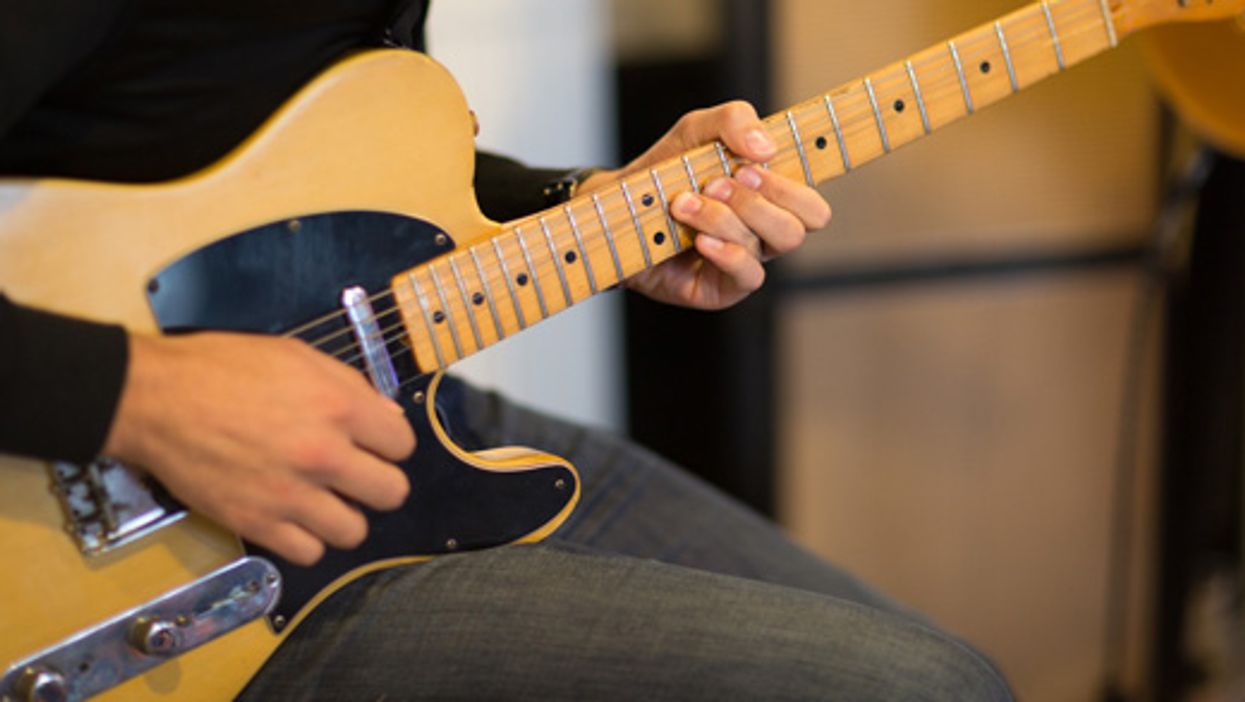
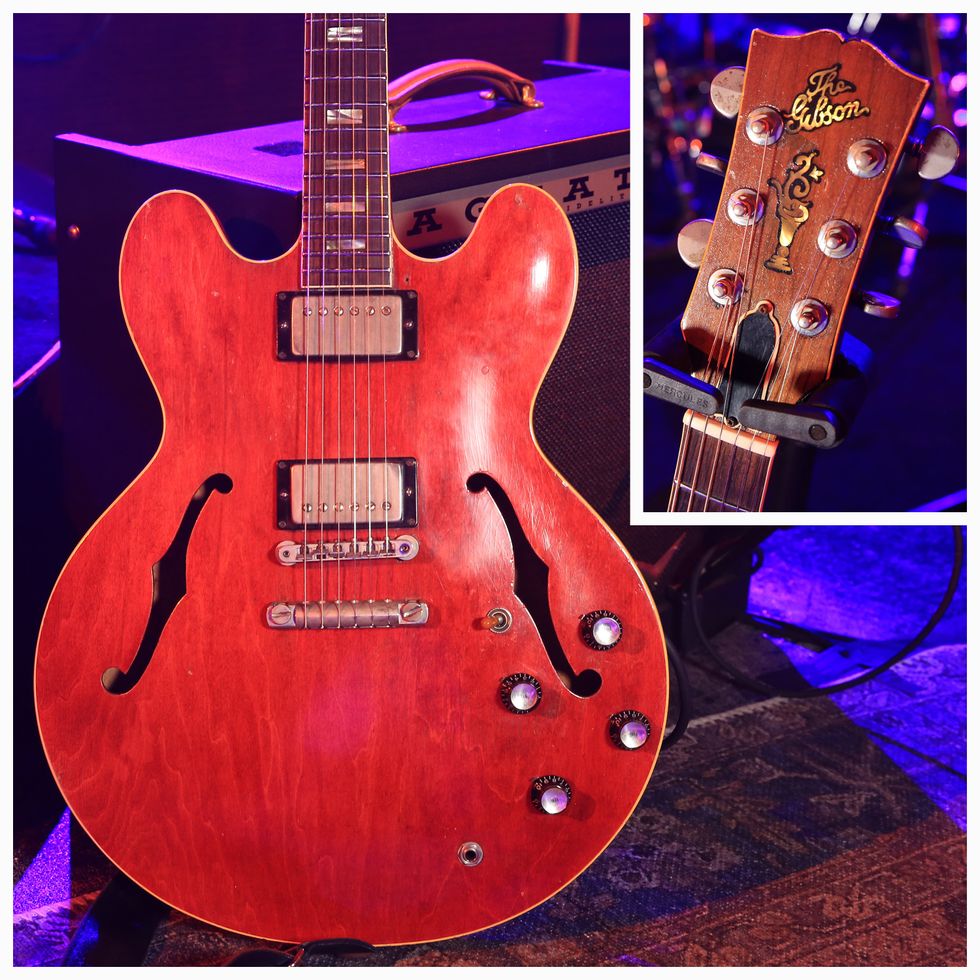
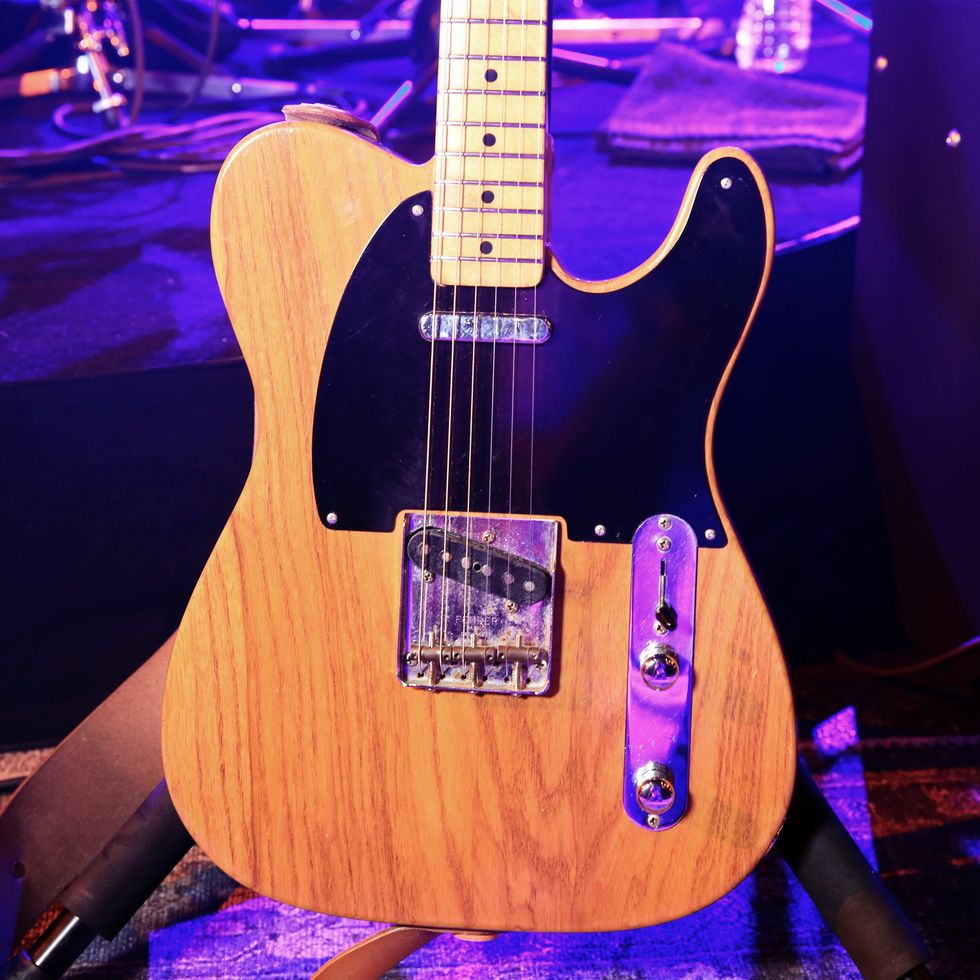
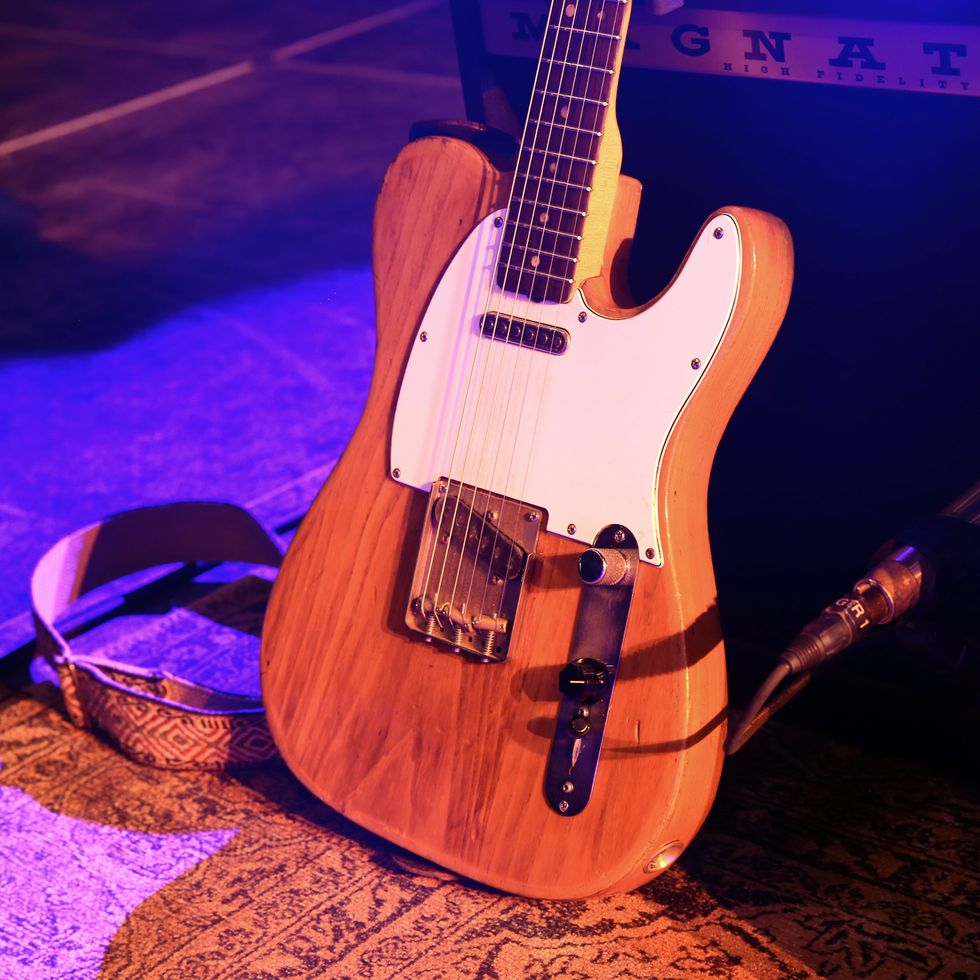
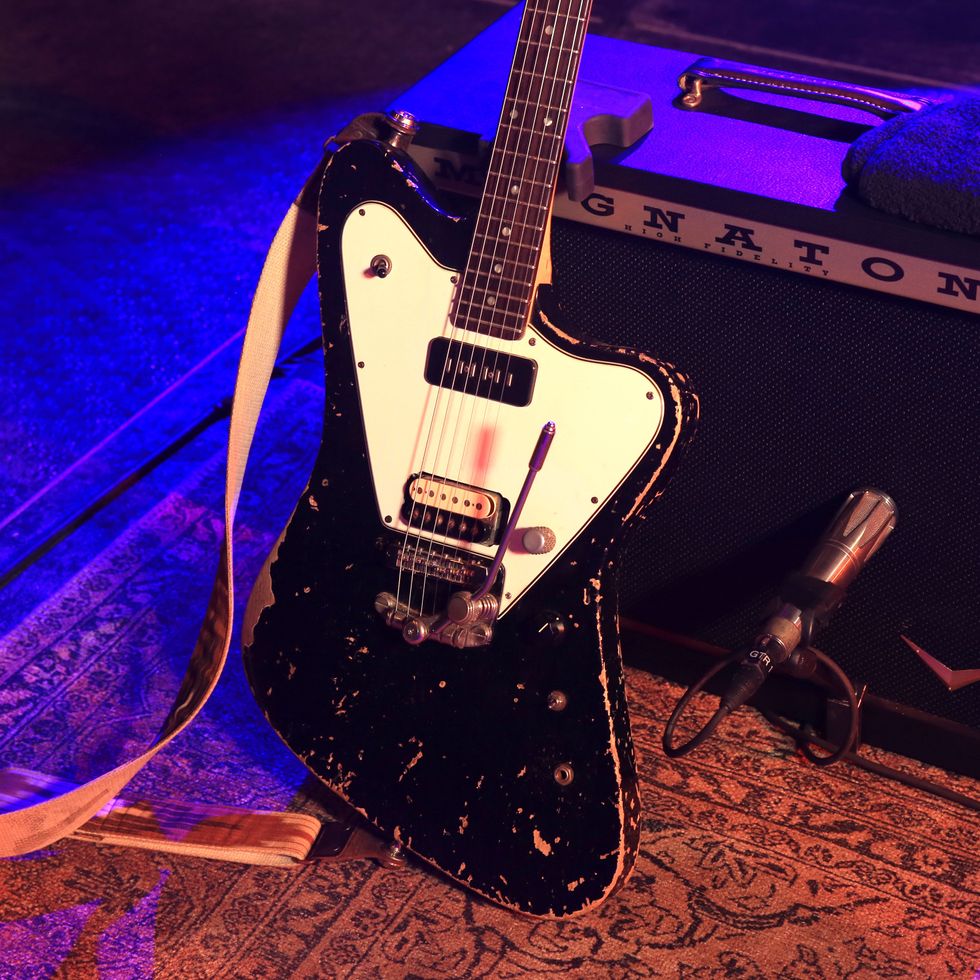
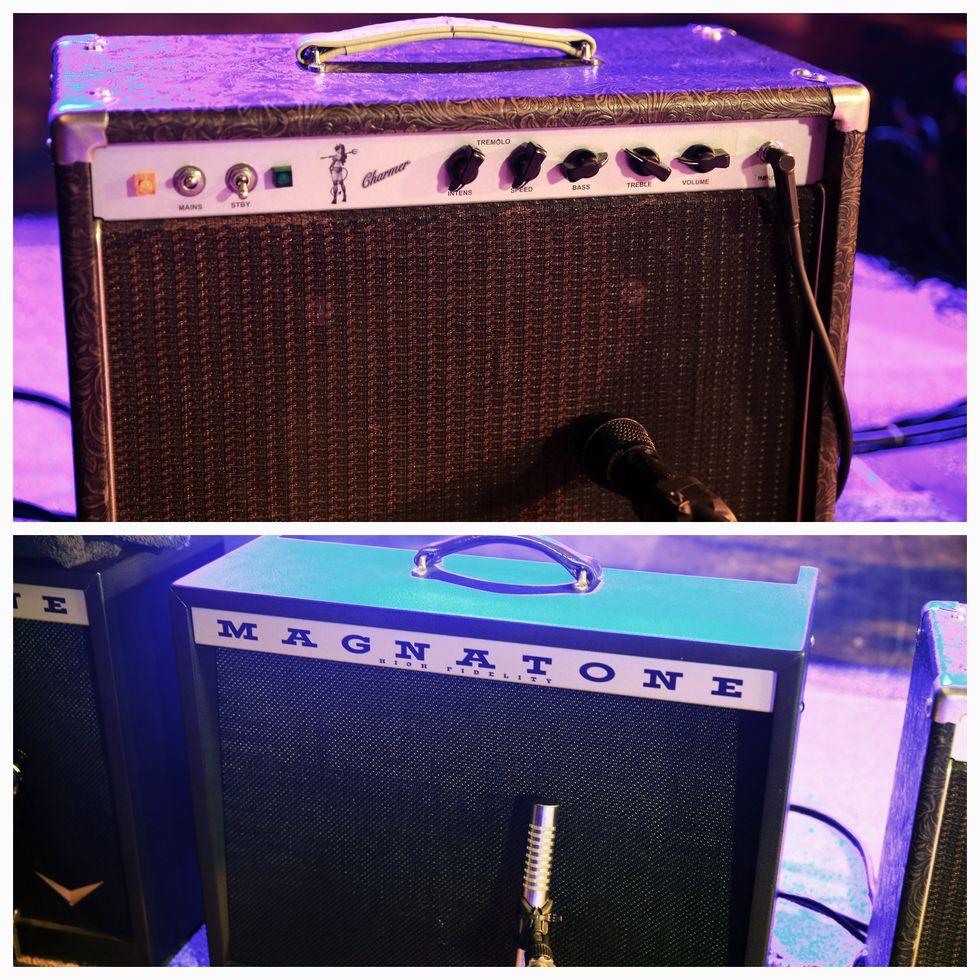
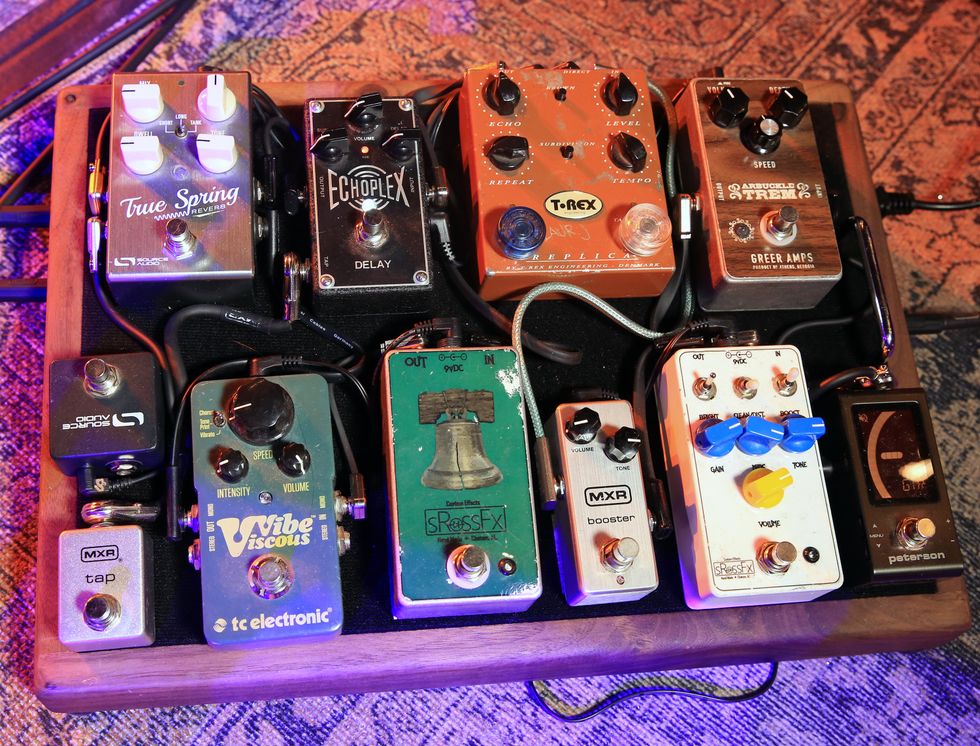
Grab your thumbpick and learn how to break down—and build up—Chet-style arrangements.
Intermediate
Intermediate
- Increase the independence between your picking-hand thumb and fingers.
- Learn different strategies for harmonizing melodies.
- Create alternating-bass patterns that work over simple harmonies.
As inspiring as it is to hear Chet Atkins play some mind-bending fingerstyle licks, it can be quite daunting to decode what he’s doing. Where do all those sounds come from? How do we create our own tunes or arrangements in that style?
It’s useful to break a big job down into smaller parts, and “Chet-style guitar” certainly benefits from that approach. We’ll break this technique down to the smallest components; once we understand the elements, we’ll then be able to build up arrangements using this knowledge. Practicing this way helps beginners form good habits, and it also gives experienced players a chance to identify and fix bad habits that are often the result of ineffective practice.
Gaining independence between the picking-hand thumb and fingers is the foundation of all Chet-style playing, and we’ll be focusing on this foundational aspect most of all in this lesson. Because this style often involves moving shapes and bass lines, a few fretting-hand fingering suggestions are provided next to the noteheads in the standard notation clef. If you’re a tab reader, feel free to just glance at the standard staff for fingering suggestions if a passage is feeling clumsy or you feel the need for some guidance.
Here’s a tip: For authentic tone, place the back of your picking-hand palm just behind the bridge to mute the bass strings. This will serve you well as you begin to develop a strong groove with your thumb.
Although the alternating bass that’s characteristic of Chet’s playing owes much more to Merle Travis than Blind Blake, country-blues players would often drone one bass string below a melody played on the treble strings, as in Ex. 1. This “steady thumb” blues approach is a great way to learn how to keep rock-solid time with that digit. In his formative years, Chet heard a lot of different kinds of music, including pre-war blues. With the quarter-note bass, be sure to practice with a metronome to internalize a good sense of time, and ultimately, groove.
Ex. 1
After establishing the bass, add in melody notes. If a measure is challenging, even a single example can be broken down into smaller parts. Think of each measure in Ex. 1 as a separate exercise. It takes a lot of practice to reach your goals with the guitar, but effective practicing is the fastest and most direct route. Practice each example, or even each measure, until it comes naturally. Be sure to make a distinction between a slow performance tempo and a slow practice tempo. There is no such thing as practicing too slowly.
Of course, it doesn’t really sound like Chet until an alternating bass is introduced, so let’s move onto a more typical Chet-style phrase in Ex. 2. Start out by simply getting used to the bass pattern in measures one and two, and then add some melody notes to the open chord shapes. By keeping the fretting hand simple, we place all our attention on forming a good groove with the picking hand.
Ex. 2
Now that we have a foundation, it’s time to start syncopating the melody, as shown in Ex. 3. The combination of alternating bass and syncopation in the melody gives the example more of a Chet-approved feel. It’s here we begin to dig into the finer details of his playing.
Ex. 3
One such detail is learning to alternate between not just two, but three notes in the bass. Some of Chet’s arrangements contain sections that move between a two-note bass pattern and a three-note bass pattern (check out “Ain’t Misbehavin’” from his 1957 release, Hi-Fi in Focus.) The three-note pattern sounds fuller and relies on having an open string available that matches the chord tone, or an extra finger free in fretted shapes. In Ex. 4 we’ll keep it simple with open shapes in the key of A and familiarize ourselves with the pattern in measures one and two.
Practice alternating the 5–4–6–4 string pattern. That will form the foundation of the house. After adding in some melody notes in measures three and four, we’ll switch to the IV chord, but this time inverting it so that the F# is in the bass. This allows us to use a new string pattern: 6–4–5–4. Those two patterns will cover 99 percent of Chet’s thumbpicking tunes.
Ex. 4
Mark Knopfler & Chet Atkins - Instrumental Medley
Mark Knopfler was one of Chet’s biggest fans and the duo released Neck and Neck in 1990 to critical acclaim. Here’s a performance from The Secret Policeman’s Ball in 1987 where the pair play “I’ll See You in My Dreams” and John Lennon’s “Imagine.”
Once the new alternating patterns are in place, add some syncopation (Ex. 5). In measure five, you’ll have to either stretch your fourth finger to reach the G# on the 1st string, or shift positions. Fingerstyle guitar is great for exercising the often-neglected fourth finger, but be careful not to overstretch or strain your fingers. If something is uncomfortable, stop and find a new position to play it in. Where there’s a will, there’s a way.
Ex. 5
Now that we’ve established a solid foundation for the thumb patterns and a good groove, it’s time to combine moving chord shapes up and down the neck with everything we’ve practiced so far. These new shapes facilitate another characteristic aspect of the Atkins style: open strings ringing against a fretted note on the adjacent string, as in Ex. 6. The example ends with a textbook Chet voicing of the A6 chord, which continues the theme of playing fretted notes against the open 1st string.
Ex. 6
When it comes to melodies, so much of the movement in fingerstyle guitar involves finding the best placement of the melody to fit comfortably within a given chord shape. Chet’s hands never moved more than necessary, and as gifted as he was, part of his genius was a masterful economy of motion. One effective way to move around the neck and accommodate a shifting melody is to slide your hand down to the target pitch. In measure one of Ex. 7, for instance, notice how I slide from C# down to A to shift positions. In the next measure, I use a bass line to move up into 10th position for the IV chord. Although the melodies and tunes vary, the approaches and techniques recur time and time again.
Ex. 7
In a 4/4 fingerpicking groove, very often either the 2nd or 4th beat (or sometimes both) will involve a bit of a strum. Chet’s thumbpick would drag onto the 3rd string so that the muted bass was heard in conjunction with the clarity of an open string or fretted note. Often this blended into the total picture he was painting, and on his classic recordings with drums and bass, this can almost be lost to the ears, but it is an important part of the finer details. Simply listening to a lot of old Chet Atkins recordings is the best way to internalize this sound and feel, but like anything, eventually it needs to become personalized via practice.
In Ex. 8 we move the sound from our ears into our hands. Try to place the strum exactly where indicated in the notation to get used to adding this detail into the mix. In the long run, you’ll find it becoming entirely natural and a bit arbitrary exactly where—or even if—you want to strum. The technique becomes more of a mindset than a literal move to perform the same way every time. Have fun with it and remember that Chet never played anything exactly the same way twice. This example concludes with a classic Chet-style single-note lick that features fretted pitches alternating with a recurring 3rd-string drone.
Ex. 8
As a great admirer of Johnny Smith and many other jazz guitarists, Chet was always expanding his vocabulary of chords and harmony. Learning chord inversions is essential to incorporating both harmony and melody in your arrangements. Early on, Chet’s inversions owed much more to Merle Travis than Lenny Breau, but he never stopped expanding.
In Ex. 9 we look at a classic Chet inversion of a D7 chord, placing the F# (3) on the 6th string, with the b7 on the 5th string at the 3rd fret. To make this shape, the left-hand thumb wraps around the neck to grab the low F#, leaving the remaining fingers free to fret the other pitches. An open 1st string sounds great against this shape and is a frequent melody note when Chet uses this inversion. Continuing onward with the left-hand thumb, the G/B on beat 3 of measure three creates a nice ascending bass line on the way to the IV chord (C). We then descend through the G/B again on the way to a D9 shape that places the A note in the bass on beat 1. This gives us a bass line that both ascends and descends. This isn’t merely effective hand positioning, but also musical voice leading and bass motion.
Ex. 9
With all the pieces of the puzzle now coming together, let’s combine every concept we’ve worked on in Ex. 10. Although it seems like a lot to keep track of, anyone can play anything if it is slow and isolated enough. Whether you’re just starting out or a seasoned pro, remember that the big picture is composed of effective, tiny steps. Take as much time as you need to master each component—no one has ever been able to learn it all within a life and Chet never stopped learning either. Approaching the guitar one note at a time is the surest way forward.
- How Tommy Emmanuel Met Chet Atkins - Premier Guitar ›
- Vintage Vault: 1960 Gretsch Chet Atkins Hollowbody Model 6120 ... ›
- A Beginner's Guide to the Chet Atkins Sound - Premier Guitar ›
MayFly Le Habanero Review
Great versatility in combined EQ controls. Tasty low-gain boost voice. Muscular Fuzz Face-like fuzz voice.
Can be noisy without a lot of treble attenuation. Boost and fuzz order can only be reversed with the internal DIP switch.
$171
May Fly Le Habanero
A fuzz/boost combo that’s as hot as the name suggests, but which offers plenty of smoky, subdued gain shades, too.
Generally speaking, I avoid combo effects. If I fall out of love with one thing, I don’t want to have to ditch another that’s working fine. But recent fixations with spatial economy find me rethinking that relationship. MayFly’s Le Habanero (yes, the Franco/Spanish article/noun mash-up is deliberate) consolidates boost and fuzz in a single pedal. That’s far from an original concept. But the characteristics of both effects make it a particularly effective one here, and the relative flexibility and utility of each gives this combination a lot more potential staying power for the fickle.
“Le Habanero’s fuzz circuit has a deep switch that adds a little extra desert-rock woof.”
The fuzz section has a familiar Fuzz Face-like tone profile—a little bit boomy and very present in that buzzy mid-’60s, midrangey kind of way. But Le Habanero’s fuzz circuit has a deep switch that adds a little extra desert-rock woof (especially with humbuckers) and an effective filter switch that enhances the fuzz’s flexibility—especially when used with the boost. The boost is a fairly low-gain affair. Even at maximum settings, it really seems to excite desirable high-mid harmonics more than it churns out dirt. That’s a good thing, particularly when you introduce hotter settings from the boost’s treble and bass controls, which extend the boost’s voice from thick and smoky to lacerating. Together, the boost and fuzz can be pushed to screaming extremes. But the interactivity between the tone and filter controls means you can cook up many nuanced fuzz shades spanning Jimi scorch and Sabbath chug with tons of cool overtone and feedback colors.
Vox’s Valvenergy Tone Sculptor
Two new pedals from the Valvenergy series use a Nutube valve to generate unique dynamics and tone ranges that can be used to radical ends.
When tracking in a studio or DAW, you’re likely to use compression and EQ on most things. Many enduringly amazing and powerful records were made using little else. And though many musicians regard both effects as a bit unglamorous and utilitarian, EQs and comps are as capable of radical sounds as more overtly “weird” effects—particularly when they are used in tandem.
I spent a day workshopping ideas in my studio using just the Vox Valvenergy Smooth Impact compressor and Tone Sculptor EQ, and a dash of amp tremolo and reverb to taste. In the process, I produced more arresting sounds than I had heard from my guitars in many days. There were radical direct-to-desk-style Jimmy Page/Beatles distortion tones, sun-sized, cosmic electric 12-string, Bakersfield twang that could burn through crude, and many other sweet and nasty colors. Most decent EQ and compressor combinations can achieve variations on all those themes. But the Smooth Impact and Tone Sculptor also reveal interesting personalities in unexpected places.
The individuality and energy in the Vox Valvenergy pedals is attributable, in part, to the Nutube vacuum tube used in the circuit. Though it looks little like a vacuum tube as most guitarists know them, the thin, wafer-like Nutube is, in fact, a real vacuum tube like those used in fluorescent displays. Fluorescent display tubes have limitations. A maximum operating voltage of around 40 volts means they aren’t useful for bigger power tube applications like a 6L6, which has an operating voltage of about 400 volts. But it can work quite well as a preamp tube in concert with an op amp power section, which is how the Nutube is used in the new Valvenergy pedals, as well as older Vox products like the Vox MV50 and Superbeetle amps.
Valvenergy Tone Sculptor
When you think about “cinematic” effects, you likely imagine big reverb or modulation sounds that create a vivid picture and feeling of space or motion. But narrow, hyper-focused EQ profiles can evoke very different and equally powerful images. Radical EQ settings can add aggression, claustrophobic intimacy, and stark, explosive dark-and-light contrasts more evocative of Hitchcock’s Psycho than Ridley Scott’s Blade Runner.
Any of these moods can be summoned from the Valvenergy Tone Sculptor. Six sliders cut or boost 10 dB frequency bands spanning 100 Hz to 5.6 kHz. A seventh slider cuts or boosts the master output by 12 dB. This platter of options might not sound like much. But you can use these seven controls together to very specific ends.
“Radical EQ settings can add aggression, near-claustrophobic intimacy, and stark, explosive dark-and-light contrasts.”
For example, bumping the high-midrange and the master output produces narrow cocked-wah-like filter sounds with enough push to produce extra amp overdrive—effectively turning the Tone Sculptor into a buzzy, almost fuzz-like filter effect. But unlike a wah, you can carefully scoop high end or add a spoonful of bass to blunt harsh frequencies or give the tone a bit more weight. You can also broaden the palette of an amp/guitar pairing. I matched a particularly trebly Jazzmaster bridge pickup with a very hot and toppy Vox AC15-flavored amp for this test—a recipe that can be spiky on the best days. But with the Tone Sculptor in the line, I could utilize the same sharp, fuzzy, and filtered Mick Ronson wah tones while shaving some of the most piercing frequencies.
EQ pedals exist on many points along the cost spectrum. And at $219, the Tone Sculptor lives on the high side of the affordable range. Does it offer something less expensive models can’t deliver? Well, for one thing, I found it relatively quiet, which is nice whether you’re shaping toppy high-contrast effects or performing more surgical adjustments. And the sliders feel nuanced and nicely tapered rather than like a dull axe with a few basic frequency notches. But in many situations I also liked the color imparted by the circuit—generated, presumably, by the Nutube. “Color,” in audio terms, is a broad and subjective thing, and one should not necessarily expect the warm, tube-y glow of a vintage tube Pultec. Still, the Tone Sculptor has many forgiving, flattering qualities—typical of studio EQs—that enable fine tuning and experimentation with more radical and creative applications of the effect.
Valvenergy Smooth Impact
As with the Tone Sculptor, the Smooth Impact’s use of Nutube engenders certain expectations. It’s easy to surmise that because Smooth Impact has a vacuum tube in the circuit that it will behave like a little Teletronix LA-2A leveling amplifier. That’s a big ask for a $219 stompbox. On the other hand, the Smooth Impact exhibits some appealing characteristics of studio tube compression. At lower compression levels, it works well as a thickening agent—adding mass without much additional noise. And at higher compression levels it can sound snappy, crisp, and tight without feeling like you’ve bled every trace of overtone from your signal.
The Smooth Impact’s controls aren’t totally atypical. But because it lacks some familiar features like variable attack and release, yet is more complicated than a 1-knob DynaComp, you have to trust your ear to navigate interactions among the controls. The most unfamiliar of these is the 3-way vintage/natural/sag toggle. The first two are defined by preset attack and release settings: Vintage is slow attack and long release, and natural is the opposite. The sag mode’s compression is more like what you get from tube saturation, and it’s useful for adding thickness and complexity to a thin amp tone at modest compression levels.
Though the vintage and natural modes certainly have a different feel, they don’t always sound worlds apart. And like the sag mode, the thing they have in common is the way they enrich lifeless amp output at low to medium compression, with a bit of grind from the tube gain and a little extra makeup gain from the output. At the most aggressive settings, the tube gain can get a little crispy. And really crushing the compression can flatline your tone without adding much in the way of extra sustain. These are limitations common to many compressors with similar features. But unless I was chasing very ultra-snappy Prince and Nile Rodgers fast-funk caricatures, I enjoyed the Smooth Impact most in its in-between ranges, where mass, mild, harmonious drive, and low noise showcase the pedal’s sometimes studio-like personality.
Significantly smaller and lighter than original TAE. Easy to configure and operate. Great value. Streamlined control set.
Air Feel Level control takes the place of more surgical and realistic resonance controls. Seventy watts less power in onboard power amp. No Bluetooth connectivity with desktop app.
$699
Boss Waza Tube Amp Expander Core
Boss streamlines the size, features, and price of the already excellent Waza Tube Expander with little sacrifice in functionality.
Many of our younger selves would struggle to understand the urge—indeed, the need—to play quieter. My first real confrontation with this ever-more-present reality arrived when Covid came to town. For many months, I could only sneak into my studio space late at night to jam or review anything loud. Ultimately, the thing that made it possible to create and do my job in my little apartment was a reactive load box (in this case, a Universal Audio OX). I set up a Bassman head next to my desk and, with the help of the OX, did the work of a gear editor as well as recorded several very cathartic heavy jams, with the Bassman up to 10, that left my neighbors none the wiser.
Boss’ firstWaza Tube Amp Expander, built with an integrated power amp that enables boosted signal as well as attenuated sounds, was and remains the OX’s main competition. Both products have copious merits but, at $1,299 (Boss) and $1,499 (Universal Audio), each is expensive. And while both units are relatively compact, they aren’t gear most folks casually toss in a backpack on the way out the door. The new Waza Tube Expander Core, however, just might be. And though it sacrifices some refinements for smaller size, its much-more accessible price and strong, streamlined fundamental capabilities make it a load-box alternative that could sway skeptics.
Micro Manager
The TAE Core is around 7 1/2" wide, just over 7 " long, and fewer than 4 " tall, including the rubber feet. That’s about half the width of an original TAE or OX. The practical upside of this size reduction is obvious and will probably compel a lot of players to use the unit in situations in which they’d leave a full-size TAE at home. The streamlined design is another source of comfort. With just five knobs on its face, the TAE Core has fewer controls and is easier to use than many stompboxes. In fact, the most complicated part of integrating the TAE Core to your rig might be downloading the necessary drivers and related apps.
Connectivity is straightforward, though there are some limitations. You can use TAE Core wirelessly with an iOS or Windows tablet or smartphone, as long as you have the BT-DUAL adaptor (which is not included and sets you back around 40 bucks). However, while desktop computers recognize the TAE Core as a Bluetooth-enabled device, you cannot use the unit wirelessly with those machines. Instead, you have to connect the TAE Core via USB. In a perfectly ordered world, that’s not a big problem. But if you use the TAE Core in a small studio—where one less cable is one less headache—or you prefer to interface with the TAE Core app on a desktop where you can toggle fast and easily between large, multi-track sessions and the app, the inability to work wirelessly on a desktop can be a distraction. The upside is that the TAE Core app itself is, functionally and visually, almost identical in mobile and desktop versions, enabling you to select and drag and drop virtual microphones into position, add delay, reverb, compression, and EQ effects, choose various cabinets with different speaker configurations and sizes, and introduce new rigs and impulse responses to a tone recipe in a flash. And though the TAE Core app lacks some of the photorealistic panache and configuration options in the OX app, the TAE Core’s app is just as intuitive.Less Is More
One nice thing about the TAE Core’s more approachable $699 price is that you don’t have to feel too bad on nights that you “underutilize” the unit and employ it as an attenuator alone. In this role, the TAE Core excels. Even significantly attenuated sounds retain the color and essence of the source tone. Like any attenuator-type device, you will sacrifice touch sensitivity and dynamics at a certain volume level, yielding a sense of disconnection between fingers, gut, guitar, and amp. But if you’re tracking “big” sounds in a small space, you can generate massive-sounding ones without interfacing with an amp modeler and flat-response monitors, which is a joy in my book. And again, there’s the TAE Core’s ability to “expand” as well as attenuate, which means you can use the TAE Core’s 30-watt onboard power amp to amplify the signal from, say, a 5-watt Fender Champion 600 with a 6" speaker, route it to a 2x12, 4x12, or virtual equivalent in the app, and leave your bandmate with the Twin Reverb and bad attitude utterly perplexed.
The Verdict
Opting for the simpler, thriftier TAE Core requires a few sacrifices. Power users that grew accustomed to the original TAE’s super-tunable “resonance-Z” and “presence-Z” controls, which aped signal-chain impedance relationships with sharp precision, will have to make do with the simpler but still very effective stack and combo options and the “air feel level” spatial ambience control.The DC power jack is less robust. It features only MIDI-in rather than MIDI-in/-through/-out jacks, and, significantly, 70 watts less power in the onboard power amp. But from my perspective, the Core is no less “professional” in terms of what it can achieve on a stage or in a studio of any size. Its more modest feature set and dimensions are, in my estimation, utility enhancements as much as limitations. If greater power and MIDI connectivity are essentials, then the extra 600 bones for the original TAE will be worth the price. For many of us, though, the mix of value, operational efficiencies, and the less-encumbered path to sound creation built into the TAE Core will represent a welcome sweet spot that makes dabbling in this very useful technology an appealing, practical proposition.
IK Multimedia is pleased to announce the release of new premium content for all TONEX users, available today through the IK Product Manager.
The latest TONEX Factory Content v2 expands the creative arsenal with a brand-new collection of Tone Models captured at the highest quality and presets optimized for live performance. TONEX Tone Models are unique captures of rigs dialed into a specific sweet spot. TONEX presets are used for performance and recording, combining Tone Models with added TONEX FX, EQ, and compression.
Who Gets What:
TONEX Pedal
- 150 crafted presets matched to 150 Premium Tone Models
- A/B/C layout for instant access to clean, drive, and lead tones
- 30 Banks: Amp & cab presets from classic cleans to crushing high-gain
- 5 Banks: FX-driven presets featuring the 8 new TONEX FX
- 5 Banks: Amp-only presets for integrating external IRs, VIR™, or amps
- 5 Banks: Stompbox presets of new overdrive/distortion pedals
- 5 Banks: Bass amp & pedal presets to cover and bass style
TONEX Mac/PC
- 106 new Premium Tone Models + 9 refined classics for TONEX MAX
- 20 new Premium Tone Models for TONEX and TONEX SE
TONEX ONE
- A selection of 20 expertly crafted presets from the list above
- Easy to explore and customize with the new TONEX Editor
Gig-ready Tones
For the TONEX Pedal, the first 30 banks deliver an expansive range of amp & cab tones, covering everything from dynamic cleans to brutal high-gain distortion. Each bank features legendary amplifiers paired with cabs such as a Marshall 1960, ENGL E412V, EVH 412ST and MESA Boogie 4x12 4FB, ensuring a diverse tonal palette. For some extremely high-gain tones, these amps have been boosted with classic pedals like the Ibanez TS9, MXR Timmy, ProCo RAT, and more, pushing them into new sonic territories.
Combined with New FX
The following 5 banks of 15 presets explore the depth of TONEX's latest effects. There's everything from the rich tremolo on a tweed amp to the surf tones of the new Spring 4 reverb. Users can also enjoy warm tape slapback with dotted 8th delays or push boundaries with LCR delay configurations for immersive, stereo-spanning echoes. Further, presets include iconic flanger sweeps, dynamic modulation, expansive chorus, stereo panning, and ambient reverbs to create cinematic soundscapes.
Versatile Control
The TONEX Pedal's A, B, and C footswitches make navigating these presets easy. Slot A delivers clean, smooth tones, Slot B adds crunch and drive, and Slot C pushes into high-gain or lead territory. Five dedicated amp-only banks provide a rich foundation of tones for players looking to integrate external IRs or run directly into a power amp. These amp-only captures span clean, drive, and high-gain categories, offering flexibility to sculpt the sound further with IRs or a real cab.
Must-have Stompboxes
TONEX Pedals are ideal for adding classic effects to any pedalboard. The next 5 banks focus on stompbox captures, showcasing 15 legendary overdrive, distortion, and fuzz pedals. This collection includes iconic models based on the Fulltone Full-Drive 2, Marshall DriveMaster, Maxon OD808, Klon Centaur, ProCo RAT, and more.
For Bass Players, Too
The last 5 banks are reserved for bass players, including a selection of amp & cab Tone Models alongside a few iconic pedals. Specifically, there are Tone Models based on the Ampeg SVT-2 PRO, Gallien-Krueger 800RB, and Aguilar DB750, alongside essential bass pedals based on the Tech21 SansAmp, Darkglass B7K and EHX Big Muff. Whether it's warm vintage thump, modern punch, or extreme grit, these presets ensure that bassists have the depth, clarity and power they need for any playing style.For more information and instructions on how to get the new Factory
Content v2 for TONEX, please visit:
www.ikmultimedia.com/products/tonex