Photo by Apolo Photographer on Unsplash Scales One-Chord Vamps and the Truth Carter Arrington Feb 12, 2026
Acoustic Remembering Tony Rice: 8 Iconic Licks from the Master Guitarist A deep dive into the unique flatpicking language of the late bluegrass legend Tony Rice. Marcel Ardans Sep 25, 2025
Country 5 Steps to Better Hybrid Picking It doesn’t have to be all cowboy boots and yee-haws! Andy Gibson Sep 04, 2025
Lessons Alex Lifeson in the Limelight The Rush guitarist’s style beams with shimmering chords, massive riffs, and soaring leads. Jeff Jacobson Aug 30, 2025
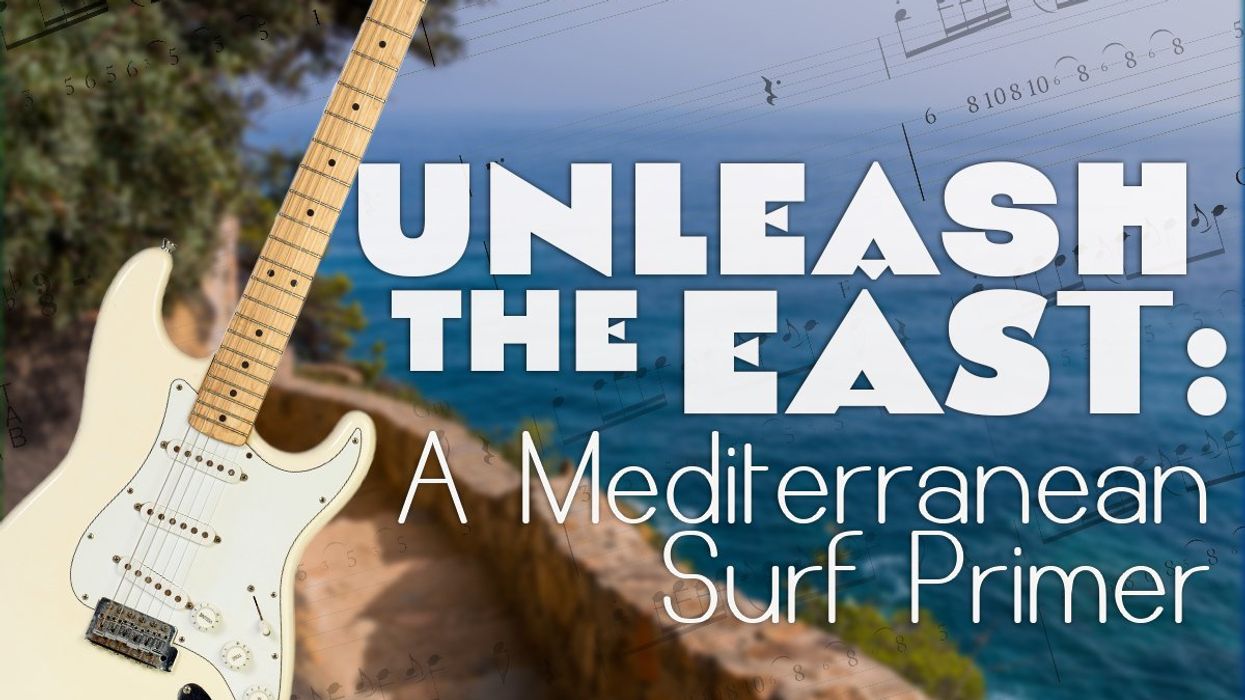
Lessons Unleash the East: A Mediterranean Surf Primer Pro tips to add some exotic spice to your solos and open up a world of influence. Amit Peled Jun 28, 2025
Intermediate 5 Underrated Guitarists Who Will Blow Your Mind Some names you’ve heard, others maybe not. But they all have a unique voice on the instrument. Carter Arrington Apr 05, 2025
The Lowdown Hey Guitar Players, Wanna Be a Better Bassist? Many listeners and musicians can tell if a bass player is really a guitarist in disguise. Here’s how you can brush up on your bass chops. Bill Leigh Oct 04, 2024