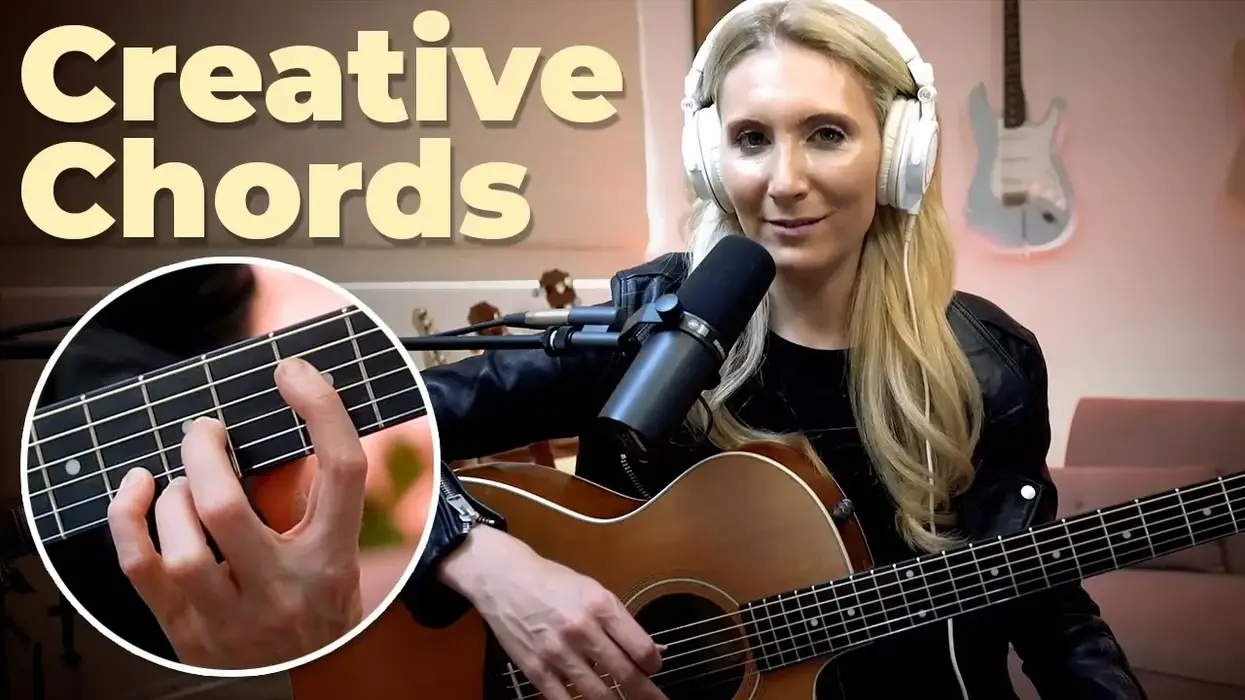
We're going to look at a simple jazz progression and talk about the struggle to make sense of some of these moves in the context of music theory. I want you to leave this lesson with new ways to think about chord progressions, and perhaps a different way to think about music theory.
Every year, I record something for the holidays to send to family and friends. It's almost always a solo guitar piece, or something I do alone with a backing track. It's a nice tradition that forces me to flex my chord chops in a way that I don't always get a chance to use during the year.
This year, I was approached by a vocalist that I had not worked with before to do a duet and I happily said yes. She wanted to cover the classic "Have Yourself a Merry Little Christmas," which was a song that I had done a chord-melody version of years ago. When I went to lay down the chord tracks, I had a bunch of realizations that I wanted to roll into a lesson.
The “Starter” Progression
For "Have Yourself a Merry Little Christmas," the singer asked to do it in G major. Being a pretty jazzy tune, it's grounded in the most common jazz progression, the IIm7–V7–I. In the case of G major, that's Am–D–G and since it's jazz, we're going to extend it into all 7th chords: Am7–D7–Gmaj7. Ex. 1 shows you where I started.
Connecting Chords Ex. 1
One of the challenges for me was that I had worked up an arrangement years ago where I was playing the chords and the melody all at the same time. Now that I had a vocalist, I had to let her take the melody, and pick chords that didn't interfere with that melody. I also really wanted the chords to be more interesting than just the same stock shapes above, especially considering how often that progression came up in the song.
Let’s Connect
A simple way that you can make your chords sound a bit more interesting is to connect the chords together in the smoothest way possible. This is called voice leading, and while you can get quite advanced about this, you can also do some incredibly simple voice leading that make a big impact. To begin with, let's just focus on the highest note in the chords, which in the case of Ex. 1, is 100 percent on the 2nd string. The top voice started with an E in the Am7, went down to a D in the D7, and then stayed put as a D in the Gmaj7.
Let's try something different. Let's connect the Am7 and D7 chords by keeping the E the same between the two chords. If we think about it as notes, it might get a little confusing, but if we look at closer, it's actually really simple. Just take the D7 chord you know and love and change the highest note from D to E. Don't change any of the other notes in the chords. That's it. Don't think about it any deeper than that. Just play it and listen to it (Ex. 2).
Connecting Chords Ex. 2
Sounds good, doesn't it? It's because you're only changing one note, and you're keeping that note consistent between the two chords, which in turn makes them connect with better voice leading. You only changed one note! Now let's throw the Gmaj7 back into the mix to hear what all three sound like together (Ex. 3).
Connecting Chords Ex. 3
Simple to See & Hard to Communicate
The good news is that by changing your D7 chord to have an E as the highest note, you've made a more advanced V chord with interesting voice leading that sounds better. The downside is that you made the chord more complicated to name. This is one of the things that I was wrestling with as I was working out the arrangement. Many of these moves that I was doing in my progressions were actually really simple to explain if I didn't have analyze them with traditional music theory. I was just moving a finger here and there, picking notes that connected the chords, and grounding it all with things that sounded good.
I wondered what theory was good for, and why it mattered that Ex. 2 has a D9 chord? Music theory in this example is really a means for communication to the outside world. If it's just you at home, and there's nobody to talk to, you don't have to give the chord a name at all if you don't want to. You can do whatever it is that you want to do.
If you do have to talk about it, you'll need to pick some way of communicating what you played. One way is tab, and that's a really popular way to explain guitar music. You could also do traditional written notation. You can also give it a chord symbol, like D9. The point I am trying to illustrate here is that the thing that inspired us to make this more complex named chord wasn't the name; that was only an artifact of having to label it and communicate it. We just wanted to connect those two chords together and make them sound more interesting.
What Else Can We Do?
Throughout the song, I came back to that simple progression what felt like 100 times. To keep it fresh, I tried to change things up a little. Here are a few ways that I took that progression and generated more ideas. One time through the progression, I wanted the top note to not move at all, so, I kept the E the same in all three chords (Ex. 4).
Connecting Chords Ex. 4
I love how the top note grounds the progression together as the rest of the notes move around. Pinning the E to all three chords resulted in the progression turning into Am7–D9–Gmaj13. A really simple concept resulted in more advanced chords. Don't let that stop you or scare you. Play the chords. Listen to them. If you like them, use them. The theory is only there when you need to convey them as chord symbols. It's absolutely possible that someone will listen to you play them, ask what they were and you'll simply say, "I took these basic chords and refigured them to have E as the top note for each." Not knowing that it's a Gmaj13–or why–shouldn't stop you from playing them, or exploring this concept of messing around with basic chords to extend them. Truth be told, there's a zillion different ways to play Am7–D9–Gmaj13, so, just labeling your progression as such won't fully explain what you did. Chord diagrams are actually a much better way to do that. Theory is so often not the answer.
Let's try the same progression and this time, let's pin the D and connect it to every chord—we will end up with Ex. 5:
Connecting Chords Ex. 5
I really like this progression because the first chord just sounds beautiful as an Am11—it's one of my favorite chords and I use it all the time. But it's still a IIm–V7–I.
Let's try a different idea. Instead of pinning a single note in the chords, let's try to descend from E down to D. To do so, we will end up with a really neat chord, the D7b9, which by itself isn't exactly beautiful, but in the context of this progression works so well. It works because you get E–Eb–D as the top voice of the chords, stepping down by half-steps. Check it out as Am7–D7b9–Gmaj7 (Ex. 6).
Connecting Chords Ex. 6
That one was about descending the top voice. Let's try one last idea where we ascend it and see what happens (Ex. 7).
Connecting Chords Ex. 7
We start with the Am7 with the E on top and head into our next new chord, the D7#9, adding an E# (or F) to the top of the chord. We finish it off with a physically hard chord, still a Gmaj7, but in a more spread voicing. You end up with a beautiful ascending voice of E–E#–F#.
If that felt evil and unplayable, you can get the same effect with Ex. 8, which doesn't have exactly the same voice leading but does retain the top note and is still a very nice way to go.
Connecting Chords Ex. 8
To close with, let's look at a much more advanced example—well, actually, it's only advanced when we have to name it. The concept is really simple. Instead of moving the note on the second string around to connect our chords together, this time I'm going to smoothly connect the bass note. Check out Ex. 9.
Connecting Chords Ex. 9
Our progression changed from a standard Am7–D7–Gmaj7 to an Am11–Ab7b5–Gmaj7! This is a really cool technique called a tritone substitution where Ab7 can substitute for D7 since it's a tritone (b5) away. But don't overthink it, the top three strings of the Ab7b5 are the same as the top three strings of the D7 it replaces. We simply connect the bass notes down in half-steps to create a smooth bass line. Since the top notes are the same ones that we already know and love, our ears fully accept it. You could even reasonably call this a D7/Ab and you wouldn't be wrong. You can use this approach (and these chord shapes) for any IIm7–V7–I where your IIm7 chord starts with a 6th-string root like each of our previous examples. And there is more we can do—try making some new chord progressions and applying the principles learned here and see what you come up with.
Summing It Up
You can do so much with that simple progression just by being creative. Changing one note in the chord can have a big impact on the sound, and if you try to apply some principles such as keeping a single note consistent between the chords, or trying to ascend or descend the top note, you can end up with really wonderful chords that all fit the progression but give you a ton of new sonic options.





![Rig Rundown: Russian Circles’ Mike Sullivan [2025]](https://www.premierguitar.com/media-library/youtube.jpg?id=62303631&width=1245&height=700&quality=70&coordinates=0%2C0%2C0%2C0)
