Lessons Grant Green's Bebop Blues Dip a toe in the jazz-blues pool with these simple chord subs.Chris McQueenMar 02, 2024
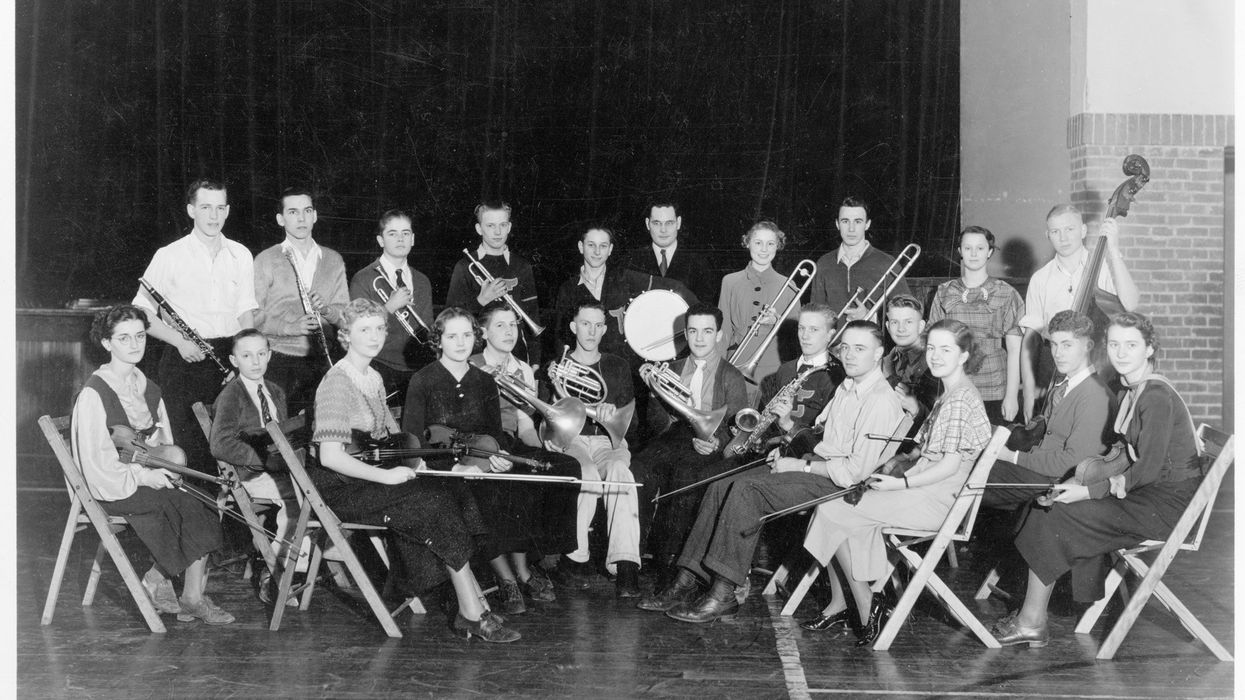
Last Call Everything I Need to Know, I Learned in My School Orchestra From pitch and dynamics to how to play well with others, the lessons you learn from school orchestra are the perfect prep for pro gigging.John BohlingerOct 13, 2023
Guitarists Scott McMicken’s Long, Weird Relationship with the Guitar The Dr. Dog co-founder’s first solo outing, Shabang, is a jangly, improvisatory adventure that deepens his relationship to his main instrument—even if it means sometimes stepping back from it. Tzvi GluckinOct 11, 2023
Rhythm Playing Soul Guitar Rhythm Prolific performer and teacher Shawn Persinger teaches you how to get inside the sounds of Cropper, Jamerson, Dupree, and more.Shawn PersingerOct 07, 2023
Jazz Jazz Chords Made Simple Afraid of “complex” jazz chords? Just strip them down.Shawn PersingerJul 08, 2023
Question & Obsession Question and Obsession: What’s Your Favorite Chord Progression as of Late? Fretless guitar virtuoso Gabriel Marin of instrumental rock trio Consider the Source joins editors and reader Dan Lynch to talk about them changes. Premier Guitar StaffMay 29, 2023
Lessons A New Mom’s Guide to Practicing Balancing a laundry list of tunes and a small human can give you new insights into making the most of your time.Annie ClementsMay 13, 2023