There are many great guitar amplifiers out there. At our shop, Schroeder Guitar Repair, the amps coming in range from found-on-the-side-of-the-road freebies that don’t have a heartbeat to boutique amps worth five figures. Many of these amps are old. Vintage amps, like any other piece of vintage equipment, often need updating to function safely and properly. This early ‘60s blonde Fender Band-Master is just such an amp—beautiful, glorious tone, but in need of some maintenance to fully appreciate what the amp is capable of.
The Once Over
When a vintage amp comes in the shop, it is always a good idea to give it a once over before turning the amp on. Is the power cord safe to use? Are the fuses blown? What about the condition of the electrolytic capacitors? In the case of this Band-Master, I could see the electrolytic caps were bulging and leaking and had therefore given their all and desperately needed replacing.
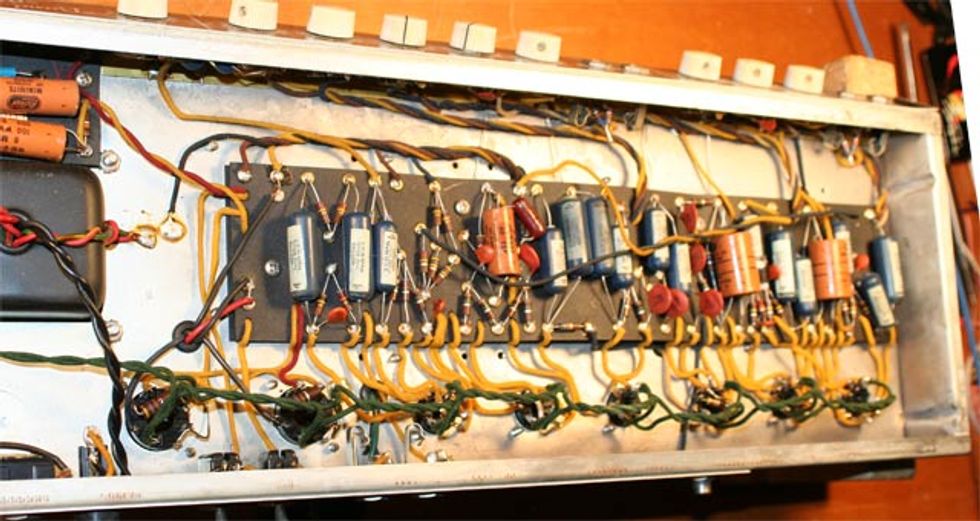
Electrolytic caps are an extremely important component of an amp. These parts handle the high voltage and filter ripple out of the alternating current. When these caps start to wear out, the amp could begin to have an increase in noise or hum, possible ghost notes, and a definite deficiency of punch and low end. As a general rule, the lifespan of electrolytic caps in a guitar amp fall around 15 years or so for optimal performance.
The filter caps in the Band-Master, as in most Fender amps, lie under the pan cover on the tube side of the chassis. Here you will find the filter caps and their corresponding resistors. The stock filter caps, in the first stage of filtering, were two 20uf at 550vdc wired in parallel, creating a 40uf filter at 550 (wired pre-standby switch). I decided to create a larger cap using two 100uf at 350 caps, adding the 220k bleed resistors and wired in series, creating a 50uf cap rated for 700vdc. This simple mod makes the first stage of the power supply better capable of handling those high voltages with a little breathing room to spare. We used high quality caps—there is no room for skimping on parts when dealing with vital amp components.
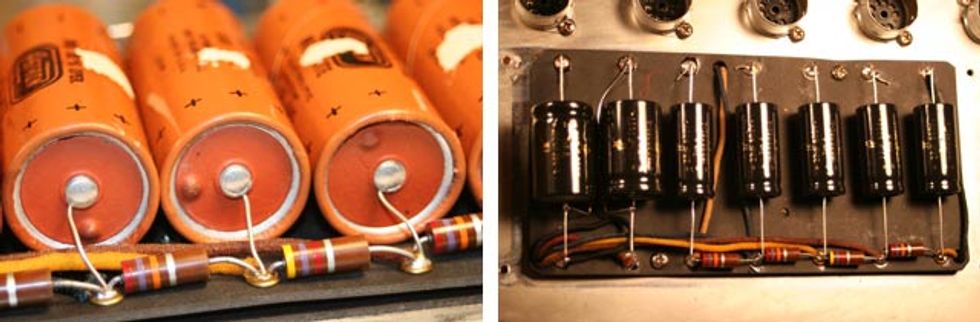
The offending original leaking caps (left) and the replacement new caps (right)
Checking and Cleaning
Proceeding through the amp with our check and clean, we tested all solder joints and touched up as needed, checked the wiring, cleaned the jacks and pots with contact cleaner and tightened them, and tightened the tube sockets, which tend to loosen with age.
Other than the electrolytics, the remaining capacitors tested as working properly. These type of caps often last significantly longer than their electrolytic brothers, which have an electrolytic inside of them that dries up with age. All nuts and screws were tightened and the fuse was checked for proper rating. Resistors were the next component in need of checking. While many of the resistors were of carbon composition and as such tend to get noisy with age, those in the Band-Master tested well. Even the likely-to-go-bad screen grid resistors on the power tubes tested acceptable.
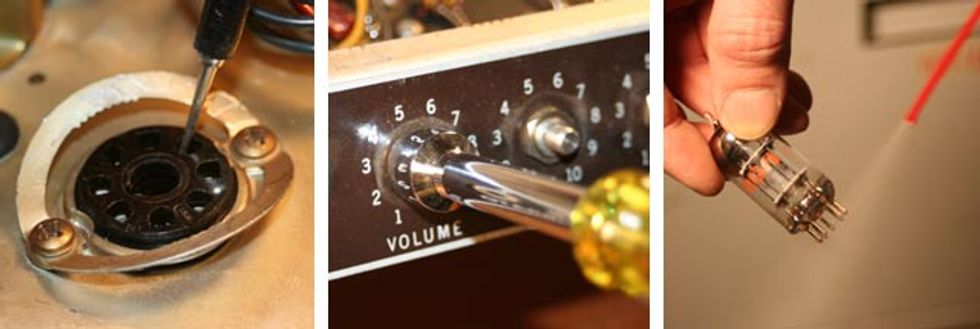
Tightening and cleaning tube sockets, pots, and tubes for optimal performance.
AC Cable
With all of the checking and cleaning behind me, I noticed the AC cable was in dire need of updating. As is common with vintage amps, the Band-Master had a 2-prong power cable—which was cracked. That had to go in order for the amp to sound better, and more importantly, to be safe to play. The AC cable on the Band-Master is wired to a ground switch and then into the mains fuse and onto the power transformer. The replacement cable was grounded to the chassis and the Ground Switch was bypassed (for safety), putting the hot lead on the power cable directly in series with the mains fuse. The neutral lead on the power cable was wired directly to the power transformer.
Ramping Up and Testing Amp Voltage and Caps
Once we’d properly updated the AC cable, replaced the necessary resistors and caps, and cleaned, tightened, and checked everything else, it was time to turn on the amp and test voltages. While you could simply click the amp “On” and proceed to test the voltages, it is a good idea to ramp the voltage up gradually using a variac. Doing so will help to properly form the electrolytic inside the capacitors.
After confirming that all voltages appeared normal, it was time to put in some tubes. The tube pins were cleaned with contact cleaner, voltages were checked again, and the bias on the power tubes was tested and set.
While the amp merely produced sound before coming into the shop, this classic now sounds, dare I say, better than it would have off the factory floor. Refreshing this blonde Band-Master has lifted the veil of what its capabilities were by design—beautiful, punchy clean tone, free of ghost notes—and has made the amp reliable enough to play safely with confidence for years to come!


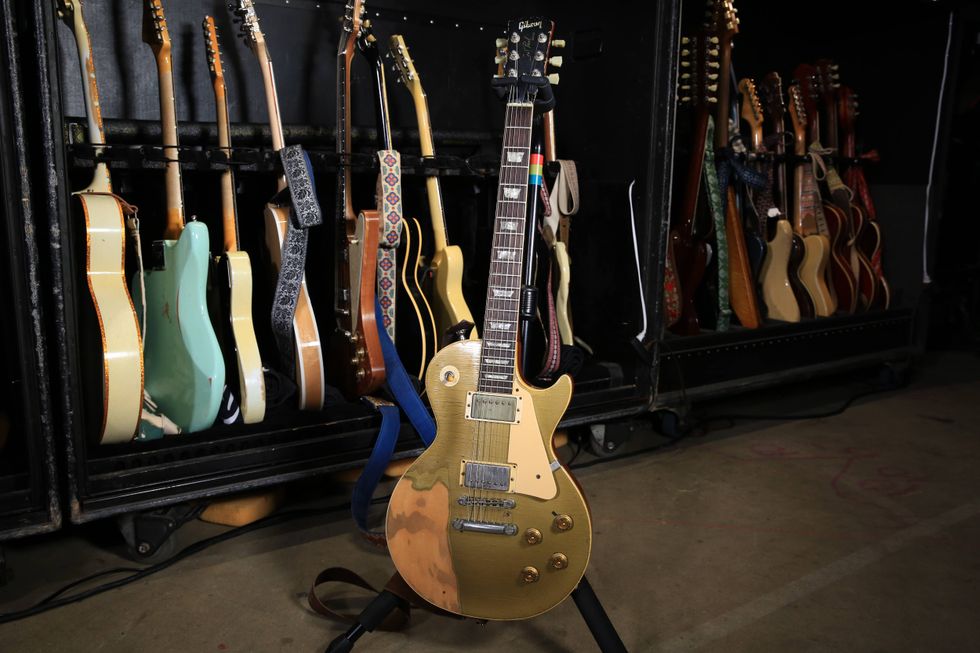
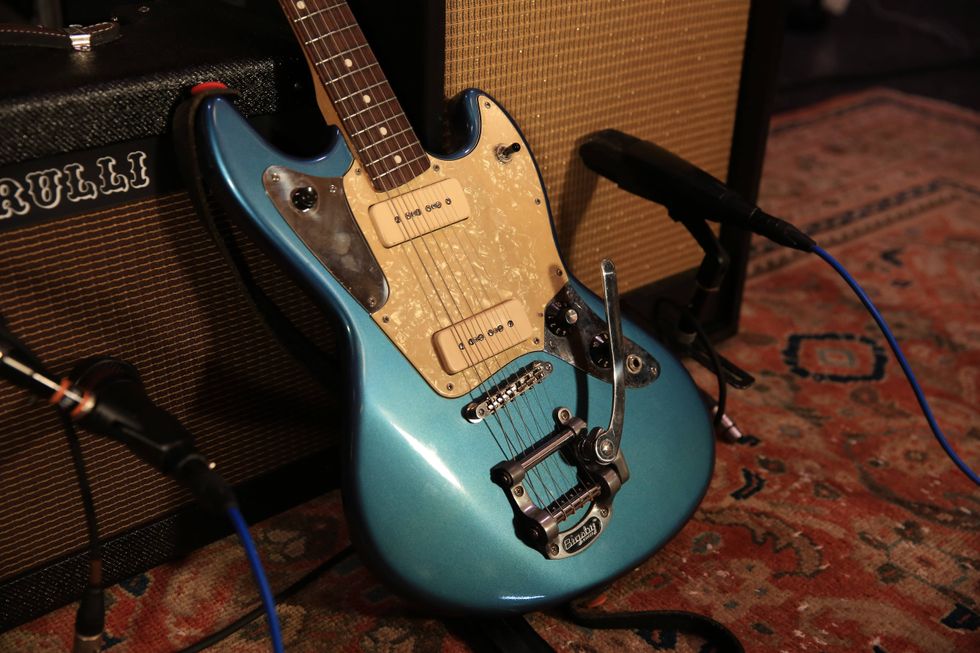
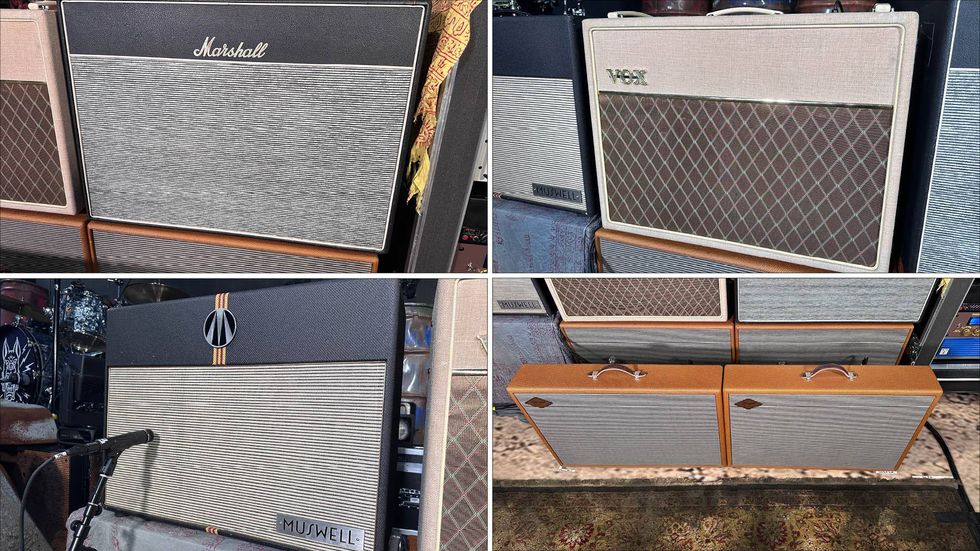
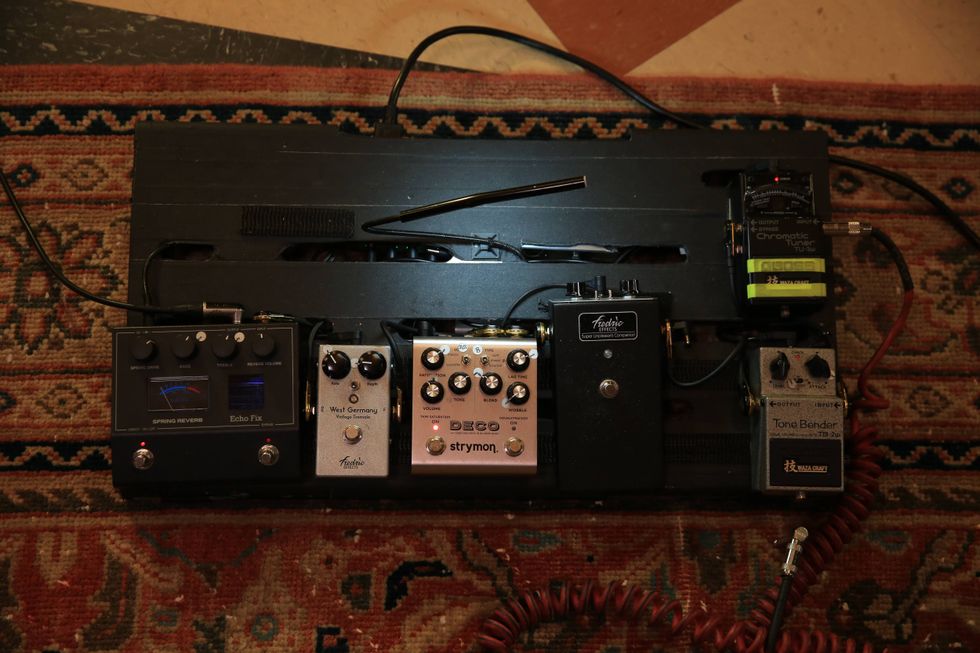
![Rig Rundown: The Black Crowes’ Rich Robinson [2026]](https://www.premierguitar.com/media-library/youtube.jpg?id=66952027&width=1245&height=700&quality=70&coordinates=0%2C0%2C0%2C0)