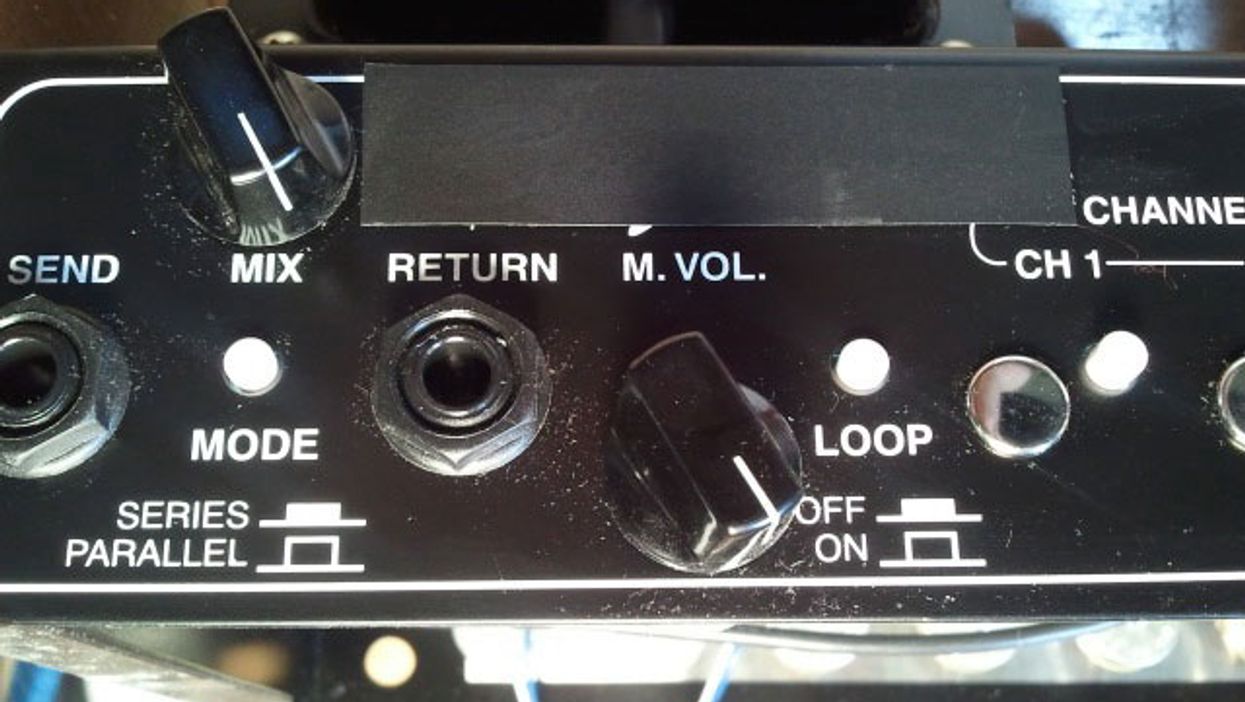
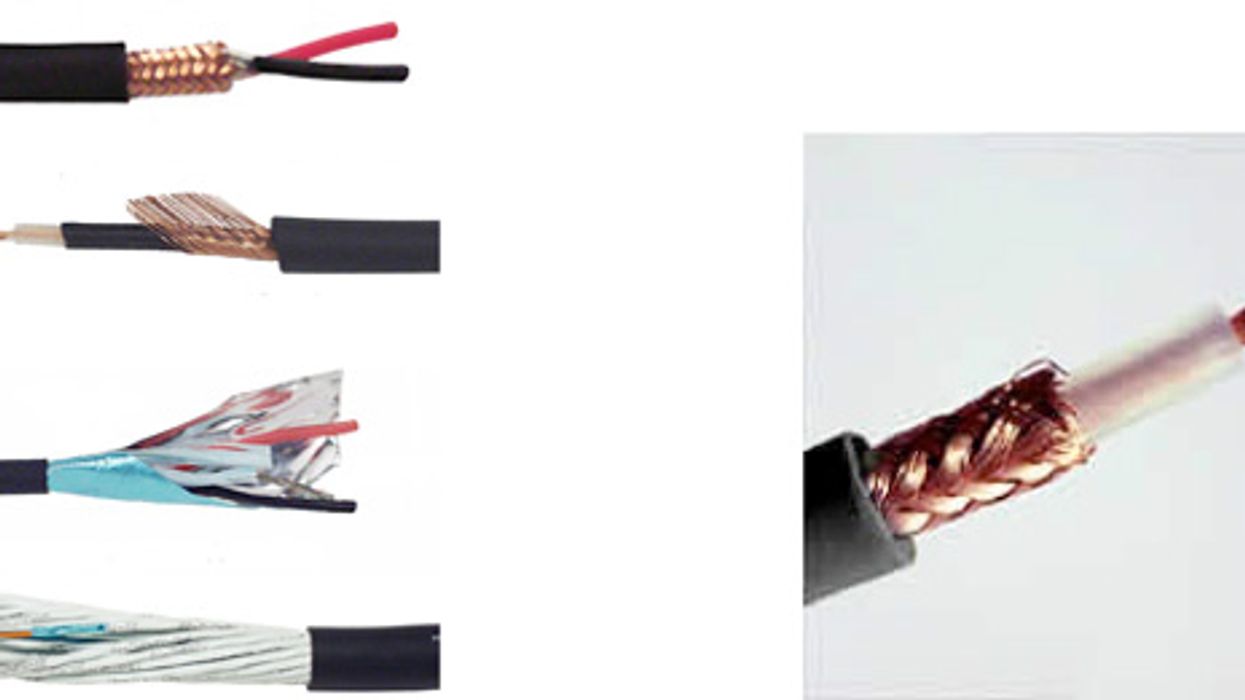
Gear Adventures in Amplification: Don’t Overlook the Cables Cables, whether used for power, for linking pedals, connecting amplifier to speaker, or in the internal connections of an amplifier, offer different tonal qualities that will enhance, decrease, or be transparent to your tone Tim Schroeder Feb 07, 2011
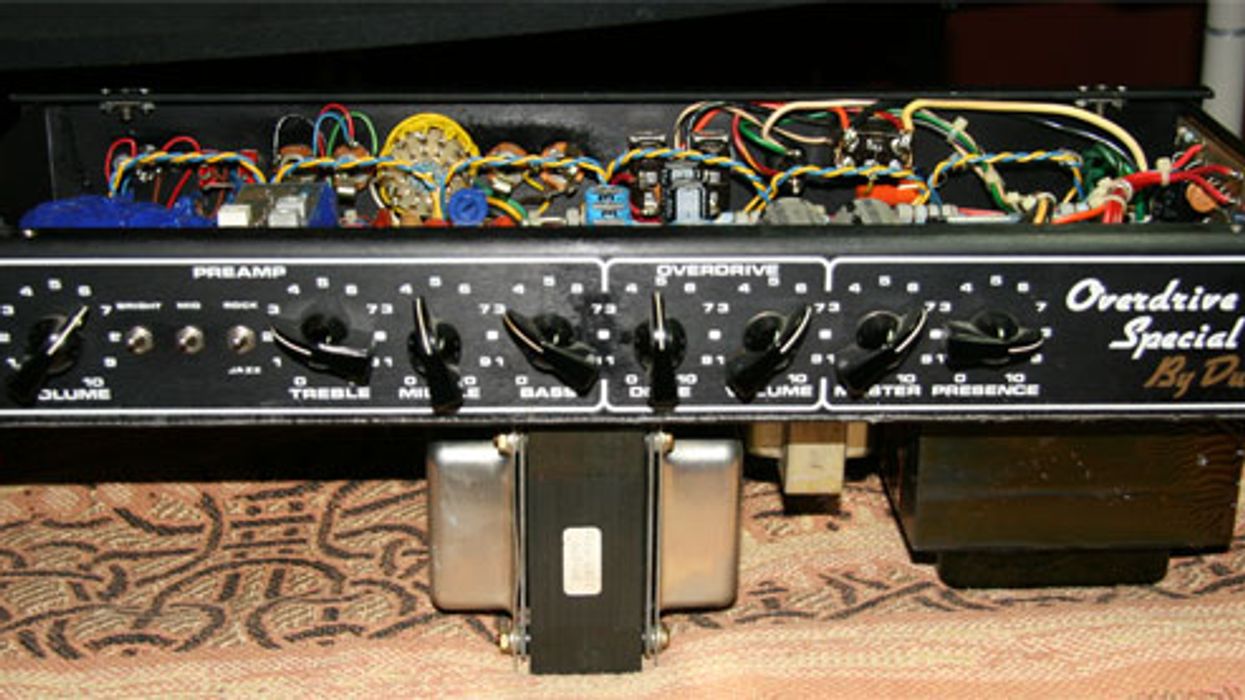
Sprucing up a '60s Blonde Fender Band-Master A gorgeous vintage Band-Master gets a checkup for tone and safety Tim Schroeder Dec 14, 2010
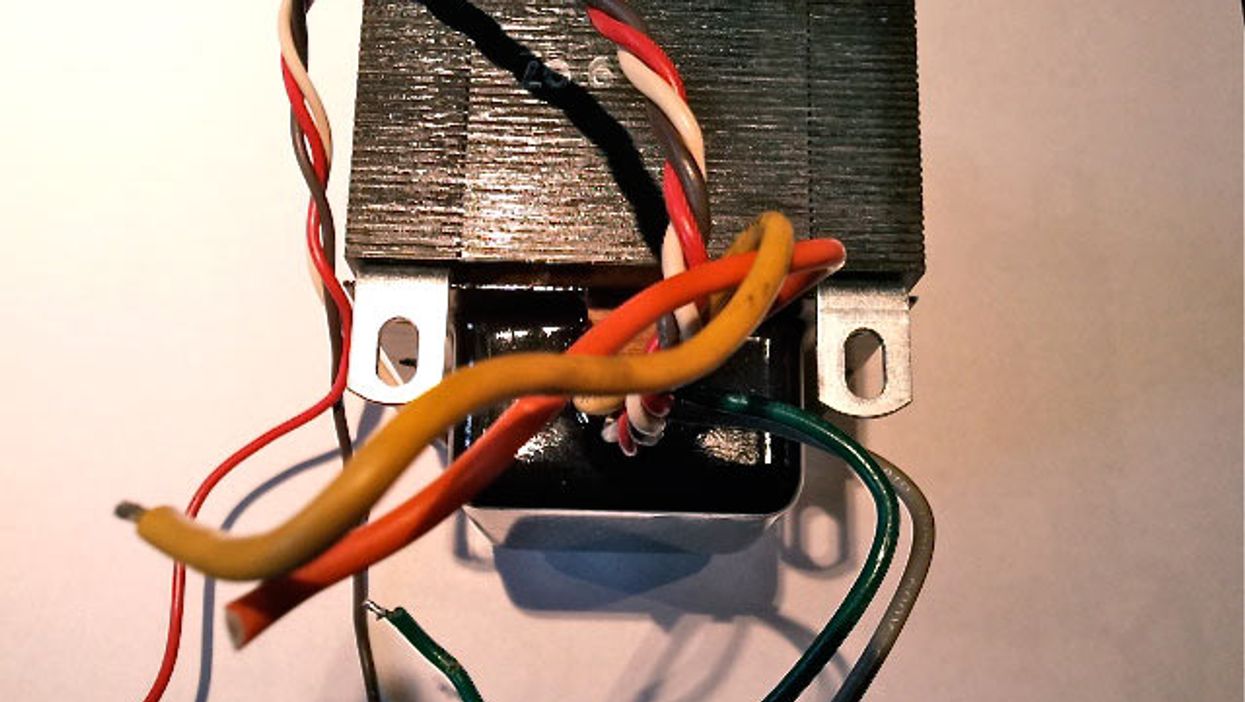
Gear The Little Magnatone That Could When Tim runs into a dangerous power situation in an old Magnatone lap steel amp, he''s tasked with completely reimagining the project. PremierGuitar Default Sep 08, 2009
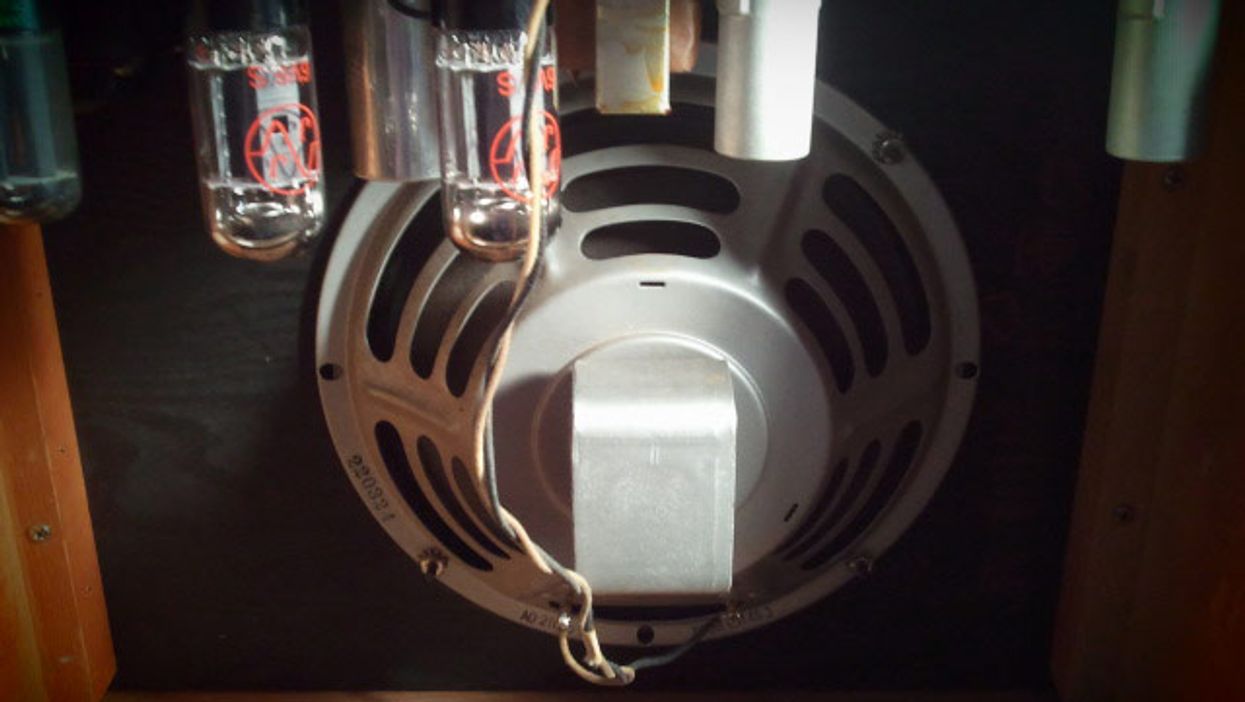
Freshening Up a Vintage Ampeg B-12XT Tim acquires an Ampeg B-12XT that needs some TLC Tim Schroeder Aug 05, 2009