Photo by Martin Raggio/Wiki Commons The Root of It All Remembering Reggae Bassist Aston “Family Man” Barrett Bill Leigh Mar 21, 2024
The Root of It All How to Survive a Jam Session—A Bassist's Guide Jamming is an essential part of American musical tradition, and should be part of yours. Here are some bass-centric tips. Anthony Tidd Oct 09, 2023
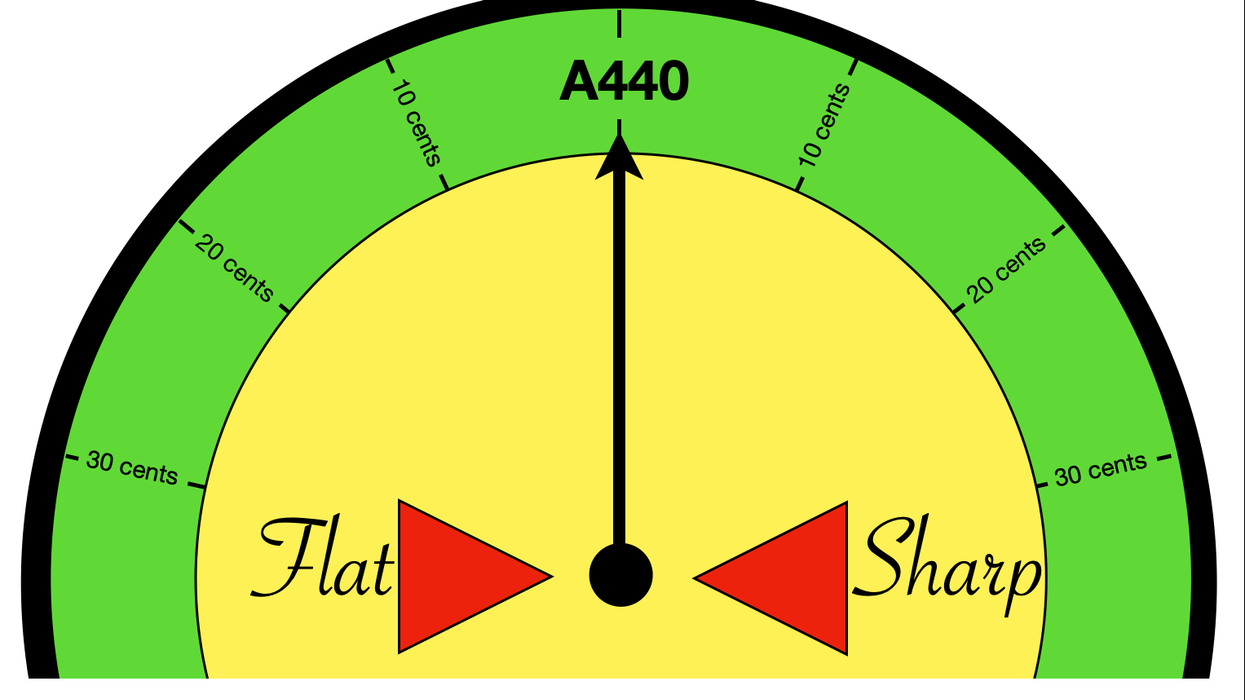
The Root of It All The Path to Perfect Pitch So what if you weren’t born with perfect pitch. Here’s one way to develop your ears. Anthony Tidd Aug 09, 2023
The Root of It All A Q&A with Bass Virtuoso Rich Brown The Toronto bassist talks inspiration and influence. Anthony Tidd Jun 18, 2023
The Root of It All The Best Advice: Create Your Own Sound Chasing big gigs and high-profile projects has its appeal, but developing an individual style is the real key to creative musical success. Anthony Tidd Jun 02, 2023
The Root of It All Interview with Scott Colley, Part Two The jazz bassist returns to share the four fundamental things that every bassist should work on. Anthony Tidd Apr 26, 2023
The Root of It All Mastering Positions are the Root of Mastering Electric Bass By approaching your electric bass like a string player, you’ll find easier ways to get around the fretboard. Anthony Tidd Feb 24, 2023
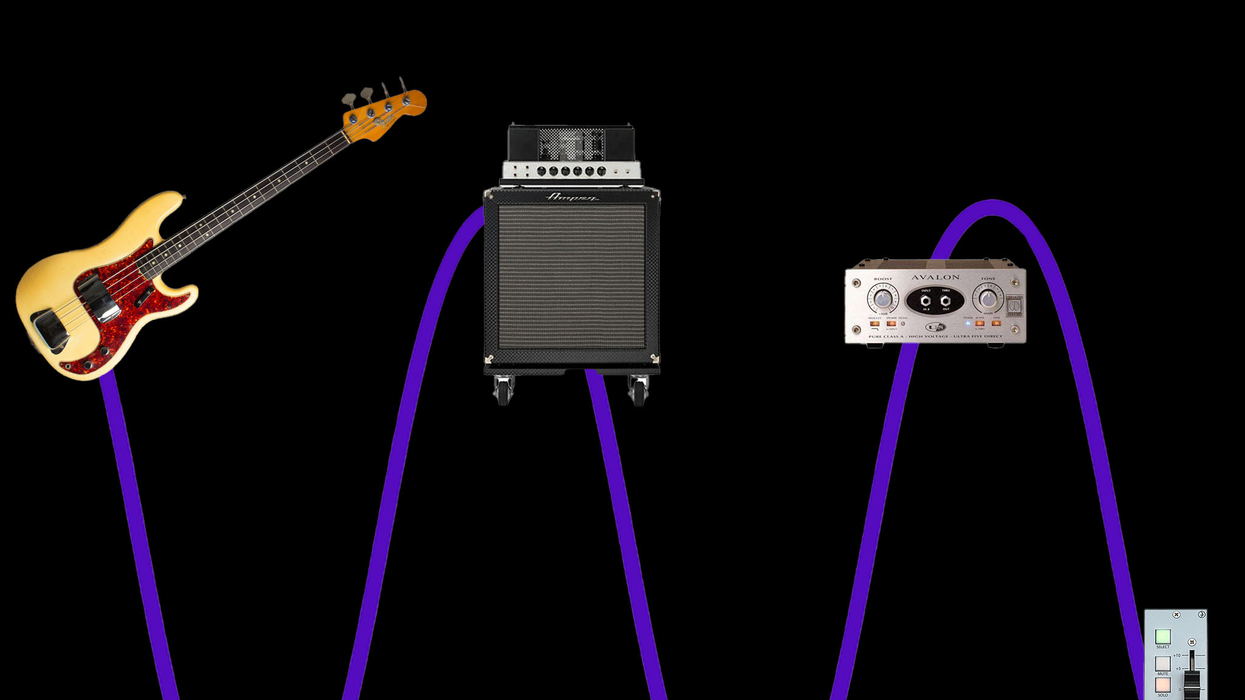
The Root of It All Tips for Capturing the Best Bass Tone Don’t wait ’til mixing to get a great tone. Record your sound as best as you can to make your tracks shine. Anthony Tidd Jan 26, 2023
The Root of It All Find the Perfect Bass Tone … for You Considering all of the possibilities, there’s no one perfect bass tone. But there’s a path to finding your own sound. Anthony Tidd Dec 26, 2022