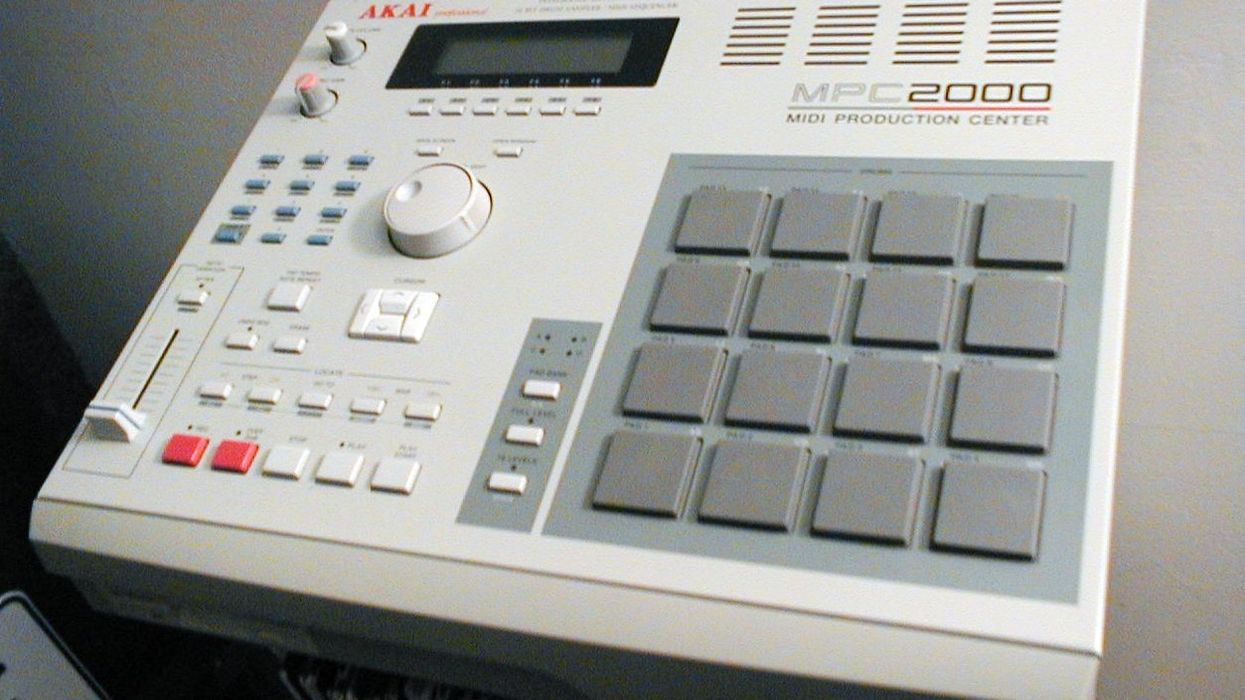

When I began playing in ’80s London, there were no electric bass teachers and no programs that recognized it as an instrument. It was like the Wild West, with most making it up as they went. I had to play upright in college in order to get in, and there was no jazz program, so I studied classical. I chose classical guitar as my second instrument, because I thought studying the technique might be useful. Over the years, I developed my approach by taking useful pieces from all these different places, in addition to what I picked up from watching or listening to great players. One of the most important areas I spent time on was fingerings and positions.
Positions are the way that expert string players get around their instruments with grace and ease. They involve lots of little decisions and habits that, when taken together, can either make one’s life much easier or harder. There are established schools of fingerings for upright bass, some of which have been developed over hundreds of years. However, electric bassists tend to have a much more individual approach. Each player may seem to have their own take, but there are some useful commonalities.
For me, the bass is all about shapes. Early on, I made a study of learning every interval and which shapes produce them visually. For instance: What does a fifth look like on one string, across two strings, or three? How about a minor second? Over time this allowed me to visualize any phrase I heard in my head, before ever touching the fretboard. This also allowed me to decide upon the best fingering for any phrase that didn’t just fit under my fingers.
For simplicity, I am going to give all examples on 4-string bass, but these can be applied to 5, 6, or more strings. I categorize every left-hand position as either open, closed, or extended.
Over time this allowed me to visualize any phrase I heard in my head, before ever touching the fretboard.
An open position, one which involves an open string, allows us to cover five half-steps on each string. If we play these in succession, we’ll end up with a chromatic scale starting on the lowest note and continuing up to the highest note we can play without shifting. It’s possible to play in any key while in open position, but sooner or later, the player who considers efficiency, or the desire to play above B on the 1st string, will need to shift.
A closed position is any position that does not involve an open string or shifting. When it comes to keys, two of the most useful and basic shapes to memorize in closed position are those used to play the major or minor scales. Again, observing the rule of one finger per fret, play a one-octave major scale in any key beginning on the second finger. For example: If I play A major beginning on the 5th fret of the 4th string, this fingering is 2-4, 1-2-4, 1-3-4. If I do the same for A minor beginning on the first finger, this fingering is 1-3-4, 1-3-4, 1-3. These two basic shapes across three strings should be memorized. Reproducing these shapes or even a partial fragment anywhere on the fretboard will produce a major or minor scale in any key. More importantly, you’ll eventually be able to visualize any key on the fretboard, based on these shapes or fragments. I also apply this approach to all seven modes.
An extended position is any position that involves shifting temporarily without actually changing position (the left thumb doesn’t really move). In other words, stretching to reach a neighboring note that is not directly beneath the four fingers. For instance, we could use an extended position to play a chromatic scale (without actually using any open strings) by stretching back for the tonic, fourth, and minor seventh, giving us the fingering 1-1-2-3-4, 1-1-2-3-4, 1-1-2. This is way more efficient (and faster) than shifting into multiple positions to play the same thing. We could also play a major scale by stretching back to play the tonic and fourth, giving the fingering 1-2-4, 1-2-4, 1-2.
I find extended positions particularly useful for playing arpeggios, where I can now play the first two notes on a single string, giving the fingering 1-4, 2, 2. On a 5- or 6-string, it’s possible to use (1-4, 2, 2, 1-4, 4) to play a two-octave major arpeggio in one position. You can also apply the same approach for alternative extended fingers for minor or any mode.
The last part is learning to shift between different positions. The key is to work on shifting without sacrificing tone or duration. Mastering this while combining all three position categories allows us to get around the neck quickly. To practice this, start out with basic open positions, then move on to closed, extended, and then finally finger shifts to tie them all together.
Happy exploring!