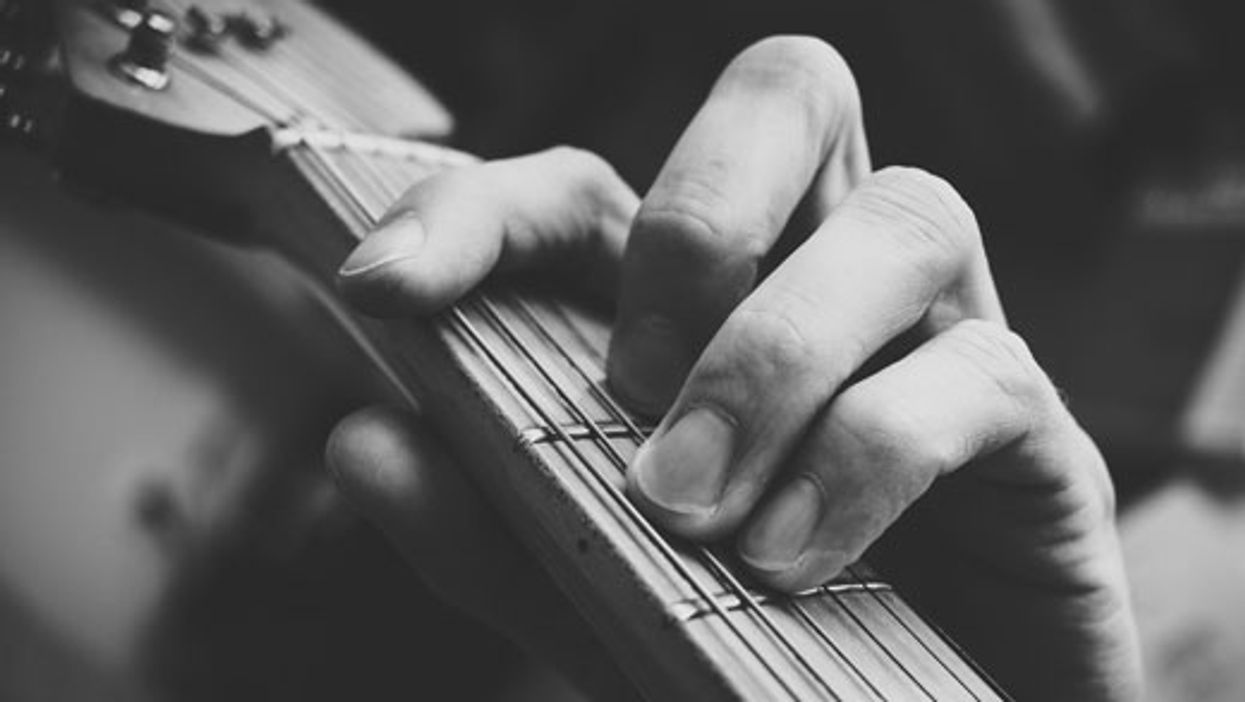
Lessons The Shred Decoder’s Guide to Sweep Picking One of modern rock’s most buzzed-about shredders shares his insights on an often-misunderstood topic.Al JosephJun 29, 2024
Artist Features How Khruangbin's Laura Lee Found Her Sound On the eclectic instrumental band’s newest, A LA SALA, the bassist pledges to “just play what sounds good and what feels good.”Nick MillevoiMay 15, 2024
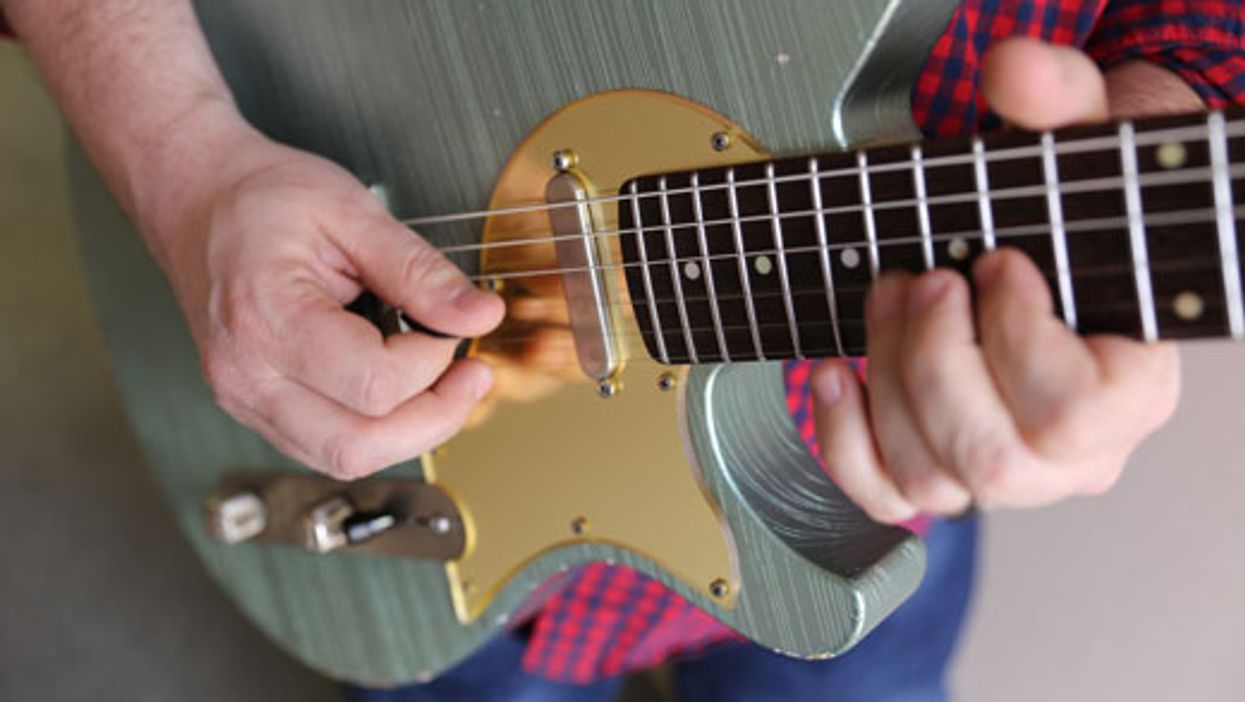
Guitar & Bass Mods Routing 101: Replacing a Bridge P-90 Pickup With a Humbucker Learning how to safely use a router is the key to this easy DIY project that you can do in an afternoon, yielding a different menu of tones.Marshall DunnApr 01, 2024
Beginner How to Plan Your Practice Time Make the most of the time you have by focusing on both the technical and emotional sides of practicing.Dr. Molly MillerMar 30, 2024
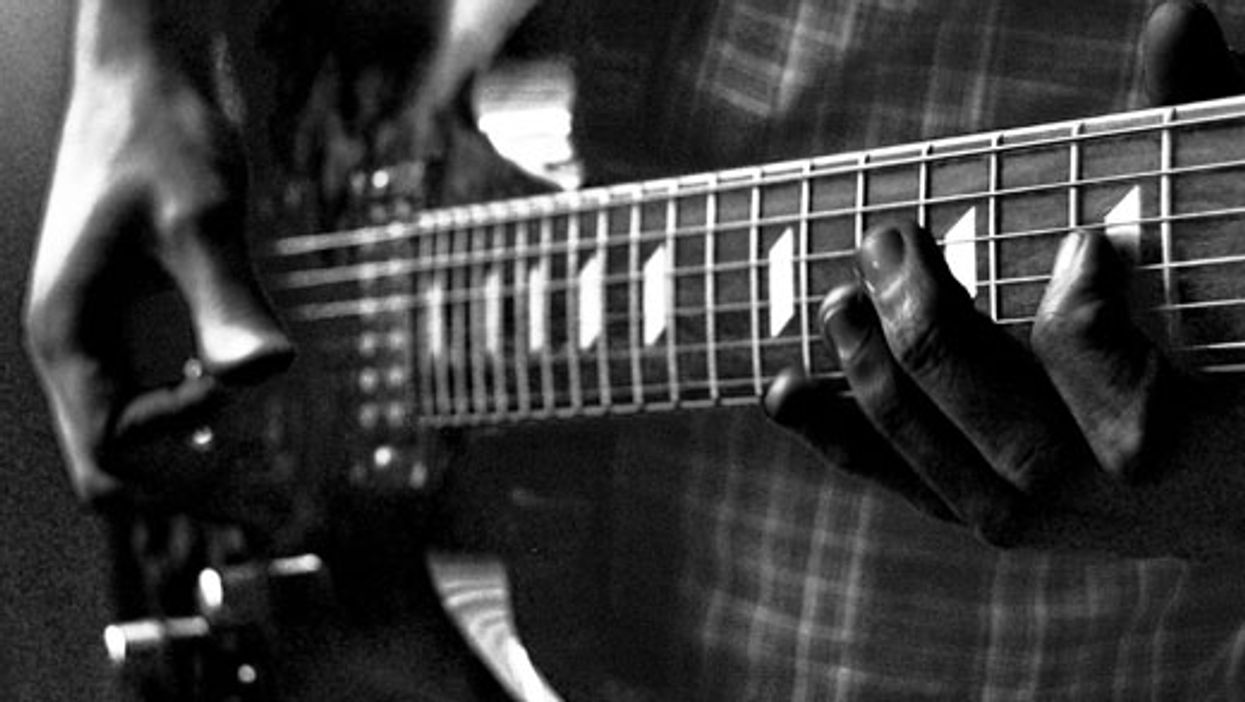
Lessons Cheap Tricks That Make You Sound Fast! Learn how to not only ramp up your technique, but how to use it effectively.Shawn PersingerMar 23, 2024
Lessons Grant Green's Bebop Blues Dip a toe in the jazz-blues pool with these simple chord subs.Chris McQueenMar 02, 2024
Rhythm Playing Soul Guitar Rhythm Prolific performer and teacher Shawn Persinger teaches you how to get inside the sounds of Cropper, Jamerson, Dupree, and more.Shawn PersingerOct 07, 2023