
The barrier between “I'll do it myself” and “my repair person will deal with this” often seems to lie at the point where power tools get involved—specifically one: the dreaded router. Since I enjoy encouraging those so inclined to challenge themselves, I believe that the router is a tool to be respected and not feared, and that, yes, you can actually do the pickup replacement we’re discussing here yourself.
Replacing a Bridge P-90 Pickup With a Humbucker in Epiphone Les Paul Special — Routing 101 | DIY
I’ll demonstrate by converting part of a new guitar into sawdust and noise, then transforming the instrument by installing a totally new pickup in the bridge position—so we can retain the natural flavor of the P-90 in the neck, but goose up the bridge position with a humbucker. And to make things even easier, there is a video of me doing this mod online at premierguitar.com, which I highly recommend watching. In it, I explain every step in great detail.
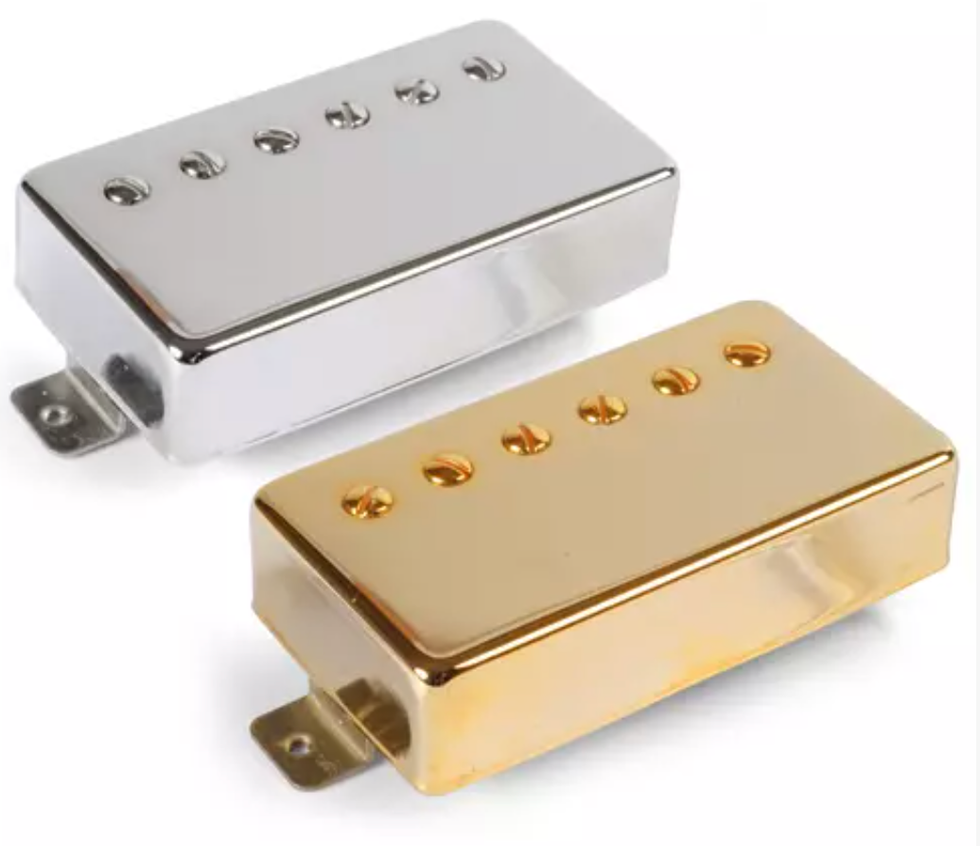
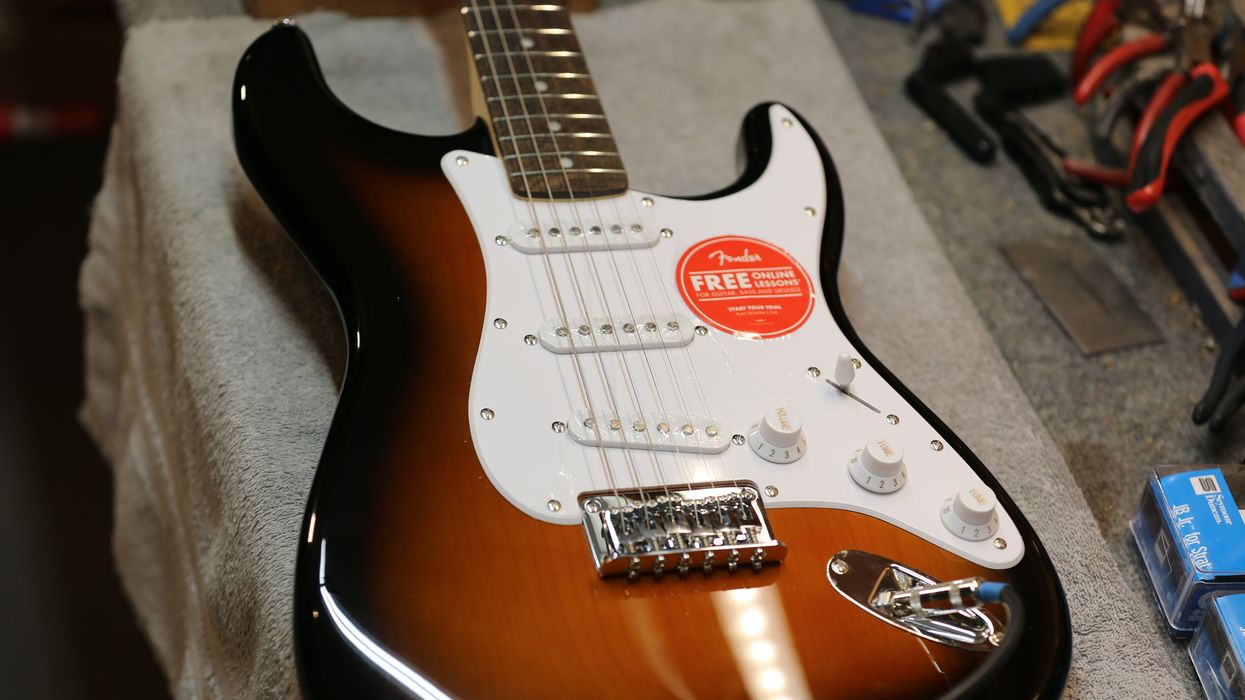
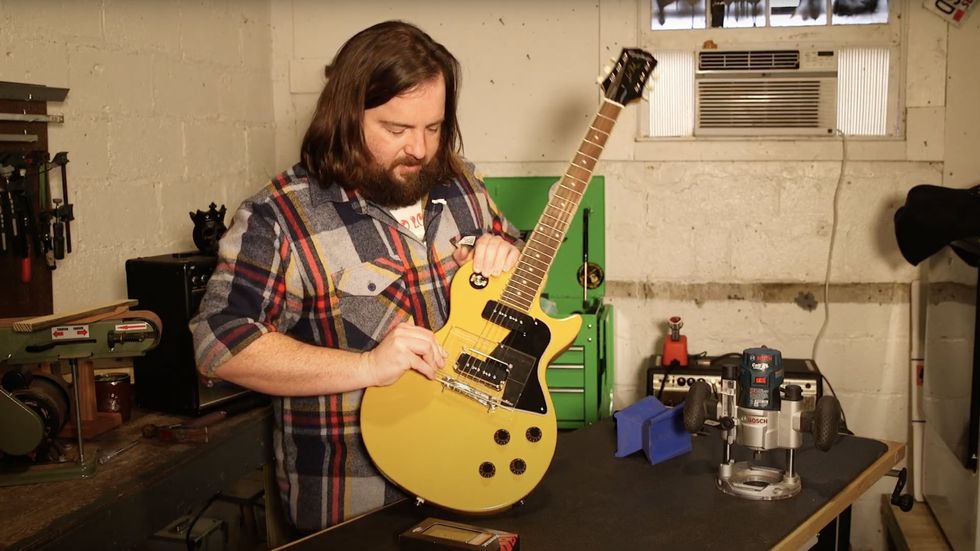
The guitar is a brand-new Epiphone Les Paul Special finished in glossy TV yellow—in my opinion, the best furniture finish ever commandeered for broadcast purposes—loaded with two P-90 pickups, black plastics, and chrome hardware. The pickup going into this guitar is a Parsons Street Humbucker by StewMac. Designed to emulate a popular variation of the traditional PAF-style humbucker, this medium-output pickup should retain plenty of treble clarity. It will mount to the guitar with a classic black humbucker mounting ring.
What You’ll Need for This Mod
Besides a guitar, a small bandsaw for cutting the pickguard, and painter’s tape, you can pick up everything you need for this modification project online at StewMac.com.
• Bosch Colt 1 HP Variable-Speed Palm Router
• Bosch Plunge Base for Palm Router
• Parsons Street Humbucker
• Fisch Wave Cutter Bit 5/8"
• Amana Tool Carbide Tipper Router Bit 1/4"
• Humbucker Pickup Routing Template

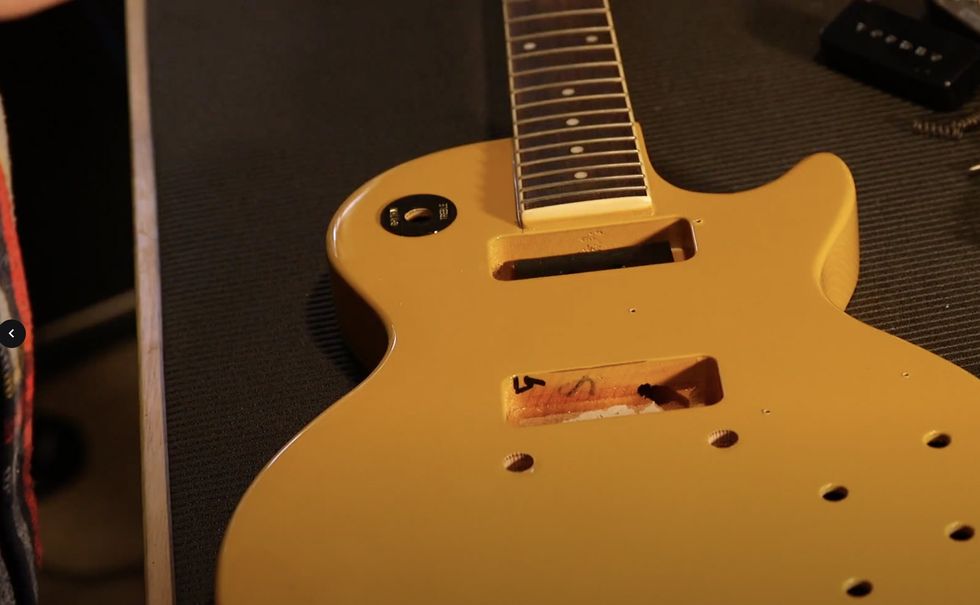
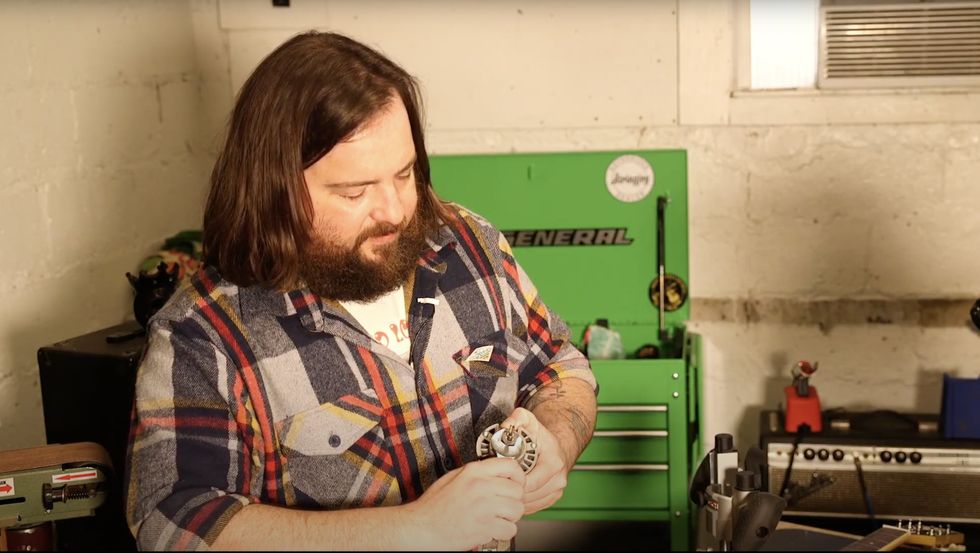
This is what our project guitar looked like before it hit the workbench.
Since we are on the topic of pickups, I’d like to note that the acronym PAF does not define a specific sound or a strict recipe for pickup making. It is simply a description of a design—Patent Applied For. Both P-90s and PAF-style humbuckers actually have a lot in common. If you examine their construction, it seems the goal for PAFs wasn’t necessarily a different-sounding pickup, just one that didn’t hum like its single-coil predecessors.
The OEM pickups in this Epiphone Les Paul Special are quick-connect, which makes for easy disassembling, but will require trimming the connectors and soldering as part of the humbucker’s installation.
As a result, a lot of the early Gibson ’buckers and P-90s have comparable output and not entirely dissimilar frequency response, depending on their magnets and how the coils were wound. These factors varied quite a bit for the first few years of production and produced some very different sounding pickups.
But, back to the bench, focusing on the task at hand.
Our author holds a StewMac humbucker-sized routing template over the pickup to be replaced.
This guitar is a good candidate for this kind of pickup swap for a few reasons: One, we only have to modify an existing pickup cavity; two, a medium-output bridge humbucker such as our Parsons Street should complement the sound of the neck P-90 nicely; and three, while the modification will be obvious, this new pickup will also complement the classic looks of the guitar.
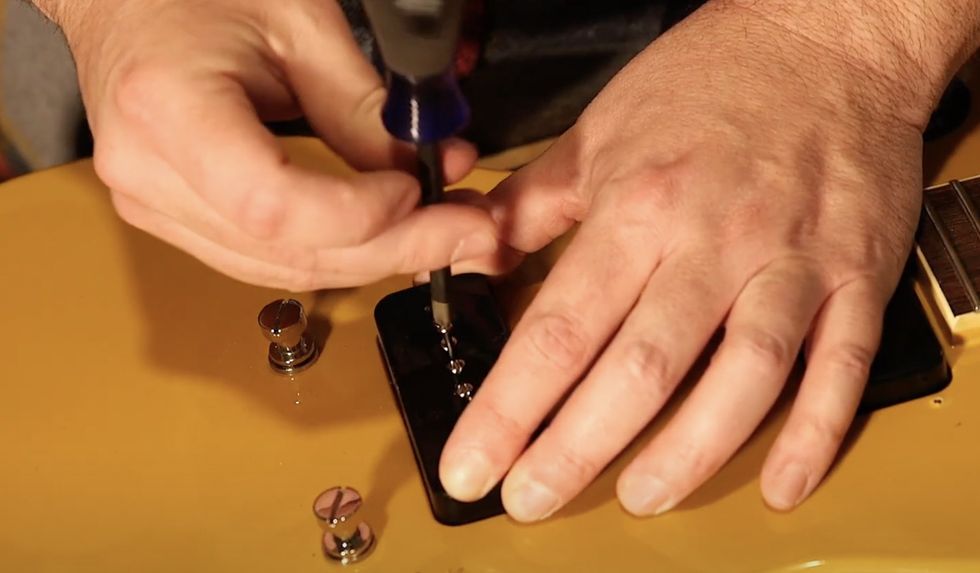
The pickups are mounted to the body via two easy-to-remove screws.
You may be here looking for inspiration as much as information—thinking about trying this modification yourself, but still not sure. Although it’s ultimately your decision, I can at least equip you with some arguments for and against.
Try the mod if:
• You are curious about how different pickups sound and you recognize the benefit of using the same guitar as a control in your experiment.
• You love everything about your guitar, but want a little more punch from the bridge pickup. This is common with single-coil pickers, Telecaster aficionados excluded.
• You might deem the guitar cooler this way. After all, it’s an uncommon but highly effective treatment for this model—which could make you want to play it more.
Don’t try this mod if:
• You have a more valuable, historic, or rare instrument.
• The resale value of the guitar matters to you.
• It’s not your guitar (LOL).
• Safety and preparation are not priorities.
Don’t Fear the Router
The part of this modification that scares most people off is working with a router. It’s an intimidating device and fear of it is understandable, considering what it can do to a guitar, or fingers, but learning about how it works and how to use it should, hopefully, alleviate your fear.
A router is a powered chisel that does what a standard chisel can do, good or bad … only faster. Positive or negative results depend entirely on the operator, just like any hand tool. And good results come from developing good technique and practice, which is one of the skills this mod aims at developing.
There is a wealth of information available about technique and a limit to the length of this article, so I’m only going to focus on a few basic tips that will help you get started safely:
• Only power the router on or off when the bit is able to turn freely, not in contact with any material.
• Do not move the router while the bit is accelerating or decelerating.
• Multiple shallow cuts are better than one deep cut.
• Pay attention to the router bit’s direction of rotation when planning the direction of the cut.
• Use PPE—at the very least, safety glasses.
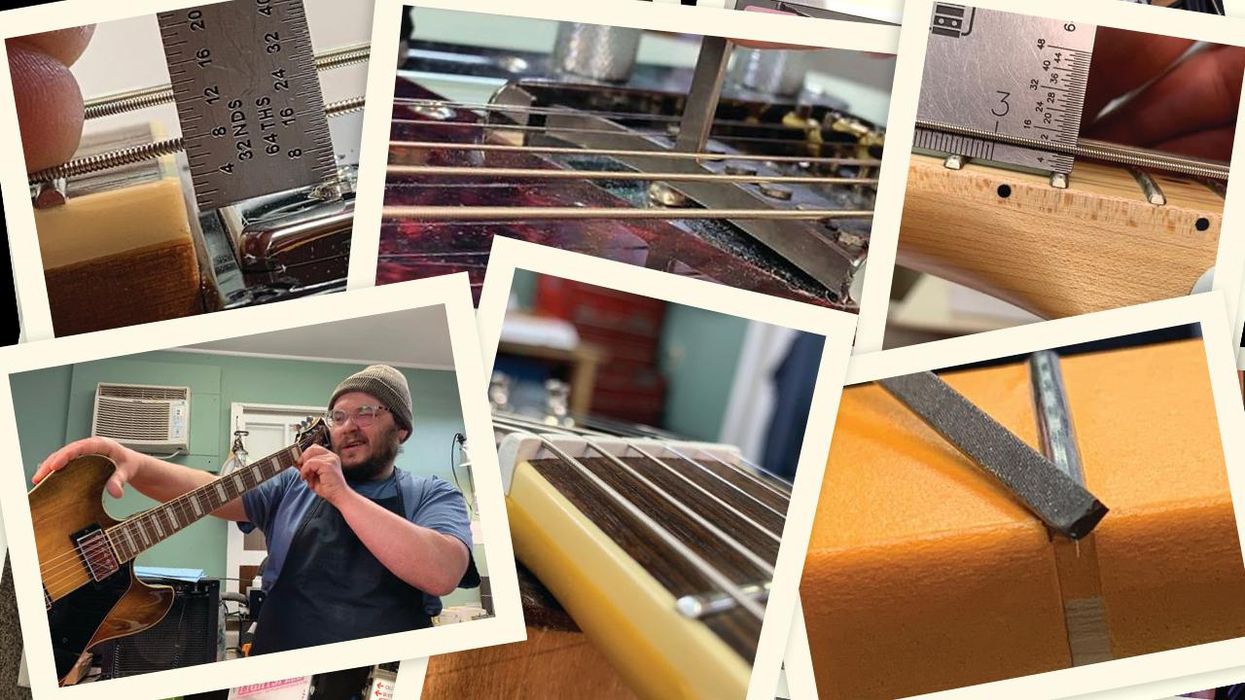
Now we can get started with the project. However, there are several things to do before we can begin making sawdust and noise.
If you’re just too excited about firing up the router and can’t wait, I understand, but please read through these steps first. Afterwards, feel free to practice some small shallow cuts on the edges of scrap wood before jumping into the project, using large enough pieces that can be secured to your work surface. This will give you a good idea of how the router feels and sounds when making a cut.
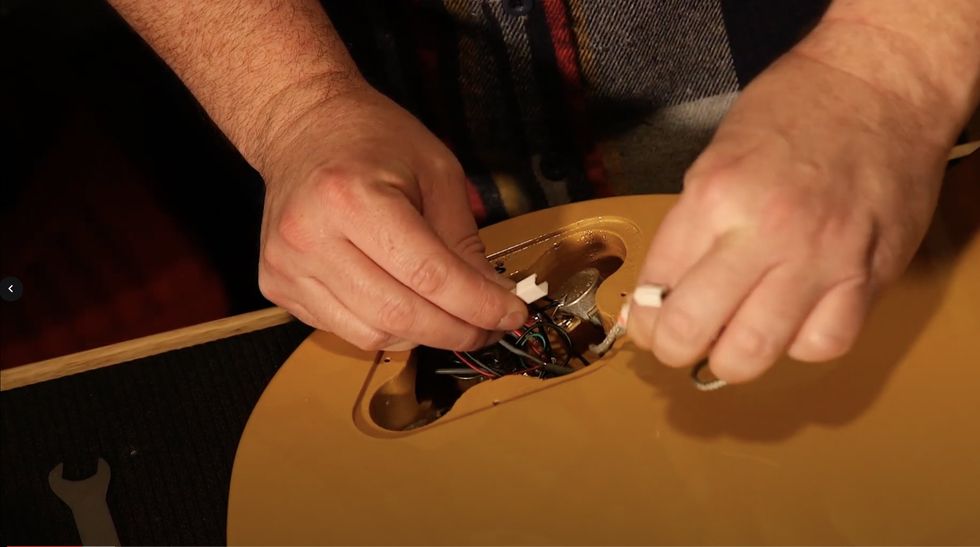
Step 1: First, all electronics and hardware should be removed from the guitar, to make sure we have plenty of room to operate the router without any obstacles. Take photos and draw diagrams now if you’re unfamiliar with guitar wiring, since you will probably have to disconnect the pickups and switch wires, and will definitely be connecting the new pickup. [Marshall provides instructions on this step in the video companion to this story on premierguitar.com, and StewMac has detailed wiring instructions on its website.]
Note that on this guitar, although the pickup selector switch is not in the way, I suggest removing the switch to keep the wires away from the router bit.
Step 2: Next, make sure the new pickup fits inside the template for the new pickup cavity. Make sure you have enough clearance to move the pickup through the template. It shouldn’t catch or rub on any part of the template.
Line up the template on the guitar body to determine where the new cavity will be. There are several techniques you could use here. Some might locate and mark the guitar’s center line, then line up the template that way, but since we are modifying an existing cavity we know is more or less centered, I suggest using that cavity as a guide and eyeballing it. Carefully.
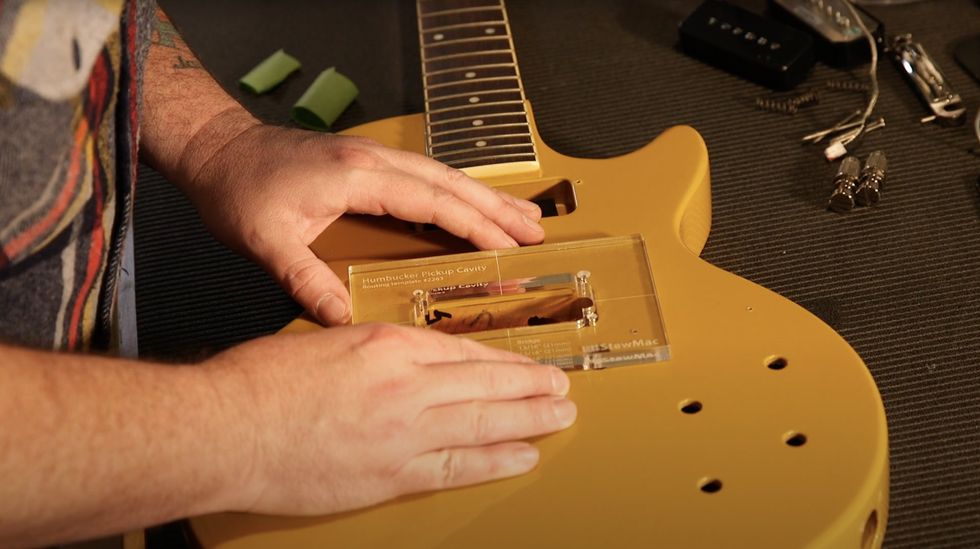
Since the StewMac template has a center line and other measures on its face, it’s easy to position over the cavity for the OEM pickup and decide which of its zones need routing.
Step 3: Now that you know where the template goes, attach the template to the guitar. I prefer using rolled up painter’s tape on the bottom side of the template because it holds fairly well (as long as you don’t use too much force with the router), it’s easy to remove, and relatively safe for modern finishes. Stronger double-sided adhesives work well but run the risk of damaging either the guitar or the template on removal.

After taping the template in place, Marshall uses the router bit to trace the path he’ll use, and to gauge the depth of the pickup cavity versus the location of the bit’s bearing.
Step 4: The template determines the shape of the new cavity, but the router itself determines the depth of the cut. Start by setting the depth so that the tip of the router bit is just barely touching the bottom of the cavity when the router is sitting on the template. Once the cut is made, we can double-check to make sure this depth works.
With the template secured and the depth of cut adjusted, I suggest trying a “dry run” of the cut to make sure the router moves freely around the template. Keep in mind the bit’s direction of rotation and plan moves that allow the bit to cut into the wood—but don’t do it yet. Just outline your moves. Make sure that the bearing on top of the router bit can freely follow the template, too. Setting the depth too shallow risks cutting your template, ruining both it and your guitar.
This seems like an excessive amount of preparation, but trust me, an hour of planning can prevent a minute-long job from destroying your guitar.
It’s almost time for the fun part. Don’t turn the router on yet. Put on your safety glasses and consider using ear protection if you are sensitive to high-pitched, loud sounds. This would also be a good time to make sure you have a shop vacuum handy, as you are about to make quite a mess.
Step 5: Now, it’s time to actually make the cut. Tilt the router slightly so that the bit is completely free before turning the router on. Keep in mind that the router should not be moved while the bit is accelerating or decelerating, so don’t make any cuts until the router is at full speed.

Once it’s at full speed, make the cut as practiced earlier. Take several shallow passes instead of trying to remove all the wood at once. There’s no need to force the router, you will hear and feel when the bit is cutting. Too much force may cause your template to move and ruin your cut, wreck the router bit, or potentially hurt you. And since the router spins the bit in a specific direction, be sure the cutting edge of the router is digging into the wood and that you move the router in the direction that puts the blade edge of the bit forward.
Now, you can turn the router off, but remember not to move it until the bit has completely stopped rotating. Check that the template has not been damaged, that the cut matches the template, and the pickup fits neatly inside.
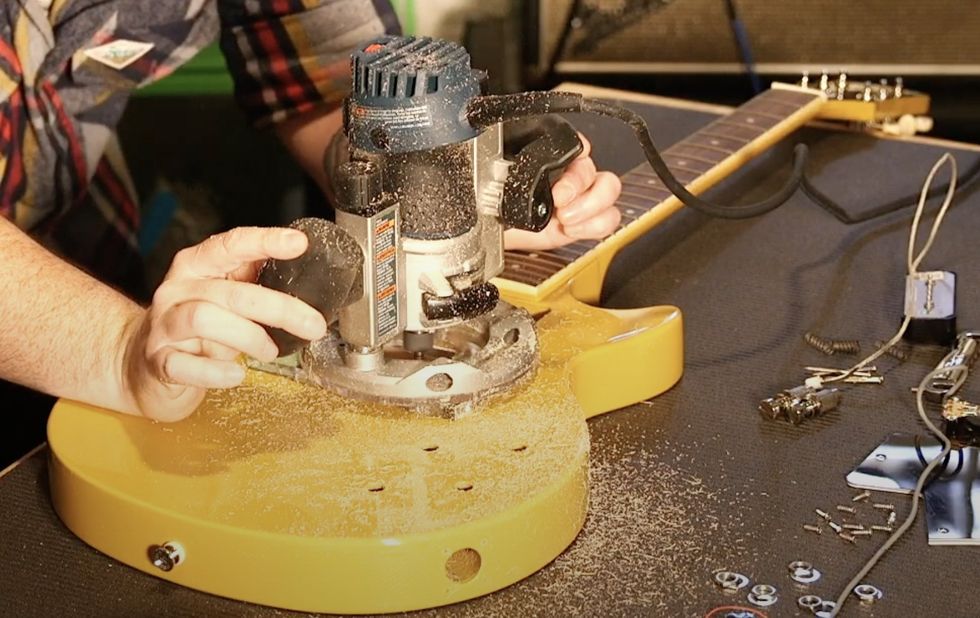
The sawdust flies as Marshall uses the router to slowly make gentle, shallow cuts, eventually reaching the cavity size required for the Parsons Street Humbucker.
Step 6: With this specific type of pickup, it turns out that we do need to make two slightly deeper cuts to accommodate the mounting screws and “ears” of the pickup base. You can do this by setting the bit to cut just a little deeper—in our case about 3/16" deeper—and cut only the areas around the pickup mounting screws. You could also do this with a hand drill or a drill press and a large spiral or Forstner bit, but I prefer the cleaner results from the router.

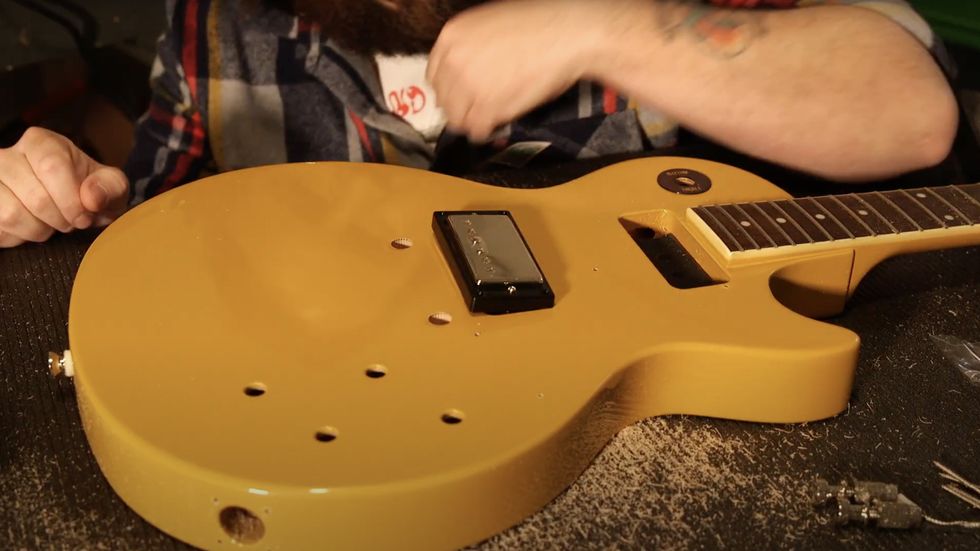
Checking the final cut to be sure there are no issues like snags or protrusions that would interfere with the fit of the pickup.
Step 7: Now, the new bridge pickup should fit. Test it by mounting the pickup in its ring and placing this assembly on the guitar. The mounting ring should sit on top of the guitar without having to force it down. If everything fits, go ahead and rewire and reassemble the guitar, then set it up to your liking. [We have a video at premierguitar.com called DIY: Easy 4-Step Guitar Setup.]
After placing the ring around the pickup, Marshall drops the humbucker and ring into place to test the fit. (As it turned out, a little bit of additional routing was required for the bottom of the cavity, to provide space for the humbucker’s left-side dog-ear mount.)
Step 8: On this Les Paul Special, since I’ve replaced the bridge P-90 with a bigger and more squared-off pickup mounting ring, the pickguard will have to be modified slightly to fit. I did this by tracing the pickguard onto a piece of paper, taping the tracing to the guitar, then marking the outline of the new pickup mounting ring. Now, I can use the tracing as a template and cut away the parts of the pickguard that I don’t need. I used a small bandsaw blade to cut away most of the material and slowly fine-tuned the edges with files and a small scraper until it fit.
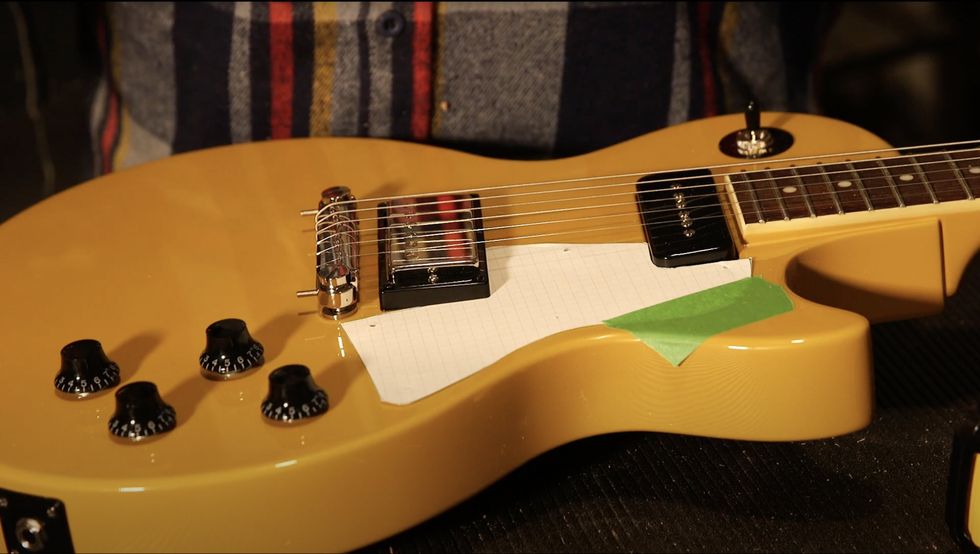
Here’s the paper template Marshall used to trace the new pickguard configuration required to accommodate the Parsons Street Humbucker. He then placed it atop the actual pickguard to make the cut.
I like to start with my bridge pickup very close to the strings, somewhere around 3/32" away from the treble strings and balancing the bass side of the pickup by ear. After that, I like to set the height of the neck pickup just by comparing the sound of each pickup, again, making sure that the output of each pickup is balanced from the bass side to the treble side.
To my ears, the humbucker we used in this guitar works very well paired with the stock P-90 in the neck position. It’s a medium output pickup, so it does have a bit more punch than the P-90 but doesn’t overpower it. Higher output humbuckers can roll off a bit of treble, depending on how they’re made, but this pickup has plenty of brightness for me. Both pickups together have abundant chime and sparkle. I really like this sound!
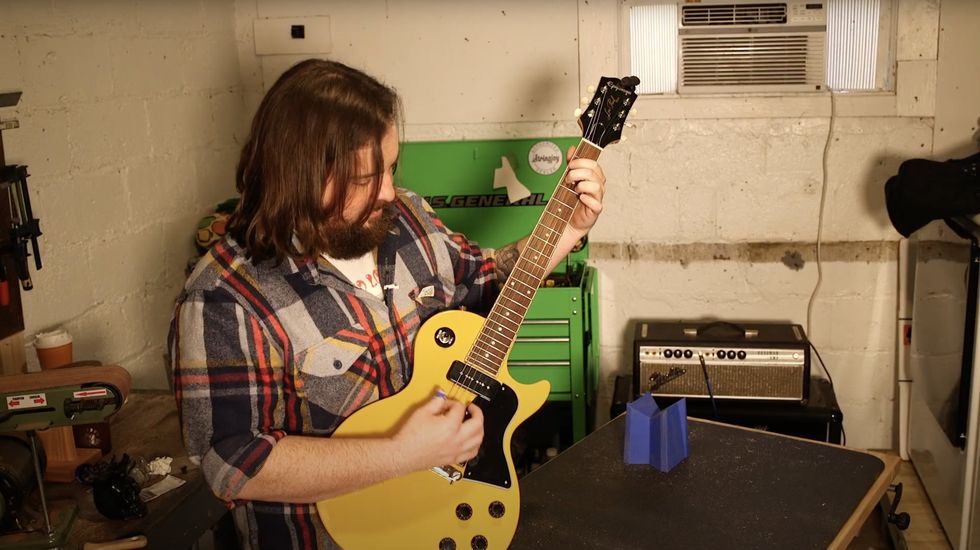
The proof is in the playing: Marshall tries out the Epiphone Les Paul Special’s new, combined humbucker-and-P-90 sound.
And on top of all that, I think this guitar looks really cool now as well. To me, that’s worth an afternoon’s work.
Learning to use a router is a great introduction to serious guitar modifications. It can be intimidating, but once you learn the basics, it opens up so many possibilities for modifications and repairs. Embrace the router!