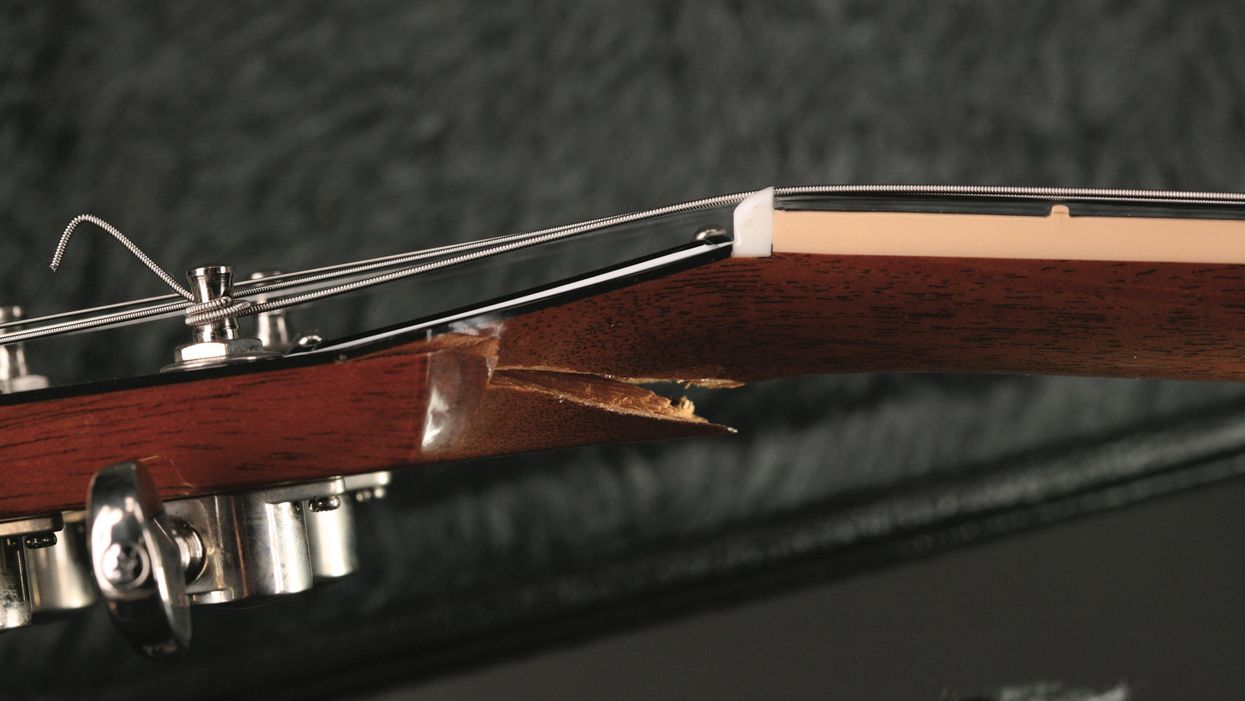
Covid caused a huge uptick in guitar sales and repair requests. If you're considering trying to fix it yourself rather than wait in line, here's a simple rule of thumb to keep in mind.
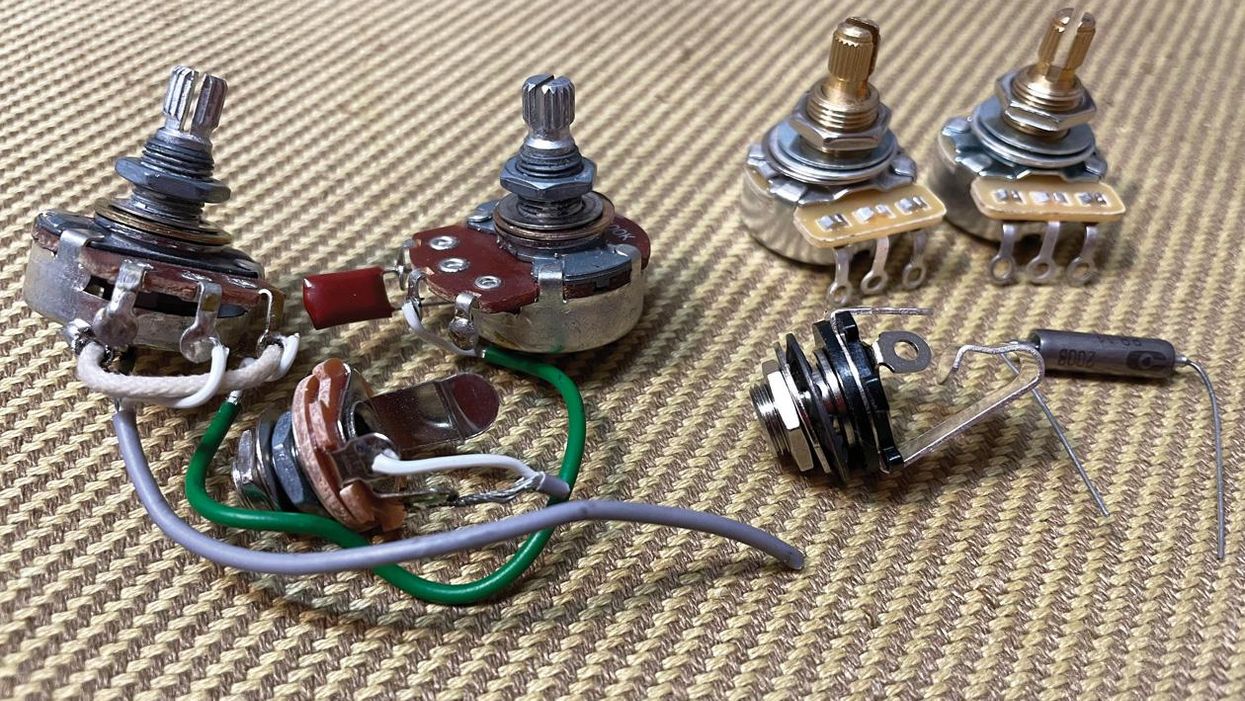
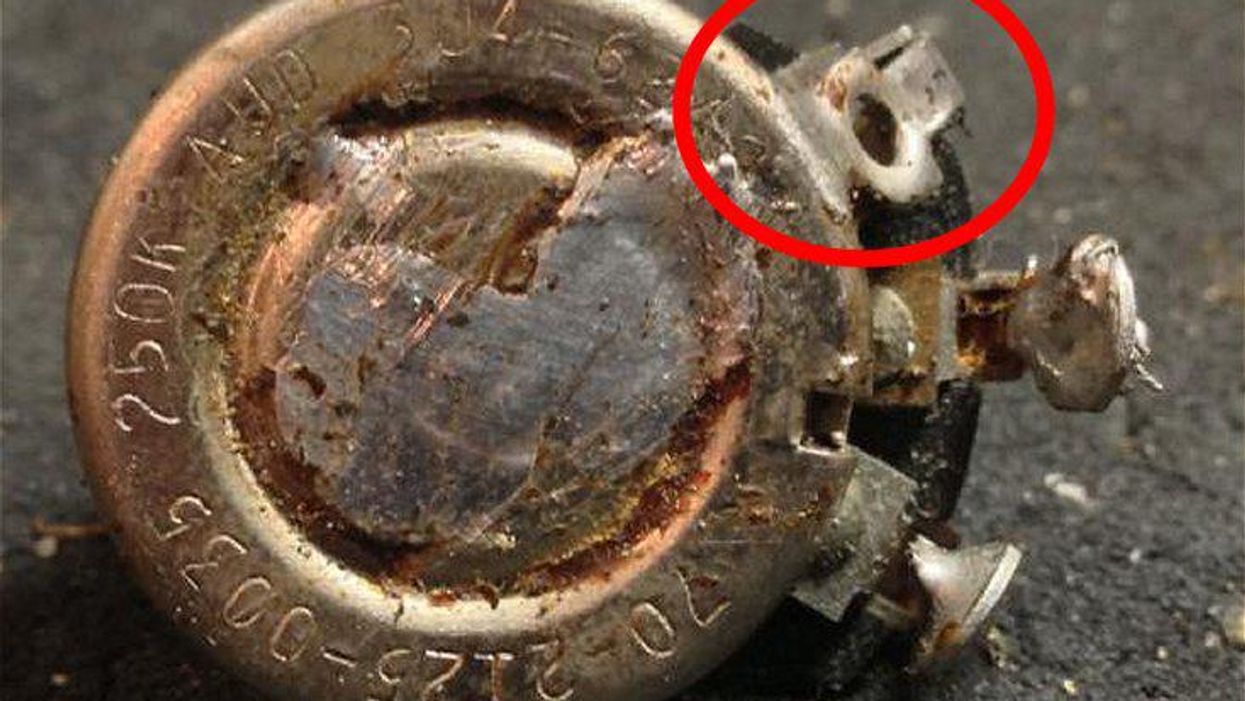
Here are four ways to ground individual lugs to pots, two ways to connect ground wires to pickups, and a clever soldering technique developed by my colleague Mark Foley.