
Welcome back to Mod Garage and to the second and final column about grounding in passive guitar and bass circuits. If you missed the first part, check out "How to Ground Passive Guitar (and Bass) Circuits, Pt. 1," from April 2021. Today we'll discuss grounding individual lugs on pots, which is usually the case on all volume controls, but also on some certain tone pots, depending on how the circuit is set up.
To resume from the first part, please remember that the goal is to connect an individual part or piece in the circuit to ground, and the quality of a ground connection inside a passive circuit is not dominated by the gauge of the wire that's used. So, the more the merrier may look cool, but it's simply not necessary to overdo it here. Personally, I use a silver-plated, solid core AWG24 copper wire that looks nice and shiny and is also a joy to work with.
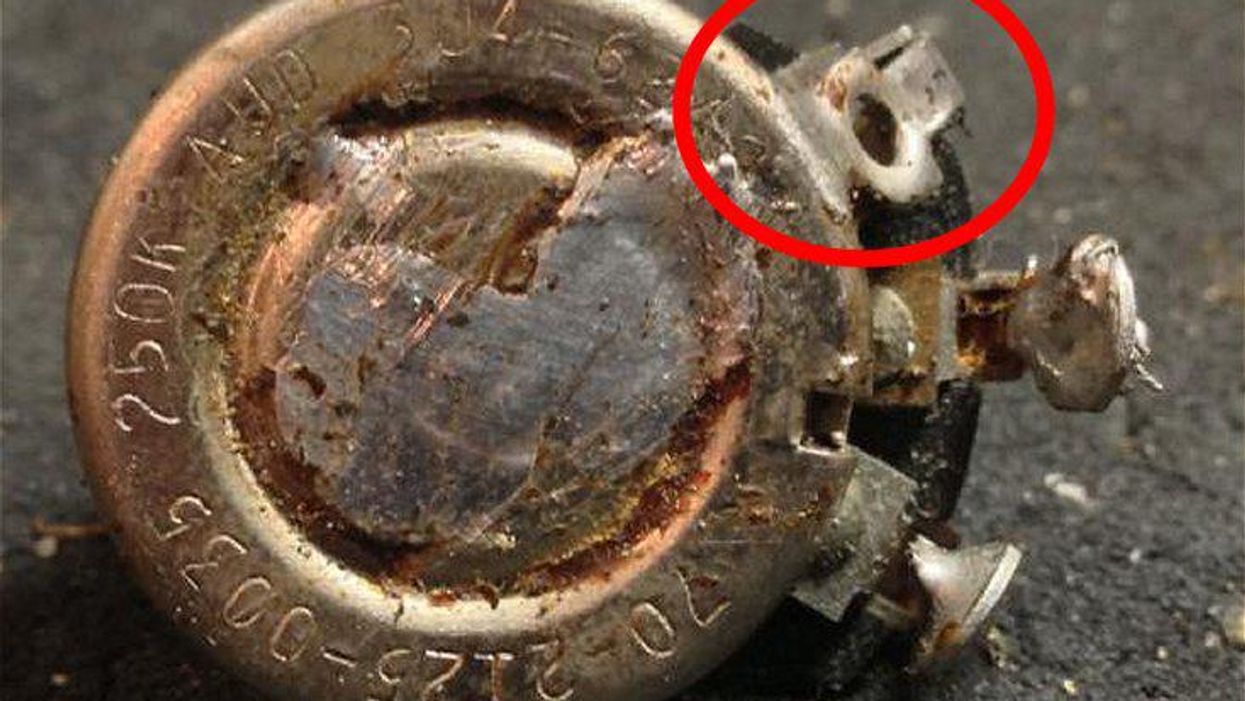
Let's start with version #1, the method that started it all: soldering the lug directly to the casing of the pot. This is the version Leo Fender used (remember: Leo didn't waste time on anything that wasn't necessary), but Gibson and all others used it as well. I like to call it the "cowboy version," or, for you Trekkies: This is the version James T. Kirk would have chosen when he would be into guitar-circuit soldering.
The handle of the cage is used to connect all three ground wires from the pickups individually, so it's easy to remove only one when you need to without adding any more heat to the case.
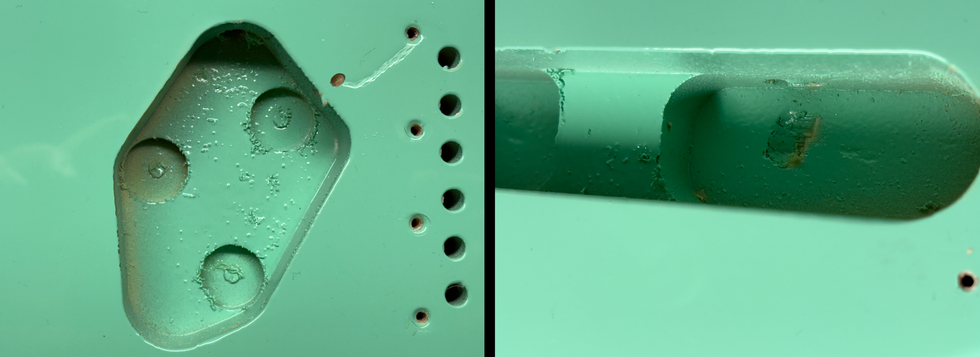
This is the most basic version and it's simply about bending the lug towards the casing of the pot and soldering both parts together as shown here in our example on a Stratocaster volume pot from 1965 (Photo 1). This sounds easy but it isn't. When you're not restoring a vintage guitar, I recommend using one of the other versions that follow. Depending on the pot, chances are good that you'll break the lug easily while attempting to make it touch the casing. This isn't the end of the world, but avoidable trouble.
Let's assume you managed to bend the lug towards the case without breaking it. You'll need a really hot soldering iron to connect both parts with each other, and soldering time will be a little bit longer than usual. The chance of overheating the pot is something to consider. With a good and quick soldering technique that comes with experience and the right tools, it's doable, but avoiding overheating is important to not kill your pot. If you're working on a vintage guitar, be very careful to not break the lug while bending it. Take care to clean both contact points and use a heatsink wherever possible. For more tips about soldering to pots, please read this column I wrote last year: "How to Install and Maintain Your Guitar's Pots."
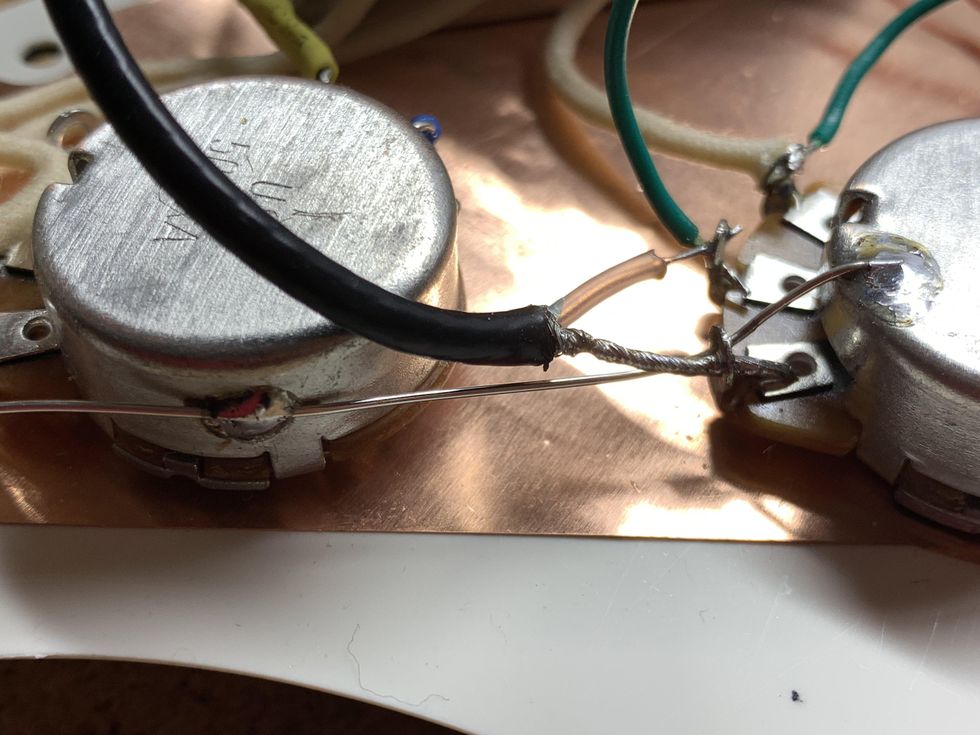
Photo 2
Courtesy of singlecoil.com
All following versions are the "Gentleman versions," or, for the Trekkies out there: These are the versions Jean-Luc Picard would choose. Version #2 involves extending the ground wire. This is easy and neat to do when you're running a bare ground wire from pot to pot. Instead of soldering it directly to the case of the pot, run the wire though the lug of the pot you want to ground and solder it as shown here in a Stratocaster wiring example using a shielded output wire to the jack (Photo 2).
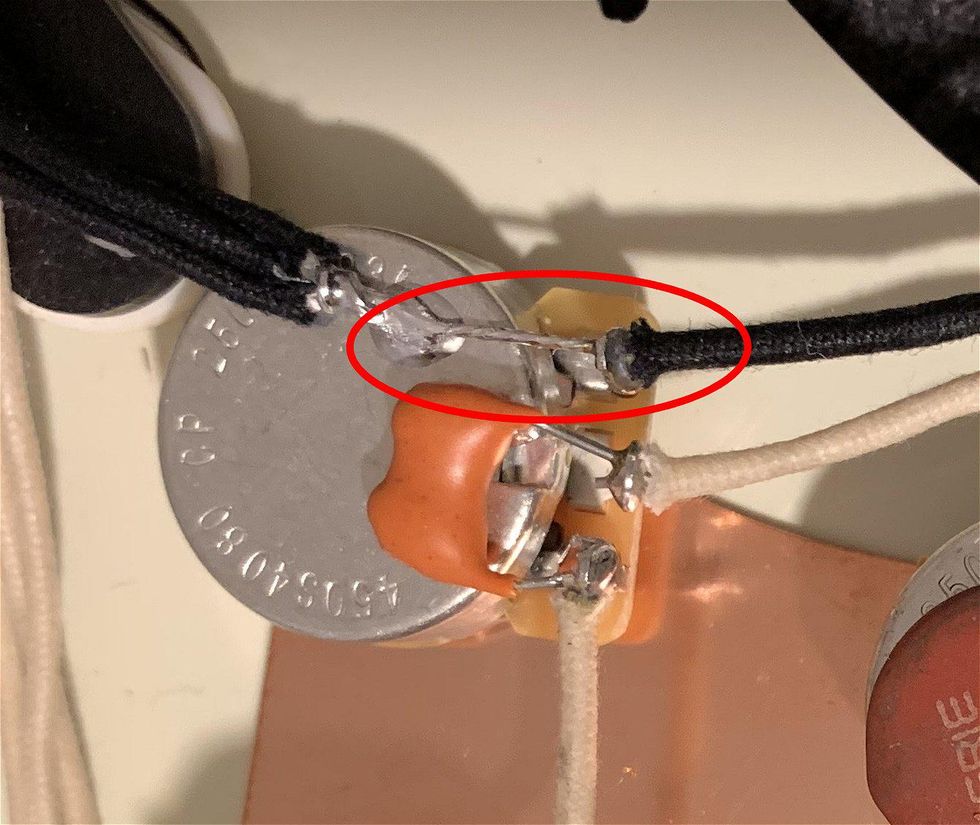
Photo 3
Courtesy of singlecoil.com
Version #3 is a kind of variation of version #2, using the grounded lug as the ground connection for the output jack, as shown here on a vintage-style Stratocaster wiring (Photo 3). Simply extend the ground wire for the output jack though the lug and solder it to the case and the lug, and you're done. I really like to use this version for a clean wiring, and as long as all pots are grounded this one works pretty awesome.
Version #4 is using a ground strap. When you're using a ground strap from pot to pot, you already must solder it to the case of the volume pot. Instead of heating up the case for a second time to connect the lug to ground, it's much more reasonable and easier to connect the lug to the ground strap. For this you have three choices:
1. Leave some slack on the ground strap so it touches the lug.
2. Bend the lug upwards so it touches the ground strap. Do not break it!
3. Solder a piece of wire to the lug and the other end to the ground strap.
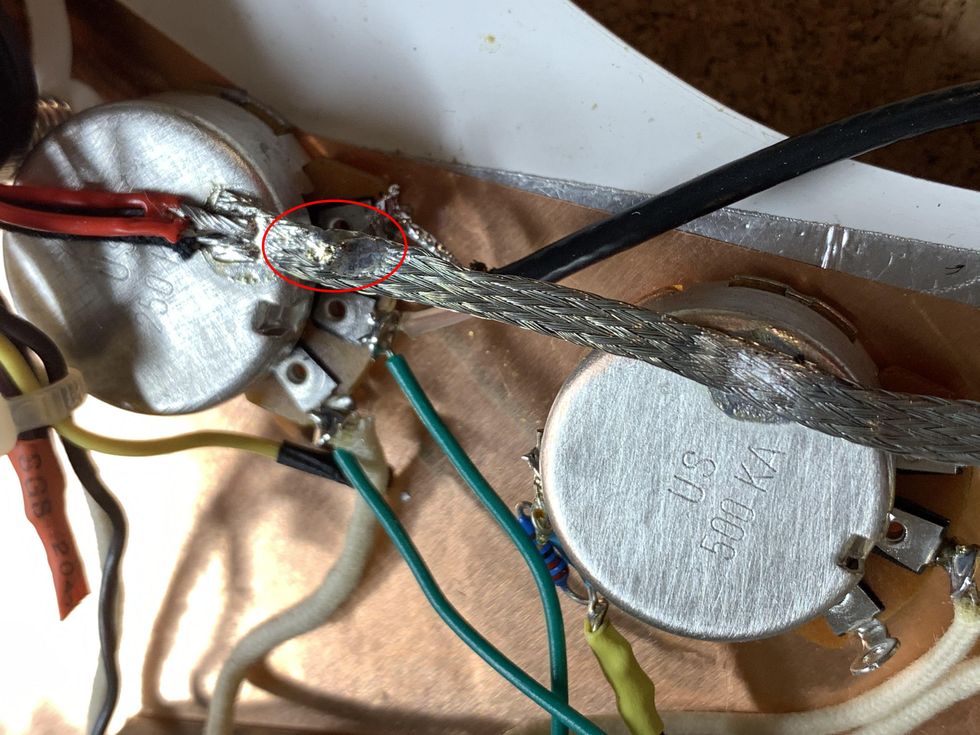
Photo 4
Courtesy of singlecoil.com
In our example, shown in Photo 4, I used the slack method, so soldering was easy.
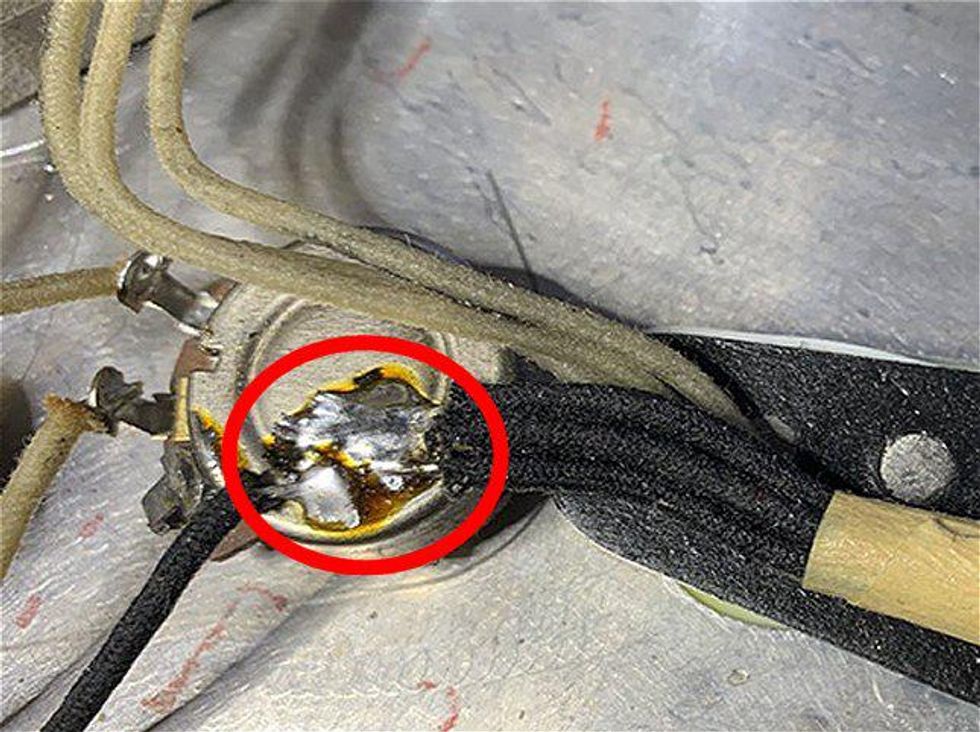
Photo 5
Courtesy of singlecoil.com
Now let's have a look at how to connect the ground wires of the pickups to ground, starting with the method Fender used right from the start on the Stratocaster: soldering all three wires side by side on the case (Photo 5).
Here you can clearly see: The lug is directly soldered to the case and the additional black wire you see is the ground wire from the output jack, so this case had to stand a lot of heat during the installation process. The advantage of this method is it's easy to change only one pickup if you need to by unsoldering only its individual ground wire. The disadvantage (besides the large amount of heat to the case) is that you need some practice to master this method because you must hold all three wires in place while soldering and usually need three hands for this (another one of those "alien tasks" in lutherie).

Photo 6
Courtesy of singlecoil.com
A really good alternative is to twist and solder all three ground wires together, so you only have one small soldering spot on the case (Photo 6). This is quick and easy to do, looks neat, and saves you some time, nerves, and exposed heat to the pot's case. You can also extend the twisted part to the lug you want to ground, similar to version #3 above, only the other way around. The disadvantage is that it's not so easy to change only one of the pickups if you need to. You'll have to unsolder all three ground wires, cut off the twisted part and pull out the wire you need.
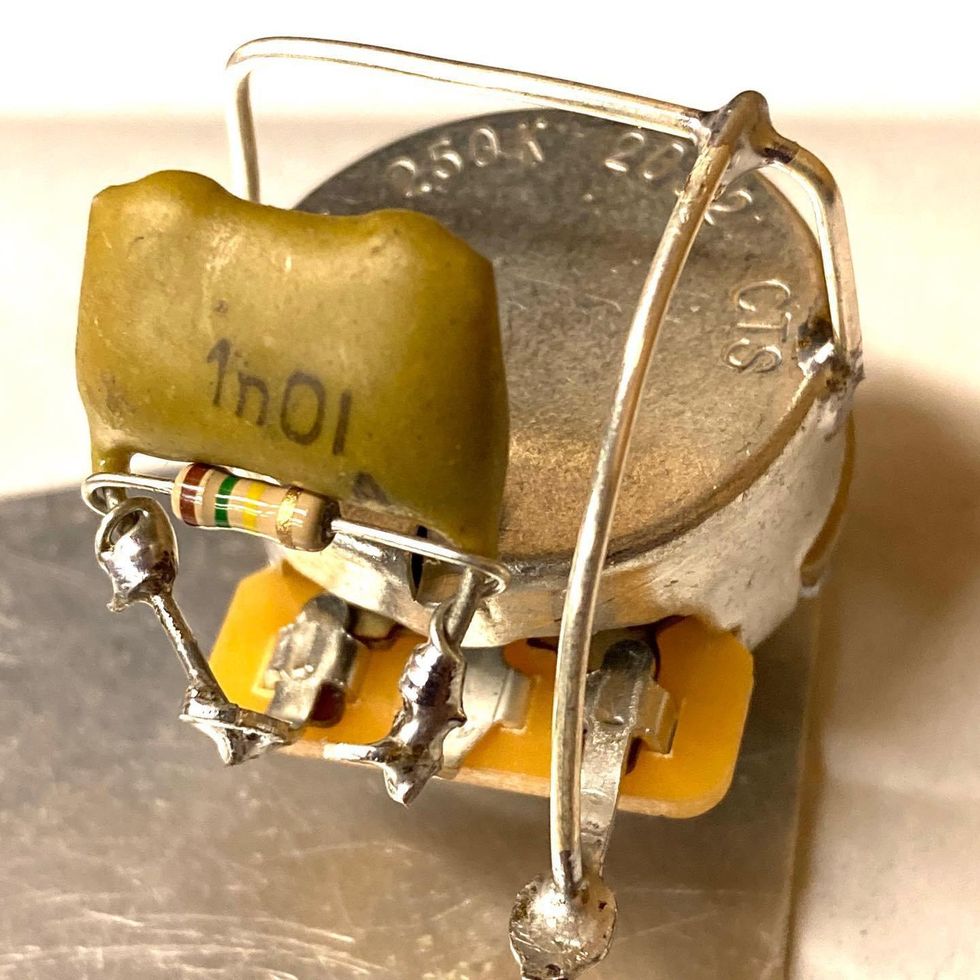
Photo 7
Courtesy of Mark Foley/mfguitarproducts.com
In closing, I want to show you a really cool version that brings it all together that my friend Mark Foley, from MF Guitar Products in the U.K., is using.
Foley builds a kind of cage on the volume pots, connecting the lug with a piece of wire to another piece of wire (Photo 7). The intention and advantages are clear to see: Bending a lug downwards is much easier than upwards and the chance of breaking it is very minimal. Besides this, you only have two small soldering spots on the case that are quick and easy to do, saving a lot of heat on the case. So, what is the "handle" running across the case of the pot for? Is it only for connecting the wire coming from the lug? No, the best part is yet to come.
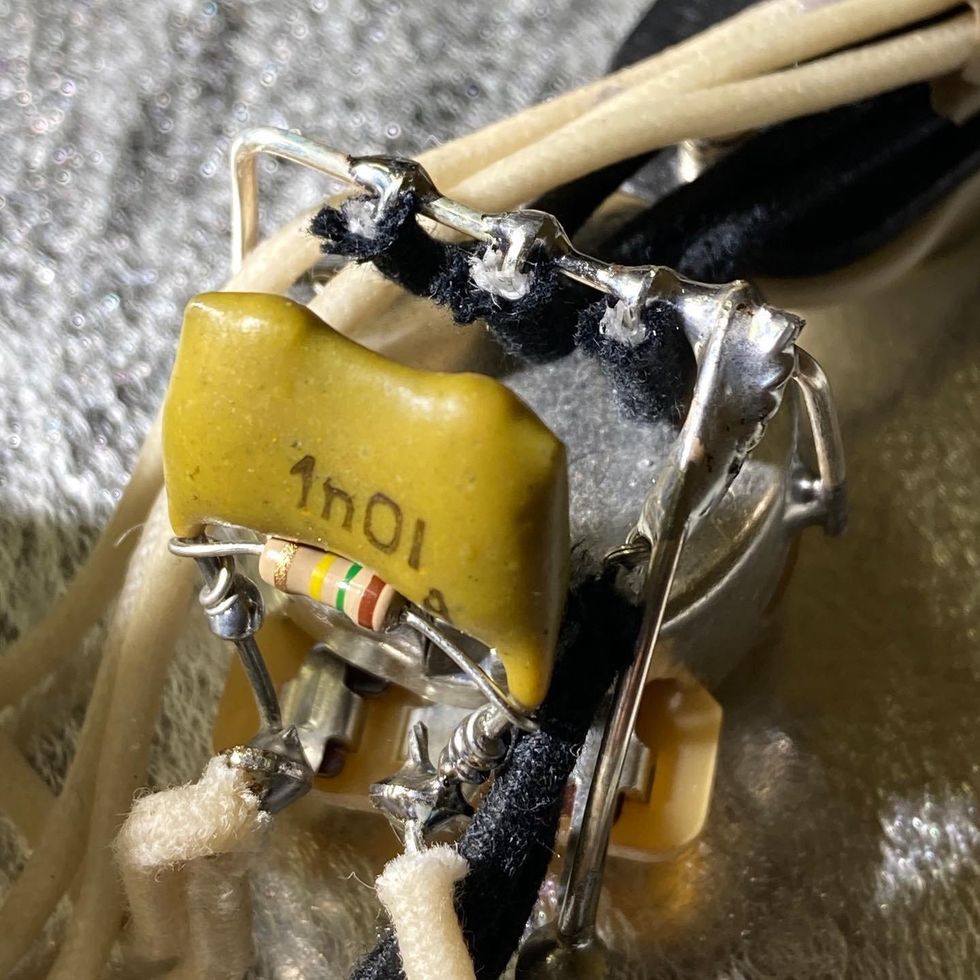
Photo 8
Courtesy of Mark Foley/mfguitarproducts.com
The handle of the cage is used to connect all three ground wires from the pickups individually, so it's easy to remove only one when you need to without adding any more heat to the case (Photo 8). It's also the perfect connection point for any other ground wires in the circuit, like the ground wire from the output jack, the string grounding wire coming from the tremolo claw, etc. And it's also a great guide for the hot wires from the pickups on their way to the pickup selector switch, so you don't need to use any additional tape, cable ties, or whatever else to bundle the wires. Is that a cool and clever solution, or what?
That's it for the topic of grounding. Next month we'll explore our next guitar mod, so stay tuned. Until then ... keep on modding!