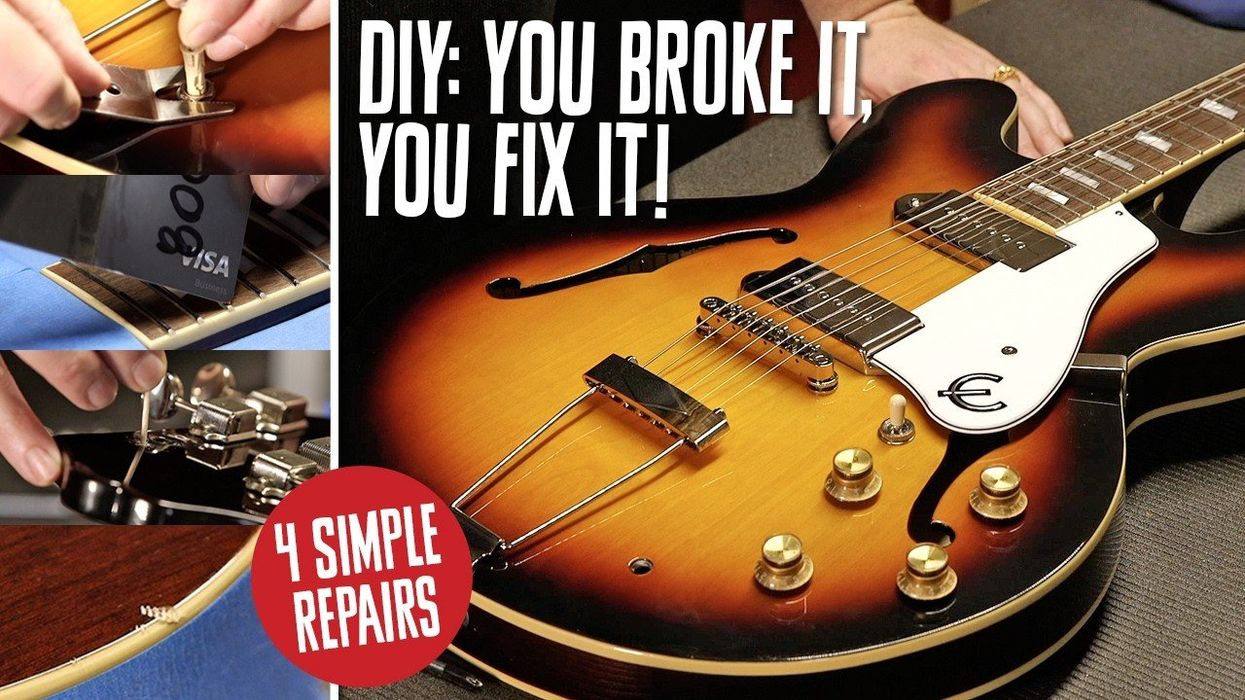
In the video, Dave Johnson of Nashville’s Scale Model Guitars shows you the steps for replacing a standard 1/4" jack, with a boat-style plate, with a Pure Tone Multi-Contact Output Jack.
It has four points of contact, versus the OEM two, and dual tension grounds to hug the cable sleeve in place from both sides, providing more reliable performance and better tone. After explaining how a jack carries mono or stereo signal, and taking a sidetrack to detail how to solve the issue of a loose output jack with a severed ground wire, Dave relates how to remove the two jack plate screws, and then remove the output jack nut with a 1/2" nut driver. And then strip the wire—red is hot, white is ground—to prepare for soldering.
Dave takes a few minutes to teach the basics of soldering, with a Hakko soldering station—his preferred instrument. He also recommends Kester 60/40 rosin core solder, which is 60 percent tin and 40 percent lead, in .062" thickness. (Hint: Look for silver beads of solder, not gray, when soldering!) Before joining the wires to the jack connections, he slides some shrink tubing (from Harbor Freight Tools) on them.
After making the connections, he shrinks the tubing with a cigarette lighter, to preserve the integrity of those connections. A locking nut and the nut driver takes care of the next step, and after a quick test—plug in and hit the strings—it’s time to screw the boat plate back in place. Dave also shares a golden rule for working on guitars: always go slow. Think of the tortoise and the hare—although this entire process can be done in less time than it takes to watch this video.
For an in-depth written version of this jack replacement lesson, with photos, check the June 2023 issue of Premier Guitar or go to premierguitar.com.