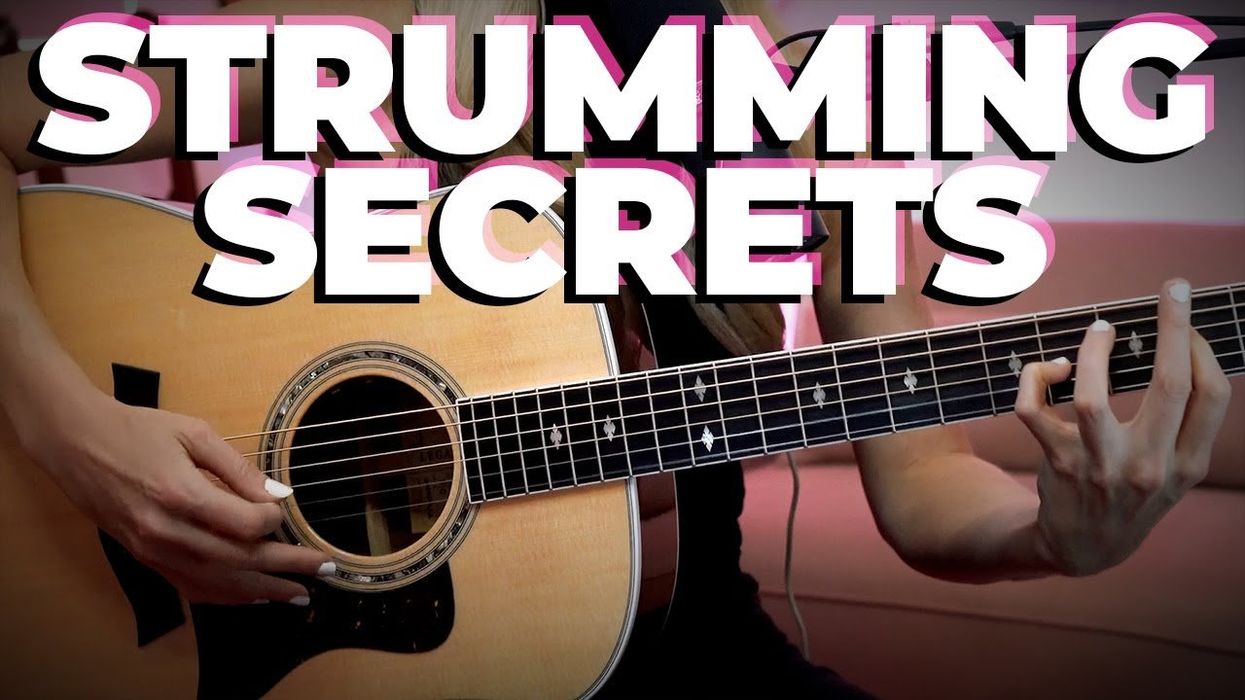
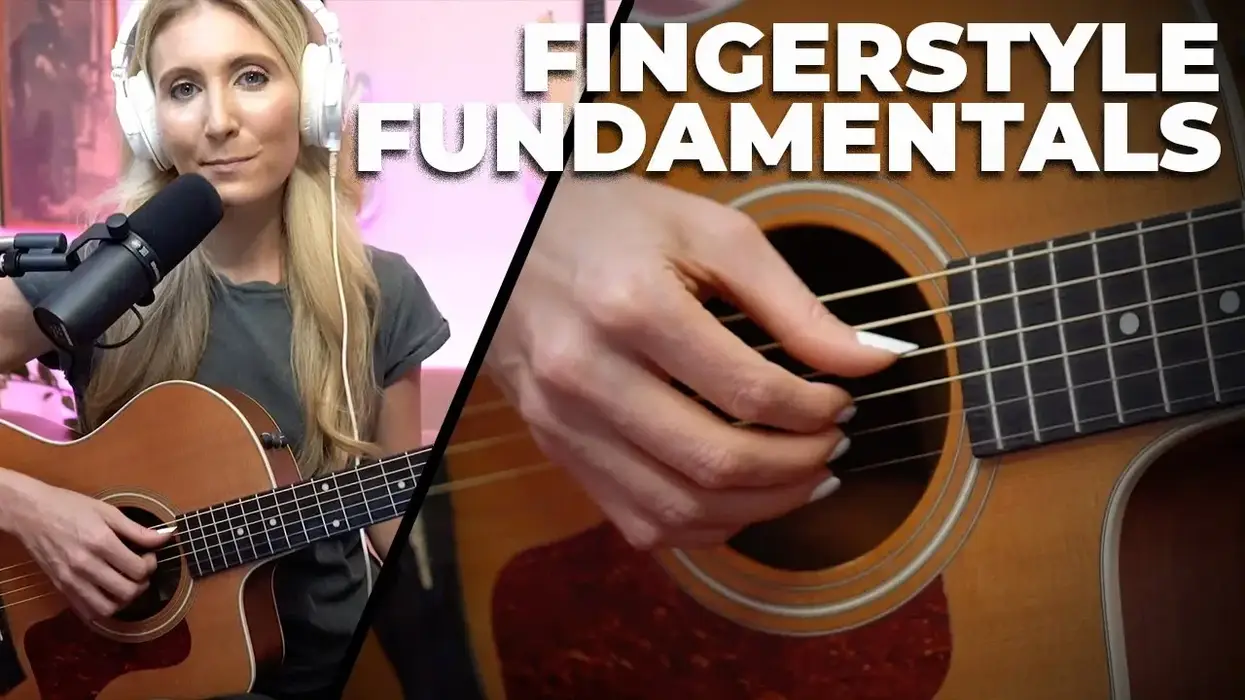
An essential skill that’s often overlooked.
Beginner
Beginner
• Learn how to add interest by “missing” strums.
• Create patterns influenced by drumbeats.
• Understand how to systematically improve your rhythm playing.
Strumming great rhythm guitar is a core skill. It’s never too soon—or too late—to get a solid groove going. With a few simple chord shapes, you can be up and running rather quickly. (You can even tune your guitar’s open strings to a chord and simply strum the open strings.) Players like Neil Young, Kurt Cobain, Noel Gallagher, and Jimmy Page all have an individualized approach to simple strums. Let’s dig in and tighten up our rhythm chops.
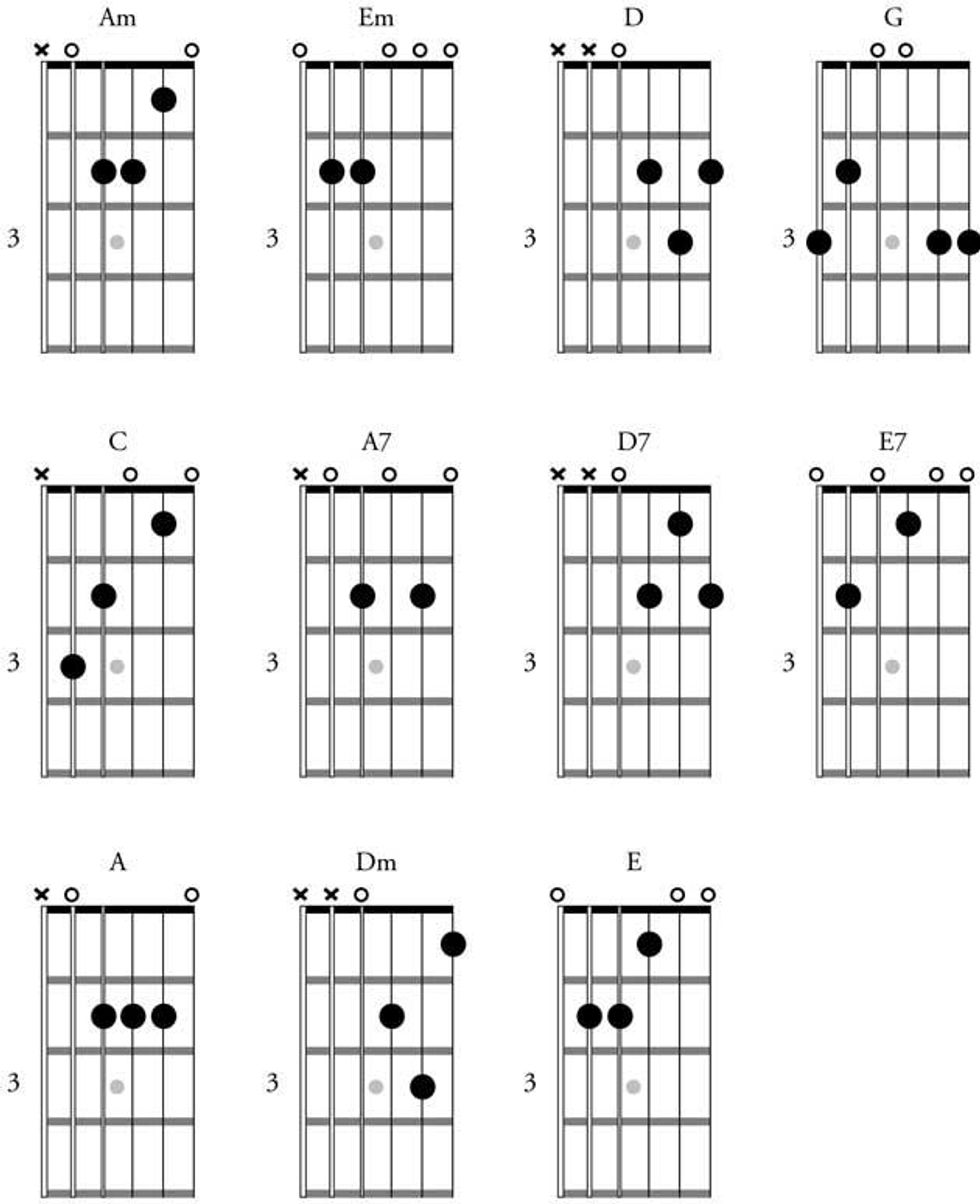
These music examples use a variety of basic chords and progressions, but if they’re still too challenging, don’t give up. Pick any chords you like and try them. Listen carefully to the recorded examples so that you can pick up details about the sounds we’re going for. Strumming is typically done with a pick, so I’ll recommend that approach. There are certainly strummed styles that use fingers, such as the elegant and sophisticated flamenco techniques and the unique and personal approaches of people like Jack Johnson or Tommy Emmanuel. Explore those but do try for some practice time with the pick.
Let’s begin with some basic symbols, terms, and notation systems.
We have downstrokes and upstrokes. A downstroke means the pick moves toward the floor. In this case it strikes the lowest strings first. Upstrokes are simply the reverse; you start by striking the higher strings first.
Let’s start by simply strumming an E minor chord with downstrokes (Ex. 1). We’ll strum once per beat. You can see the musical notation shows quarter-notes in 4/4 time. The downstroke symbol is used to remind you of the strum direction. Hold your pick loosely enough to pass quickly through the strings. We want the illusion that all the strings are being struck at the same time. Of course, the notes are staggered, but it shouldn’t sound that way. Strive for an “instant” sound.
Ex. 1
A light grip of the pick and a swift strum through the strings gives us a rhythmically precise and tight sound.
Does your strum sound like that? Great! If it doesn’t, it might be because your strum is a drawn-out motion that results in a harp-like effect, which lacks crispness and rhythmic precision. Save this for the last chord of a song or for an isolated effect. Not much groove happening in this version.
Neil Young - Cortez The Killer (Acoustic)
Upstrokes are usually reserved for upbeats. Thus, it’s common to incorporate eighth-notes with up strokes. A rule of thumb: Use downstrokes on the downbeats (1, 2, 3, 4) and upstrokes on the “and” or each beat. If you are tapping your foot to the beat, the pick direction will match your foot’s movement. In Ex. 2 you’ll see the rhythmic notation with pick strokes.
Ex. 2
It’s reasonable to assume that you must play all the strings with each stroke. While that’s possible, it’s not so common. Typically, the downstrokes favor the lower strings and the upstrokes favor the high strings. You don’t have to be super accurate. The beauty of this is that a bit of randomness makes it sound more human and more musical. Listen to Ex. 3 for the differences between this version and Ex. 2.
Ex. 3
Nirvana - About A Girl (MTV Unplugged)
Let’s do another example (Ex. 4), but this time with a chord change. Notice that the very last chord before the change is simply a few open strings. No one can change chords instantaneously, so it’s common to “cheat” like this: Use the last upstroke as your time to change chords. If you listen closely to some favorite songs, you might be surprised to hear how often this happens.
Ex. 4
Once the basic movements are comfortable, it’s time to add rhythmic variation (Ex. 5). Since we’ve been playing constant eighth-notes, we’ll now remove a strum—variety can be created via omission. Try this by “missing” the strings. In other words, keep your strum movement going, still up and down, matching the beat—just avoid the strings for a “miss.” Remember downstrokes are on the beat, upstrokes for the “ands.”
Ex. 5
Here’s another common rhythm, where we are “missing” one more strum (Ex. 6). Listen for which strings are struck with the downstroke and the upstroke.
Ex. 6
Noel Gallagher “Wonderwall” Live on the Stern Show (1997)
The previous two examples omit the sound of a couple of upstrokes, but we can also omit a downstroke (Ex. 7). This will create a syncopated rhythm. Syncopation is created by having an upstroke that is not followed by a downstroke. This helps to accent different parts of the measure.
Ex. 7
It’s time to notice details about musical stresses—what we call accents. A typical acoustic groove often mimics the feel of a good drumbeat. The low strings can act like a bass drum and the high strings can act like the snare drum. Basic drum beats often have bass drum on beats 1 and 3 and snare drum on 2 and 4. Ex. 8 is a simple way to adapt that to the guitar. Accents can be achieved by playing a certain chord louder or by striking more notes in a given chord. Adding some upbeats to this approach is like adding a ride cymbal or hi-hat to the groove.
Ex. 8
We can accent certain strokes and create interesting rhythms that way—even when there’s a seemingly bland rhythm, as in Ex. 9. Variety and interest are achieved through dynamics (musical volume) and accents. We can create a vibrant and intensely varied part that is anything but mechanical. The long wedge symbol is a crescendo, which means to gradually get louder. The symbols that look like “greater than” are accents.
Ex. 9
Ex. 10 is a variant of Ex. 9. Instead of eighth-notes (two strums per beat), we have 16th-notes (four strums per beat). The tempo is moderately slow, but it’s still quite busy. Remember, you don’t have to strike all the strings of the chord. Downstrokes favor low strings and upstrokes favor high strings. As with the previous example, an interesting rhythm is created via accents.
Ex. 10
Once you’re comfortable with your strums, it’s time to add rests. Rests are silences. We can use rests to add variety, since it can be tedious to have endless sound that’s not contrasted by silence. Rests are typically “played” by landing the pinky side of your hand on the strings. No worries if the rest makes a click sound, that can even be desirable. Try Ex. 11 for a simple exercise with rests.
Ex. 11
Sometimes the rest gets replaced with a percussive sound. Think of it like a “crash” into the strings: Your palm lands on the strings and the pick hits right after. It’s fine for the pick to hit just a couple of strings. This is a good way to mimic certain songs. Check out Ben E. King’s “Stand by Me.” There’s no guitar on that recording but you can emulate the percussion by playing Ex. 12.
Ex. 12
Ex. 13 is a good generic rock groove. I think of this as something akin to a basic drumbeat. This strum is useful whenever you need a driving groove.
Ex. 13
Being able to do a steady, eighth-note strum with a good feel and stamina takes time, so be patient! Practicing with a metronome or drum beat (there’s tons of smart phone apps and loops on YouTube) is great for developing your skills, so definitely work that in. Have fun!

- Rockabilly Rhythm Basics - Premier Guitar ›
- Rhythm Rules: Gypsy Jazz Primer - Premier Guitar ›
- Why Is Rhythm Guitar So Hard? - Premier Guitar ›
- Missing Link Audio Unveils the HD58 Humbucker Pickup - Premier Guitar ›
The giveaways keep going! Enter Stompboxtober Day 25 for your chance to win today’s pedal from SoloDallas!
The Schaffer Replica® - BASS-X
After introducing the Schaffer Replica Storm low end legends like Rudy Sarzo, Billy Sheehan, and Pino Paladino discovered it to be equally amazing on bass. Based upon their input we made a few minor changes to this beloved circuit to make it more conducive to higher amplitude and lower frequencies. To our loyal bassists who have waited so patiently, we proudly introduce The Schaffer Replica - BASS-X.
Here’s part two of our look under the hood of the funky rhythm guitar master’s signature 6-string.
Hello and welcome back to Mod Garage. In this edition, we’re continuing our journey through the Fender Cory Wong Stratocaster wiring, bringing it all together.In the previous installment, the last feature on the funky 6-stringer’s signature axe that we discussed was the master volume pot and the corresponding treble-bleed circuit. Now, let’s continue with this guitar’s very special configuration of the tone pots.
Tone pot with Fender Greasebucket tone system:
This 250k tone pot is a standard CTS pot with a 90/10 audio taper found in all U.S.-built Fender guitars. The Cory Wong guitar uses the Fender Greasebucket system, which is added to the pot as a ready-to-solder PCB. The Greasebucket PCB is also available individually from Fender (part #7713546000), though you can use conventional electronic parts for this.
Fender introduced this feature in 2005 on some of the Highway One models and some assorted Custom Shop Strats. The Greasebucket name (which is a registered Fender trademark, by the way) is my favorite of Fender’s marketing names, but don’t let it fool you: Your tone will get cleaner with this modification, not greasy and dirty.
According to Fender, the Greasebucket tone circuit reduces high frequencies without adding bass as the tone knob is turned down. Don’t let that description confuse you. A standard Strat tone control does not add any bass frequencies! As you already know, with a passive system you can’t add anything that isn’t already there. You can reshape the tone by deemphasizing certain frequencies and making others more prominent. Removing highs makes lows more apparent and vice versa. In addition, the use of inductors (which is how a passive pickup behaves in a guitar circuit) and capacitors can create resonant peaks and valleys (band-passes and notches), further coloring the overall tone.
Cory Wong bringing the funk onstage.
This type of band-pass filter only allows certain frequencies to pass through, while others are blocked. The standard tone circuit in a Strat is called a variable low-pass filter (or a treble-cut filter), which only allows the low frequencies to pass through while the high frequencies get sent to ground via the tone cap.
The Greasebucket’s band-pass filter is a combination of a high-pass and a low-pass filter. This is supposed to cut high frequencies without “adding” bass, which has mostly to do with the resistor in series with the pot. That resistor means the control will never get to zero. You can get a similar effect by simply not turning the Strat’s standard tone control all the way down. (The additional cap on the wiper of the Greasebucket circuit complicates things a bit, though; together with the pickups it forms an RLC circuit, but I really don’t want to get into that here.)
The standard Fender Greasebucket tone system is used in the Cory Wong Strat, which includes a 0.1 μF cap and a 0.022 uF cap, along with a 4.7k-ohm resistor in series. These are the values used on the PCB, and without the PCB it looks like the illustration at the top of this column.
Push-push tone pot with preset overwriting function:
The lower tone pot assigned to the bridge pickup is a 250k audio push-push pot with a DPDT switch. The switch is used to engage a preset sound by overwriting the 5-way pickup-selector switch, no matter what switching position it is in. The preset functionality has a very long tradition in the house of Fender, dating back to the early ’50s, when Leo Fender designed a preset bass sound on position 3 (where the typical neck position is on a modern guitar) of the Broadcaster (and later the Telecaster) circuit. Wong loves the middle-and-neck-in-parallel pickup combination, so that’s the preset sound his push-push tone pot is wired for.
The neck pickup has a dedicated tone control while the middle pickup doesn’t, which is also another interesting feature. This means that when you hit the push-push switch, you will engage the neck and middle pickup together in parallel, no matter what you have dialed in on the 5-way switch. Hit the push-push switch again, and the 5-way switch is back to its normal functionality. Instead of a push-push pot, you can naturally use a push-pull pot or a DPDT toggle switch in combination with a normal 250k audio pot.
Here we go for the wiring. For a much clearer visualization, I used the international symbol for ground wherever possible instead of drawing another black wire, because we already have a ton of crossing wires in this drawing. I also simplified the treble-bleed circuit to keep things clearer; you’ll find the architecture of it with the correct values in the previous column.
Cory Wong Strat wiring
Courtesy of singlecoil.com
Wow, this really is a personalized signature guitar down to the bone, and Wong used his opportunity to create a unique instrument. Often, signature instruments deliver custom colors or very small aesthetic or functional details, so the Cory Wong Stratocaster really stands out.
That’s it! In our next column, we will continue our Stratocaster journey in the 70th year of this guitar by having a look at the famous Rory Gallagher Stratocaster, so stay tuned!
Until then ... keep on modding!
The Keeley ZOMA combines two of iconic amp effects—tremolo and reverb—into one pedal.
Key Features of the ZOMA
● Intuitive Control Layout: Three large knobs give you full control over Reverb Level, Tremolo Rate,and Depth
● Easy Access to Alternate Controls: Adjust Reverb Decay, Reverb Tone, and Tremolo Volume withsimple alt-controls.
● Instant Effect Order Switching: Customize your signal path. Position tremolos after reverb for avintage, black-panel tone or place harmonic tremolo before reverb for a dirty, swampy sound.
● True Bypass or Buffered Trails: Choose the setting that best suits your rig.
Three Reverb and Tremolo Modes:
● SS – Spring Reverb & Sine Tremolo: Classic spring reverb paired with a sine wave tremolo for that timelessblack-panel amp tone.
● PH – Plate Reverb & Harmonic Tremolo: Smooth, bright plate reverb combined with swampy harmonictremolo.
● PV – Plate Reverb & Pitch Vibrato: Achieve a vocal-like vibrato with ethereal plate reverb.
Reverb: Sounds & Controls
● Spring Reverb: Authentic tube amp spring reverb that captures every detail of vintage sound.
● Plate Reverb: Bright and smooth, recreating the lush tones of vibrating metal plates.
● Reverb Decay: Adjust the decay time using the REVERB/ALT SWITCH while turning the Level knob.
● Reverb Tone: Modify the tone of your reverb using the REVERB/ALT SWITCH while turning the Rate knob.
Tremolo: Sounds & Controls
● Sine Wave/Volume Tremolo: Adjusts the volume of the signal up and down with smooth sine wavemodulation.
● Harmonic Tremolo: Replicates classic tube-amp harmonic tremolo, creating a phaser-like effect withphase-split filtering.
● Pitch Vibrato: Delivers pitch bending effects that let you control how far and how fast notes shift.
● Alt-Control Tremolo Boost Volume: Adjust the boost volume by holding the REVERB/ALT footswitch whileturning the Depth knob.
The ZOMA is built with artfully designed circuitry and housed in a proprietary angled aluminum enclosure, ensuring both simplicity and durability. Like all Keeley pedals, it’s proudly designed and manufactured in the USA.
ZOMA Stereo Reverb and Tremolo
The first sound effects built into amplifiers were tremolo and reverb. Keeley’s legendary reverbs are paired with their sultry, vocal-like tremolos to give you an unreal sonic experience.
Your 100 Guitarists hosts are too young to have experienced SRV live. We’ve spent decades with the records, live bootlegs, and videos, but we’ll never know quite how it felt to be in the room with SRV’s guitar sound.
Stevie Ray Vaughan was a force of nature. With his “Number One” Strat, he drove a veritable trove of amps—including vintage Fenders, a rotating Vibratone cab, and a Dumble—to create one of the most compelling tones of all, capable of buttery warmth, percussive pick articulation, and cathartic, screaming excess. As he drew upon an endless well of deeply informed blues guitar vocabulary, his creativity on the instrument seemingly knew no bounds.
Your 100 Guitarists hosts are too young to have experienced SRV live. We’ve spent decades with the records, live bootlegs, and videos, but we’ll never know quite how it felt to be in the room with SRV’s guitar sound. So, we’d like to spend some time imagining: How did it feel when it hit you? How did he command his band, Double Trouble? The audience?
SRV was mythical. His heavy-gauge strings tore up his fingers and made a generation of blues guitarists work a lot harder. And his wall of amps seems finely curated to push as much air in all directions as possible. How far did he take it? Was he fine-tuning his amps to extreme degrees? Or could he get his sound out of anything he plugged into?