Photo by David Black Artist Features How Khruangbin's Laura Lee Found Her Sound Nick Millevoi May 15, 2024
The Root of It All Remembering Reggae Bassist Aston “Family Man” Barrett As a member of Bob Marley and the Wailers, he was one of reggae’s original creators. Bill Leigh Mar 21, 2024
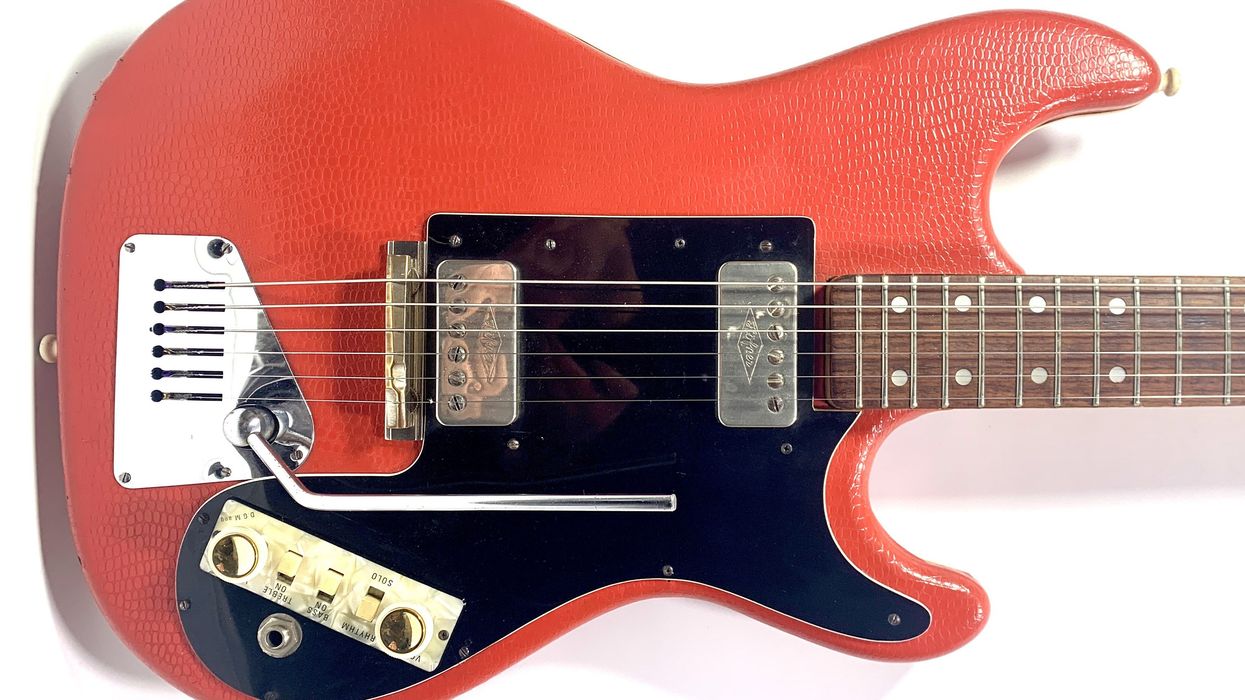
Mod Garage The Höfner HA2B Control-Panel Guitar Wiring Dig into the weird wiring of the Hofner Beatle Bass and 172 guitar. Dirk Wacker Feb 02, 2024
Rhythm Playing Soul Guitar Rhythm Prolific performer and teacher Shawn Persinger teaches you how to get inside the sounds of Cropper, Jamerson, Dupree, and more. Shawn Persinger Oct 07, 2023
Chords The “Stairway” Progression Zeppelin might be the most famous case, but plenty of songwriters have borrowed these infamous chords. Nick Millevoi Mar 25, 2023
Blues 7 Essential Blues Chord Substitutions Tired of playing the same old dominant 7 chords during a blues? Let’s fix that. Max Rich Sep 03, 2022
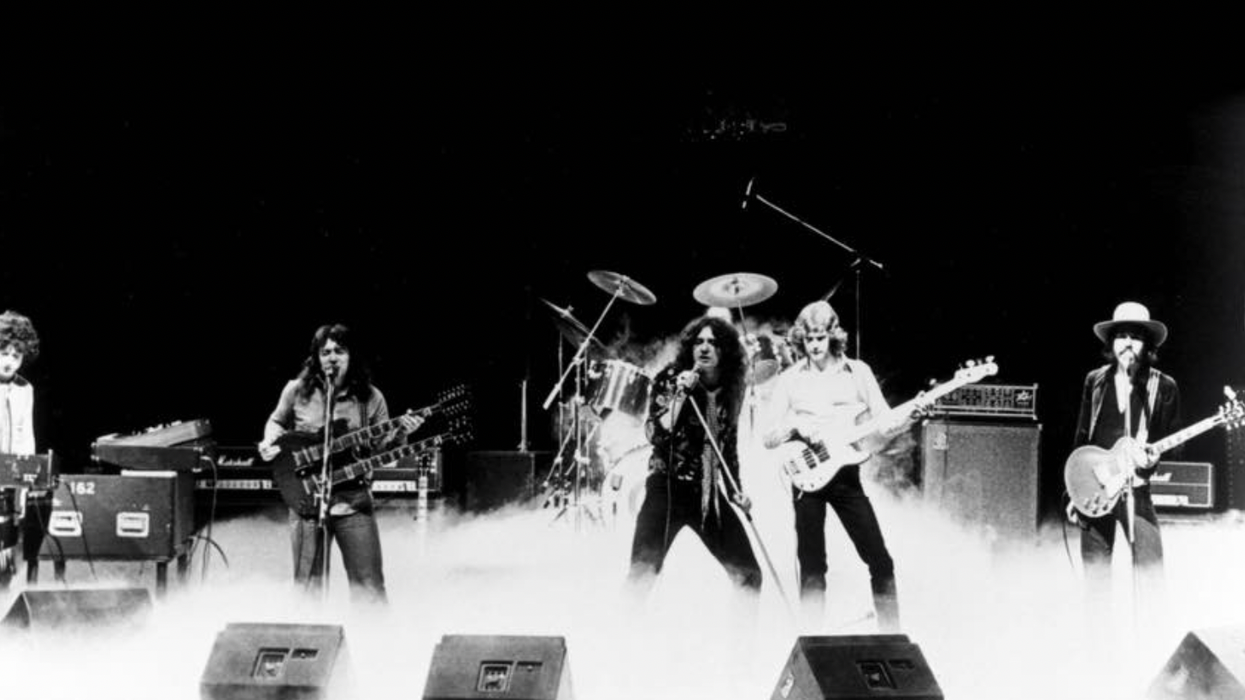
Rock Whitesnake’s Early Years Was Moody and Marsden one of the most underrated guitar duos of all time? David Schneider Jul 09, 2022