
Chops: Beginner
Theory: Intermediate
Lesson Overview:
• Create simple and meaningful blues phrases in the style of B.B. King.
• Understand how to emphasize chord tones over a blues progression.
• Learn how to use repetition to build tension in your solos.
Click here to download a printable PDF of this lesson's notation.
Improving your intonation on slide guitar can be a real challenge when you’re flying solo—one is definitely the loneliest number in this context. Most people don’t realize it, but when you’re learning slide guitar, you’re not just developing your muscle memory. Training your ear to discern the subtleties of pitch variation is as important as developing your touch.
Playing with a slide opens the door to much greater pitch inflection then simply fingering a note on the fretboard. When fretting notes, the main challenge is to avoid using a death grip—applying too much pressure will result in a note going sharp. But when playing with a slide, you can easily sound sharp or flat on any given note. Too many players simply rely on their eyesight to tell them when their slide is in tune. Although this can work, to truly master slide you need to learn to hear when it’s in tune. I’ve often had to adjust for a string that went a little out of tune onstage, and when that happens, you can’t trust your vision to bail you out.
Drone Methods
One of my favorite ways to help develop my ear for slide intonation is to play against a drone. The drone acts as a pitch anchor. If you’ve been playing guitar or any instrument for a period of time, you’ll be able to hear if you’re sharp or flat when playing against a drone.If you’re new to guitar, it may take a little while, but you’ll learn to decipher subtle pitch variances over time.
There are several ways we can approach using a drone. My favorite method is to use an app for the iPhone called iTabla. It allows me to choose several drone instruments and pitches. It even has rhythms to play along with. To this day, I still practice slide with this app.
You’ll also find drones on YouTube that musicians have created. However, this isn’t my favorite method because I find YouTube to be distracting. When I’m practicing, I want to be in a place of Zen, not drawn to the computer screen like a fly to a bug lamp. ZAP!
Yet another method is to use a looper pedal. I’ve been using the Pigtronix Infinity looper, but really any basic looper will work. When making your own loops, avoid adding too many intervals to your drone. It may be tempting to add a 3 or a 5 to create a chord. Try just the root layered a few times. If you can digest the sound of one note looping, do that.
Whatever drone method you employ, it’s a good idea to turn off your phone when practicing. Distractions ruin your concentration. It’s not about quantity of time, but quality.
Tune In
Make sure you tune your guitar first! This is going to be crucial—not only for when you’re playing slide, but also when creating the loop. Tuning should be your mantra. Tune, tune, tune. Repeat with me….
To get the party started, I created a loop for us to play along with. Here is a long version of the loop for practice. (Click the link here to download the loop as an MP3 along with a PDF.)
Slide Tone
Your instrument’s timbre can greatly influence your slide experience. Adjusting the guitar’s tone for slide makes the learning experience much more enjoyable.
Guitar
It can be very difficult to learn slide on an acoustic guitar, and this is especially true for dreadnought flattops. That’s because slide is all about midrange, and many dreadnoughts are a bit scooped in the mids. Also, the sustain on most acoustic guitars—or lack thereof, when compared to an electric—presents a challenge. I’m not saying it can’t be done, but I am saying it will be more frustrating. If you want to take the acoustic route, consider nabbing a resonator guitar. They’re naturally lush in the frequencies that complement slide, which makes them a great match.
Amps and Effects
On the electric slide front, I avoid completely clean tones from Fender blackface-style amps. Blackface amps have a scooped midrange, making them the electric equivalent of an acoustic dreadnought. If I do use a blackface or silverface Fender, or an amp inspired by these classic designs, I use a few tools to assist my slide-playing experience.
For example,the right overdrive can embellish the slide in a flattering way. This is a place where I really like the Klon. Some argue it’s a boost, some say it’s an overdrive. Whatever. All I care about is that a Klon is rich in midrange. You don’t have to drop a ton of cash for an original Klon that you’ll be too scared to step on. There are many Klon-inspired pedals out there, but I prefer the J. Rockett Archer Ikon paired with a glass or porcelain slide. These two can really bring the whine out of your guitar—in a good way.
Slide guitar loves compression. Compression allows us to play with more nuance because it increases the guitar’s sustain. This means we can attack the string less and hear intonation more clearly. Currently, I’m using an Origin Effects Slide Rig, but of course, any good compressor will work.
Don’t think of overdrive or compression as cheating. It’s not. You don’t call putting jelly on a peanut butter sandwich cheating, do you? Slide, overdrive, and compression are like peanut butter and jelly sandwiches. (Unless you have a nut allergy, that is.)
Setup
Much has been written about guitar setups intended for slide. I’m not going to tell you to have a dedicated guitar that’s configured for slide. I rarely do that unless I’m on a long tour and using a specific guitar for slide every night. In general, I play slide on the same guitar I’ll play the rest of the set with. However, action that’s too low will hinder your slide playing. You have to find balance, but it is possible. It might take some experimentation, but you can play slide on the same guitar you play all the time. Typically, I use a guitar strung with a .010 set for both regular and slide guitar.
In the following audio examples, I used the bridge pickup on a stock Fender American Standard Stratocaster into a Victoria 518 with both the Archer Ikon and the Origin Effects Slide Rig. I recorded it with an AEA A840 ribbon mic and the UAD Helios 69 Unison preamp.
What I Never Learned in Study Hall
Now it’s time to dig into some exercises. First, we’re going to work using the slide on one string. I know, Captain Boring just showed up to the party and brought water and white bread as treats. But bear in mind that everything you will learn on one string can be applied to all six strings. Personally, I like starting out on the 3rd or 2nd strings. The 1st string presents some of its own challenges, especially on a guitar that’s not set up well for slide.
We’re going to work out some examples in the key of D major (D–E–F#–G–A–B–C#). At first, we’re not going to use the entire scale. We’re going to play chord tones from a D major triad (D–F#–A) against the D drone. We’re naturally used to hearing the sound of chord tones. Because of this, it will be easiest to develop our intonation using these notes.
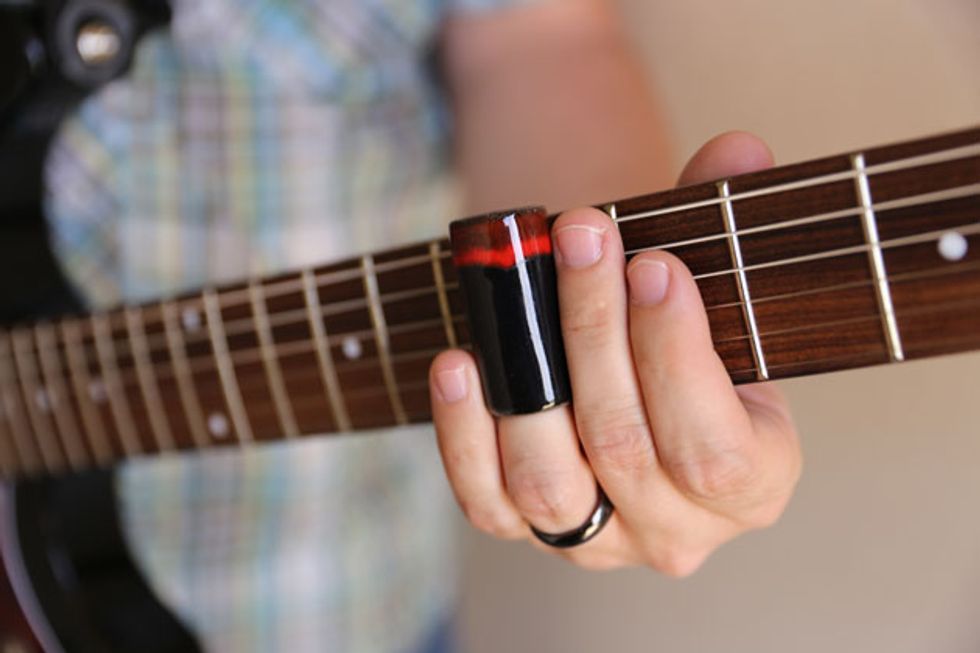
One more thought before we dive in: Technique has an impact on intonation, and an inconsistent hand position can make your pitch wander. My thumb moves with the slide, always sitting behind my first finger, and I suggest you try that too.
Click here for Ex. 1
Let’s make sure to not use vibrato. We don’t want anything masking the note we’re starting from or landing on. Yes, I know it will be painful at first. Be prepared when your loyal dog goes running, your spouse scrambles for noise-canceling headphones, and your kids beg to sleep over at a friend’s place.
Right now, we’re just using the 2nd string. But over time, you could apply this exercise to different strings using the same notes. You could also include a chord extension after you master simple triads. Try adding a 7 or b7 to the chord.
In Ex. 2, you’ll hear me sliding from A (the 5 of the chord) up to D (the root). I also add some major 7 (C#) and major 6 (B) flavors for color. I’m still only using one string and no vibrato.
Click here for Ex. 2
This exercise (Ex. 3) is built around descending moves. I start by sliding from the root (D) down to the 5 (A). Then I move from the 6 (B) down to the 3 (F#). The rest of the example simply consists of methodically moving through the chord tones.
Click here for Ex. 3
In Ex. 4, we start to infuse some country blues into the lines. We’re also going to use more than one string, though this doesn’t mean we’ll be abandoning the one-string practice routine.
In beat 1, listen for a subtle downward slide. There isn’t a destination note—we actually stop at the point before it would reach a half-step lower. This drop is the type of expressive move that the slide makes possible. In beat 2, you’ll hear a b3 slide into a 3—a classic country-blues move. At the end of the measure, you’ll play the b3 on the 4th string before resolving to the root on the 5th string.
Click here for Ex. 4
Remember how I said the 1st string is tricky to slide on? Now that you’ve developed some control over your slide and intonation, I think it’s time we try to incorporate it a little (Ex. 5). In measure one, we’ll start off by sliding from the root (D) up to the 2 (E) on the 1st string. Next, we’ll do a similar move, but we’ll slide up to the 3 (F#). At the beginning of measure two, I slide from the root (D) up to the 5 (A). I’m definitely taking the training wheels off for this one.
Click here for Ex. 5
Slow Ride, Take It EasyIt’s important not to move through these exercises too fast—either in tempo or content. The point is to improve your intonation, so take your time and work on developing pitch accuracy. Once you gain this, it will remain with you for life. If you really want to test your ear, turn the lights off and find the notes against the drone. It will be terrifying at first. But after you practice this way a few times, it becomes quite empowering.