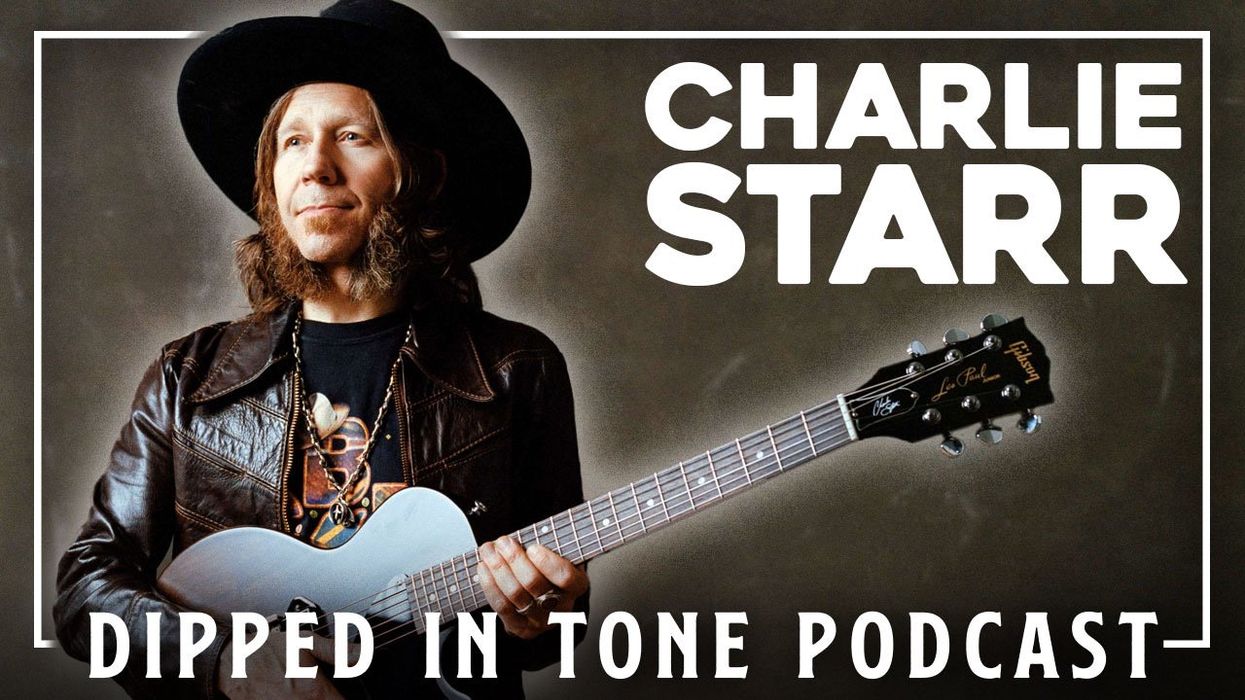
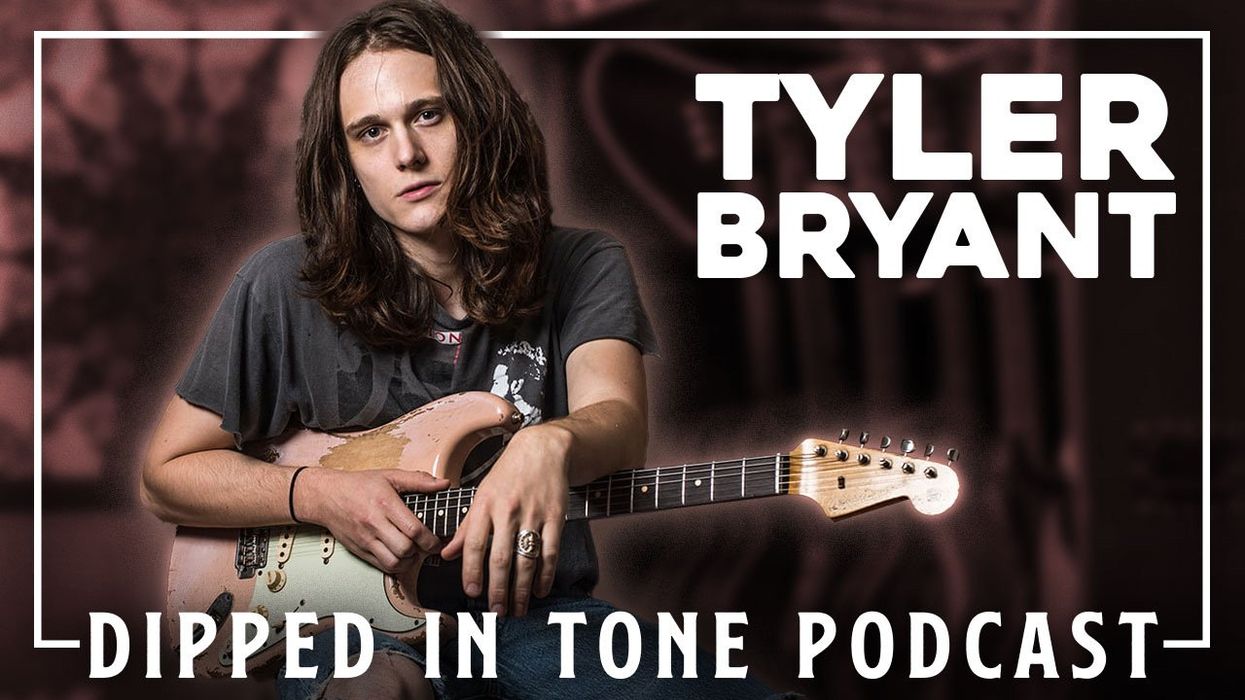
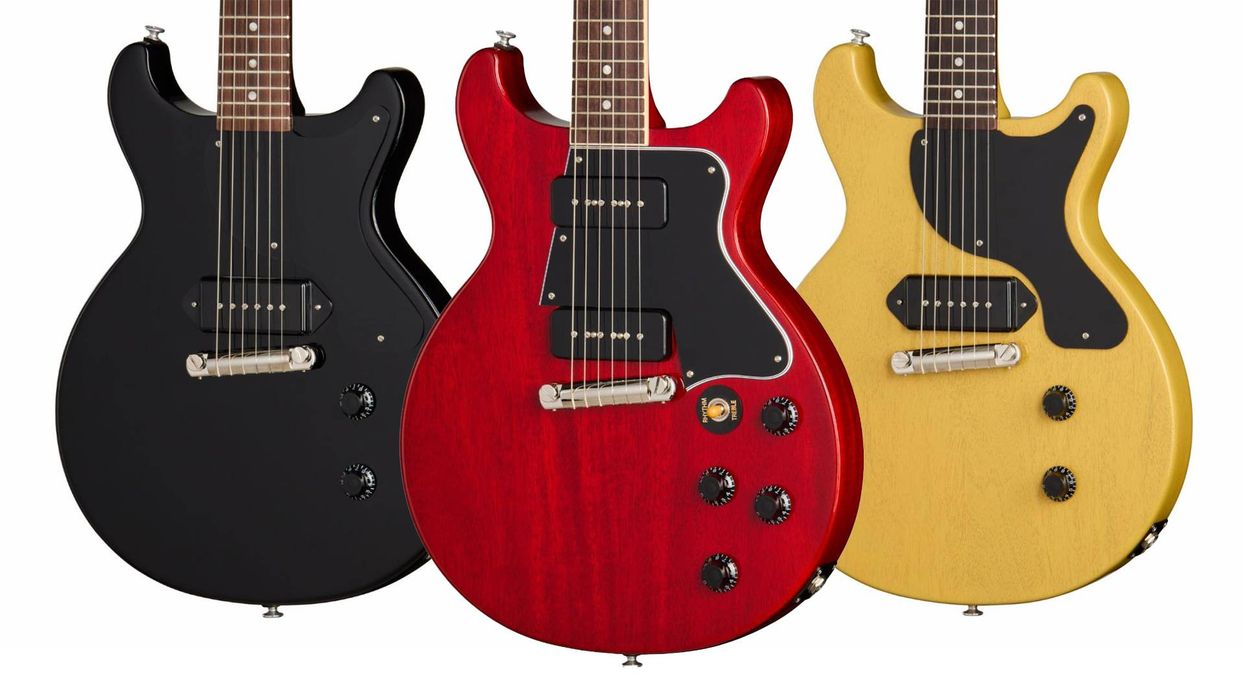
Rhett and Zach go granular with Blackberry Smoke leader Charlie Starr on the elements—both real and imagined—that make certain Gibsons stand out from their peers.
In the annals of Gibson Les Paul players, Charlie Starr is an under-the-radar aficionado. Starr’s stable over the course of his career with southern-rock group Blackberry Smoke has been stocked with some of the sharpest old-school LPs on earth, and he’s got a particular predilection for Juniors.
But what sets one Paul apart from another? Starr, Rhett, and Zach go down every rabbithole in their hunt to nail down what makes a particular Gibson great, including misconceptions around P-90s and their relationship to PAFs, Juniors versus Standards, and whether wood and total construction have a big impact on tone. Some players argue that the sound is all in the pickups; tune in to learn why the trio thinks that theory is bunk, right down to the last, least consequential cap.
Plus, find out when Starr thinks Gibson perfected the Les Paul’s neck shape and bridge positioning, how top-wrapping impacts your sound, and a foolproof way to I.D. a legit, vintage PAF. (If it’s original, it’s gonna stink.)
Get 10% off your order at stewmac.com/dippedintone
- Why Blackberry Smoke Still Believes in Americana ›
- Charlie Starr Brings the Thunder! ›
- Rig Rundown: Blackberry Smoke's Charlie Starr & Paul Jackson [2023] ›
It’s Day 26 of Stompboxtober! Today’s pedal from MXR could be yours—enter now and return tomorrow for more!
MXR M309 Joshua Ambient Echo Pedal
The MXR Joshua Ambient Echo is your ticket to iconic sonic sanctuaries, featuring a foundation of carefully concocted tones and textures, highly customizable delay, and other features to help you craft soundscapes worthy of tonal trips out of the ’60s and ’70s and ethereal ambience from the ’80s.
This pedal requires 9 volts (300mA) and can be powered by the Dunlop ECB003 9-volt adapter or the MXR Iso-Brick Pro, Iso-Brick, and Mini Iso-Brick power supplies. This pedal cannot be powered by a battery.
Here’s part two of our look under the hood of the funky rhythm guitar master’s signature 6-string.
Hello and welcome back to Mod Garage. In this edition, we’re continuing our journey through the Fender Cory Wong Stratocaster wiring, bringing it all together.In the previous installment, the last feature on the funky 6-stringer’s signature axe that we discussed was the master volume pot and the corresponding treble-bleed circuit. Now, let’s continue with this guitar’s very special configuration of the tone pots.
Tone pot with Fender Greasebucket tone system:
This 250k tone pot is a standard CTS pot with a 90/10 audio taper found in all U.S.-built Fender guitars. The Cory Wong guitar uses the Fender Greasebucket system, which is added to the pot as a ready-to-solder PCB. The Greasebucket PCB is also available individually from Fender (part #7713546000), though you can use conventional electronic parts for this.
Fender introduced this feature in 2005 on some of the Highway One models and some assorted Custom Shop Strats. The Greasebucket name (which is a registered Fender trademark, by the way) is my favorite of Fender’s marketing names, but don’t let it fool you: Your tone will get cleaner with this modification, not greasy and dirty.
According to Fender, the Greasebucket tone circuit reduces high frequencies without adding bass as the tone knob is turned down. Don’t let that description confuse you. A standard Strat tone control does not add any bass frequencies! As you already know, with a passive system you can’t add anything that isn’t already there. You can reshape the tone by deemphasizing certain frequencies and making others more prominent. Removing highs makes lows more apparent and vice versa. In addition, the use of inductors (which is how a passive pickup behaves in a guitar circuit) and capacitors can create resonant peaks and valleys (band-passes and notches), further coloring the overall tone.
Cory Wong bringing the funk onstage.
This type of band-pass filter only allows certain frequencies to pass through, while others are blocked. The standard tone circuit in a Strat is called a variable low-pass filter (or a treble-cut filter), which only allows the low frequencies to pass through while the high frequencies get sent to ground via the tone cap.
The Greasebucket’s band-pass filter is a combination of a high-pass and a low-pass filter. This is supposed to cut high frequencies without “adding” bass, which has mostly to do with the resistor in series with the pot. That resistor means the control will never get to zero. You can get a similar effect by simply not turning the Strat’s standard tone control all the way down. (The additional cap on the wiper of the Greasebucket circuit complicates things a bit, though; together with the pickups it forms an RLC circuit, but I really don’t want to get into that here.)
The standard Fender Greasebucket tone system is used in the Cory Wong Strat, which includes a 0.1 μF cap and a 0.022 uF cap, along with a 4.7k-ohm resistor in series. These are the values used on the PCB, and without the PCB it looks like the illustration at the top of this column.
Push-push tone pot with preset overwriting function:
The lower tone pot assigned to the bridge pickup is a 250k audio push-push pot with a DPDT switch. The switch is used to engage a preset sound by overwriting the 5-way pickup-selector switch, no matter what switching position it is in. The preset functionality has a very long tradition in the house of Fender, dating back to the early ’50s, when Leo Fender designed a preset bass sound on position 3 (where the typical neck position is on a modern guitar) of the Broadcaster (and later the Telecaster) circuit. Wong loves the middle-and-neck-in-parallel pickup combination, so that’s the preset sound his push-push tone pot is wired for.
The neck pickup has a dedicated tone control while the middle pickup doesn’t, which is also another interesting feature. This means that when you hit the push-push switch, you will engage the neck and middle pickup together in parallel, no matter what you have dialed in on the 5-way switch. Hit the push-push switch again, and the 5-way switch is back to its normal functionality. Instead of a push-push pot, you can naturally use a push-pull pot or a DPDT toggle switch in combination with a normal 250k audio pot.
Here we go for the wiring. For a much clearer visualization, I used the international symbol for ground wherever possible instead of drawing another black wire, because we already have a ton of crossing wires in this drawing. I also simplified the treble-bleed circuit to keep things clearer; you’ll find the architecture of it with the correct values in the previous column.
Cory Wong Strat wiring
Courtesy of singlecoil.com
Wow, this really is a personalized signature guitar down to the bone, and Wong used his opportunity to create a unique instrument. Often, signature instruments deliver custom colors or very small aesthetic or functional details, so the Cory Wong Stratocaster really stands out.
That’s it! In our next column, we will continue our Stratocaster journey in the 70th year of this guitar by having a look at the famous Rory Gallagher Stratocaster, so stay tuned!
Until then ... keep on modding!
The Keeley ZOMA combines two of iconic amp effects—tremolo and reverb—into one pedal.
Key Features of the ZOMA
● Intuitive Control Layout: Three large knobs give you full control over Reverb Level, Tremolo Rate,and Depth
● Easy Access to Alternate Controls: Adjust Reverb Decay, Reverb Tone, and Tremolo Volume withsimple alt-controls.
● Instant Effect Order Switching: Customize your signal path. Position tremolos after reverb for avintage, black-panel tone or place harmonic tremolo before reverb for a dirty, swampy sound.
● True Bypass or Buffered Trails: Choose the setting that best suits your rig.
Three Reverb and Tremolo Modes:
● SS – Spring Reverb & Sine Tremolo: Classic spring reverb paired with a sine wave tremolo for that timelessblack-panel amp tone.
● PH – Plate Reverb & Harmonic Tremolo: Smooth, bright plate reverb combined with swampy harmonictremolo.
● PV – Plate Reverb & Pitch Vibrato: Achieve a vocal-like vibrato with ethereal plate reverb.
Reverb: Sounds & Controls
● Spring Reverb: Authentic tube amp spring reverb that captures every detail of vintage sound.
● Plate Reverb: Bright and smooth, recreating the lush tones of vibrating metal plates.
● Reverb Decay: Adjust the decay time using the REVERB/ALT SWITCH while turning the Level knob.
● Reverb Tone: Modify the tone of your reverb using the REVERB/ALT SWITCH while turning the Rate knob.
Tremolo: Sounds & Controls
● Sine Wave/Volume Tremolo: Adjusts the volume of the signal up and down with smooth sine wavemodulation.
● Harmonic Tremolo: Replicates classic tube-amp harmonic tremolo, creating a phaser-like effect withphase-split filtering.
● Pitch Vibrato: Delivers pitch bending effects that let you control how far and how fast notes shift.
● Alt-Control Tremolo Boost Volume: Adjust the boost volume by holding the REVERB/ALT footswitch whileturning the Depth knob.
The ZOMA is built with artfully designed circuitry and housed in a proprietary angled aluminum enclosure, ensuring both simplicity and durability. Like all Keeley pedals, it’s proudly designed and manufactured in the USA.
ZOMA Stereo Reverb and Tremolo
The first sound effects built into amplifiers were tremolo and reverb. Keeley’s legendary reverbs are paired with their sultry, vocal-like tremolos to give you an unreal sonic experience.
By now, we’re all familiar with the many options out there for amp modeling. Mic modelers are another reliable asset to digital recording tech, and can rapidly grow your inventory with just a few clicks.
As guitarists, we’re very aware of amp-modeling and profiling technologies, such as the Line 6 Helix, Fractal Axe-Fx, Neural DSP Quad Cortex, and Kemper Profiler. While our bases are covered for these (with modelers available for every “holy grail” amp under the sun), we are still missing another vital area of the recording process—microphones—for the acoustic instruments and vocals we might want to capture.
What if we could record them using holy-grail-modeled microphones? This month, let’s evaluate microphone modeling to help you make better-sounding recordings. Tighten up, the Dojo is now open.
The Sincerest Form of Flattery
Microphone modeling is an intriguing advancement in recording technology, offering great flexibility and possibilities for musicians, producers, and engineers. Makers like Slate Digital, Antelope, and Antares make many offerings, from hardware to software.
Universal Audio’s Sphere DLX ($1299 Street), LX ($799), and their six new Standard Mic series have impeccably modeled classic mics, and when coupled with their classic mic pre and compressor plugins, you can enjoy the same highly coveted mic chains appreciated the world over.
How It Works
The technology behind microphone-modeling systems relies heavily on convolution and impulse response techniques. These techniques involve capturing the unique sonic fingerprint of a microphone by recording its response to a wide range of frequencies and sound pressure levels. The immediate benefit is that this means you can grow your mic locker exponentially and gain access to a wide range of legendary microphone tones and textures all from a single mic! Most modeling microphones are usually either small- or large-diaphragm, multi-pattern, condenser microphones that are capable of capturing a wide frequency range and dynamic response. By adding other modeling mics, you can record in stereo or surround, and/or record multiple instruments at a fraction of the cost of owning multiples of the modeled mics themselves.
A Wealth of Options
One significant advantage of mic-modeling systems is their ability to offer a vast array of microphone options within a single session instead of having the time-consuming duty of swapping them out to achieve different sounds. With a modeling system, you can switch between different mic models instantly and audition various mics to find the perfect tone for the recording.
“The same vintage microphone can sound different on different days depending on temperature, humidity, and the voltage from the wall.”
Another lovely bonus is that microphone-modeling systems also offer the ability to swap microphone characteristics after the recording has been made! Want to swap your AKG C12 for a Neumann U 47 long after the recording session is over? No problem! This is especially useful when the initial microphone choice may not have been ideal or when the production requires a different tonal character than originally intended.
Weighing the Pros and Cons
Some audio purists argue digital emulation can’t truly replicate the sound of a physical microphone, especially when it comes to vintage models that have unique characteristics developed over decades of use. The subtleties of these microphones and their aging components shape the way they interact with different preamps and compressors.
After making over a hundred records at Blackbird over the last eight years, I’ve grown quite familiar with a good portion of our 1,800-plus vintage mics, like Telefunken 251s, AKG C12s, Neumann U 47s and KM 84s, Shure SM7s and SM57s, RCA 44s and 77s, and Royer R-121s. These are the very same mic models that most modeling mics are trying to capture. But experience has taught me that not all microphones sound identical even if they are the same make and model (and year). Also, the same vintage microphone can sound different on different days depending on temperature, humidity, and the voltage from the wall (that’s why Blackbird has its own regulated power and all the studios strive for consistent temperature and humidity year-round).
For home studios and smaller production environments, microphone-modeling systems can be a game changer. You’ll get a wide range of high-end microphone sounds without the need for a large microphone collection, and the ability to change microphone models after the fact gives budding producers and engineers greater confidence and flexibility in their work.
In reality, most users find that the convenience, cost savings, and versatility offered by modeling systems far outweigh any potential shortcomings. Finally, keep in mind that even though the mic “profile” you choose (U 47, U 67, SM7, etc.) will be consistent day in and day out, the modeling mic itself is also still a mic and will require you to be mindful of these same issues I mentioned above in order for your mic “profile” to be as accurate as possible.
Until next time, namaste.