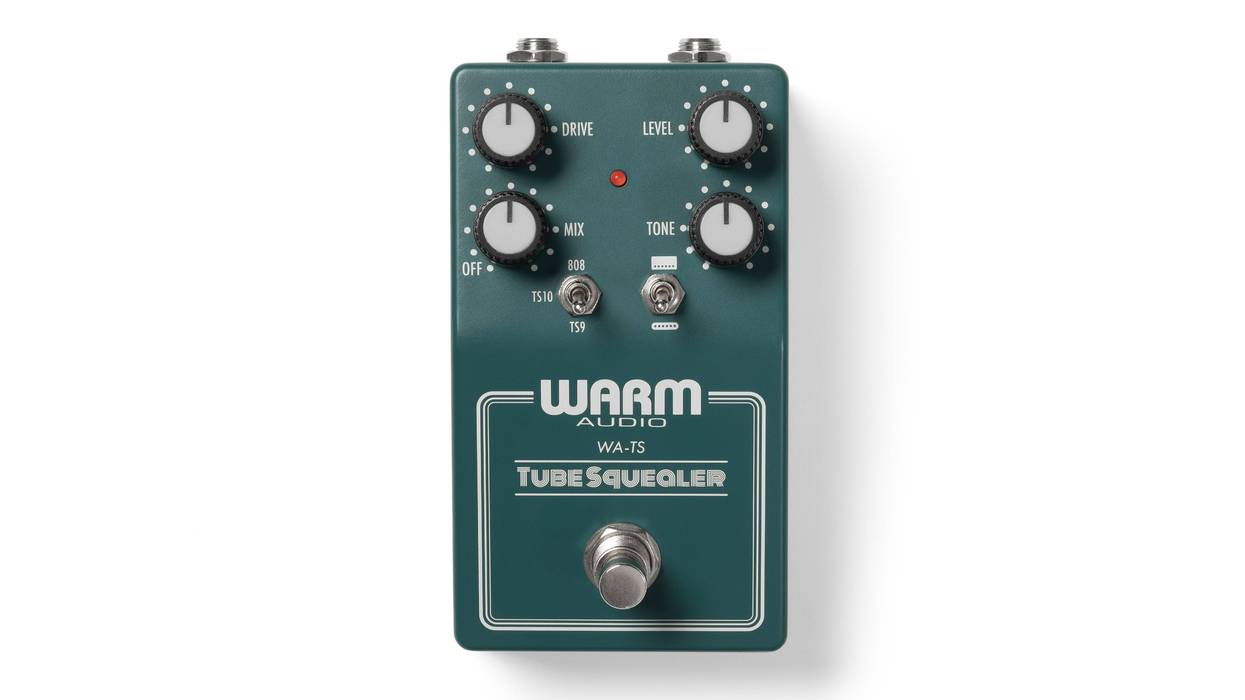
Pedals Warm Audio Tube Squealer Review Can three TS-style circuits, a wet-dry mix, and a voltage doubler make this the king of Screamers? Charles Saufley Feb 08, 2026
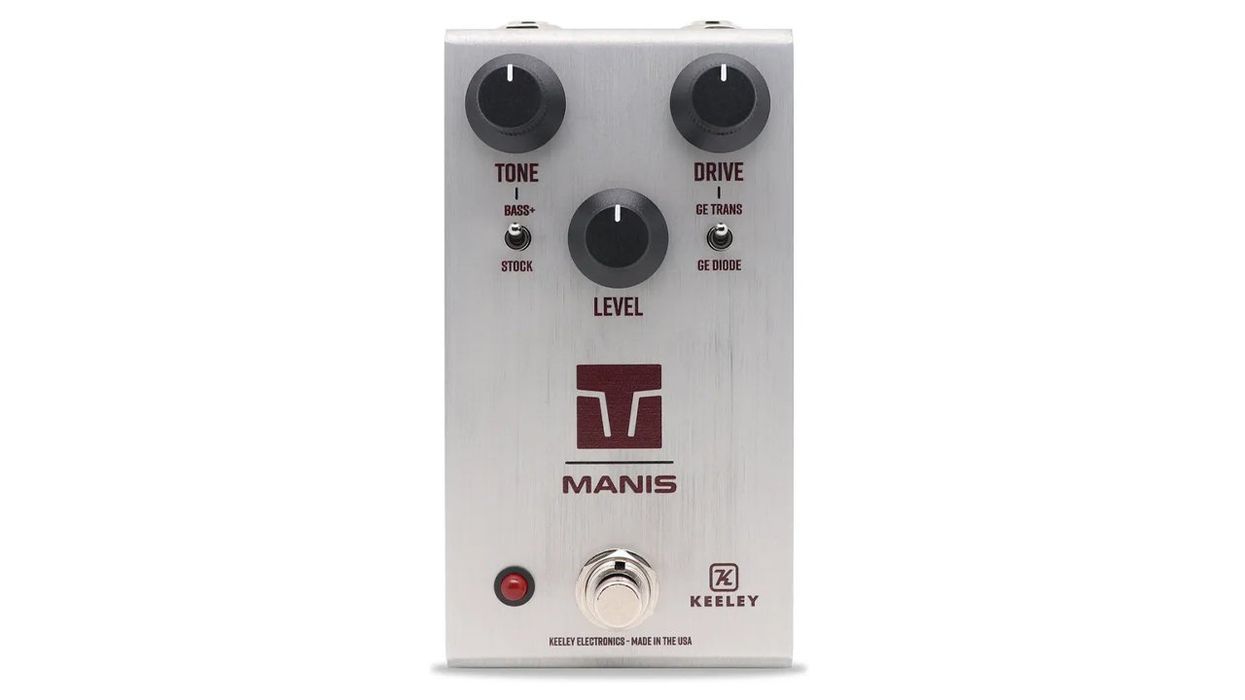
Pedals Keeley Manis Review Tweaking the classic Klon formula with germanium transistor and bass boost options yields an overdrive with exceptional range. Charles Saufley Jun 17, 2025
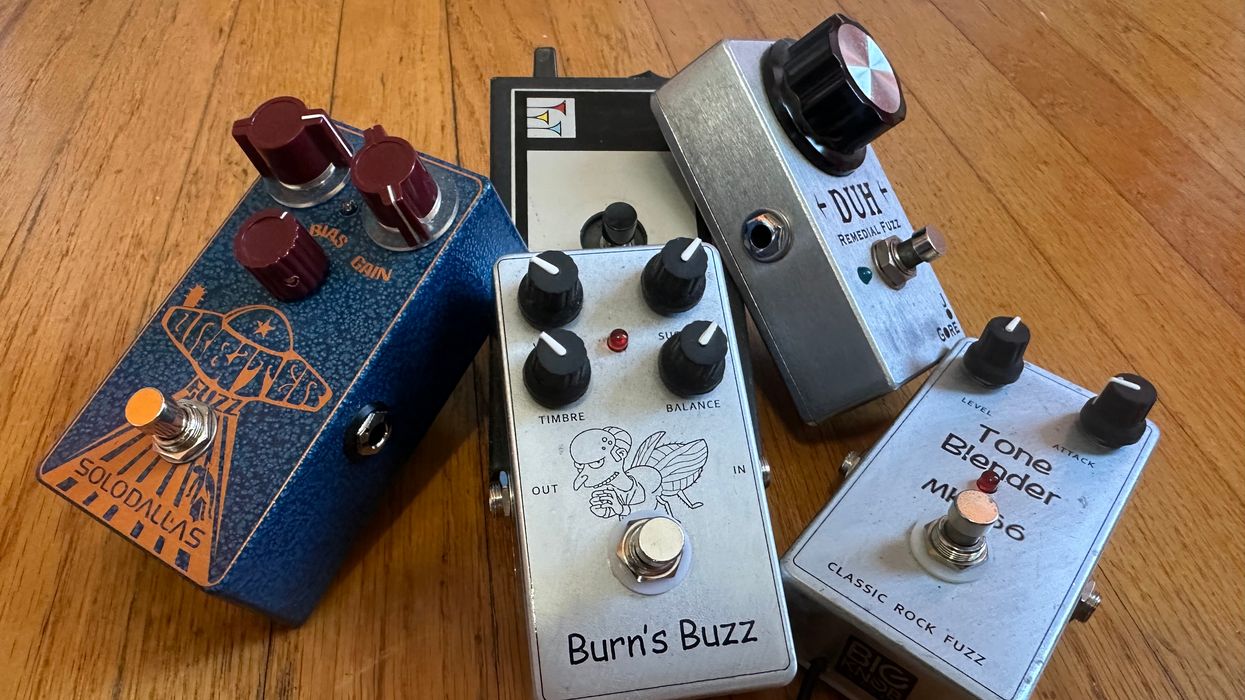
Gear Editors' Choice: Fuzz That Fuels PG Staff's Most Ripping Reveries Premier Guitar’s edit staff shares their favorite fuzz units and how and when they use them. Premier Guitar Staff May 12, 2025
Shred with Shifty Elliott Easton’s Countryfied Solo on “My Best Friend’s Girl” Chris Shiflett Apr 24, 2025
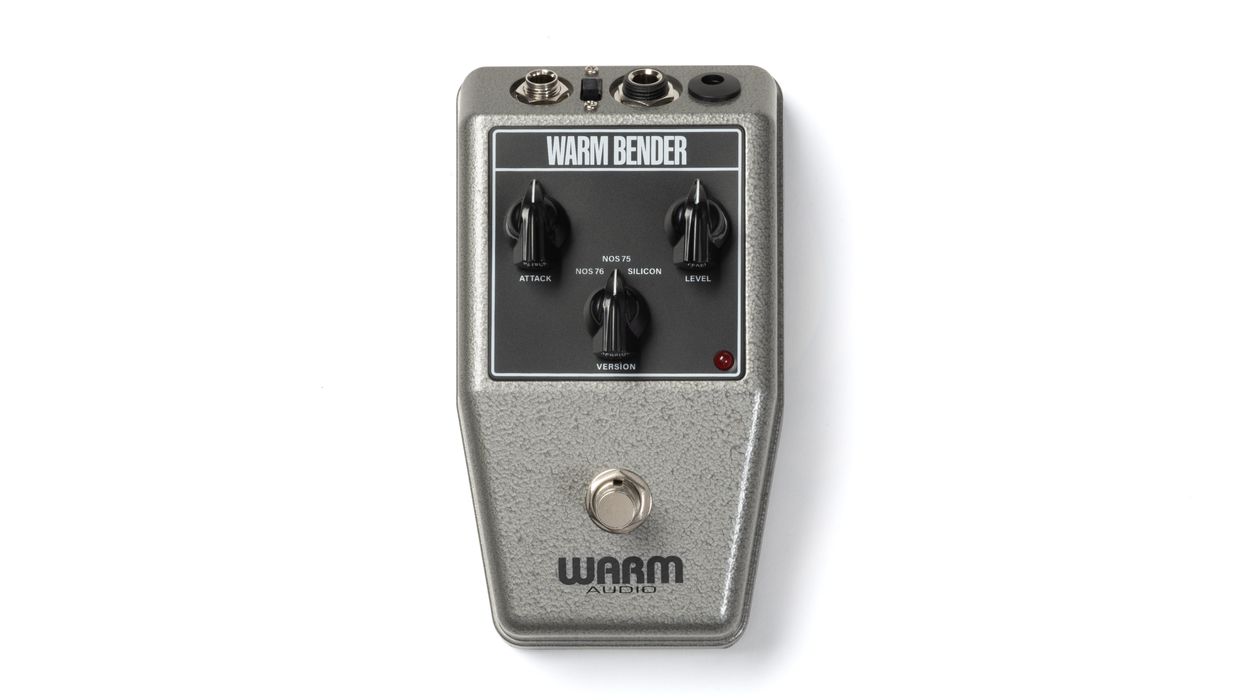
Reviews Warm Audio Warm Bender Review Three thrilling variations on the ’60s-fuzz theme. Charles Saufley Oct 09, 2024
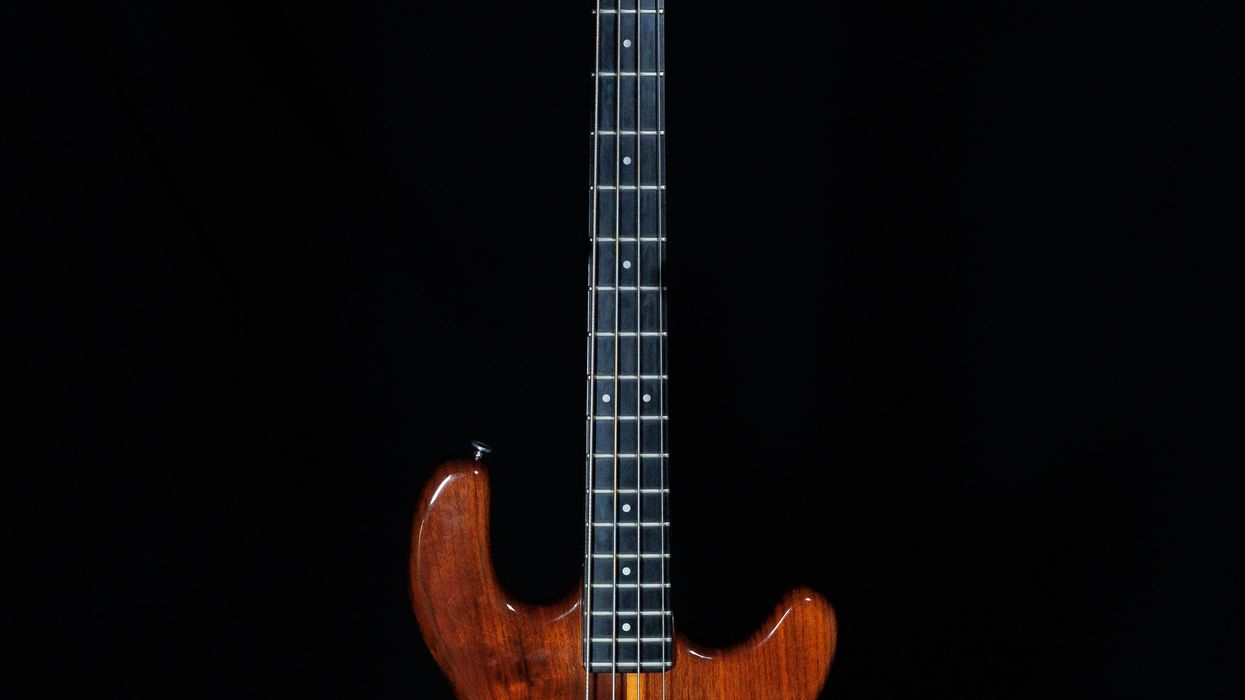
Vintage Vault How Kramer Tuning Fork Headstocks Came to Be This bass sports some original modifications made by Gary Kramer following the early-’70s departure of his partner Travis Bean. Ellen Angelico Aug 19, 2024
Reviews Great Eastern FX XO Variable Crossover Review By splitting your signal into low- and high-frequency bands, and feeding them to separate effects loops, the XO lends a new, expansive vocabulary to the effects you already have. Charles Saufley Aug 06, 2024