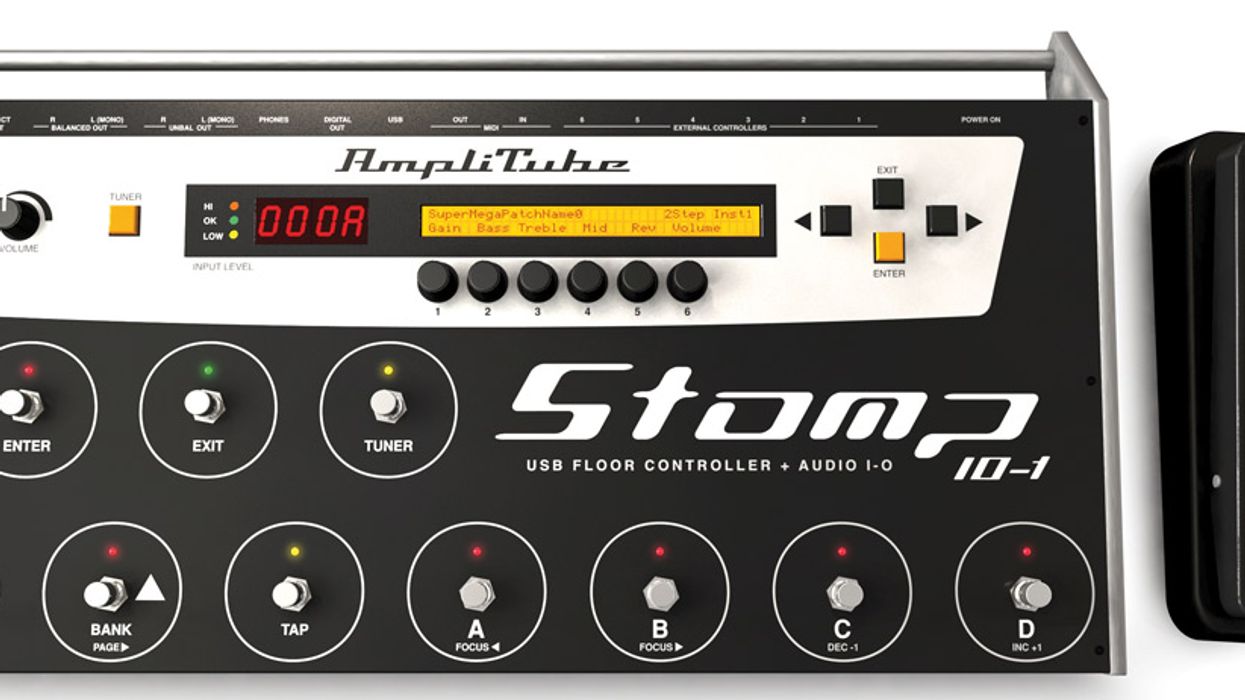
Gear IK Multimedia StompIO-1 The StompIO-1 is a versatile interface that integrates your gear with your computer Rich Tozzoli Dec 15, 2008
What to Expect from a Repair Shop Repairman and luthier Tim Schroeder gives some inside advice on what you should expect (and what you shouldn''t expect) when choosing a repair shop. Tim Schroeder Dec 15, 2008
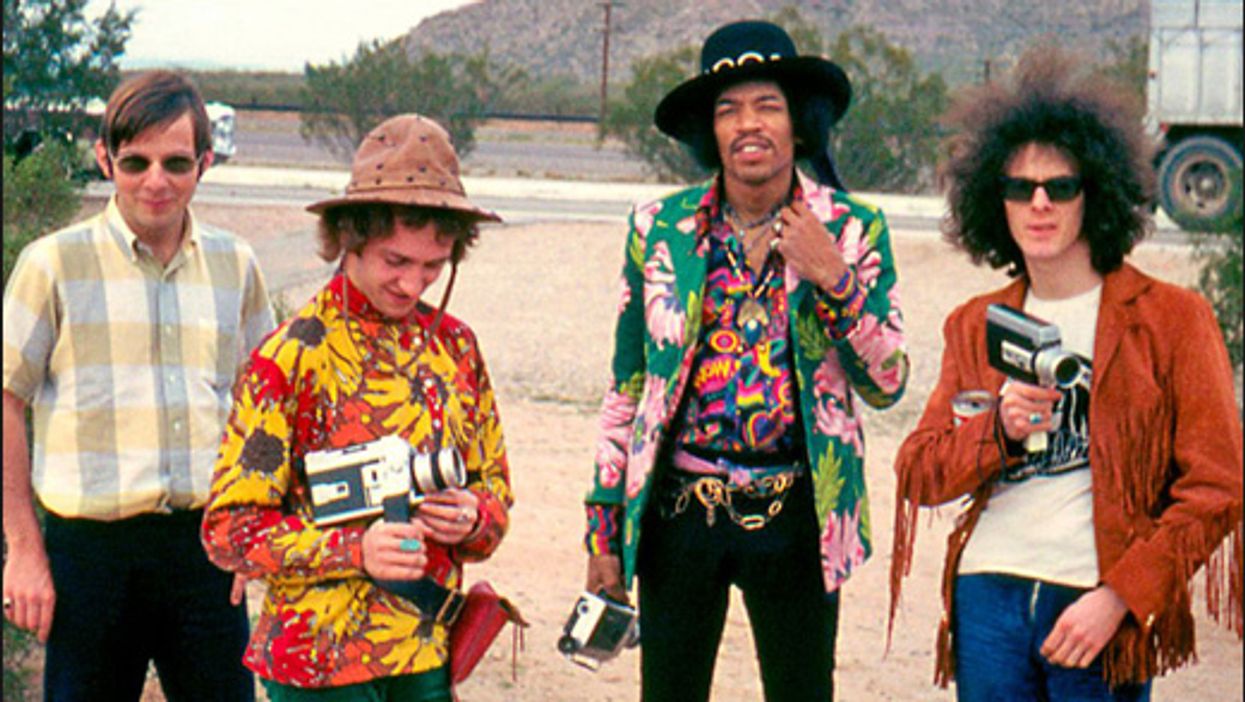
Roger and Me: A conversation with Roger Mayer The man behind the tones of Jimi, Beck, Page and countless other Octavia users talks about the past and future of effects. Adam Moore Dec 15, 2008
Vox Amplifiers: The JMI Years Vox aficionado Jim Elyea talks about his journey in producing the most complete reference for JMI-era Vox amps ever made. Chris Burgess Dec 15, 2008
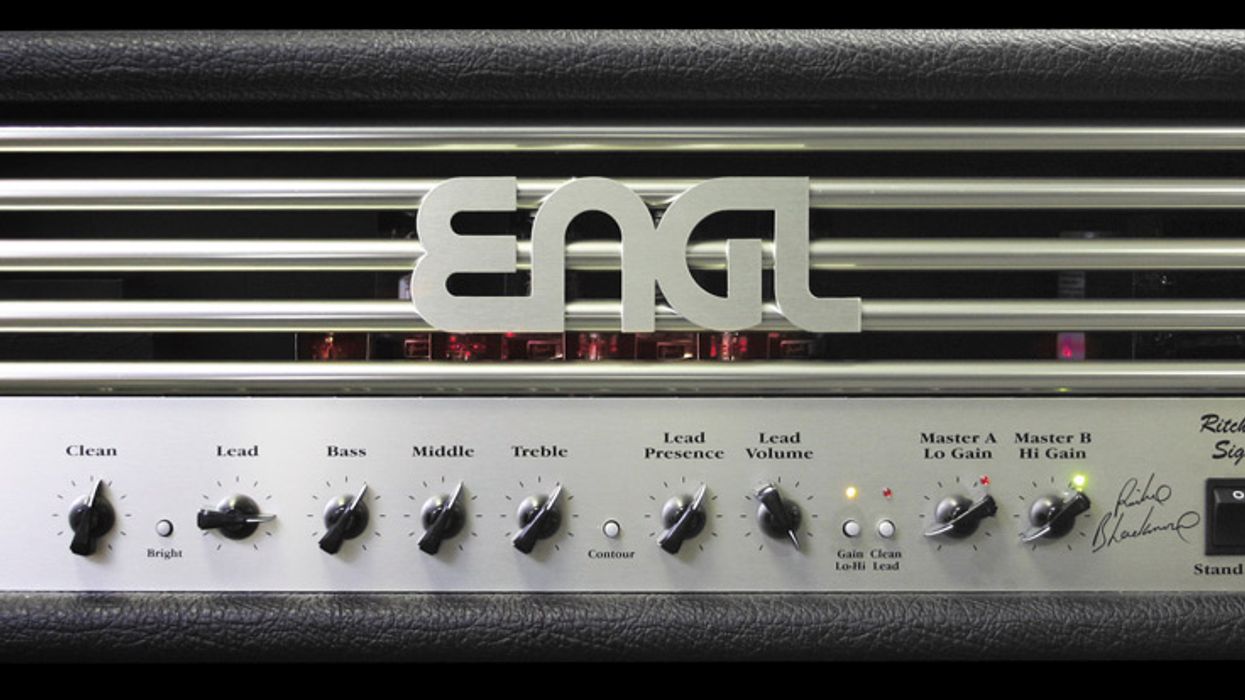
Gear Engl E 650 Ritchie Blackmore Signature 100-watt Amp Review Engl''s Ritchie Blackmore Signature combines gain with clarity at an reasonable price. Jordan Wagner Dec 15, 2008
Gear Normandy Chrome Archtop Guitar The Normandy Chrome Archtop is a solid guitar with a great sound that just happens to be metal. Adam Moore Dec 15, 2008
All Reviews Voyage-Air VAOM-1C Folding Acoustic Guitar Review The Voyage-Air is a travel guitar that defies reason with its tone and stability. Gayla Drake Dec 15, 2008
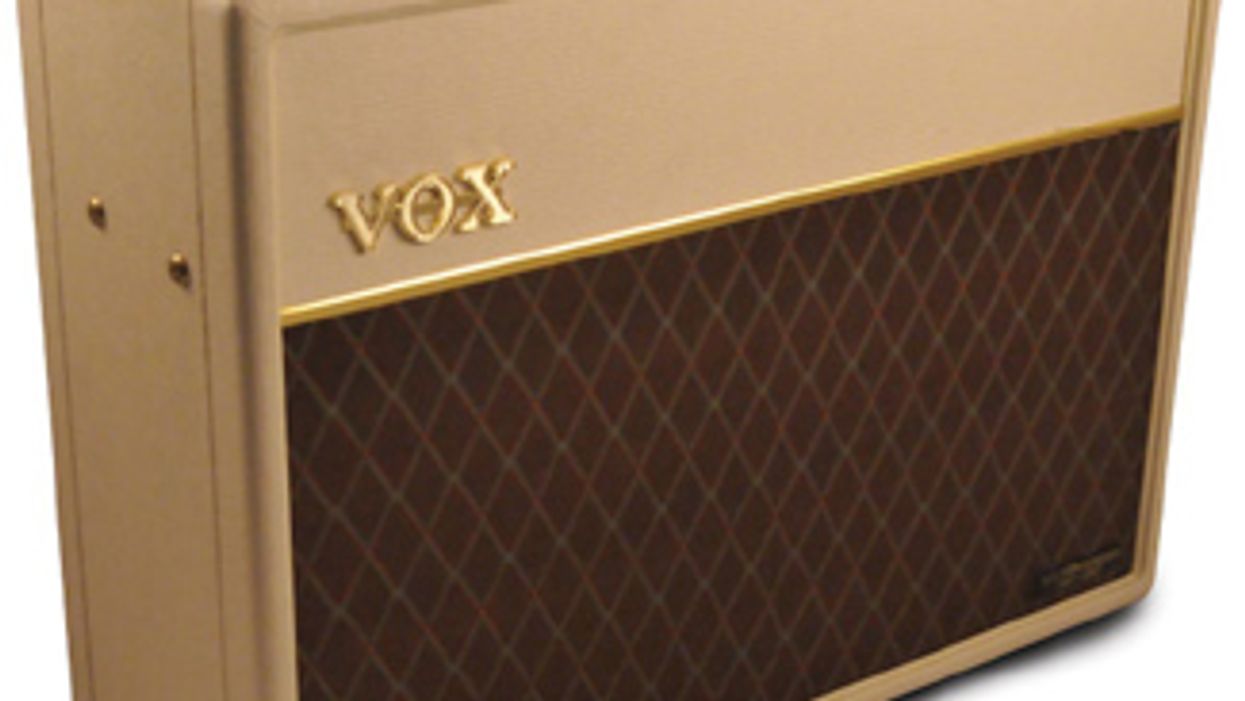
Gear Vox Heritage Collection AC30H2 Review Looking for vintage AC30 tone? The AC30H2 is worth a look. Chris Burgess Dec 15, 2008
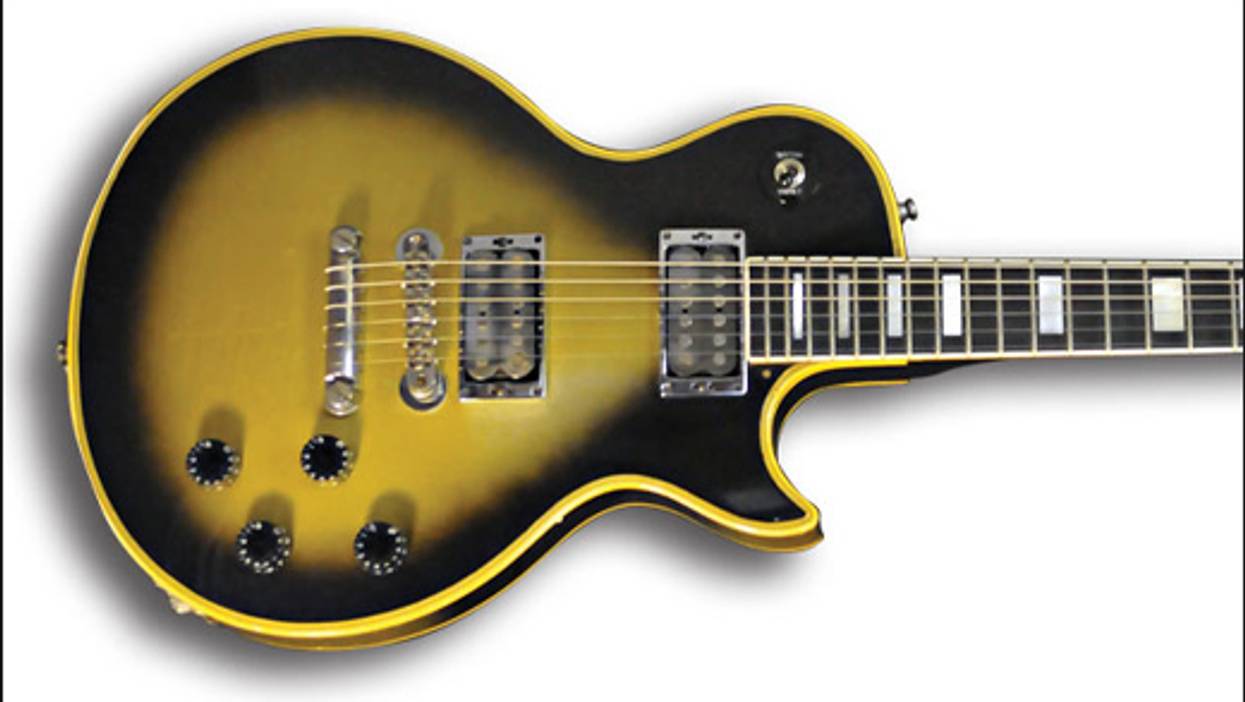
Gear of the Month Guitar of the Month: 1978 Gibson Les Paul Custom This well-worn road warrior Gibson Les Paul Custom is a 1978 model, in a rare silverburst finish. Premier Guitar Dec 15, 2008
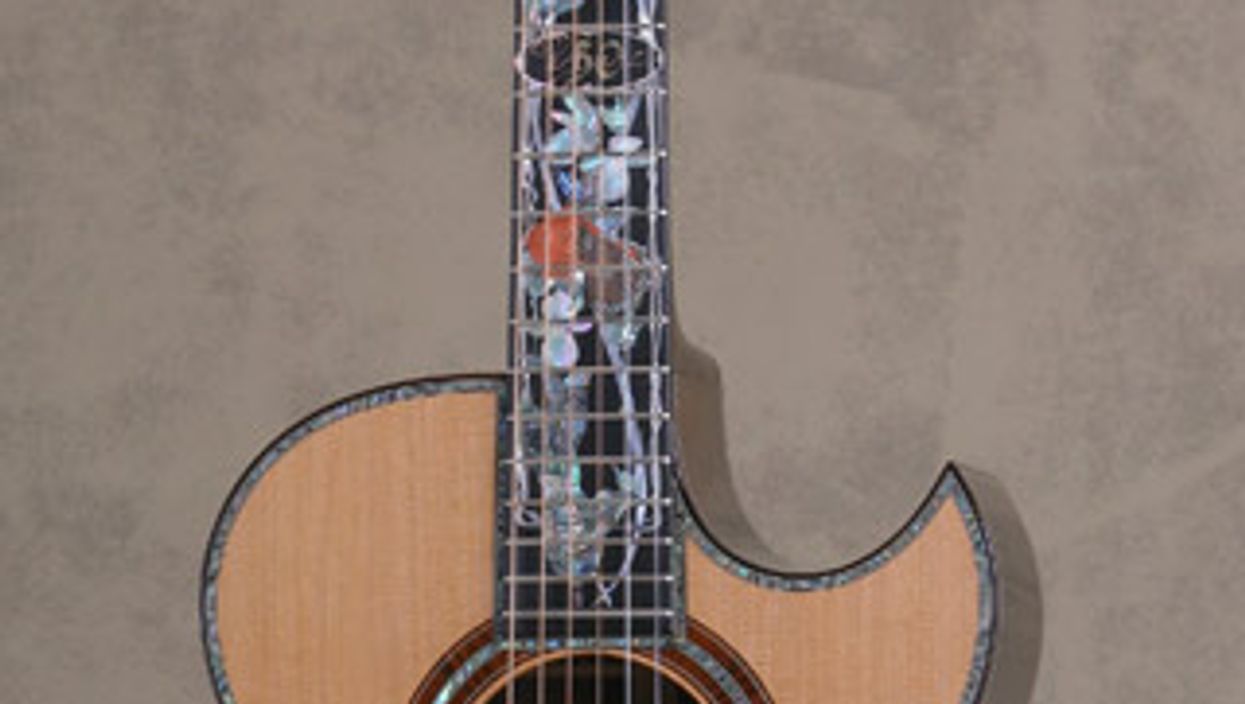
Acoustic Modern Builder Vault: James A. Olson Guitars A look at James A. Olson''s 30th Anniversary Model PremierGuitar Default Dec 15, 2008