Electric Guitars The Earth Isn’t Flat, and Neither Is Your Fretboard How—and why—acoustic guitar builders create predictable, controllably stable necks.Andy PowersNov 26, 2020
Electric Guitars Truss-Rod Care & Guitar-Neck Health The body is all-important, but we can’t discount the importance of the neck, too.Bryan GalloupOct 01, 2020
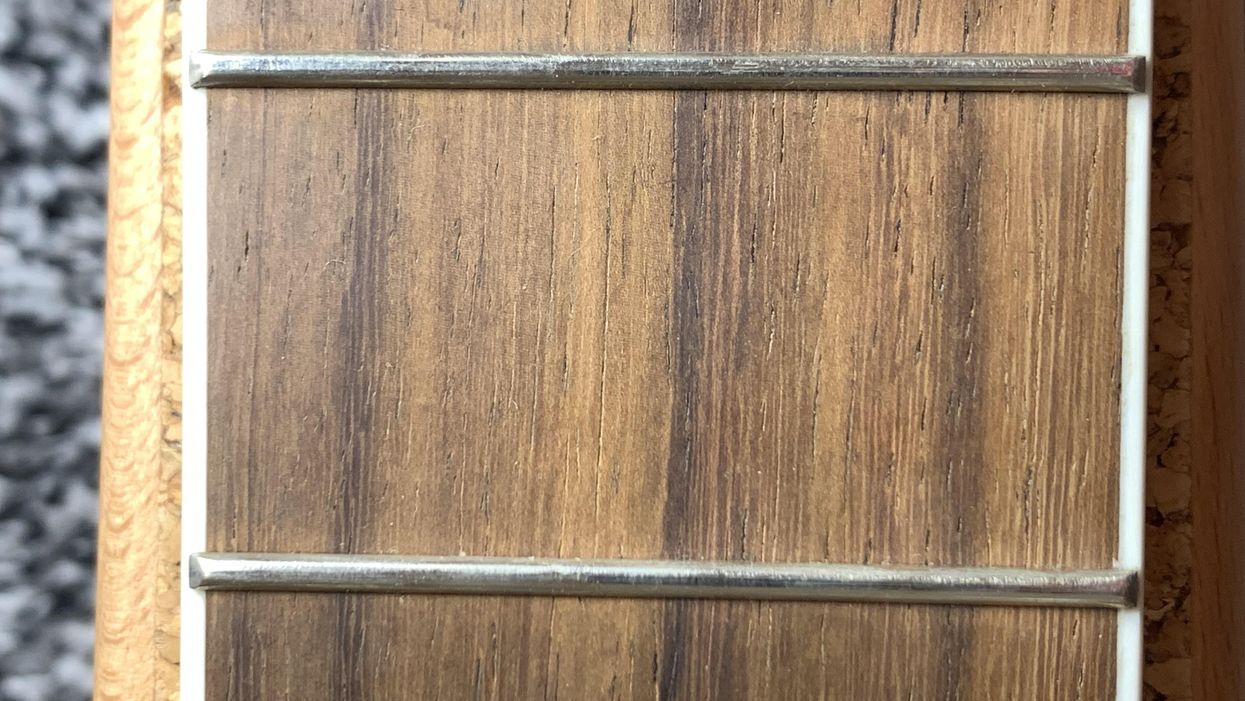
Guitar & Bass Mods What’s in a Neck? If you’re lucky, your guitar neck can feel as familiar and comfortable as an old pair of jeans, but there’s more to it than meets the eye. Discover the ABCs—make that the CUVs—of this crucial appendage.Dan FormosaNov 30, 2017
Guitar & Bass Mods Sanding Your Guitar Neck for a Smoother Feel Sanding down the finish and sealing the wood to get a nice, smooth bare wood feel on your neckChad WeaverAug 24, 2010