The soulful slide wiz shows off his Teisco-inspired baritone and several "different" tone tools that have inspired his pandemic projects—including a knockout Custom Shop Jazzmaster.
Ensconced in chorus, Marshall Gallagher blends his Fenders with British bullies to create a cocktail that is equal parts jangly pop, shimmery shoegaze, and beefy grunge.
Always stretching, reaching, changing, and absorbing, the jazz maverick talks to PG about creating Main Steam Stop Valve with accomplices Mike Watt and Stephen Hodges.
See the transformation from digital efficiency to a sprawling setup for Ghost Tapes #10 that now includes Gretsches, Jazzmasters, traditional tube heads, and more stomps than a store.
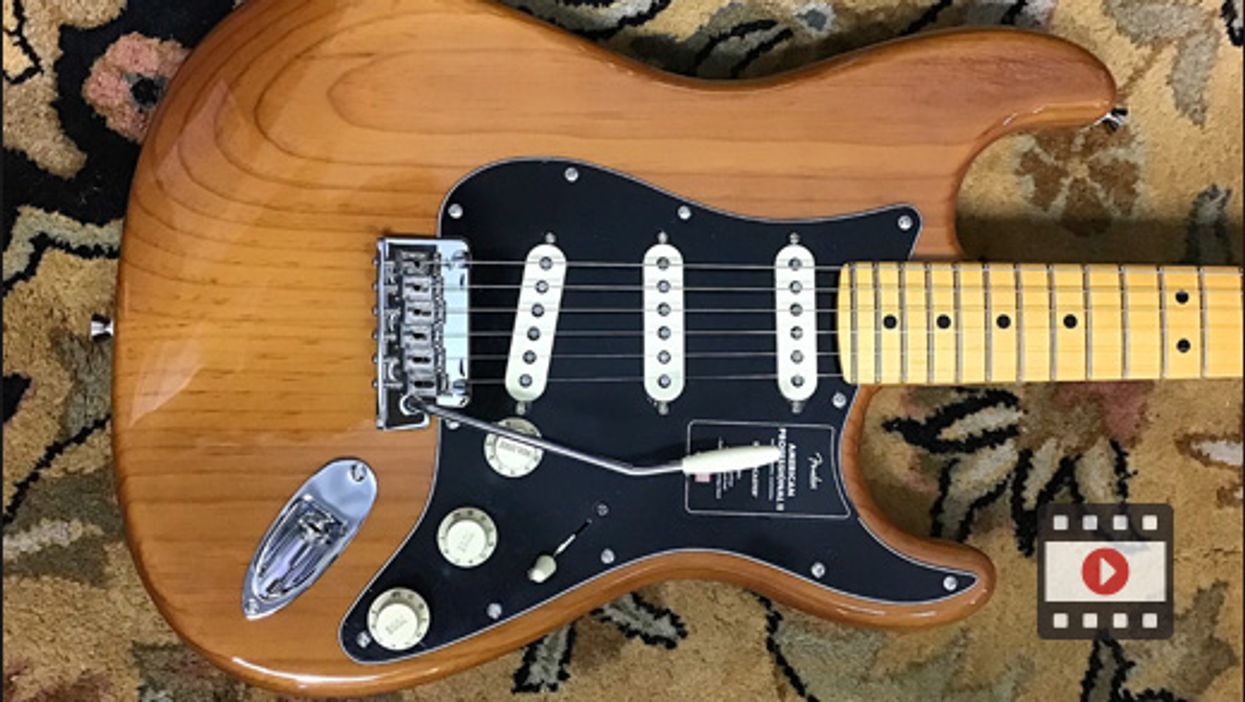
A Hendrix fan details the journey of his first real guitar, a 1972 Fender Strat that he modded, returned to spec, and is now enjoying again in quarantine.
The world’s most iconic electric evolves again—this time with a roasted pine body, contoured heel, rolled fretboard edges, and more articulate pickups.


![Rig Rundown: God Is an Astronaut [2021]](https://www.premierguitar.com/media-library/image.jpg?id=25786496&width=1245&height=700&quality=70&coordinates=0%2C3%2C0%2C4)