Recording guitars is an awful lot like playing them: You can learn the basics in a ridiculously short time, but still feel like a dunce after decades of practice.
I’ve worn the studio dunce cap more often than I care to admit. But I’ve been privileged to record with some of the world’s greatest producers and engineers, and to interview hundreds more. In this new recording column I’ll be sharing techniques I’ve pilfered from them, plus some I’ve blundered into on my own. We’ll cover electric and acoustic … analog and digital … guitar-specific techniques and general studio skills.
But please help make this a conversation, not a lecture. Share your experiences, hurl comments and questions, request topics, and (pretty please!) divulge your secret tricks.
I like mic. Let’s start with guitar amp miking techniques. I recall a conversation with producer/guitarist/genius guy Daniel Lanois about analog sound vs. digital. At one point he stopped mid-sentence. “Look,” he said, indicating two very rare and expensive microphones hanging nearby. “The difference between analog and digital is only a fraction of the difference between that mic and that one.”
Yup, mic selection and placement are big deals. There are no “right” answers, no surefire formulas—solutions are always contextual. But it’s helpful to learn how microphones tend to behave around speakers.
Placement = EQ. You get the brightest, most present sound with the mic aimed directly into the speaker’s dust cap (the little dome at the center). The sound gets darker/warmer as you move toward the cone’s edge. It doesn’t matter whether you move right, left, up, or down—further from the center means less treble bite.
The distance between grille cloth and mic also matters. A very close mic provides more low-end thump. Want more oomph? Move the mic closer. Too dark and wooly? Back it off. Beyond eight inches or so you start to pick up a lot of room sound. That can be a great thing (and a future topic). But close-miking is more idiot-proof, and it permits the most options when mixing.
Between “center vs. edge” and “near vs. far,” you have a powerful 2-band tone control—and equalization of this type is invariably more organic-sounding than EQ applied after recording.
Mic check. Try this: Mark the center and edge of one of your speakers with bits of painters’ tape. (If you can’t discern the dust cap, shine a penlight into the grille.) Stick one tab dead center and another at the speaker’s edge. [Pic. 1.]
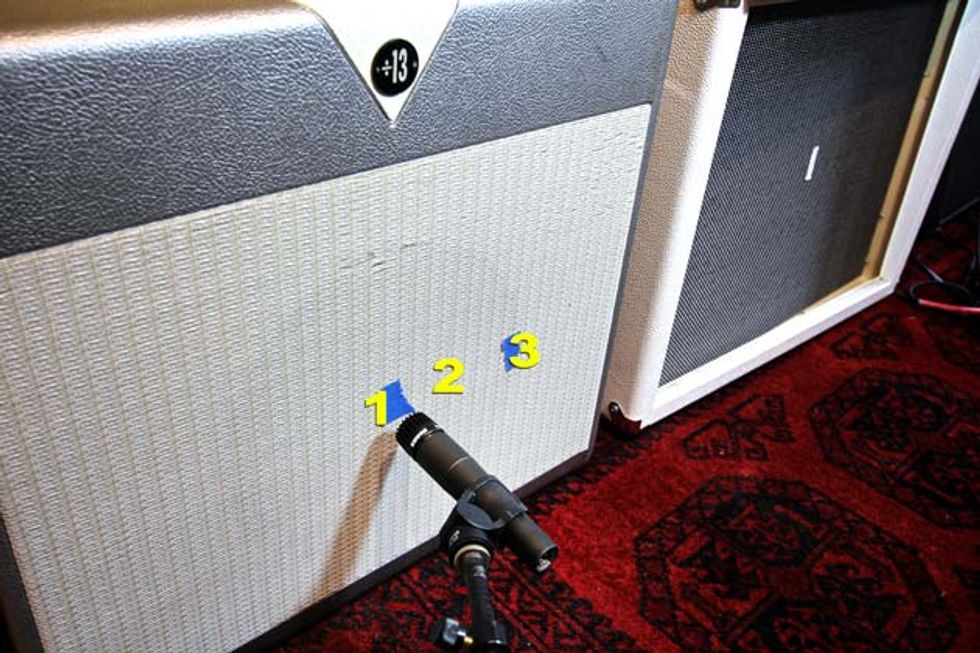
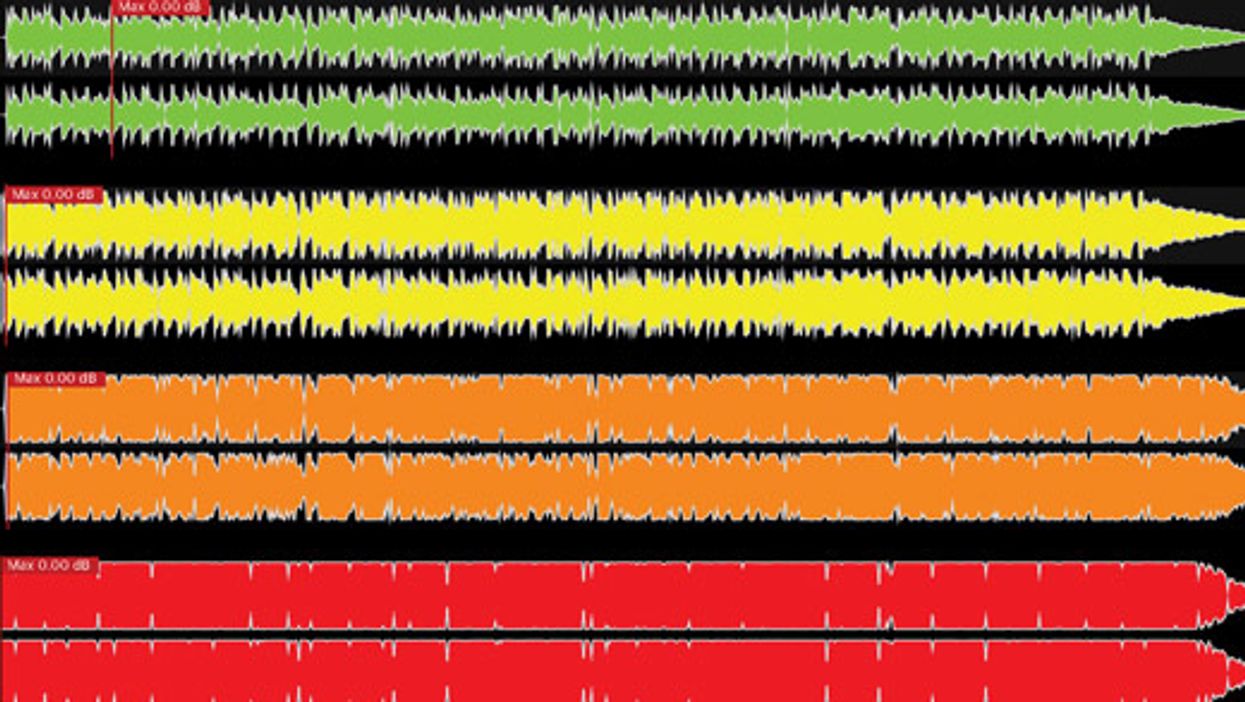
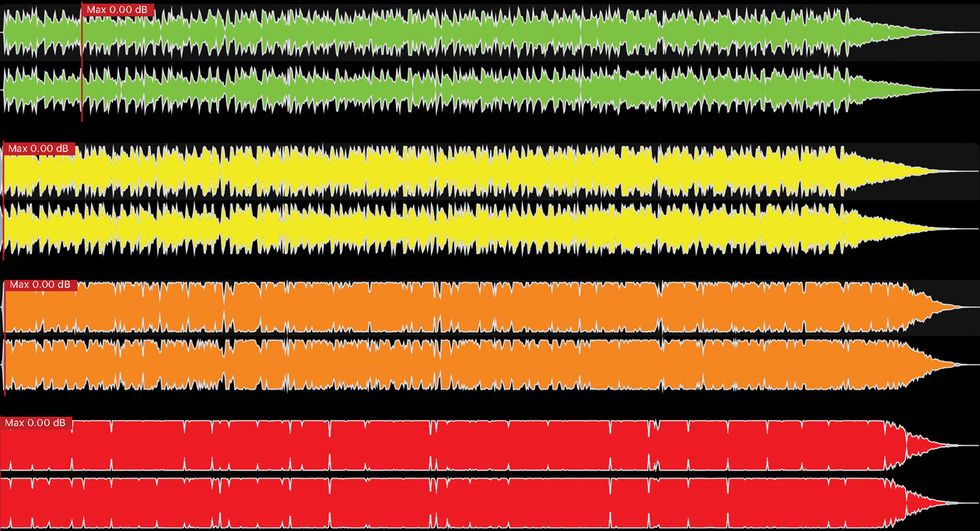
Pic 2: Position 1 yields a bright sound with some low-end thump. Positions 2 and 3 are progressively darker-sounding.
Record some guitar snippets, keeping the mic very close to the grille. Start with the mic at the center, then midway between tape marks, then at the speaker’s edge. (Let’s call these positions 1, 2, and 3, as shown in Pic 2.) Next, move the mic about eight inches from the speaker, and record center, middle, and edge examples (positions 4, 5, and 6, as seen in Pic 3).
(In multi-speaker cabinets, one speaker may sound superior, so listen up close. I don’t need to warn you about loud levels and ear damage, do I? Keep it quiet.)
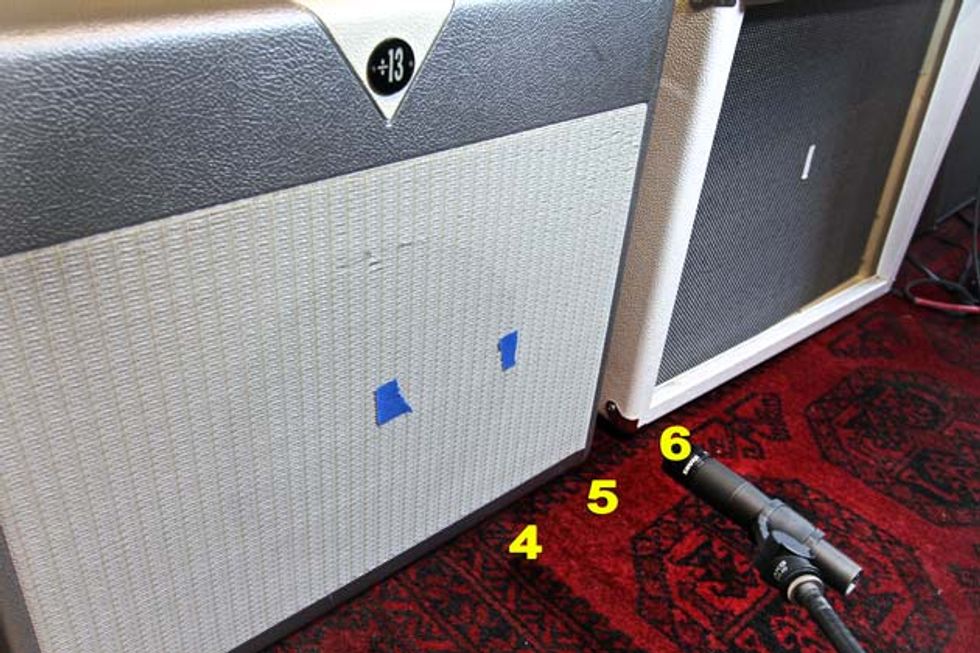
Pic 3: If the tone is a bit too “woofy,” back the mic off eight inches or so. Again, closer to the center means more treble.
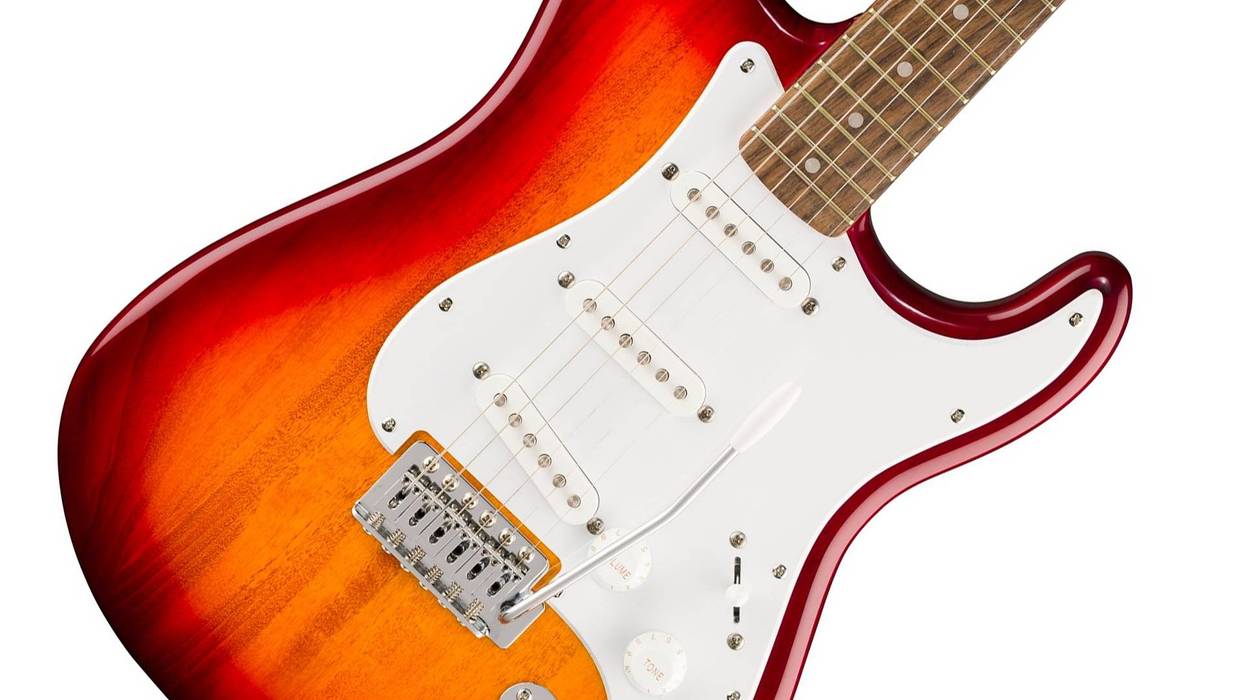
Listen back to your recordings. The drastic tone changes from position to position may astonish you. Small mic movements yield dramatic variations. Check out these examples, recorded with an old Strat, a Magnatone Super Fifty-Seven amp, and an SM57.
Mic position can sculpt tones to suit the song, or compensate for gear that doesn’t sound quite right as-is. Remember, though, that the tone you prefer in isolation might not feel right in a mix. Example: Here are three of the previous clips, heard this time in a full track. Which do you think works best? Bright position 1? Warm position 3? Or brighter, thinner position 4?
A micro-guide to mics. Here’s the world’s shortest description of mic properties—don’t blink or you’ll miss it.
Dynamic mics (examples: Shure SM57 and SM58, Sennheiser MD 421, Electro-Voice RE20) tend to provide crisp sounds with strong presence and impact, though they can be brittle at times. Condenser mics (examples: most Neumanns, the various AKG-C414 models) tend to sound smoother and less colored, if sometimes less exciting. Ribbon mics usually sound warm and smooth, with relatively soft highs (though Royer ribbon mics, such as the R-121, combine the treble snap of a dynamic with the warmth of a an old-school ribbon).
Here’s that clip again, heard through an SM57 dynamic, a Neumann TLM 103 condenser, and an R-121 ribbon. Agree with my descriptions?
April 2014: The Recording Guitarist - Playlist 3 by premierguitarThe mic you have. Chances are you’ll only have the luxury of agonizing over mic choice if you’re lucky enough to work in studio with a well-stocked mic locker. We regular Joes and Josephinas toiling at home just go with what we’ve got. For many that’s an SM57, because you can score one for less than $100. (There’s no shame in the 57—countless classic performances were recorded with one.) It’s a fine first mic, and one you’ll keep using even if you expand your collection.
Things get more complicated when you start blending mics—a topic we’ll take up next month. One little teaser: The same old clip, tracked through a dynamic 57 and a ribbon 121, with the two tracks panned in stereo. Dig how the phasing between tracks conspires with the (mono) amp vibrato to generate a head-spinning stereo field.
Okay, one last mic story: I got to eavesdrop in the studio while the Chili Peppers were working on One Hot Minute. Then-guitarist Dave Navarro was overdubbing guitars, but the engineer wasn’t satisfied with the sound.
“Throw a 414 on there,” suggested Dave.
The engineer squinted through the glass into the tracking room. “That is a 414.”
“Wow,” said Dave. “I had no idea there actually was such a thing as a 414! I just blurt that out when someone wants to change a sound because engineers always say shit like that. You learn something every day.”
Dave’s deadpan humor makes it hard to know when he’s kidding, though I’m pretty sure he was. But the “learn something every day” part? No joke!
So what are some of your hard-won lessons about microphones and electric guitars? Send them to joegore@premierguitar.com.