I rarely write about wiring mods here because my friend and colleague Dirk Wacker does such a superb job covering that topic in his Mod Garage column. But I’d like to share one mod that I’ve found incredibly useful for recording: a basic bass-cut control. I call it the “focus knob” mod because that sounds cooler than “bass cut,” and it’s a good description of what it does.
Low Energy.
Why cut bass? Don’t we want to sound as beefy as possible?
Sometimes, yeah. But trimming bass is one of the best ways to shape and focus tones—particularly distorted ones. Cutting bass within a guitar circuit is very different from lowering the bass knob on an amp or removing lows with board EQ. Low frequencies disproportionately drive pedals and amps. When you remove lows upstream from your pedalboard, tones get brighter and cleaner. You’re changing the timbre as well as the tone.
When tracking, it’s useful to be able to fine-tune your lows as well as your highs directly from the guitar. If you’re recording overdubs or doubling parts, the focus control can help you find the perfect sonic footprint for your part. With clean tones, these bass cut settings are subtle, even imperceptible. But with distortion—well, stand back!
Check out the audio clip that accompanies this story online. It features the same riff played repeatedly on the bridge P-90 pickup of a “parts” guitar. In the first few iterations, nothing changes except the bass-cut setting. (The last few phrases add a bit of treble cut and/or volume cut along with the bass cut.)
We’re not simply altering the tone that emerges from the guitar. We’re changing the way downstream gear responds. The effect is especially pronounced when using touch-responsive gear such as small tube amps and transistor-based gain effects like Fuzz Faces and Rangemasters. But it’s also useful in other contexts. It can even be effective with modeled amps and effects.
Low-Frequency Fixation. Some low-tuned and 7-string metal players make good use of the low-cut concept. Low-tuned strings can exert so much energy that they crowd out higher frequencies, making tones mushy. Ironically, chopping bass sometimes makes low riffs feel deeper, heavier, and more djent-tastic. But bass cuts are relevant for any guitarist who loves distortion, not just metalheads.
A bass-cut circuit is so powerful a tool that it’s odd to me that so few production guitars employ one. For years now, Reverend has offered a "bass contour" control as a standard option on most of its models, and Yamaha's recent Revstar guitars are another welcome exception. (Yamaha calls it a “dry control.” You can find other variants online by googling “tight tone control mod.”) I included several takes on the idea in PG’s 2014 “Three Must-Try Wiring Mods” feature. But this time, the goal is maximum simplicity. Mods don’t get much easier than this.
We’re going to insert a small capacitor and a 500k pot between the output from your pickup selector (or volume knob) and the output jack. The lower the capacitor’s value, the deeper the bass cut. With the pot on 10, there’s no bass cut. As you lower the pot, bass is progressively removed, with the maximum-cut setting defined by the cap’s value. (It doesn’t matter if your other pots are 250k rather than 500k. The 500k option works great regardless.)
A Spot for a Pot. But first, you need a spot for the pot. You can usually repurpose a pot on three- and four-knob guitars, unless your style relies on having independent tone control per pickup. If it doesn’t, you can rewire one pot as a global tone control. (If you don’t know how, check out the free diagrams at Seymour Duncan or Guitar Electronics. (And if you’re new to soldering, check out PG’s 2015 Soldering 101 article.
Fig. 1 shows how simple this mod is. Here’s a step-by-step walkthrough:
• Either de-solder your hot output wire from the output jack, or just snip it in the middle if there’s enough spare length to reach the new pot’s lugs. Strip the ends of the wires.
• Push the wire leading from the volume pot (or pickup selector) through lug 3 of the new pot, along with one leg of the capacitor. (Remember, when the pot is viewed from the rear as in the diagram, lug 3 is on the left.) The capacitor orientation doesn’t matter—either lug will do. Solder the two wires in place.
• Three wires will meet at lug 1, so it’s a good idea to thread them all through the lug before affixing them. Insert the second wire from the capacitor, as well as the wire leading to the output jack. (If you previously de-soldered the wire from your output jack, cut a new length of wire to reach from lug 1 to the jack.) You also need a short jumper wire between lugs 1 and 2. (You can probably just thread the capacitor’s second leg through the two lugs, or do the same with the wire leading to the output jack.)`
• Solder the three wires together at lug 1, and solder the jumper wire to lug 2.
Voilà—you’re done! (No grounding is necessary, so don’t bother soldering a ground wire to the back of the pot.)
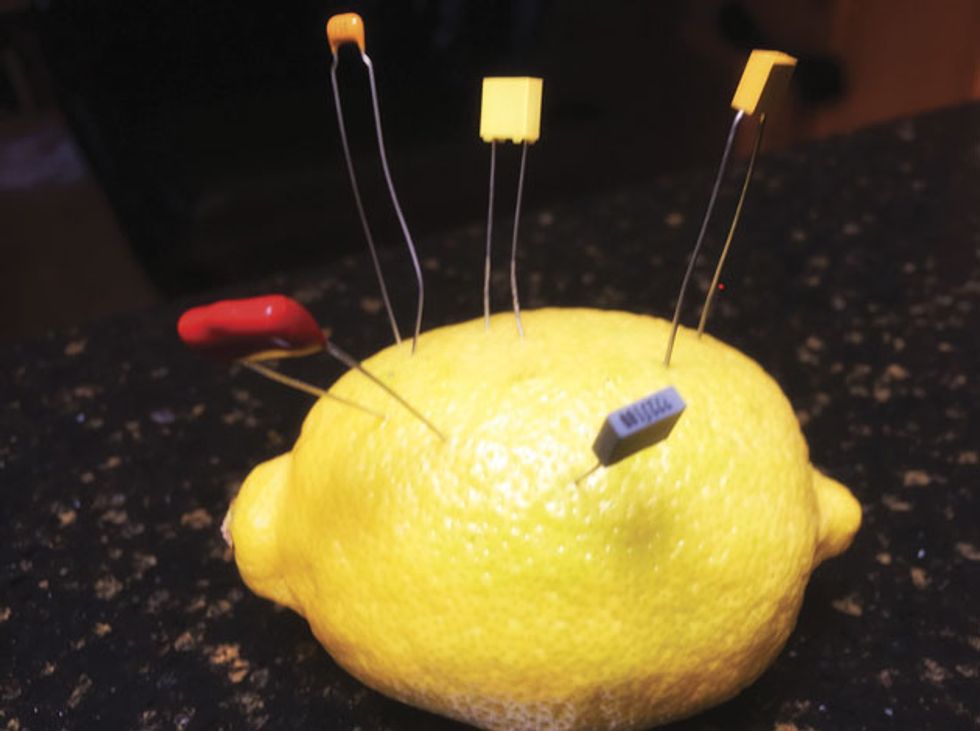
The capacitor’s value is crucial for this mod, but the material it’s made from is not. Use whatever’s convenient, and don’t blow money on “magic caps.”
Customize Your Mod. Should you use an A500k (audio taper), B500k (linear taper), or C500k (reverse-log taper) pot? It’s a matter of taste. They all produce the same sounds; it’s just a matter of how those sounds are distributed across the pot’s range. With an A100k, you must rotate the pot relatively far for dramatic bass cuts. With a C500k, you hear the effect early in the pot’s rotation. A B500k splits the difference. I like the C500k feel, but the big electronics supply houses don’t stock that part. You’ve got to order from a DIY stompbox specialist like Small Bear or Mammoth Electronics. But really, it’s not a big deal. Most guitar pots are audio taper, and you may already have a spare A500k lying around. That’ll do.
The .002 µF pot specified in the diagram is a good starting point. If you want a greater maximum bass cut, scale down to a .001 µF. For a less dramatic maximum cut, go with a .003 µF or .004 µF. Pay close attention to those decimal points and zeroes! These capacitors are far lower in value than the usual guitar caps. A .002 µF is less than 1/20th the value of a typical .047 µF tone cap.
As configured in the diagram, the new pot provides maximum bass at 10 and minimum bass at zero. If your pot behaves the opposite way, just move the lug 3 connections to lug 1, or vice-versa. Or you can deliberately reverse the orientation if you want tones to get less bassy as you advance the pot.
The material the cap is made from doesn’t matter. Mylar, ceramic, tantalum, and paper-in-oil all sound the same here. Use whatever is available and inexpensive. (Whatever you do, don’t waste money on “magic tone caps.”)
I hope you find this mod as useful as I do. If you dig it, too, check out the more sophisticated versions in the “Must Try Mods” article linked to above. Or don’t—this simple version will definitely get the job done!
So until next time, keep on modding! (Sorry, Dirk—I just had to pirate your Mod Garage tag line.)