Gear Pros & Cons of Pitched Vs. Straight Headstocks Boutique luthier Jol Dantzig (cofounder of Hamer Guitars) examines the potential perils of different headstock angles and the balance between performance and ease of construction. Jol Dantzig Feb 17, 2021
Gear DIY: How to Adjust Electric-Guitar Intonation Gruhn Guitars' setup guru Nathan Golliher shows how to easily make your Strat, Les Paul, and Telecaster ring true up and down the fretboard. Premier Guitar Feb 15, 2021
Bass The Break Dance Behind the Bridge The zen of break angle mechanics and why tone relies more on the tail than the head. Heiko Hoepfinger Feb 12, 2021
Gear DIY: Relic’ing Metal Hardware Our series on how to age a guitar, piece by piece, continues. This month we tackle the bridge and strap buttons. Dirk Wacker Feb 05, 2021
Mod Garage Ultra-Flexible Wiring for Your Duo-Sonic Four rad add-ons and a whopping six pickup combinations for the Fender offset. Dirk Wacker Jan 15, 2021
Pro-Advice A Homemade “Third Hand” While on a Gibson factory tour, I learned I could easily make my own DIY humbucker installation tool out of materials lying around my shop. Dirk Wacker Dec 18, 2020
Bass Bench Does a Solidbody Bass' Unplugged Tone Matter? The old adage says not to judge a book by its cover—so why do we do it so much with instruments? Heiko Hoepfinger Dec 04, 2020
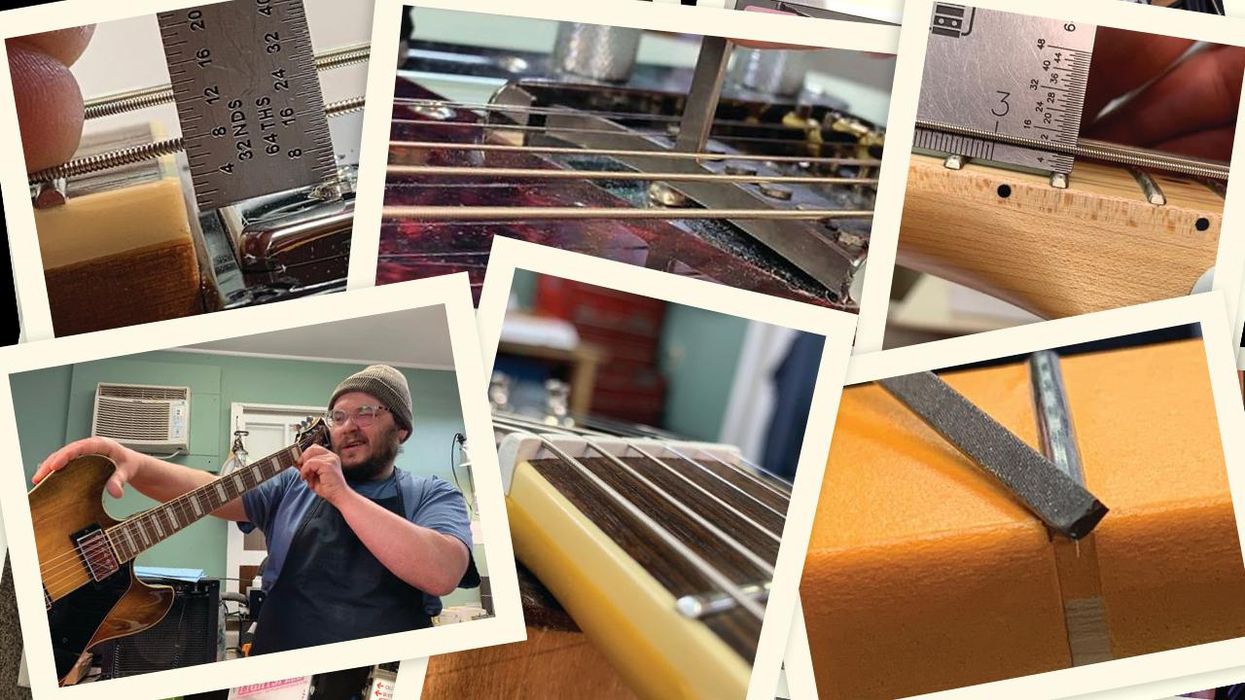
Reviews The COVID Files: Inside the Mod Garage Shop During Lockdown Dirk Wacker shares what the last six months have been like for him and his guitar-tech business in Germany. Dirk Wacker Nov 27, 2020