Joe Gore's Recording Guitarist The Recording Guitarist: Some Basic Variables of Recording Electric Guitars Joe Gore May 03, 2018
Pro-Advice The Recording Guitarist: 'Sgt. Pepper’s' Lonely Solo Button Rock recording has modernized since Sgt. Pepper. But has it improved? Joe Gore Nov 24, 2017
Effects The Recording Guitarist: Crafting Countermelodies The perfect part may be closer than you think. Joe Gore Oct 31, 2017
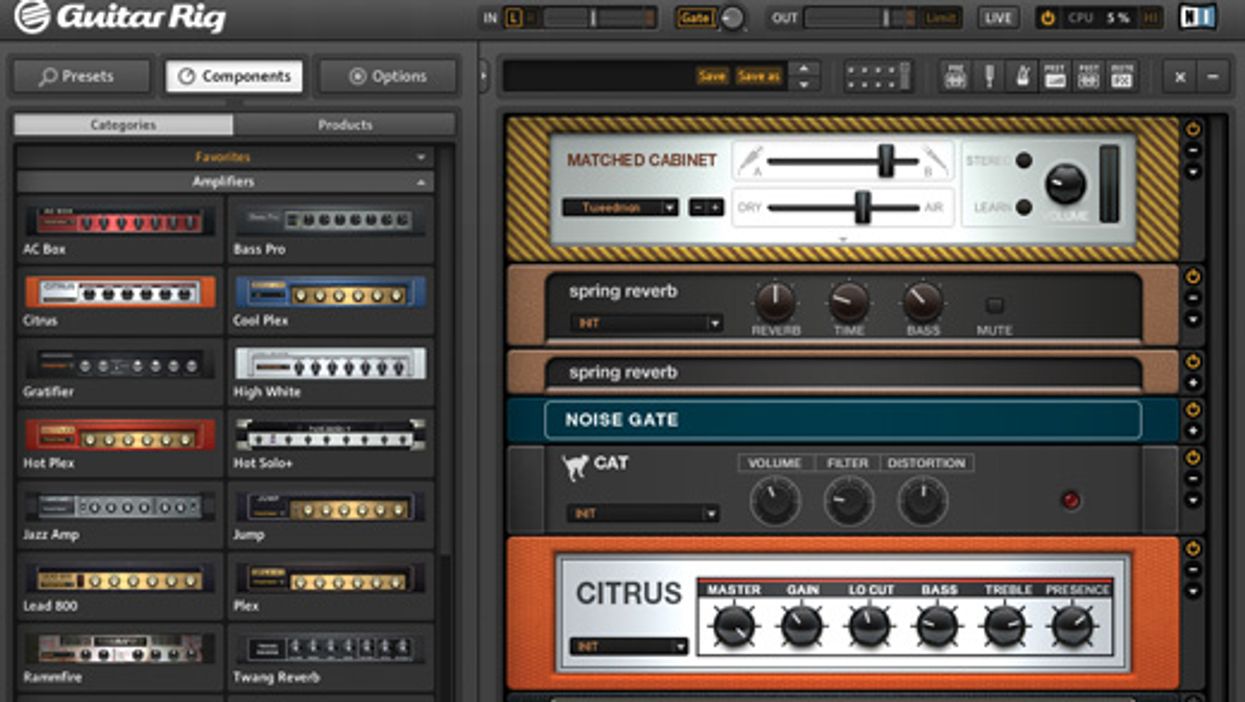
Joe Gore's Recording Guitarist The Recording Guitarist: Subvert the Virtual Guitar Rig! Amp and effects modelers are designed to sound analog—but they don’t have to. Joe Gore Oct 03, 2017
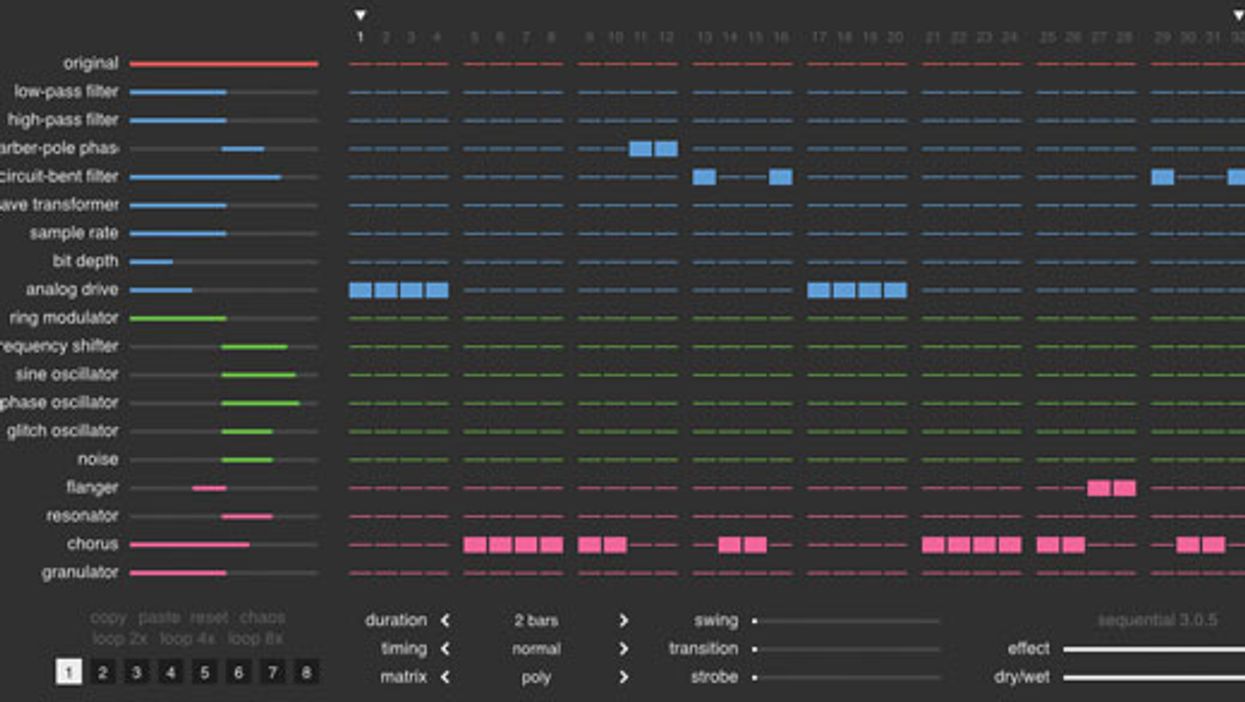
Joe Gore's Recording Guitarist The Recording Guitarist: Rock on with Your Clock On The far-out sounds of effect sequencers. Joe Gore Sep 07, 2017
Effects The Recording Guitarist: Designing Delays, Part 2 More unconventional echo experiments. Joe Gore Jul 04, 2017
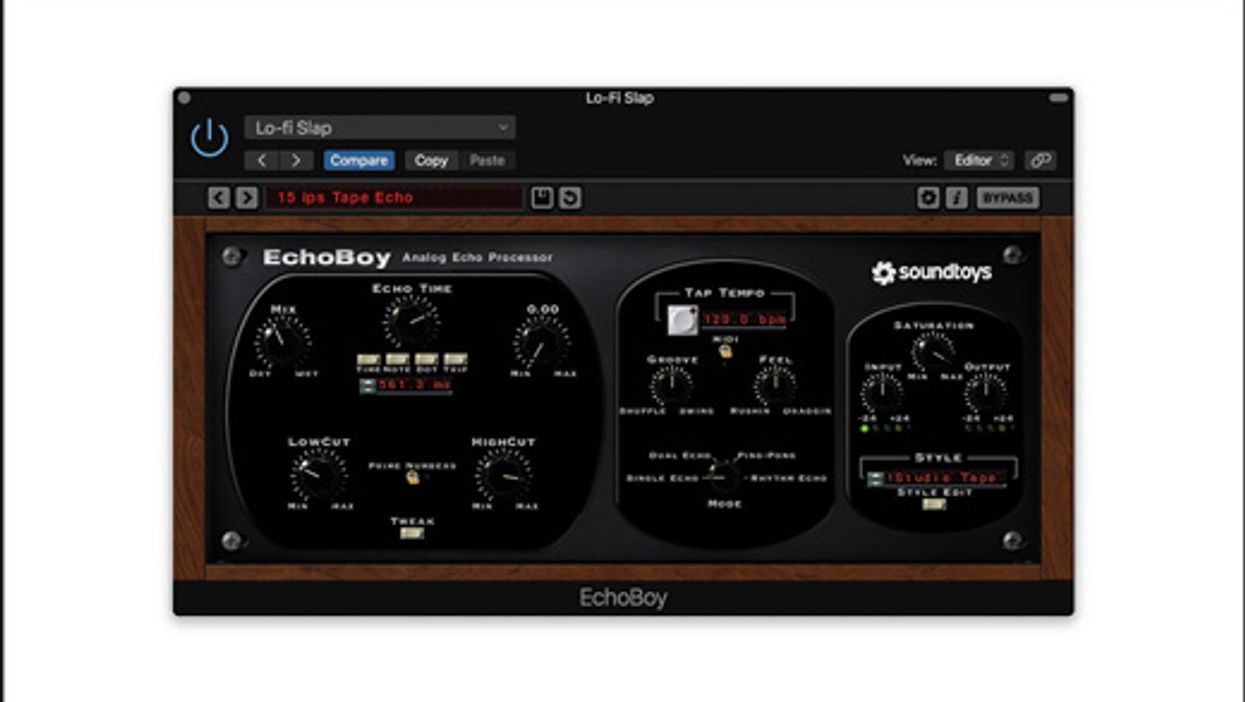
Joe Gore's Recording Guitarist The Recording Guitarist: Unusual Echoes Get creative with faux-analog delay tones. Joe Gore Jun 12, 2017
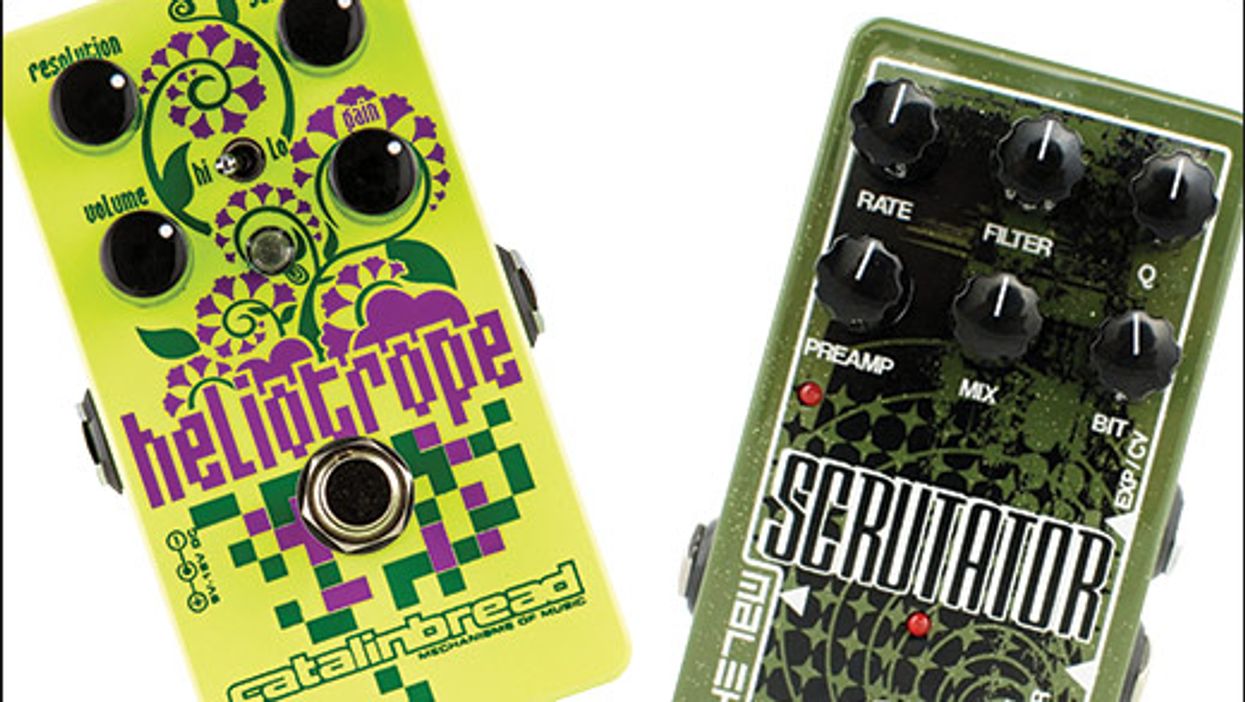
Joe Gore's Recording Guitarist The Recording Guitarist: Breaking Bits This ugly effect can be a thing of beauty. Joe Gore May 11, 2017
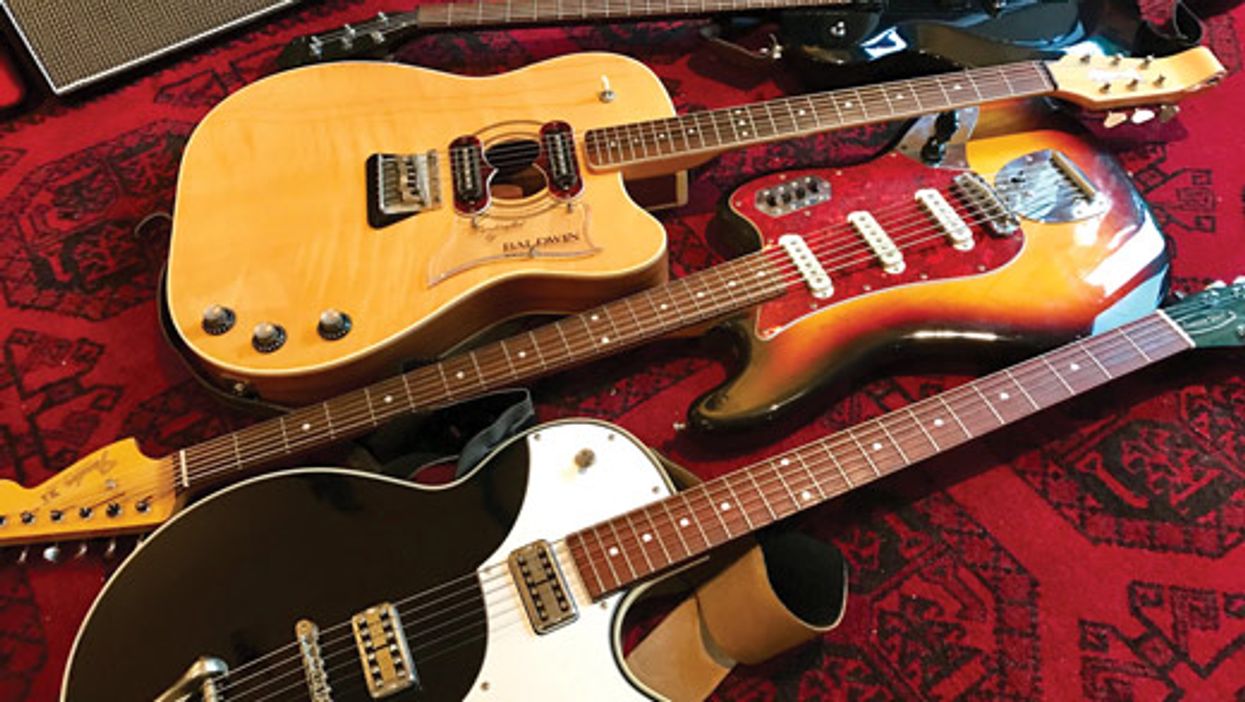
Electric Guitars The Recording Guitarist: Big Bad Baritone T’aint bass, t’aint guitar, ’tis versatile. Joe Gore Apr 20, 2017
Gigging Advice The Recording Guitarist: A Study In Stereo Miking What’s the best way to record acoustic guitar in stereo? X-Y? M-S? A-B? Or just plain old mono? Joe Gore Feb 20, 2017
Effects The Recording Guitarist: Is There a Best Way to Route Your Reverb? Spoiler: No. Joe Gore Nov 23, 2016