Mastering is the last stage in music production, traditionally performed by specialist mastering engineers. Some mastering tasks are straightforward: arranging album tracks in the desired order, specifying the amount of silence between songs, balancing their relative volumes, and so on.
Other mastering skills are more artistic. Producers and performers bring in their final mixes, and the mastering engineer just… makes them sound better. He or she might apply EQ, compression, noise reduction, stereo-width adjustments, and other techniques. Several dozen famed mastering engineers are responsible for a huge percentage of commercial recordings. They work in purpose-built mastering studios stocked with armories of analog and digital processing gear. They’re paid well for their talents. It can cost thousands of dollars to master an album with a leading engineer.
But two things have changed since the turn of the century: production budgets shrank and audio software improved. With a typical DIY recording budget—oh, let’s say zero dollars—how can you spend a grand on mastering? So we often do DIY mastering at home on our DAWs. Unless you’re exceptionally talented, it won’t sound as good as the real deal. Still, we do our best.
Mastering Mastering?
There are no secret mastering formulas—every recording has different needs. But we can talk about getting good results from common mastering tools.
Let’s begin with multi-band compression, and I’m not talking about crowded backstage dressing rooms. Most modern DAWs include a plug-in of this type, and there are popular third-party options from Waves, Blue Cat, FabFilter, and others. (I’m a massive fan of the mastering tools in iZotope’s Ozone.)
Typically, multi-band compressor plug-ins encompass three or four independent compressors, each of which works like a conventional compressor. If you’re hazy on compressor basics, check out The Recording Guitarist: "Dances with Compressors," January 2015. (Peter Frampton once re-tweeted it—woohoo!)
You can apply each compressor to a specific frequency range. You might, for example, use a lighter compression setting on the bass frequencies and a heavier one on the mids and highs to emphasize the lows. Alternately, you might use lighter compression on the highs to bring out a mix’s sparkle, or squeeze the mids harder to remove mud. So while we think of compression as a dynamic processing tool, multi-band compression can also be a form of EQ—one that can be subtler and more dynamic than straightforward equalization.
Here’s an example using simple acoustic guitar. I recorded this passage on a low-tuned nylon-string via a single small-condenser microphone. I applied EQ, reverb, and compression in the mix (Ex. 1).
I imported the mix into a fresh session months later to see what some homespun mastering might add. Here I used the Multipressor plug-in from Apple’s Logic Pro, which has four independent compressor bands.
You set relative compression levels by dragging the horizontal lines in the upper portion of the UI. Here I boosted the bass slightly, pulled back the low mids for clarity, pushed the upper mids to bring our the fingernail attack, and goosed the extreme highs for a sense of “air.” (Clip 2)
Multi-band compressors usually let you set the frequency bands for each compressor. The first time, I went with the default. Then I got more surgical (Image 2).
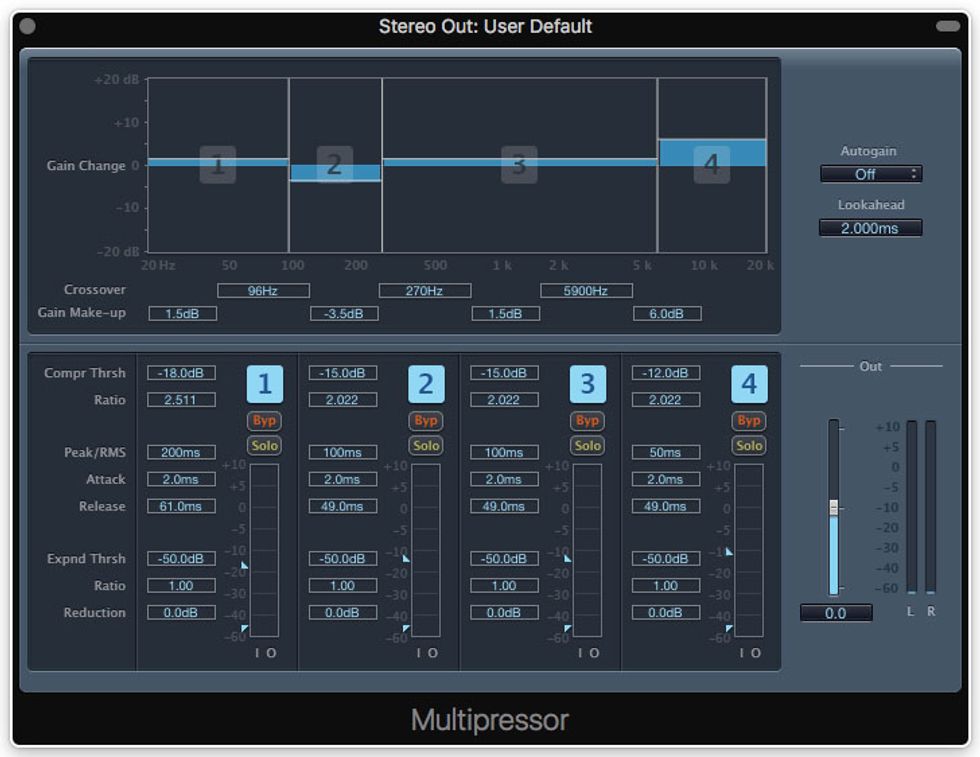
Image 2
Here I narrowed the midrange band. This clarifies the mids without “gutting” the sound so severely. That way, I didn’t need to boost the upper mids as much.
Band by Band
Here’s another example using a band track—a vaguely roosty thing with trashy drums and percussion, Dobro, low-tuned guitar, and no bass. Audio 4 is my original mix.
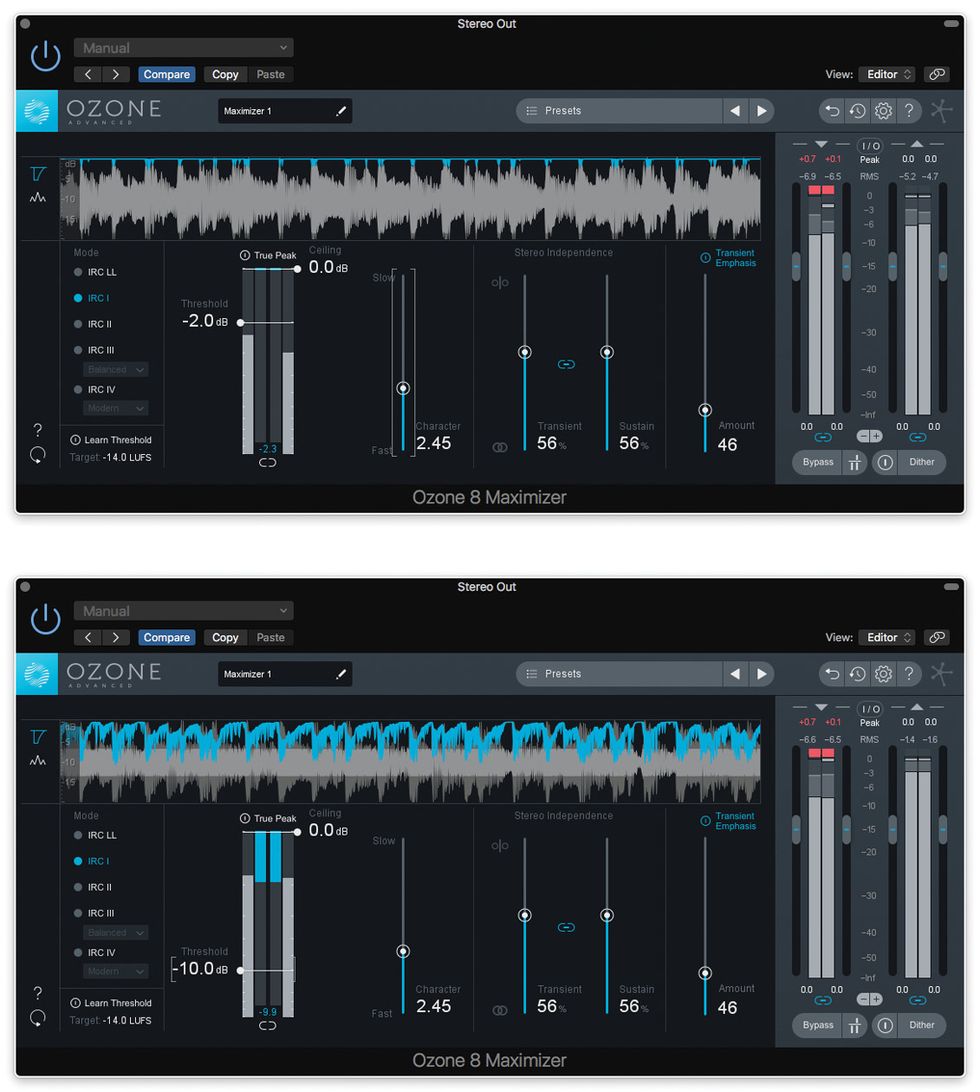
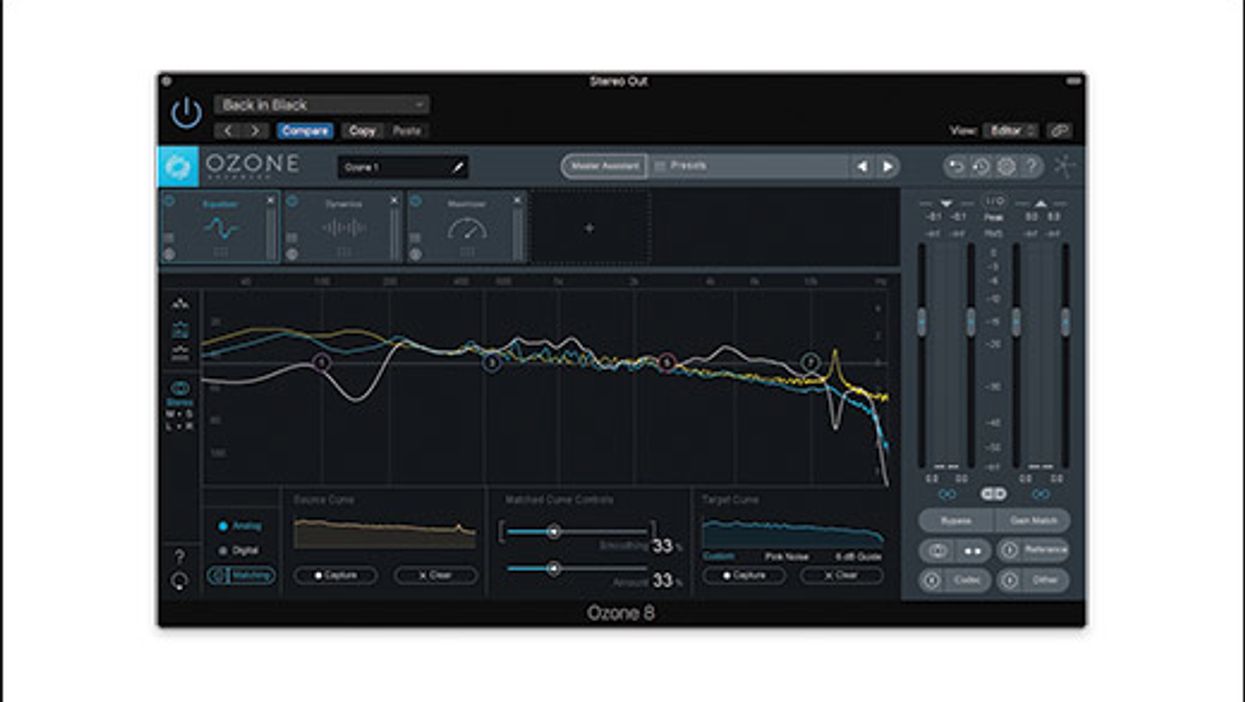
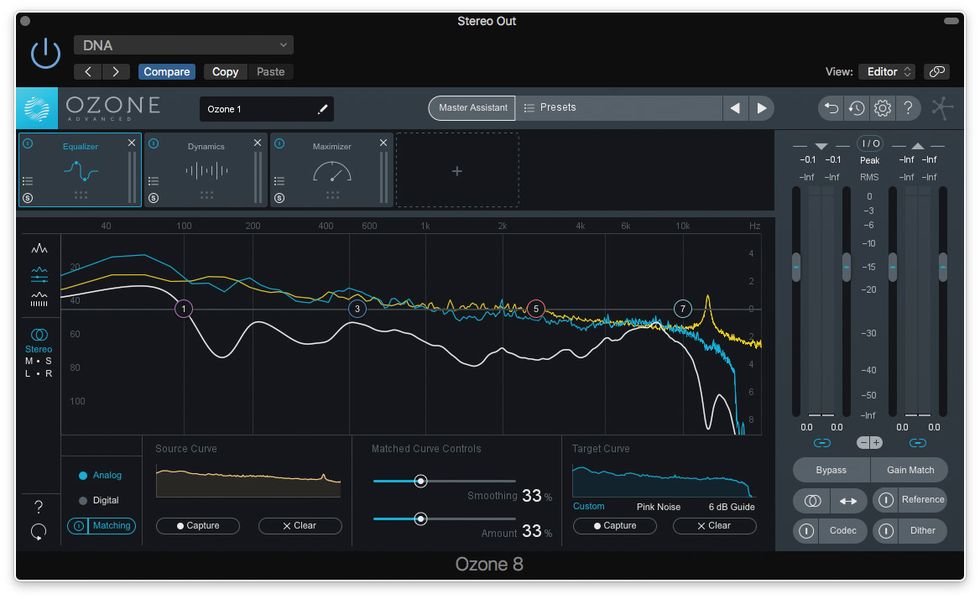
I imported it into a new session and fired up the Dynamic EQ plugin from iZotope’s Ozone 8. It looks like an EQ plugin, and it is. But you can also set the compression’s threshold, attack time, and release time independently per band (Image 3).
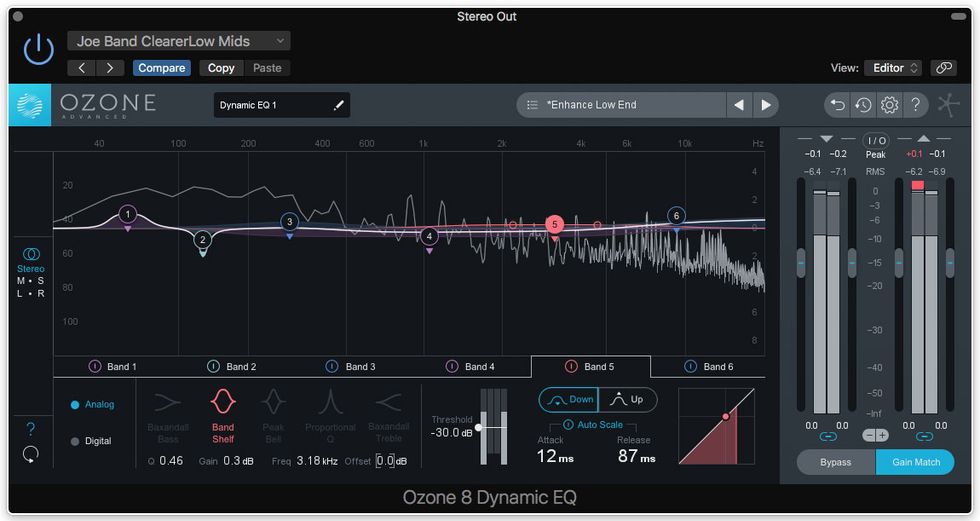
Image 3
I added a low-end bump targeting the thuddy kick drum, a narrow low-mid cut to separate the guitars from the drums, and a touch of high-end shimmer.
Consider this a basic introduction to a key mastering concept. We didn’t even play with the attack and release settings, or talk about applying the effect to mix basses rather than an entire mix. (You might use a plugin like this on a drum submix, or to a stack of multi-tracked guitars.) Try this experiment: Take you favorite mixes and see if you can make them sound even better with this tool. We’ll explore further in an upcoming column.