
I can't tell you how many guitars I've played where the lacquer on the back of the neck made me just want to put it down and pick up something else. I've always been a fan of the bare wood feel as opposed to thick finish on the back of a neck, so I thought for this month we could talk about getting a nice, smooth bare-wood neck. We've all sanded a neck at one point or another, right or wrong. Here are a few that can get your guitars feeling slicker in just a few quick steps.
Keeping Clean
I'm a clean freak when it comes to my gear, so dusty and dirty is not acceptable. I don't take the strings off or even loosen them up first, so my first suggestion to you is to place the body of the guitar in a trash bag. Tie the bag around the neck joint to keep the dust from getting into your pickups, pots, and switches and this will save you from lots of scratchy noises later.
Sanding in Stages
The thickness of the clear coat tells what grade of sandpaper I'll start with. Usually a 500 grit will work through just about the thickest of them with a little persistence. Scotchbrite makes a nice sandpaper substitute as well—buy both red and blue if you got this route.
To get started, cup your hand around the neck with the sandpaper so you have contact with the entire surface area. The first few strokes will cut into the finish and you can see if you need to apply or release pressure in any spots. Also, make sure you run the sandpaper the full length of the neck. You don't want to wear any uneven places anywhere on the neck. The lacquer will come off as a whitish powder when you get started, and as you work your way down into the wood you'll see the color turn to a light brown.
When you start seeing some wood dust coming off, it's time to go with a lighter grit. You don't want deep scratches in the wood—you're only trying to remove a layer of clear coat and bring the wood back to a smooth finish. Use the lighter grit until the grain is slick feeling, then move to the next higher grit paper. After a few minutes with a 1000 or 1500 grit sandpaper you're ready for the next step.
Sealing the Wood
You don't want the wood to be unprotected from the elements. This can cause unnecessary truss rod adjustments and you definitely don't want to have to deal with that every time you go into a new venue. Sealing the wood will eliminate that problem, but obviously certain products will put you right back where you started with a sticky finish. I've seen guys use anything from Tru Oil for gunstocks to 3-in-1 oil to Linseed Oil to Lemon Oil. I've even seen Super Glue used on one occasion (yeah I didn't get that one either). Some need to be reapplied every so often, but I want to be able to do it once and be not be concerned about it at the next gig.
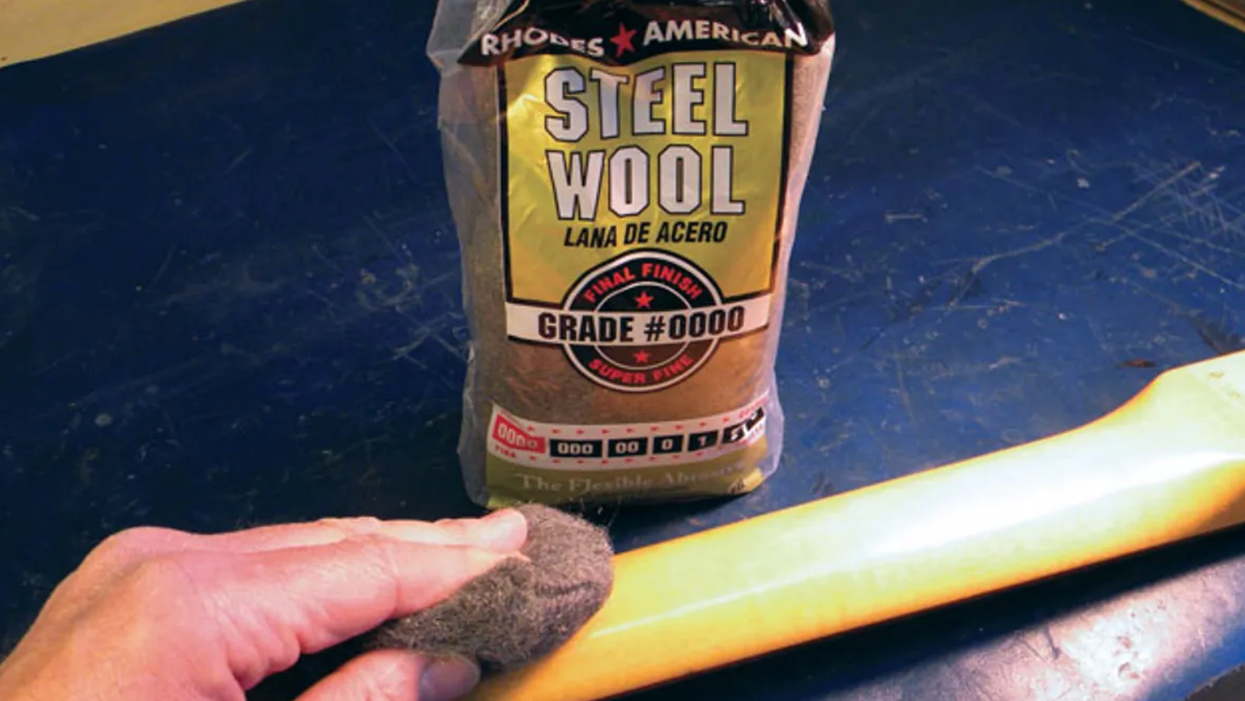
My favorite product is a little concoction of rubbing alcohol and shellac. It sounds strange, I know, but it'll completely seal the wood and it dries with the slickest feel. Mix the two ingredients 50/50 in a plastic cup and apply it to the wood with a rag. It will dry to the touch pretty quickly, so as soon as it does go ahead and apply another coat. Go for three or four coats and let it dry overnight. The next morning, take some 0000 steel wool to it and you'll be amazed at how natural the back of the neck will feel.
I tried this trick for the first time with Brad's baby blue Crook Esquire and he loved it. I hope it works for you!
[Updated 10/20/21]