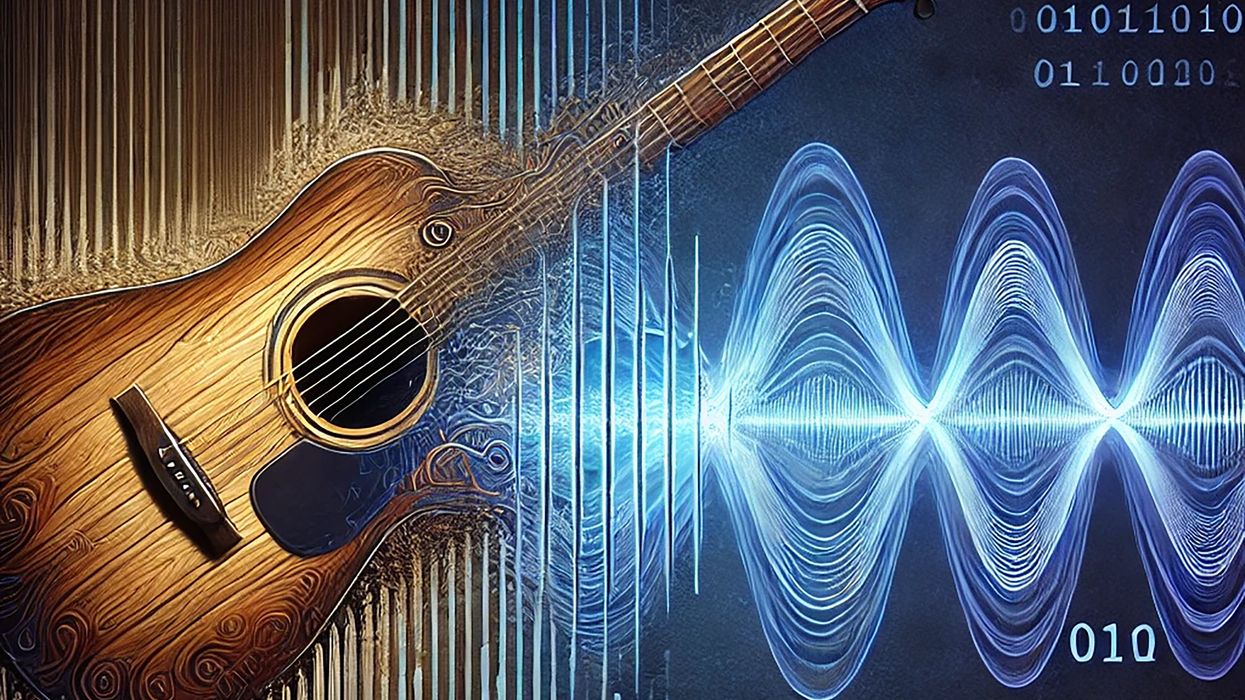
A well-organized sample library is crucial for musicians, producers, and sound designers. It enables smoother workflows, saves time, and nurtures creativity by providing easy access to the perfect sounds.
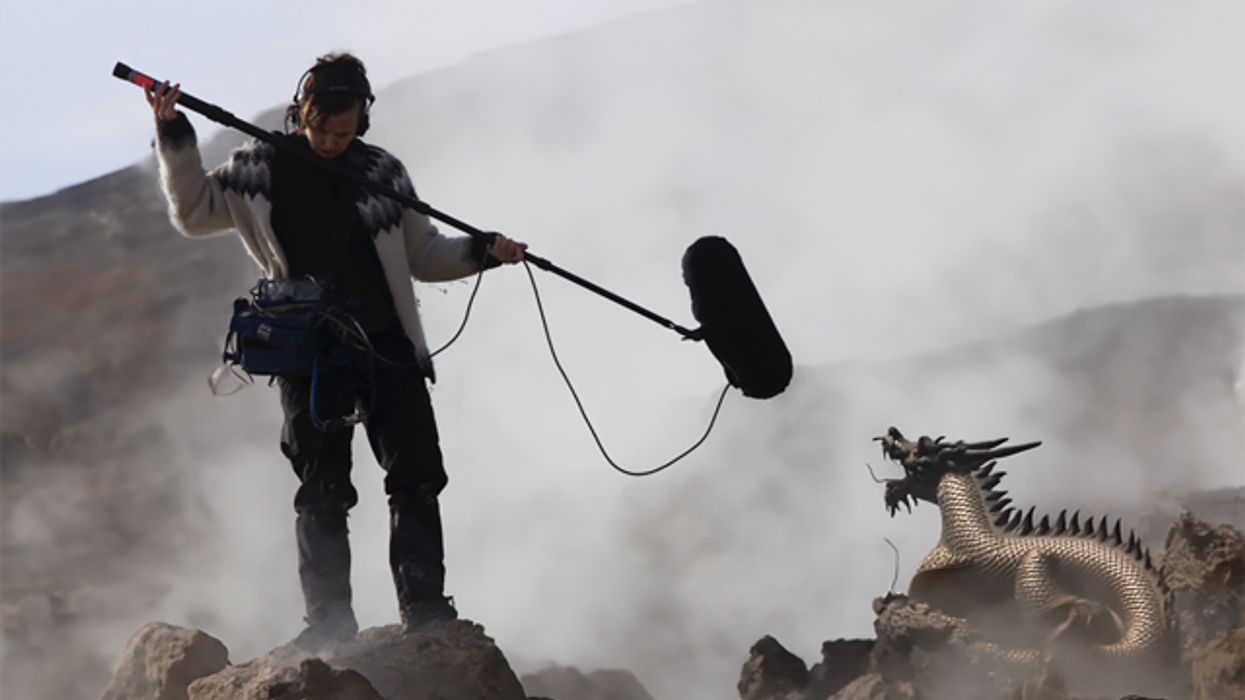
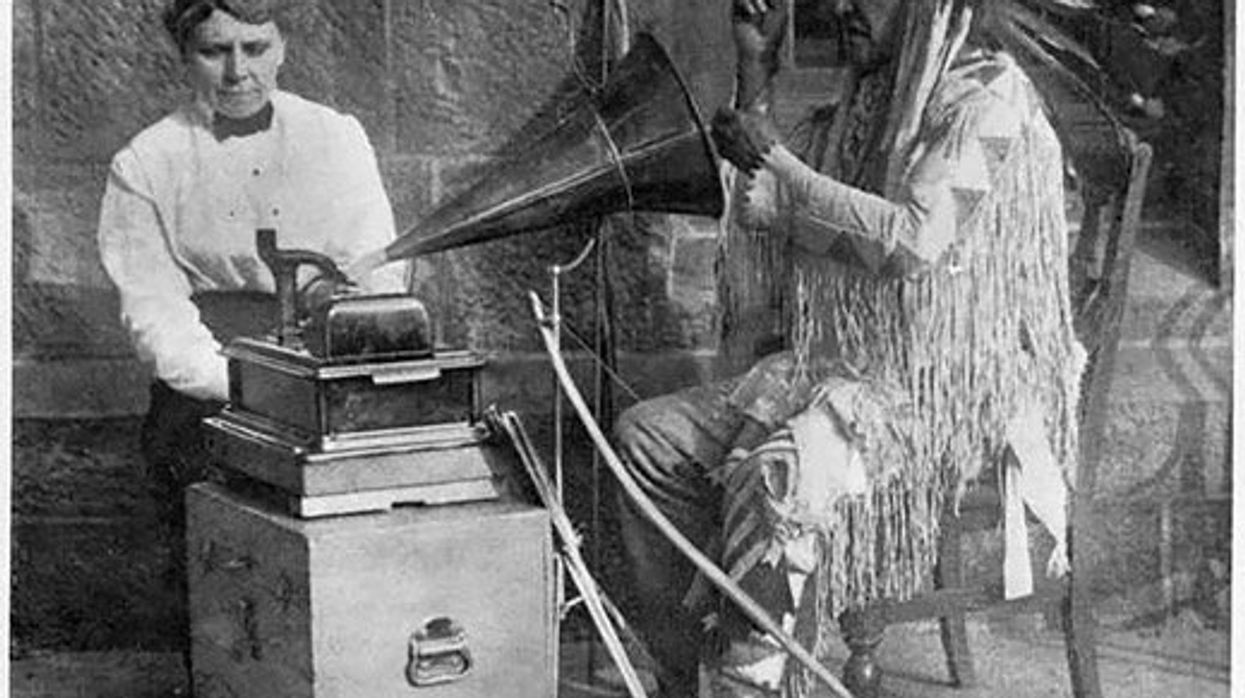
Once used as a way to preserve American indigenous culture, field recording isn’t just for seasoned pros. Here, our columnist breaks down a few methods for you to try it yourself.