Chops: Advanced
Theory: Intermediate
Lesson Overview:
• Improve your slide technique.
• Add hammer-ons and pull-offs to slide licks.
• Discover new ways to create angular whammy-bar effects.
Click here to download a printable PDF of this lesson's notation.
We’re jumping into uncharted territory here by exploring the intersection of swampy slide guitar and blistering shred. These two worlds might seem mutually exclusive or even incompatible. After all, when you think of slide guitar, you might imagine a wise man playing sweet, singing melodies and gritty riffs. And the term “shred” suggests a teenager diligently practicing scales and arpeggios to create video-game soundtracks and effects. Ne’re the twain shall meet, right?
Actually, there is a meeting point between these polar opposites, and it’s really interesting. Picture a slide player who isn’t intimidated by fast tempos and a shredder who can bypass frets entirely to access new sounds. That’s where we’re headed. In this lesson, we’ll see what happens when you bring a shredders mindset to the world of slide. Okay, let’s hit the woodshed.
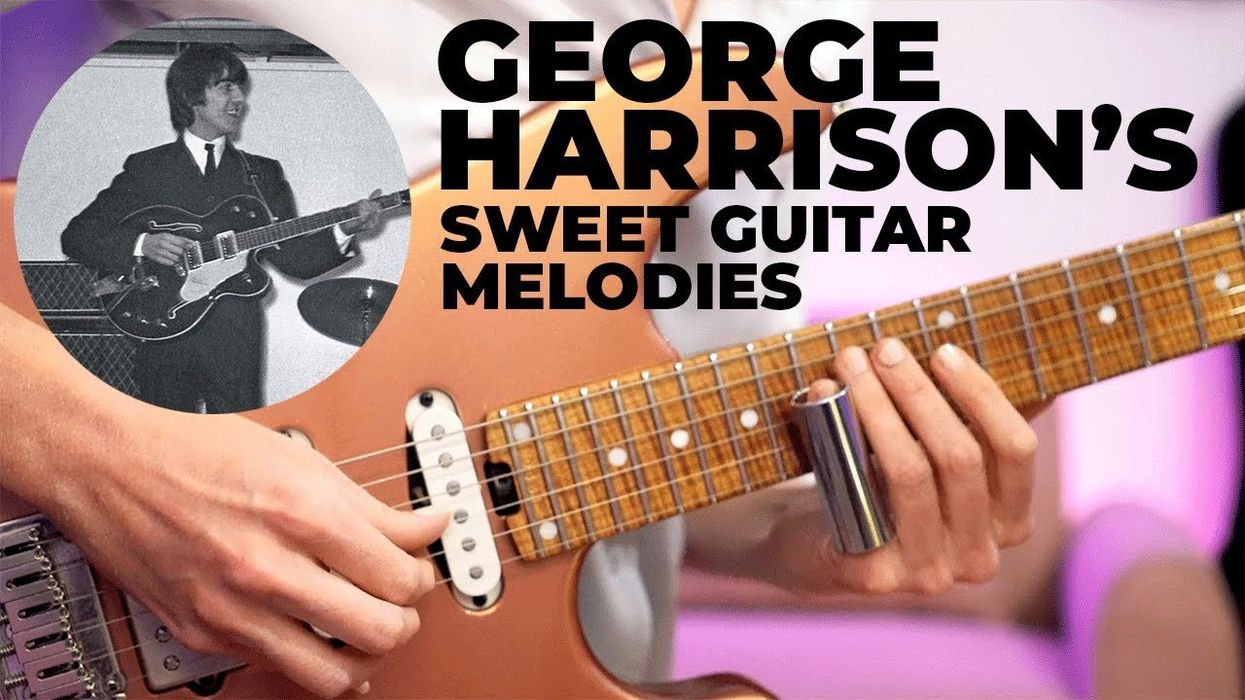
But first, I should say this is not a lesson for a slide novice. To get the most from these examples you’ll need to possess a bit of slide knowledge. Nor will we cover any standard approaches to slide playing. For this unorthodox mashup of slide and shred, we’ll use a shorter slide (I favor a Dunlop 211) that covers your second finger down only to the middle knuckle (Photo 1). Even smaller slides are available, such as slide rings and Will Ray’s Stealth Slide, if you decide you only need to play one string at a time with the slide.
Because a shorter slide lets you bend your second finger, your other fingers are free to play around the slide notes using legato fretting techniques. Also, for the clearest tone you generally want to mute behind the slide with the first finger. Your picking hand will often mute unwanted strings, either with the side of the thumb after you pluck a string or with your middle finger. (Steel guitarists call this “blocking.”)
I should point out that although I put the slide on my second finger, that’s not written in stone. Experiment to see what works best for you. (Just remember the fingering for the fretted notes will change according to which digit holds the slide.)
Now let’s dig into it. Get that slide on your finger, grab a pick, and get ready to rip. We’re going to check out four different topics: triad arpeggios, 7th-chord arpeggios, pentatonic scales, and string skipping. These topics will give you a solid enough foundation that eventually you won’t have to think about what you’re doing. Instead, you’ll have the freedom to get nasty and funky.
Any note you play with the slide can be approached from a fret or two away. These are just meant to be a quick grace note into the target note. When there are two notes on a string, you can choose to either pluck both, or pluck once and incorporate a legato technique to sound the second note. For example, pluck a lower slide note and then hammer to the fretted note, or pluck the fretted note and pull off to the slide.
Triad Arpeggios
We’re going to start out with a cool arpeggio exercise. Ex. 1 is a three-octave G major triad (G–B–D) arpeggio. The nice thing about this shape is that it just repeats up the neck. While you can play the entire thing with your slide, by using an additional finger to alternate with the slide you will gain a new profound technique. Imagine a rock climber who, instead of just pulling his or herself up a mountain, now has grips on the side of the mountain to help. You can alternate between using the finger on the one-note-per-string instances and then use the slide to gliss between the two notes on the next string. Eventually this kind of leap will seem easy.
Click here for Ex. 1
Whenever you learn a root-position form for a scale, chord, or arpeggio, be sure to move through its various inversions across the fretboard. In Ex. 2 and Ex. 3 you can see the remaining inversions of the G major triad. Practice these types of licks slowly at first. Move them to different keys, vary the rhythm, deconstruct and explore smaller portions and phrases, and develop your own melodies.
Click here for Ex. 2
Click here for Ex. 3
Once you get the major triads under your fingers, the next step will be to work out the minor forms. Simply change each B to a Bb (down one fret) and you’re there. Ex. 4 shows the root-position shape. Play it a few times and then work through the other two inversions.
Click here for Ex. 4
This should get you started building a great vocabulary for shredding with a slide. Try using these shapes with basic major and minor 12-bar blues progressions. Experiment by mixing up the major and minor shapes. For example, using a Gm arpeggio over a G major chord will yield a bluesy sound. Try using a G major triad for the I chord in a G blues, and then play Gm arpeggios for the IV (C) and V (D) chords.
7th-Chord Arpeggios
Now let’s dive into 7th chords. Rather than moving diagonally up the neck, these arpeggios are going to be more vertical. In blues, the most common tonalities are dominant and minor. Ex. 5 shows you how to move through four shapes of a G7 (G–B–D–F) arpeggio and Ex. 6 demonstrates Gm7 (G–Bb–D–F) arpeggio shapes.
Click here for Ex. 5
Click here for Ex. 6
Once playing through arpeggios becomes second nature, practice improvising through chord progressions. Take the arpeggios and break them down into smaller patterns and chunks. Let the shredder side take over and practice short, repetitive licks and patterns with a metronome. Then, use the soulful blues side of your personality to get into the groove. Soon you’ll find yourself creating some new and interesting sounds by combining the two. All right, let’s move on to the next section.
Pentatonic Scales
This is standard vocabulary for any blues or rock player, but our hybrid slide technique gives the standard shapes some new life. To play each of these examples, I’ll alternate between the slide and my fourth finger.
Practice these shapes until they become second nature and you’re able to play them with your eyes closed ... in every key. Ex. 7 and Ex. 8 demonstrate two positions of the G major pentatonic (G–A–B–D–E) scale. Remember, the G major pentatonic can also be viewed as an E minor pentatonic scale.
Click here for Ex. 7
Click here for Ex. 8
The pentatonic scale has five notes to each octave before the notes are repeated in the next one. Therefore, there are five different shapes of the pentatonic scale—one built off of each note. These five shapes can be thought of as inversions of the parent scale. Work through each pentatonic position slowly and methodically, focusing on balancing the tone between the slide and the fretted notes.
String Skipping
Let’s get to the nuts and bolts of super-charging your slide playing—string skipping. This is relatively easy because the slide lays across strings easily enough, but you still have to rock it back and forth to focus only on the string you intend to play. All these licks deal only with the A minor pentatonic (A–C–D–E–G) scale, but you should practice them in a variety of other keys and octaves.
In Ex. 9 we start simply enough by sliding into the lower note on each string and then using a hammer-on to attack the higher note. The skipping pattern is a leap followed by a move to an adjacent string.
Click here for Ex. 9
Ex. 10 is a bit different: Here we’re playing everything with the slide and employing plenty of leaps. It can be a bit tricky to accurately play over every pentatonic shape, but stick to it.
Click here for Ex. 10
Ex. 11 uses a rhythm based on sextuplets (six notes per measure), along with the same string-skipping pattern we first saw in Ex. 9. You can achieve a nice wave effect with fast licks like this. And remember, these licks don’t have to be played fast—this technique can also be applied to moody, slow phrases. Though it’s more difficult, try playing this example slowly and in the pocket to get complete control.
Click here for Ex. 11
Our last lick (Ex. 12) uses a string-skipping pattern that’s based on a series of leaps. You get a good amount of range with this one. Slide into the first note on each beat, but also use the slide to play the lower note on each string. It’s great to have the slide on your finger and be able to create crying, screaming melodies when you need it, but not be limited when it comes to fingering.
Click here for Ex. 12
So now you’ve tried combining slide guitar with a shred attitude. I hope this has opened up a Pandora’s box of possibilities and you’re ready to explore more on your own. Take it slow and have fun with this technique. These ideas are for you to explore, make your own, and integrate into your own style. And that might not be shred or swampy blues, or even a genre we’ve heard before ... but it will be you.





![Rig Rundown: Russian Circles’ Mike Sullivan [2025]](https://www.premierguitar.com/media-library/youtube.jpg?id=62303631&width=1245&height=700&quality=70&coordinates=0%2C0%2C0%2C0)

