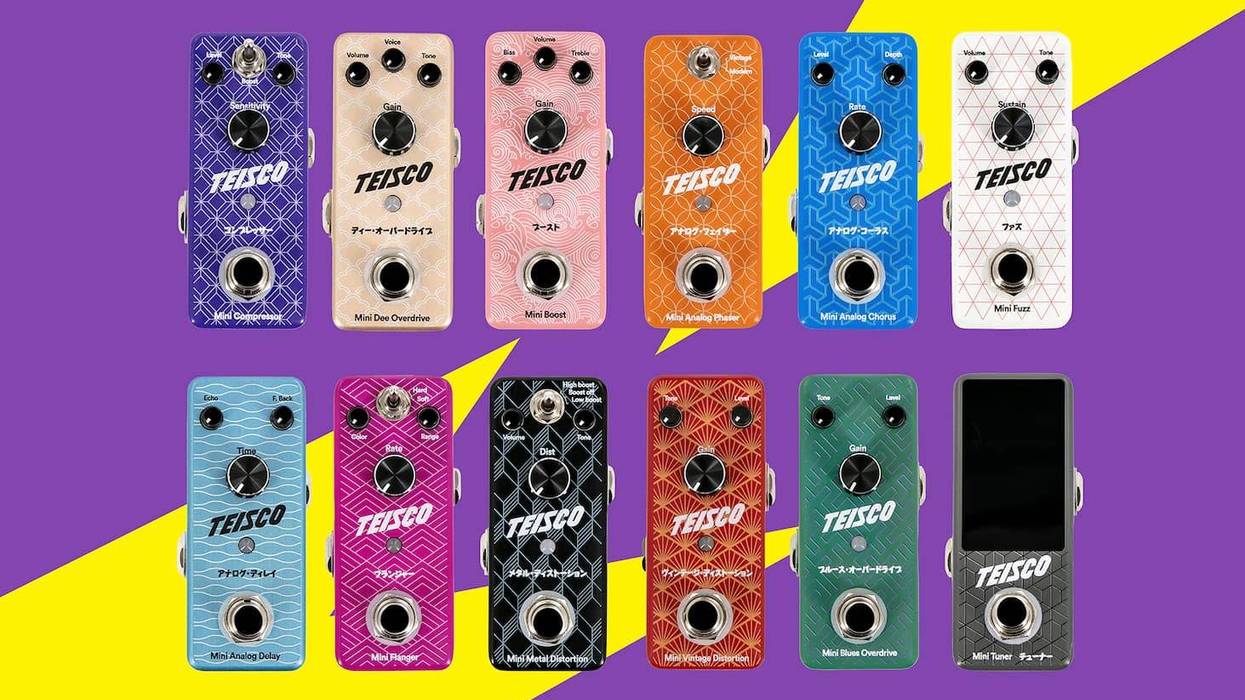
Teisco (teisco.com) expands its pedal lineup with the introduction of a new collection of Mini pedals, delivering huge, expressive tone in a compact footprint. Designed to offer a comprehensive selection of essential sounds, the Mini pedals empower players of all levels to craft their own voice with confidence. True to Teisco’s fearless spirit, the brand’s bold personality and unmistakable aesthetics remain front and centre in this new collection.
Joining the celebration of this launch is a lineup of incredible artists and creators — Pedalboard Of The Day (@pedalboard_of_the_day), collector//emitter (@collectoremitter), Weish (@wweishh), and Old Dog (@oldoguitar) — who bring out the sonic brilliance and clever controls of these pedals.
The Teisco Mini collection features an extensive lineup of twelve all-new pedals, covering every essential need on the pedalboard, from fuzz and overdrive to delay, modulation, and tuning. Defying their compact footprint, these pedals deliver powerful, inspiring tones, proving that portability no longer comes at the expense of sound quality. Inspired by Japanese aesthetics, each model showcases a distinctive, eye-catching design that stands
out on any pedalboard. But it’s not just about looks: modern circuitry and true bypass switching ensure optimal signal integrity, offering the best of both worlds. Competitively priced, with US MAP starting at $59, the Teisco Mini pedals offer an accessible entry point for musicians seeking high-quality effects without compromise.
The pedals are now available worldwide via teisco.com and through select dealers.
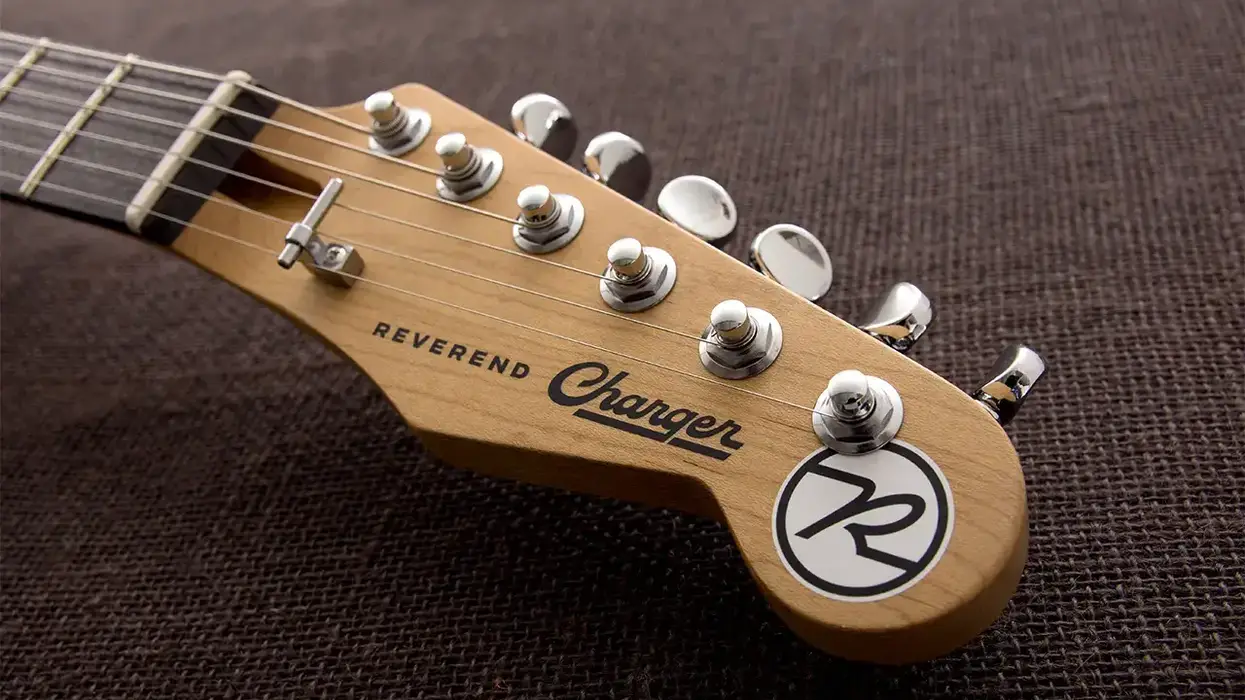
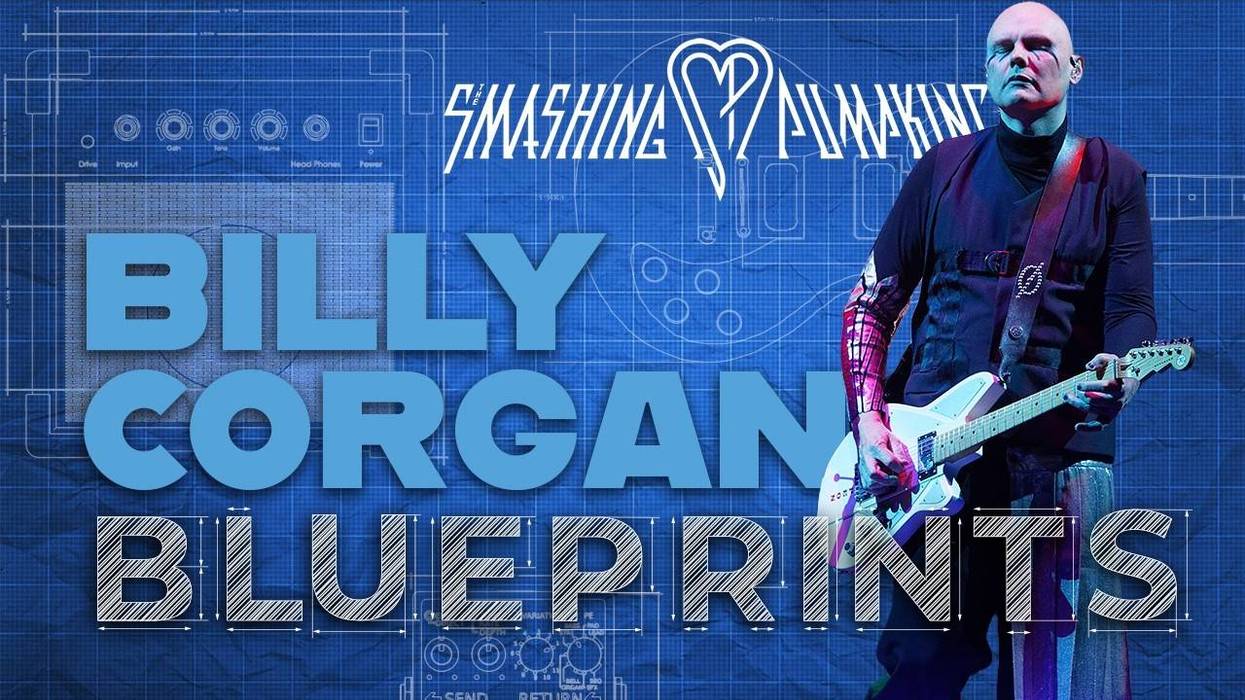
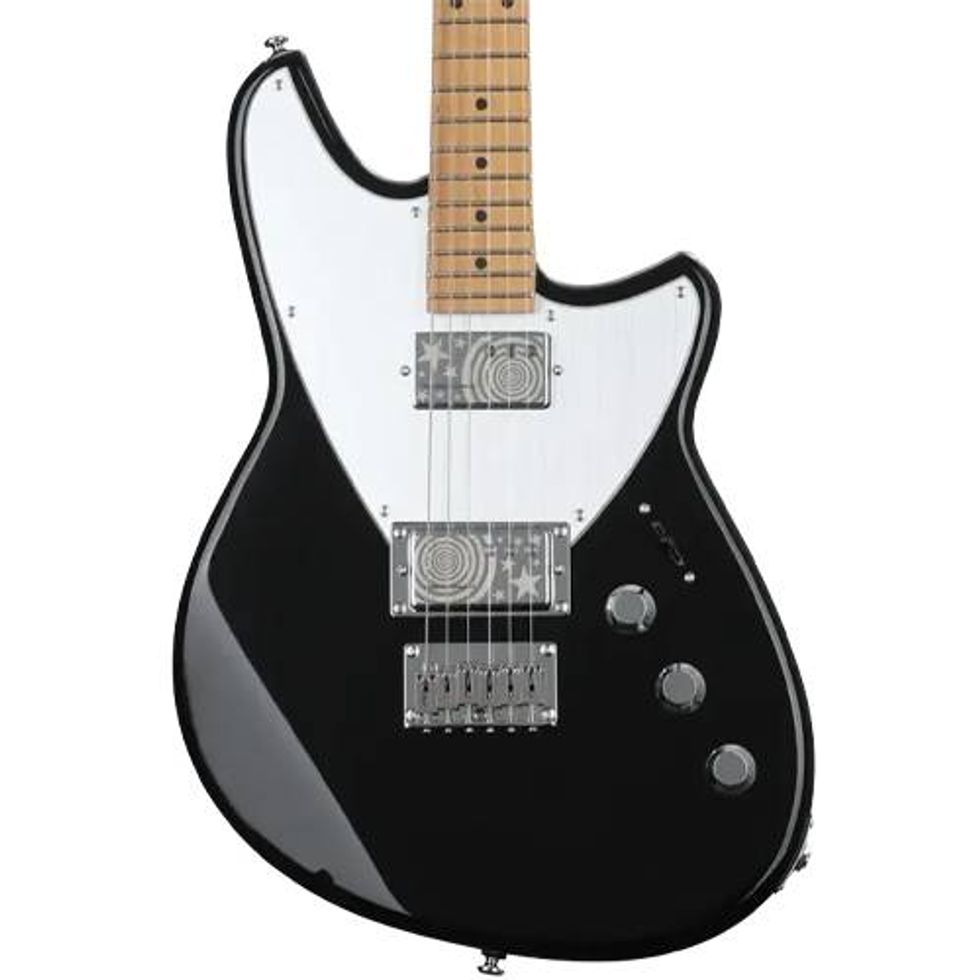
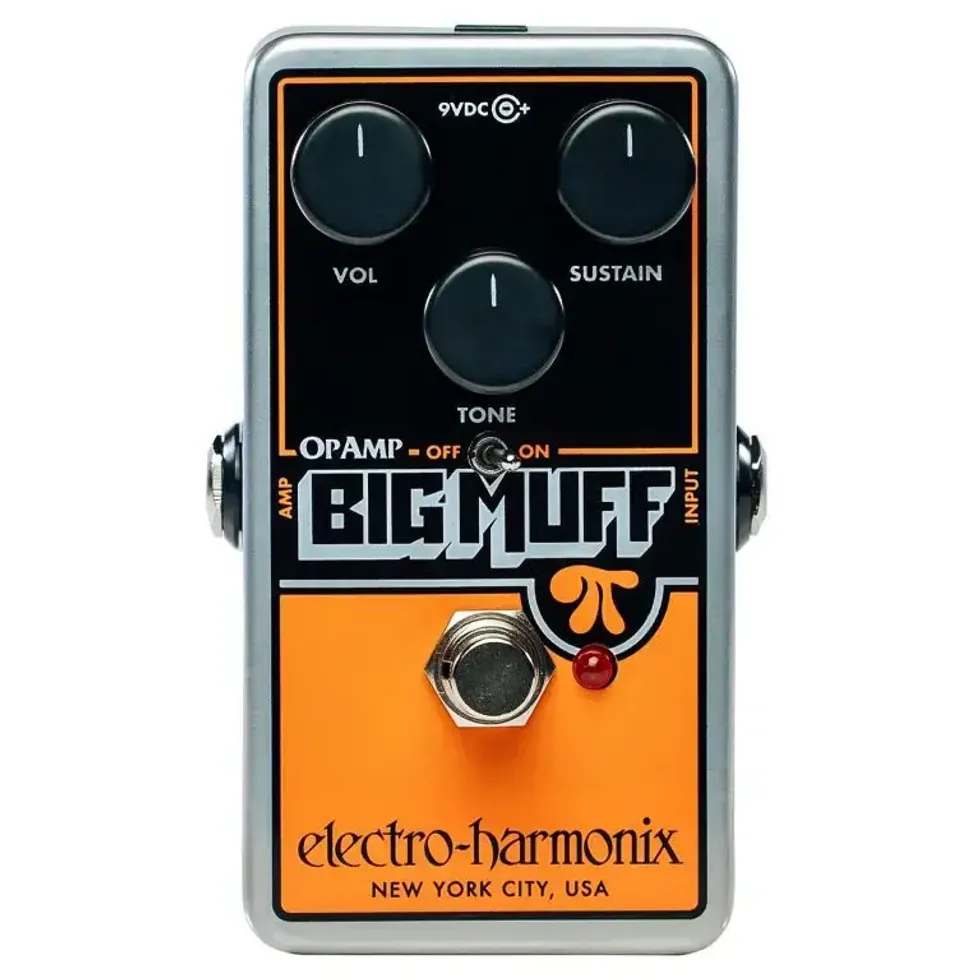
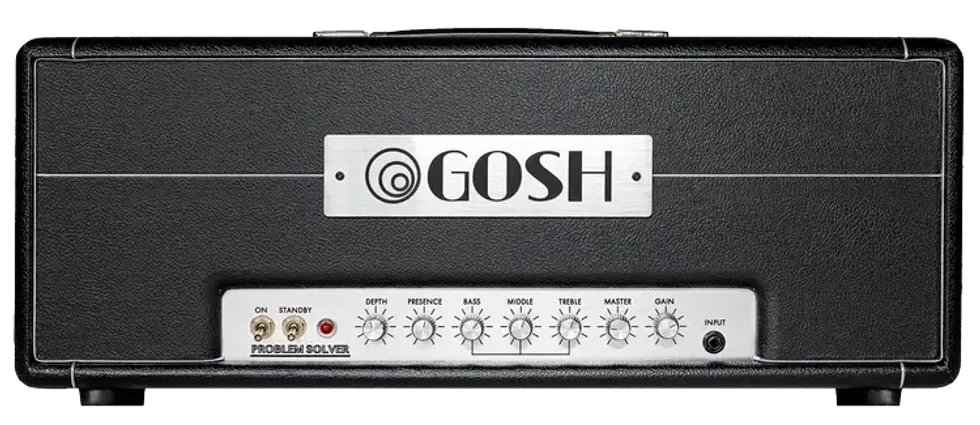
Ever wondered how Billy Corgan achieves that massive "chainsaw" fuzz tone that defined an era of alternative rock? In this edition of "Blueprints", PG contributor Tom Butwin dives deep into the gear that makes it possible, featuring the Reverend Billy Corgan Z-One with its unique Bass Contour control, the Electro-Harmonix Op-Amp Big Muff Pi for that essential seventies-style grind, and the Gosh Amplification Problem Solver to provide a classic Marshall-style foundation.
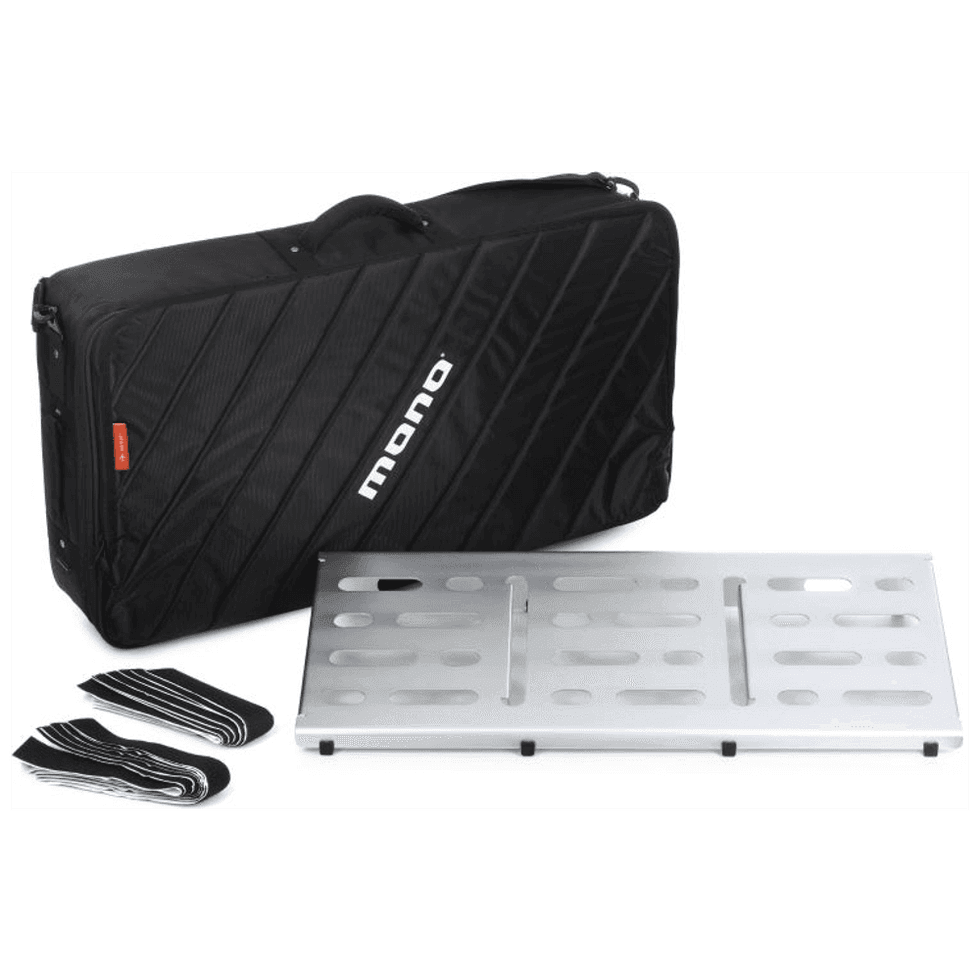
This is it — the granddaddy of Pedalboard series. The MONO Pedalboard Large is a pro-sized and -featured pedal solution that won't weigh you down in size or cost. The Pedalboard Large is cut from a single piece of anodized aluminum for superior strength, light weight, and an elegant textured surface. Cutouts along the surface hide pedal jumpers and power cables for a streamlined, professional look. Rubber feet on the bottom absorb shock and prevent the Pedalboard Large from sliding across hard surfaces as you stomp
Greetings, and welcome to another Dojo. Ever wonder what goes into modelling amps and pedals? Typically, when guitarists talk about whether an amp model “sounds real,” we describe it in tonal terms—gain, EQ, distortion character. But great tone is the successful solution to a complex, essentially time-based problem.
Without getting needlessly technical, an amplifier is not a static filter that reshapes frequency content and stops there. It is a dynamic system that responds differently depending on what just happened, what is happening, and how much energy (a.k.a voltage) is being pushed through it. For modeling technology to work convincingly, it has to track complex changes over time, not just measure a snapshot of a moment of “tone.”
Early amp-modeling systems struggled because they focused primarily on spectral snapshots—what an amp sounds like at a given setting under a narrowly dynamic input level. Those snapshots, while accurate, were often remarkably limited. Real amplifiers don’t remain in one state long enough for a snapshot to matter. They are in constantly transitioning states.
Put your brain in slow motion for a moment. When a string is struck, the initial transient carries enormous energy. Harmonics bloom unevenly, as the fundamental note(s) emerge. Pick material and attack angle alter transient shape before the signal ever reaches the guitar— think fingerstyle versus pick. Also, string gauge and tension alter harmonic emphasis and decay. Pickups engage with the string differently depending on design and height. Guitar wiring and controls shape impedance and bandwidth. Cable capacitance subtly alters high-frequency behavior long before any gain stage is involved. By the time the signal hits the amp, it already contains a history.
What then reaches the amp input is already the result of a complex upstream system, and inside the amplifier, that history continues to develop. Preamp stages interact with tone stacks in non-linear ways. Gain staging determines not only how much distortion occurs, but where it occurs. Effects loops interrupt the signal path at predetermined stages, altering how time-based effects are compressed and re-energized. As gain stages are pushed, harmonic content doesn’t simply increase—it redistributes.
“Convincing modeling can’t focus solely on recreating individual elements in isolation.”
Then comes the power amp—arguably the most misunderstood contributor to feel. Power amps do not simply make things louder. They can also compress under load, recover, and compress again. They respond differently depending on frequency content and sustained energy.
Finally, the speaker and cabinet take over, and physics takes the wheel. Speakers have inherent inertia and wildly different efficiency curves depending on materials and volume. Cabinets add another layer, with resonant frequencies shaped by their dimensions, storing and releasing energy at varying rates.
Now put your brain back into normal speed. Our ear perceives this entire chain as a single event!
A convincing “model” must pass a variety of static and dynamic signals through the real device, measuring input-output behavior, and then build DSP and machine learning to match those behaviors accounting for how dynamic range, harmonic density, compression, and spectral contour shift together across the time domain.
Our ear is exquisitely sensitive to these changes, particularly to the rate at which they occur. Too fast, and the modeled sound comes off stiff. Too slow, and it feels detached.
This is why convincing modeling can’t focus solely on recreating individual elements in isolation. What matters is gestalt behavior: how the whole system responds as energy flows through it, moment to moment.
How do modelers do this? Most developers—Neural DSP, Universal Audio, Kemper, Fractal, Line 6, and others—blend multiple approaches. These typically include running a range of static and dynamic signals through the real device to measure input–output behavior, isolate artifacts, and quantify nonlinear characteristics; circuit analysis (where designers model each component’s behavior mathematically and derive a transfer function for DSP implementation); and extensive listening tests. Increasingly, machine-learning models are trained and iterated to capture the unit’s behavior across multiple control settings, with each pass refining the results.
For players, this means that now more than ever we can enjoy legendary amp and pedal tones in powerful, highly portable hardware or in software form—along with tremendous flexibility when recording, consistent “perfect tone” performance (no tubes or speakers to fail), and the ability to be deeply creative with our tonal palette by mixing amps, speaker cabinets, microphones, and even modeled room environments.
Am I giving up my real amps? Never. But I’m completely comfortable using either technology as I see fit—and enjoying what each brings to the process. Until next time, namaste.
Great music tells a story. It builds on a plot and holds the listener’s attention as the story unfolds. We are especially moved by soloists who bare their souls and who keep us riveted with every twist and turn from their narrative. Pentatonics are the backbone of modern guitar vocabulary. Partially because they just sound good, but also because they lay so easily on guitar. There are several ingredients that make a guitarist sound brilliant, but one of the most important is chromaticism. Could there a be a way we could combine these two? Let’s find out.
This term chromaticism comes from the Greek word chroma, which means “color.” Using chromaticism means having the freedom to use all 12 notes over a given chord. Imagine the possibilities and freedom to play any note over a chord in composition or improvising! The quickest way to start adding color notes to the minor pentatonic scale is to add the 2nd and the 6th, which then gives you a Dorian mode. I’ve outlined it below using the A minor pentatonic scale.
A Minor pentatonic: A–C–D–E–G
A Dorian: A–B–C–D–E–F#–G
In general, there are chromatic notes that are outside the chord/scale, and notes that are outside the key. The latter carries a lot of tension against a chord and needs movement or resolution. From my days of playing jazz gigs in Toledo, OH, I recall what legendary trumpeter Jimmy Cook once told me regarding playing outside: “You can go up to the attic, but you have to come back down.” In other words, you can play outside tonally, but you must resolve at some point in order for your music to sound coherent.
Let’s get started on this journey of chromaticism together.
Before we go hog wild and add random notes, let’s begin by taking an A minor pentatonic scale and fill in the chromatic notes between the already existing box pattern. It’s almost arbitrary, but it will enable you to hear different colors added within the scale (Ex. 1).
Chromatic Burst of Energy. In beat 1 of Ex. 2, we start with an A Dorian fragment followed by an extended chromatic line. The line in beat two starts on the b7 (G), highlighting the b5 (Eb) on beat 3, descending chromatically all the way down to B, and ending with A major pentatonic.
Bounce Around! We start on the b5 (Eb) followed by a typical chromatic rotation where we bounce around the b5. This idea lays quite well in the familiar pentatonic box. It’s easy and will add spice to your shredding (Ex. 3).
Side Stepping. A common approach to playing “outside” is side stepping. In other words, take the scale you’d normally use and displace it by a half-step above or below. By doing this, you’ll have instant access to notes that are harmonically outside the key—don’t think of them as wrong notes, just coloring notes. In Ex. 4 we take a pentatonic pattern from E minor pentatonic and sequence it in F minor pentatonic. As the notes can be analyzed over the E5 chord, it’s more important to view them as passing notes. Remember, the power of the sequence overrides the harmony!
Extend the Side Step. Ex. 5 uses the same concept of side stepping above but adds a note (D) to the displaced pattern. By doing so, this breaks the predictability of the phrase and places subsequent notes in new places.
Changing Tones.Ex. 6 is a fun lick to learn that starts with a strong, repeated three-note polyrhythmic figure (A#–B–D). The chromatic part occurs on beat 4 and utilizes changing tones, which is a type of non-harmonic tone.
Don’t Start On 1. The line starts on the 2nd (B), goes up a whole-step to C# followed by a double chromatic approach to Bb, down a whole-step to (G#), and finally resolving to the root (A). Once the A note is reached, there’s a cascading flurry of four-note groups settling in A minor pentatonic (Ex. 7).
Scrambles. This example (Ex. 8) was inspired by the legendary New York guitarist, Mark Hitt. Mark was a unique player, combining a rock sensibility with a jazz quotient. He developed an arsenal of twisting lines using chromaticism that he referred to as “scrambles.”
The pattern alternates between 1–3–4 and 1–2–4 fingerings, a typical fingering of the diminished scale. It can be analyzed where notes of the pentatonic are being targeted, but it’s all about the texture and excitement that is created. Make sure to play the line with slurs to get a fluid, legato sound.
Half-Step Approach. In this instance, we take the Im triad (Am) from the pentatonic scale and approach each chord tone from a half-step below (Ex. 9). This is more of a concept and exercise rather than a lick. This idea can be used with just about any improvising application.
One String Wonder. Ex. 10 highlights a series of chromatically descending half-steps. It’s an easy technique to get down and one I often use. It provides melodic interest, but also serves as an easy way to connect one position to the next. Here, we start on a high F that walks down a fourth to C in half-steps, followed by a C minor blues phrase.
Practice Tip
These chromatic lines sound best when played fast and with conviction. As always, approach new material slowly and accurately. Ignore your inner voice that may tell you that the “outside” notes are wrong. Once you’re able to play the lines up to speed, you’ll be amazed by how impressive it sounds. These ideas that will add motion, color, and excitement to your playing and enhance your musical expression when soloing.
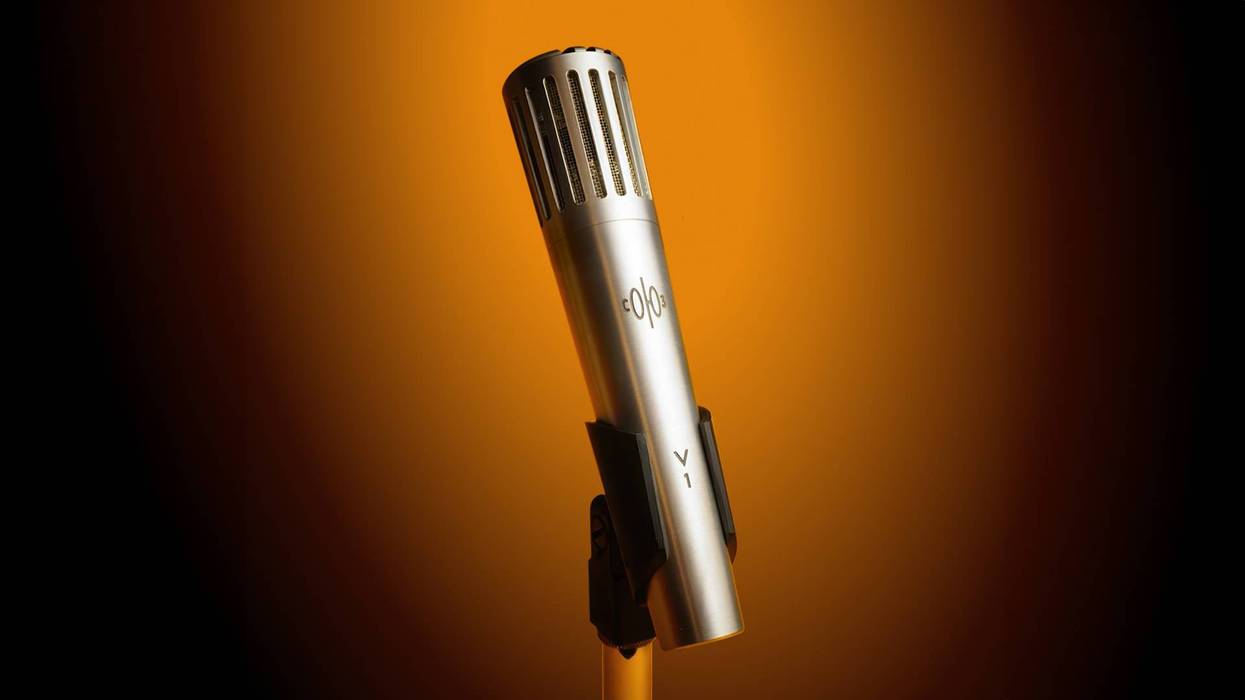
Soyuz Microphones has launched the V1 Dynamic, the first dynamic mic from the acclaimed boutique manufacturer.
For over a decade, Soyuz Microphones has been known for original, handcrafted condenser microphones that blend classic character with modern innovation. Equally at home on stage and in the recording studio, the new V1 Dynamic provides an open, condenser-like clarity and the punch, control, and forgiveness that make dynamic microphones essential.
Named after the spacecraft that carried the first human into space in 1961, the V1 reflects Soyuz’s push into new creative and technical territory.
The V1's naturally extended top end, balanced midrange, and focused low end deliver a smooth, articulate response that sounds right from the start, needing no EQ to "come alive." The controlled proximity effect allows instruments and performers to work close to the grille for full-bodied tone without muddy buildup.
"The V1 Dynamic is an important milestone for us," said David Brown, President and Co-Founder of Soyuz Microphones. "We had always considered building a dynamic mic someday, but we held off until we could create something truly unique that felt genuinely like a Soyuz in both sound and design. It's durable, musical, and simple. It's a dynamic sounding dynamic."
Like all Soyuz products, the V1 is 100% original from concept to construction. Every element is carefully designed and engineered in-house to create a dynamic microphone that sounds as remarkable as it looks.
At the core of the V1 is a custom Soyuz transformer for a hint of color that retains detail. The precision-machined headbasket goes beyond aesthetics, serving as an acoustic component carefully shaped to refine the sound before it even reaches the capsule. The mic’s body is designed to feel balanced in hand and command attention on stage.
SEE THE DEMO VIDEO HERE: https://www.youtube.com/shorts/C_fs4nENjeA
The V1 was developed through hands-on testing and direct feedback from major artists across diverse genres, including Beck, LCD Soundsystem, My Chemical Romance, and many more, during extensive tours and studio sessions.
The V1 Dynamic is engineered to endure the demands of modern recording and real-world performance night after night.