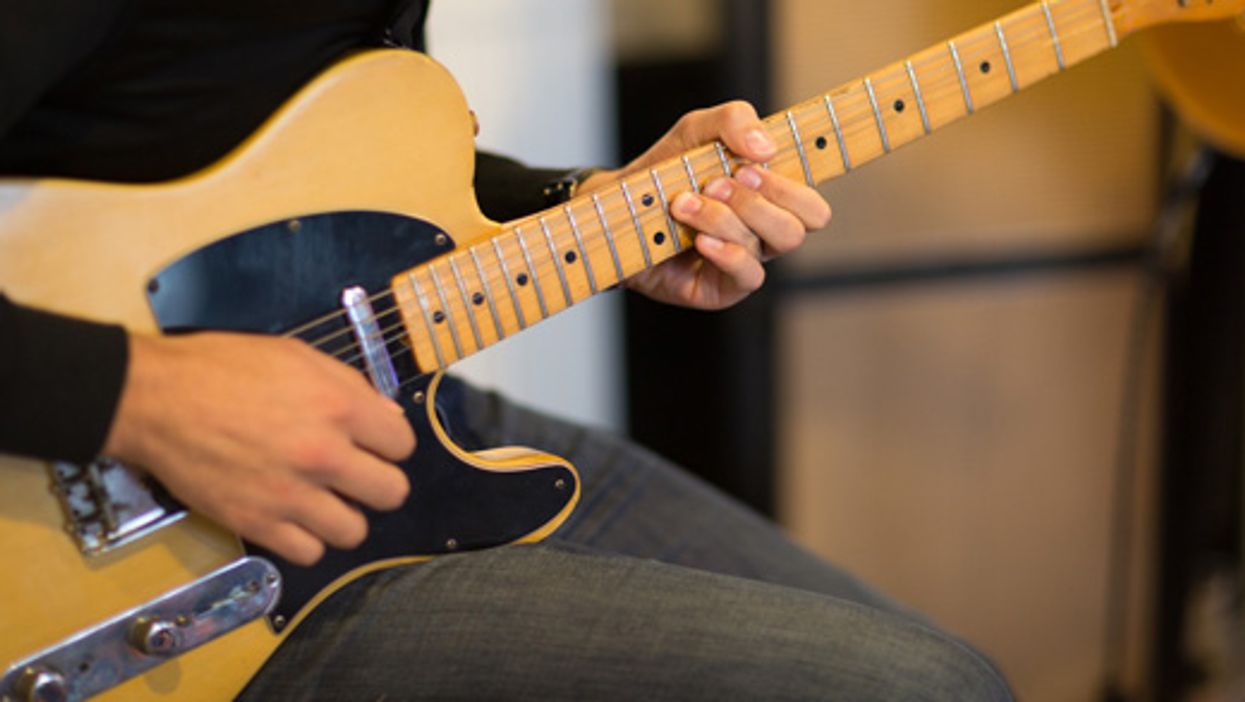
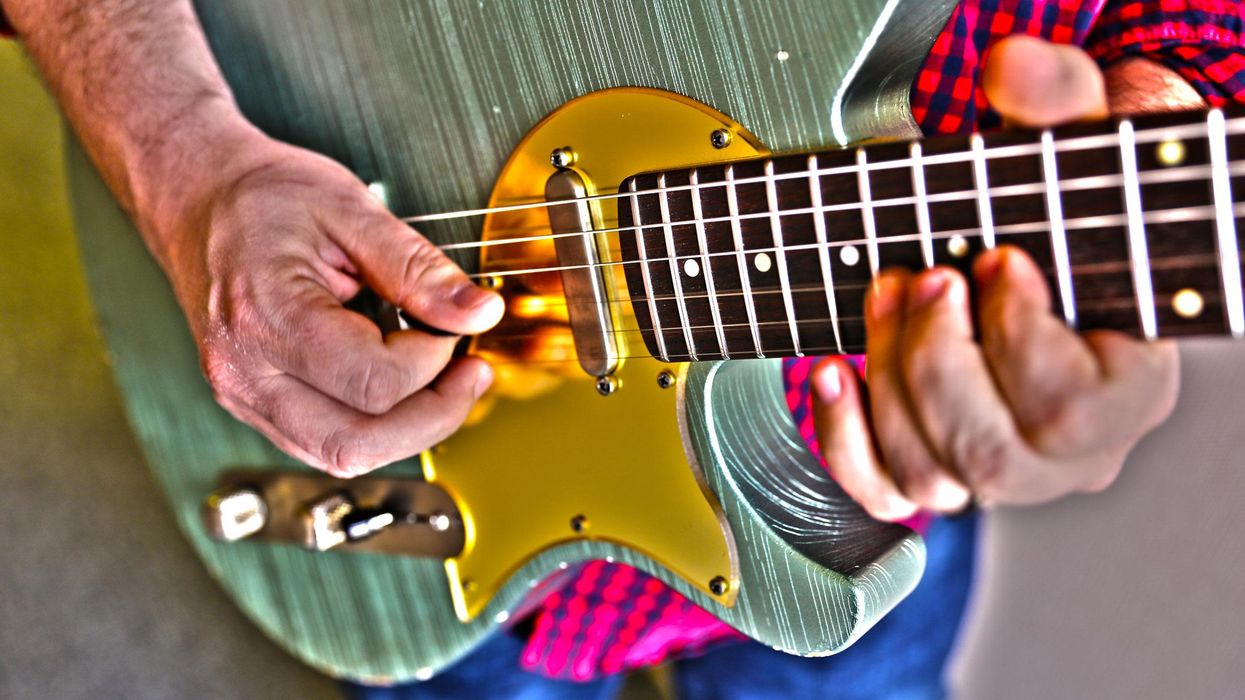
This crash course in country guitar will inject your rock and blues playing with a brand-spankin’ new spark.
The key that unlocks the door to country guitar is hybrid picking—simultaneously or alternately playing notes with both pick and fingers. If you have any experience playing fingerstyle guitar, it’s sure to come in handy here. If not, no worries! Here’s your chance to start. Now, some of the musical examples below can surely be played with a pick only, but the magic is in the snap you get when you pluck the strings with your fingers.
SRV & EVH Bridge the Gap
Let’s ease into hybrid picking with a couple of related examples from the blues and rock world to demonstrate how country techniques can spice up your playing. Inspired by blues legend Albert King, who exclusively played fingerstyle, Stevie Ray Vaughn would unleash stinging notes from his high E string by plucking with his middle finger. First, try playing Ex. 1 with a pick. Then, while holding your pick normally, use the tip of your middle finger to reach under the first string, pulling it away from you, then quickly releasing. This will cause the string to slap against the fret, resulting in a satisfying, biting attack. The final note is picked, but you can try plucking here as well.
Let’s see how it’s done by the man himself, as he sits in with his idol in the following video. Notice how he plucks the first two notes country-style, lending them a sharpness that contrasts so well with the picked notes which follow.
In the music video for Van Halen’s “Finish What Ya Started,” a quasi-country song from 1988’s OU812, Eddie Van Halen dons his cowboy hat (quite literally, as you’ll see in a moment) and masterfully cranks out a classic country-style lick often heard in R&B, blues and rock. It’s one which is dominated by major and minor sixths played on non-adjacent strings. Ex. 2 is along the same lines, and you’ll need to alternately play picked notes on the 3rd string and SRV-style plucked notes on the 1st.
Sure, that sounds okay, but now let’s really countrify it. In Ex. 3, we present the same basic lick, but notice how all of the notes on the 3rd string (except the very first) are now deadened. To achieve this, lightly rest your fret-hand finger on the string at roughly the same locations as in Ex. 2, creating a pitchless, percussive sound, a technique integral to country playing. And be sure to play the 1st-string notes staccato (short) as indicated by the dots above the noteheads. Now you’re beginning to sound like a bona fide country player!
Truck Stops and Double-Stops
Let’s take a gander at country and jazz guitar legend Danny Gatton (once known as “the world’s greatest unknown guitarist”) playing a catchy, hybrid-picked chordal riff.
Ex. 4 takes a similar tack and will have you alternating picked notes and dyads (two-note chords), plucked with your middle and ring fingers. In bars 2 and 4, check out how hybrid picking allows you to continue the groove while simultaneously adding some snappy fills on top.
Let’s continue with that same technique, but with a twist. First, check out British country master Albert Lee playing the main riff to “Bullish Boogie” from his 1986 album Speechless.
Ex. 5 will have you playing a similar type of phrase. After plucking each of the dyads, pull off to the open 3rd string for an added rhythmic bounce—which leads us smack dab into what just might be the most fun you’ll have all day.
Open-String Magic
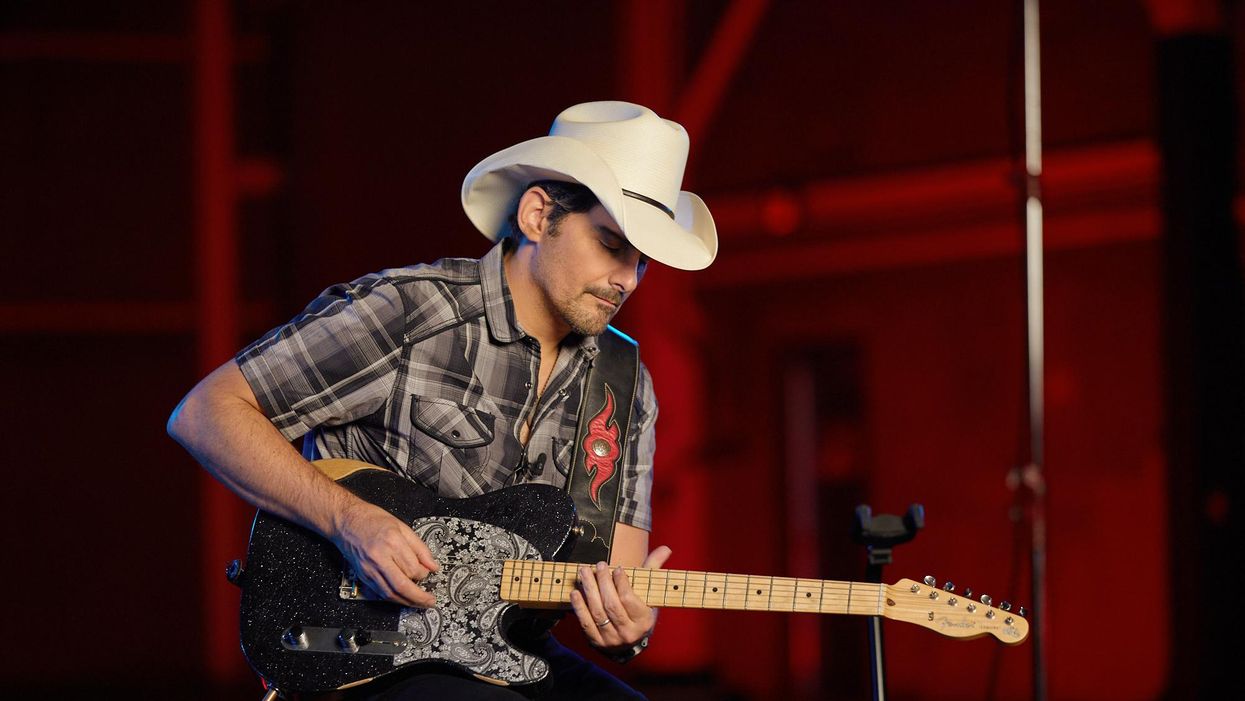
We’ve just had a small taste of what open strings have to offer. But they’re even more powerful, allowing you to zip up and down the fretboard in dramatic fashion. Brad Paisley is a guru of open strings, as you’ll see here:
Ex. 6 would fit right into Paisley’s wheelhouse. Here, it’s imperative to play the accented notes a little louder. For country pickers, this means to pluck harder with your middle finger, so as to get an even sharper snap. It’s a bit shocking how simply using the open 3rd string as a pivot allows you to shift positions at the speed of light.
Ex. 7 is a similar idea, but this time we’re moving down the fretboard, palm-muting the 5th string to create even more of a contrast between the picked and plucked notes, which are again accented.
Whew! Let’s take a quick break to catch Jerry Donahue of the Hellecasters tearing up the Jerry Reed classic “The Claw.”
Stealing from the Steel-ers
Country pickers love to, shall we say “borrow,” some of pedal steel players’ favorite moves. You likely have already played a host of rock-centric oblique bends—a two-string affair where one note is allowed to ring while the other is bent—allowing you to come close to approximating the sound of a pedal steel. But if you’re new to country guitar, chances are you haven’t encountered anything quite like Ex. 8.
To pull this one off, you’ll need to execute tricky 3rd-string bends with your index finger by pulling the string down towards the floor. Plus you’ll need to do it while fretting the 4th and 5th strings with your pinky and ring finger, respectively. Take a deep breath and go for it.
This last one’s just for extra credit, and it involves countrifying oblique bends with another signature pedal steel move: harp harmonics. First, let’s check out Ex. 9.
To execute these harp harmonics, fret the indicated note as usual. Then you’ll see another number in parentheses located 12 frets above. Next, lightly touch the string with your pick-hand index finger directly over the fret, while holding your pick between your thumb and middle finger. (You can also set down the pick and pluck with your thumb instead.) Finally, strike the string with your pick on the bridge side of your index finger. The result is a shimmering harmonic one octave above the fretted note.
Well, that’s a wrap. If you give yourself some time to experiment with hybrid picking and the fun ideas we covered in this lesson, you’ll invariably hit on some new ones of your own, sure to perk up your rock and blues playing. Finally, Greg Koch, grand master of chicken pickin’ (and pretty much everything else guitar) will fittingly play us out with his unique brand of gristled, country-fried rock.
Keep the giveaways rolling! Enter Stompboxtober Day 22 for your chance to win a pedal from Walrus Audio!
Walrus Audio Lore Reverse Soundscape Generator
Create the soundtrack to your storybook adventure with the Lore Reverse Soundscape Generator. Made up of five different programs, the Lore is an ambient creation machine built around reverse delay and reverbs. Featuring two DSP chips running in series, each with their own analog feedback path, the Lore takes you on an adventurous journey rich with themes of reversing, time-stretching, pitch-shifting, and vast ambiance.
The Keeley ZOMA combines two of iconic amp effects—tremolo and reverb—into one pedal.
Key Features of the ZOMA
● Intuitive Control Layout: Three large knobs give you full control over Reverb Level, Tremolo Rate,and Depth
● Easy Access to Alternate Controls: Adjust Reverb Decay, Reverb Tone, and Tremolo Volume withsimple alt-controls.
● Instant Effect Order Switching: Customize your signal path. Position tremolos after reverb for avintage, black-panel tone or place harmonic tremolo before reverb for a dirty, swampy sound.
● True Bypass or Buffered Trails: Choose the setting that best suits your rig.
Three Reverb and Tremolo Modes:
● SS – Spring Reverb & Sine Tremolo: Classic spring reverb paired with a sine wave tremolo for that timelessblack-panel amp tone.
● PH – Plate Reverb & Harmonic Tremolo: Smooth, bright plate reverb combined with swampy harmonictremolo.
● PV – Plate Reverb & Pitch Vibrato: Achieve a vocal-like vibrato with ethereal plate reverb.
Reverb: Sounds & Controls
● Spring Reverb: Authentic tube amp spring reverb that captures every detail of vintage sound.
● Plate Reverb: Bright and smooth, recreating the lush tones of vibrating metal plates.
● Reverb Decay: Adjust the decay time using the REVERB/ALT SWITCH while turning the Level knob.
● Reverb Tone: Modify the tone of your reverb using the REVERB/ALT SWITCH while turning the Rate knob.
Tremolo: Sounds & Controls
● Sine Wave/Volume Tremolo: Adjusts the volume of the signal up and down with smooth sine wavemodulation.
● Harmonic Tremolo: Replicates classic tube-amp harmonic tremolo, creating a phaser-like effect withphase-split filtering.
● Pitch Vibrato: Delivers pitch bending effects that let you control how far and how fast notes shift.
● Alt-Control Tremolo Boost Volume: Adjust the boost volume by holding the REVERB/ALT footswitch whileturning the Depth knob.
The ZOMA is built with artfully designed circuitry and housed in a proprietary angled aluminum enclosure, ensuring both simplicity and durability. Like all Keeley pedals, it’s proudly designed and manufactured in the USA.
ZOMA Stereo Reverb and Tremolo
The first sound effects built into amplifiers were tremolo and reverb. Keeley’s legendary reverbs are paired with their sultry, vocal-like tremolos to give you an unreal sonic experience.
Your 100 Guitarists hosts are too young to have experienced SRV live. We’ve spent decades with the records, live bootlegs, and videos, but we’ll never know quite how it felt to be in the room with SRV’s guitar sound.
Stevie Ray Vaughan was a force of nature. With his “Number One” Strat, he drove a veritable trove of amps—including vintage Fenders, a rotating Vibratone cab, and a Dumble—to create one of the most compelling tones of all, capable of buttery warmth, percussive pick articulation, and cathartic, screaming excess. As he drew upon an endless well of deeply informed blues guitar vocabulary, his creativity on the instrument seemingly knew no bounds.
Your 100 Guitarists hosts are too young to have experienced SRV live. We’ve spent decades with the records, live bootlegs, and videos, but we’ll never know quite how it felt to be in the room with SRV’s guitar sound. So, we’d like to spend some time imagining: How did it feel when it hit you? How did he command his band, Double Trouble? The audience?
SRV was mythical. His heavy-gauge strings tore up his fingers and made a generation of blues guitarists work a lot harder. And his wall of amps seems finely curated to push as much air in all directions as possible. How far did he take it? Was he fine-tuning his amps to extreme degrees? Or could he get his sound out of anything he plugged into?
This episode is sponsored by Divided by 13.
Learn more: https://dividedby13.com
By now, we’re all familiar with the many options out there for amp modeling. Mic modelers are another reliable asset to digital recording tech, and can rapidly grow your inventory with just a few clicks.
As guitarists, we’re very aware of amp-modeling and profiling technologies, such as the Line 6 Helix, Fractal Axe-Fx, Neural DSP Quad Cortex, and Kemper Profiler. While our bases are covered for these (with modelers available for every “holy grail” amp under the sun), we are still missing another vital area of the recording process—microphones—for the acoustic instruments and vocals we might want to capture.
What if we could record them using holy-grail-modeled microphones? This month, let’s evaluate microphone modeling to help you make better-sounding recordings. Tighten up, the Dojo is now open.
The Sincerest Form of Flattery
Microphone modeling is an intriguing advancement in recording technology, offering great flexibility and possibilities for musicians, producers, and engineers. Makers like Slate Digital, Antelope, and Antares make many offerings, from hardware to software.
Universal Audio’s Sphere DLX ($1299 Street), LX ($799), and their six new Standard Mic series have impeccably modeled classic mics, and when coupled with their classic mic pre and compressor plugins, you can enjoy the same highly coveted mic chains appreciated the world over.
How It Works
The technology behind microphone-modeling systems relies heavily on convolution and impulse response techniques. These techniques involve capturing the unique sonic fingerprint of a microphone by recording its response to a wide range of frequencies and sound pressure levels. The immediate benefit is that this means you can grow your mic locker exponentially and gain access to a wide range of legendary microphone tones and textures all from a single mic! Most modeling microphones are usually either small- or large-diaphragm, multi-pattern, condenser microphones that are capable of capturing a wide frequency range and dynamic response. By adding other modeling mics, you can record in stereo or surround, and/or record multiple instruments at a fraction of the cost of owning multiples of the modeled mics themselves.
A Wealth of Options
One significant advantage of mic-modeling systems is their ability to offer a vast array of microphone options within a single session instead of having the time-consuming duty of swapping them out to achieve different sounds. With a modeling system, you can switch between different mic models instantly and audition various mics to find the perfect tone for the recording.
“The same vintage microphone can sound different on different days depending on temperature, humidity, and the voltage from the wall.”
Another lovely bonus is that microphone-modeling systems also offer the ability to swap microphone characteristics after the recording has been made! Want to swap your AKG C12 for a Neumann U 47 long after the recording session is over? No problem! This is especially useful when the initial microphone choice may not have been ideal or when the production requires a different tonal character than originally intended.
Weighing the Pros and Cons
Some audio purists argue digital emulation can’t truly replicate the sound of a physical microphone, especially when it comes to vintage models that have unique characteristics developed over decades of use. The subtleties of these microphones and their aging components shape the way they interact with different preamps and compressors.
After making over a hundred records at Blackbird over the last eight years, I’ve grown quite familiar with a good portion of our 1,800-plus vintage mics, like Telefunken 251s, AKG C12s, Neumann U 47s and KM 84s, Shure SM7s and SM57s, RCA 44s and 77s, and Royer R-121s. These are the very same mic models that most modeling mics are trying to capture. But experience has taught me that not all microphones sound identical even if they are the same make and model (and year). Also, the same vintage microphone can sound different on different days depending on temperature, humidity, and the voltage from the wall (that’s why Blackbird has its own regulated power and all the studios strive for consistent temperature and humidity year-round).
For home studios and smaller production environments, microphone-modeling systems can be a game changer. You’ll get a wide range of high-end microphone sounds without the need for a large microphone collection, and the ability to change microphone models after the fact gives budding producers and engineers greater confidence and flexibility in their work.
In reality, most users find that the convenience, cost savings, and versatility offered by modeling systems far outweigh any potential shortcomings. Finally, keep in mind that even though the mic “profile” you choose (U 47, U 67, SM7, etc.) will be consistent day in and day out, the modeling mic itself is also still a mic and will require you to be mindful of these same issues I mentioned above in order for your mic “profile” to be as accurate as possible.
Until next time, namaste.