We will be thinking of dominant chords as they relate to a diatonic major scale. All our examples will be based in the key of G major (G–A–B–C–D–E–F#), but first let’s learn how to make a dominant 7 chord from scratch.
The formula, or numerical representation of a dominant chord, is 1–3–5–b7. Simply, take every other note (starting on the root) and then lower the 7 by a half-step. If we base this formula over our G major scale, only one dominant 7 chord appears naturally: D7 (D–F#–A–C). It also implies the D Mixolydian scale (D–E–F#–G–A–B–C), which is the fifth mode of the G major scale.
Ex. 1 starts off with a single-note line played at a moderately fast tempo. Right off the bat, I outline a D9 sound by adding in the E. Slide down with the index finger on the 3rd string from the 7th to 5th fret to achieve the proper fingering. You will also use your index finger on the 4th string for the slide down from the 5th to 4th fret. I recommend playing a D7 chord before and after each lick to help connect your ear with the sound of the line.
Incorporating double-stops and fragmented parts of a D7 chord are central to Ex. 2. Notice how the passing notes of B, G, and E quickly shift the ear to an Em triad (E–G–B). Passing notes add a nice element to your phrases just by using different note and intervallic choices found naturally in the Mixolydian mode.
In Ex. 3 I outline several descending triads in a phrase that reminds me of how bebop musicians would approach outlining a dominant chord. I start with a Bm7 arpeggio (B–D–F#–A) before sliding down into an Am7 arpeggio (A–C–E–G). (Another great idea is to take just the first two beats of this example and work in out in different keys all over the neck.) I then jump down an octave and hit a Bm arpeggio (B–D–F#). I end with a little open-string pull-off before sliding into a D7 chord.
Ex. 4 is a great open-string lick played in only two positions but has so much going on with it. I like the back end of the lick where the rub of those major and minor seconds clash together. I picked most of the notes and let them ring as long as possible. Using a bit of delay at 250ms helps the notes sustain more and “bleeds” the notes together, but each note needs a separate attack.
Ex. 5 is another great open-string sequence. The fingering can be really tricky here, so start with your index finger on the 2nd string and your pinky hitting the F# on the 3rd string. After the pull-off, use your pinky for the A on the 2nd string. After that, the rest of the lick lays out nicely. With any type of flowing, open-string idea make sure to hold the notes as long as possible.
Since we are approaching these licks from a country angle, it was only a matter of time before we got our hands around a pedal-steel lick. Ex. 6 is one way to navigate a D7 sound—but it’s a real finger twister. The key here is to make your bends surgical and really nail the pitch. Take it slow and try to match the recording.
Ex. 7 is a triple-stop chordal idea with some rhythmic syncopation. If we break down the chord shapes, you can see that they are familiar patterns. I start with an A minor triad and slide into a B minor triad before hitting two G triads—all in the first beat! Knowing how the diatonic harmony works in terms of triads is invaluable for phrases like this.
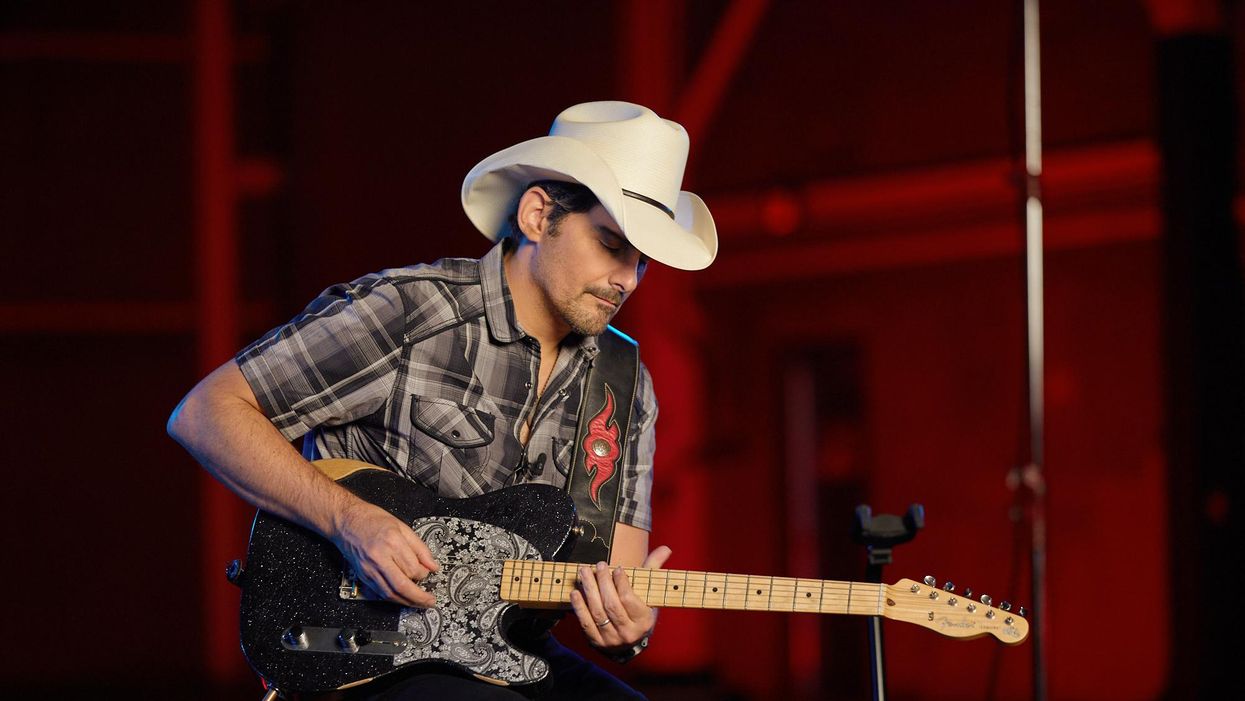
Players like Brad Paisley and Brent Mason are absolute masters of using open-string pull-offs to navigate all over the neck. Ex. 8 is my take on something they might play. Make sure to nail the “cluck” right before the bend as it adds an element of chicken pickin’ to the lick. Grab that bend with your ring and pinky for more strength and control.
As you can see there are lots of ways to be creative with just seven notes. Take even just a tiny piece of these phrases and see if you can work them into your own playing. Until next time!
- Beyond Blues: Keeping it Simple with Blues-Scale Transitions ... ›
- Don't Sleep on the Mixolydian Mode - Premier Guitar ›
- How to Use the Mixolydian Scale - Premier Guitar ›
We’re giving away pedals all month long! Enter Stompboxtober Day 11 for your chance to win today’s pedal from Hotone Audio!
Hotone Wong Press
Cory Wong Signature Volume/Wah/Expression Pedal
Renowned international funk guitar maestro and 63rd Grammy nominee Cory Wong is celebrated for his unique playing style and unmistakable crisp tone. Known for his expressive technique, he’s been acclaimed across the globe by all audiences for his unique blend of energy and soul. In 2022, Cory discovered the multi-functional Soul Press II pedal from Hotone and instantly fell in love. Since then, it has become his go-to pedal for live performances.
Now, two years later, the Hotone team has meticulously crafted the Wong Press, a pedal tailored specifically for Cory Wong. Building on the multi-functional design philosophy of the Soul Press series, this new pedal includes Cory’s custom requests: a signature blue and white color scheme, a customized volume pedal curve, an adjustable wah Q value range, and travel lights that indicate both pedal position and working mode.
Cory’s near-perfect pursuit of tone and pedal feel presented a significant challenge for our development team. After countless adjustments to the Q value range, Hotone engineers achieved the precise WAH tone Cory desired while minimizing the risk of accidental Q value changes affecting the sound. Additionally, based on Cory’s feedback, the volume control was fine-tuned for a smoother, more musical transition, enhancing the overall feel of volume swells. The team also upgraded the iconic travel lights of the Soul Press II to dual-color travel lights—blue for Wah mode and green for Volume mode—making live performances more intuitive and visually striking!
In line with the Hotone Design Inspiration philosophy, the Wong Press represents the perfect blend of design and inspiration. Now, musicians can channel their inner Cory Wong and enjoy the freedom and joy of playing with the Wong Press!
With its ability to dial in custom reverb, delay, and chorus settings without needing any extra equipment and intuitive looper and Bluetooth audio functions, the TAG3 C is designed to make it easier than ever to write, practice, and perform.
Building on its brand legacy of innovation and creating many of the world’s finest guitars, the TAG3C TransAcoustic guitar from Yamaha offers an unmatched experience in sound, versatility, and playability to spark creative expression – making it the ideal instrument for the modern guitarist. The guitar features a solid Sitka spruce top and solid mahogany back and sides, available in natural(TAG3 C NT) or sand burst finish (TAG3 C SDB), and includes a convenient magnetic charging port to enhance its functionality and ease of use.
“TAG3 C is the ultimate tool for players looking to push themselves artistically. The ability to dial in custom reverb, delay, and chorus settings without needing any extra equipment is a game changer for creative workflows, and the intuitive looper and Bluetooth audio functions make it easier than ever to write, practice, and perform,” says Brandon Soriano, marketing manager, Yamaha Guitars.“Even with TransAcoustic technology turned off, TAG3 C is a fantastic acoustic instrument built with all solid wood and high-quality craftsmanship. TAG3 C is a no-brainer for the modern guitarist!”
TAG3 C is equipped with powerful built-in tech and effects including but not limited to loop capability with touch sensitivity, a rechargeable battery, Bluetooth capability, new and improved user interface, controls, and indicators. Guitarists can also access the TAG Remote mobile designed for enhanced control and optimization.
TAG3 C Highlights At-a-Glance
- Built-in effects: chorus, delay and reverb
- Built-in looper• Bluetooth connectivity
- On-board tuner
- Solid Sitka spruce top
- Solid mahogany back and sides
- Dreadnought-style cutaway with ebony fingerboard
- Available in natural or sand burst finish
- Superior acoustic sound quality
TAG3 C | Yamaha TransAcoustic Guitars - YouTube
Here, our XAct Tone Solutions columnist walks you through every aspect of how to put together your ideal pedalboard.
A well-organized pedalboard may be just as crucial to a guitar player’s setup as the guitar itself. Even the most seasoned professional can be completely sabotaged by a malfunctioning or poorly performing pedalboard setup. Things like layout and logistics may seem trivial until that boost pedal is just far enough out of reach to cause your crunchy, soaring solo to be decidedly quiet and squeaky-clean.
The process of designing and arranging a pedalboard can go far beyond simply placing pedals in a straight line and patching them together from junk-drawer cables; from conception to completion, a pedalboard setup rewards careful planning.
Before diving into the physical setup of your pedalboard, start by assessing your current collection of pedals and any potential additions. Start with the bare minimum of devices needed for your current repertoire, whether they be for a gig or at-home play. What types of effects do you need to cover the style of music you’re looking to perform? You’ll likely want to cover the basics of tuning, overdrive, distortion, boost, and delay, but you may need specific devices to cover unique parts in cover songs or personal compositions. A certain modulation for this bridge, a certain reverb for that intro. While it is impossible to completely future-proof your rig, you can make sure that you attempt to account for changing needs.
Next, you’ll need a platform suitable for holding the pedals you’ve chosen. Companies like Pedaltrain and Creation Music Company have a selection of pedalboards in various sizes. These can include bags or cases to fit. There are custom-sized pedalboard options available, but they and the associated cases/bags usually cost more due to their bespoke nature. Consider your needs when selecting a bag or case to protect your pedalboard. If you seldom leave the house, you might just need a well-made gig bag. These can even be sufficient for semi-professional playing, so long as you or a trusted ally are carrying it and responsibly packing it away. If you need something more durable, cases like those from Pedaltrain are sufficient for many touring arrangements. Bear in mind, they are lightweight in construction with a minimal amount of lateral padding. For heavy touring, a real ATA-style case will be required. Their stalwart construction and thicker internal padding will stand up to long-term touring abuse.
“Even the most seasoned professional can be completely sabotaged by a malfunctioning or poorly performing pedalboard setup.”
Pedalboard planning and design can be frustratingly iterative. As a result, you may begin with picking all the pedals you’d love to have, but then the board you’ve picked won’t quite fit everything. If so, you might go back a step, adjust the pedal choices, and start to move forward again. Similarly, power requirements can push and pull on your pedal selections. Pedals require consistent power at specific voltages and amperages to function correctly. If a supply does not have the necessary power ports, you may have to eliminate a certain pedal or change the power supply scheme altogether. Furthermore, the supply may or may not fit under the pedal mounting surface of the pedalboard type you’ve selected. Again, this may cause an adjustment to previous decisions that must be propagated.
Cabling carries your signal between your pedals and out to your amp, so you’ll want to make sure you have something of sufficient quality. Solderless cable systems allow you to make custom length cables, but may not be as long-lasting as soldered cables. Soldered cables can be a DIY affair if you have the inclination and time to develop enough expertise. In lieu of that, companies like BTPA and Goodwood Audio can make excellent soldered cables in custom lengths.
Another key thing to keep in mind is that signal order doesn’t necessarily dictate the physical location of your pedals. I recommend arranging your pedals based on frequency of use. Pedals you use most often should be positioned where they are easily accessible during performance. If you are right-footed, this may mean low and to the right. Pedals used less frequently can be placed further away or in less convenient spots. Pedals used in fast-breaking, small sections of songs may not be needed frequently, but must be available quickly when needed. Ensure that you can comfortably reach and engage each pedal as you play the required material.
A well-thought-out pedalboard layout and implementation can significantly enhance your performance and playing experience. Like practice and rehearsal, it may not be the most glamorous bit of guitar rudiments, but with the right approach, your pedalboard can become a powerful tool that complements your musical journey.
Our columnist stumbled upon massive success when he shifted his focus to another instrument. Here, he breaks down the many benefits you can get from doing the same.
A while back, I was doing a session for the History Channel at Universal in Hollywood, California. After the session, I sheepishly admitted to some of the other session players that I was really getting into bluegrass and specifically the square-neck resonator, or dobro guitar. Now, as a progressive-jazz guitarist, that was quite a revelation. After some classic lines from the Burt Reynolds movie, Deliverance, another friend said he also was getting into mandolin and banjo.
Long story short, we put together a band, Honeywagon (which is the vehicle that cleans out the toilets under actors’ trailers on movie sets), started playing bluegrass around L.A. (up and down the Sunset Strip), and three months later, we had a record deal. We sang three-part harmony, made “deranged” covers of songs by famous artists, produced it ourselves, and sold well over 1.5 million albums and counting, and played all over the world.
What started all of that was my love for Jerry Douglas’ dobro playing. It’s so vocal, and his timbral range! You see, music is a universal language that transcends cultural, social, and linguistic boundaries. And learning another instrument is a gateway to unlock levels of self-expression, creativity, and emotional exploration you might not even be aware of.
I don’t believe in “mastery”—there are always deeper levels to discover—so let me say that while gaining significant proficiency on one instrument is a huge achievement, the benefits of learning to play at least one other instrument are immense. It will enhance your musical skills, cognitive abilities, and personal growth. Tighten up your belts, the Dojo is now open.
Enhancing Musical Skills and Understanding
Learning multiple instruments can profoundly deepen a musician’s understanding of music theory, composition, and performance. Each instrument has its unique challenges, techniques, and approaches that require you to adapt and learn new skills. For instance, a guitarist transitioning to the piano will need to understand new techniques, two-hand interdependence, chord shapes, and different ways of producing sound.
New instruments also allow you to appreciate different timbres, textures, and roles within an ensemble. A drummer who learns to play the bass, for example, will gain a deeper understanding of rhythm and timing, as they experience how their drumming interacts with the bassline. This cross-instrumental knowledge can lead to more creative compositions and more nuanced performances, as musicians become adept at thinking from multiple musical perspectives.
Cognitive Benefits
The cognitive benefits of playing an instrument are widely documented. Learning to play an instrument can improve memory, enhance coordination, and increase cognitive flexibility. When a musician learns to play an additional instrument, these cognitive benefits are amplified. The process of learning new fingerings, reading different clefs, and adapting to various physical requirements engages the brain in unique ways, promoting neuroplasticity and cognitive growth.
“Music is a universal language that transcends cultural, social, and linguistic boundaries.”
Moreover, playing multiple instruments can improve problem-solving skills and adaptability. We often face challenges when learning a new instrument, but successfully navigating these challenges builds resilience and perseverance—skills that are valuable both in music and in other areas of life.
Emotional and Personal Growth
Music is not just a technical skill, it is also a deeply emotional and expressive art form. Learning to play multiple instruments can enhance your ability to express and connect with your rich emotions. Each instrument has its own voice and character, offering different ways to convey those emotions and tell stories. A violinist who learns to play the flute, for instance, may discover new ways to express lyrical melodies or subtle nuances in phrasing. In addition, taking on another instrument can boost confidence and self-esteem.
Expanding Musical Opportunities
It can also open you up to a wide range of musical opportunities. Musicians who can play multiple instruments are often more versatile and in-demand for various musical projects. The more you’re able to adapt to different genres, styles, and ensemble settings, the more valuable a collaborator you’ll be in bands and recording sessions.
Which One?
Ultimately, I’ve found that the instruments I can play besides the guitar have helped me deepen my connection with music and discover new ways to express myself. If this article is resonating with you, I would suggest choosing your new instrument based around what excites you the most. Is it bass, keys, pedal steel (one of my personal faves), or modular-synth programming? The possibilities are as wide as your mindset. In “Song of Myself, 51,” Walt Whitman said, “I am large, I contain multitudes.” Namaste.