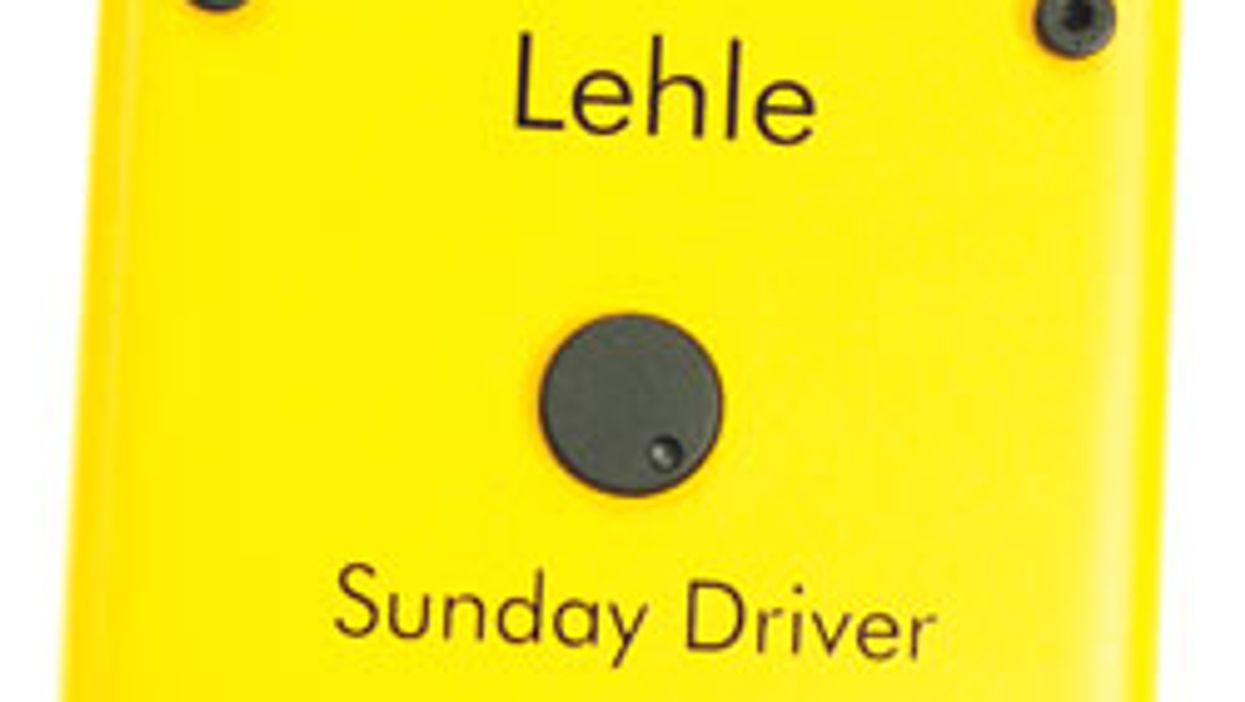
Gear Lehle Sunday Driver, D. Loop, SGoS and 3at1 SGoS Review We review German manufacturer Lehle''s newest switching boxes, and discover just how versatile they can be. Brian Barr Jul 21, 2009
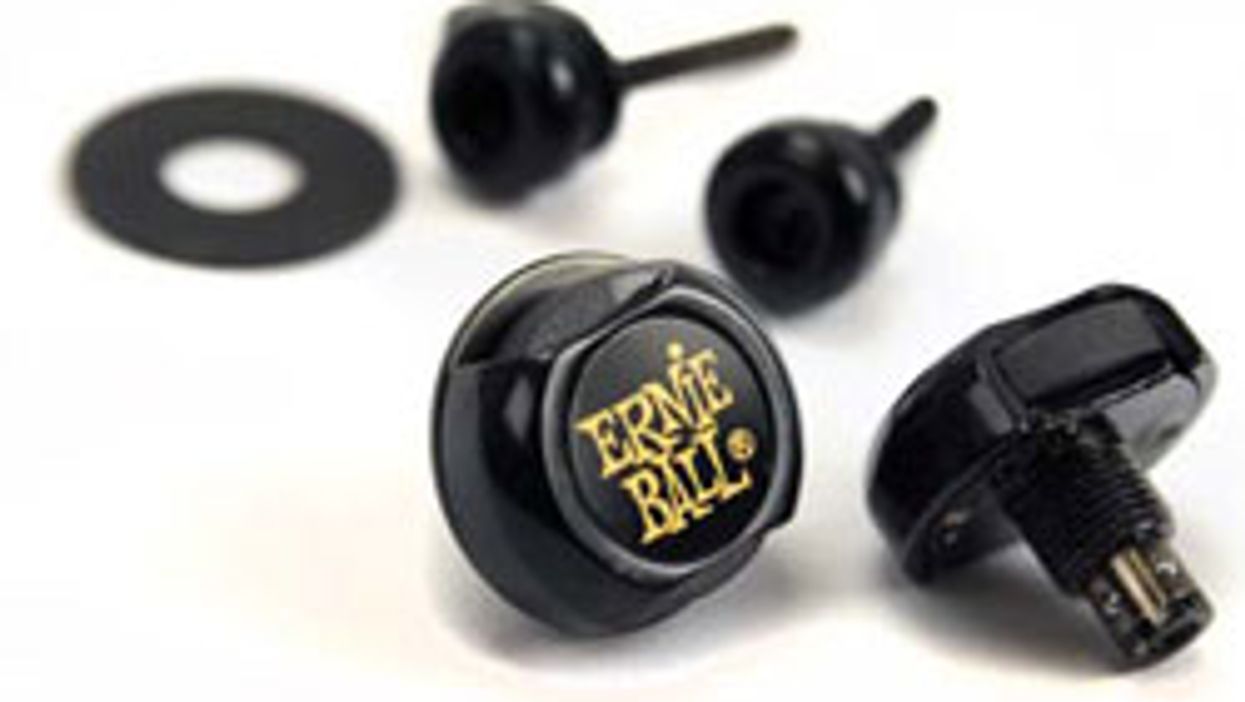
Gear Lock, Stock and Roll: Strap Lock Roundup To help keep that prized guitar safe from drops and accidents, we review a number of strap locks and locking straps. Chris Kies Jul 21, 2009
Gear of the Month Tom Holmes THC Tom Holmes built guitars for Bo Diddley, Lenny Breau, Billy Gibbons, Albert King and many others. For the last twenty years he has become a legend for jewel-like PAF-style humbucking Premier Guitar Jul 21, 2009
Bass Live and Let DI Steve shows us why options are such a good thing when figuring out your bass sound while playing live. Steve Cook Jul 21, 2009
Gear Tube Amp Troubleshooting 101 Diagnosing a dead Blues Junior with universal troubleshooting tips Jeff Bober Jul 21, 2009
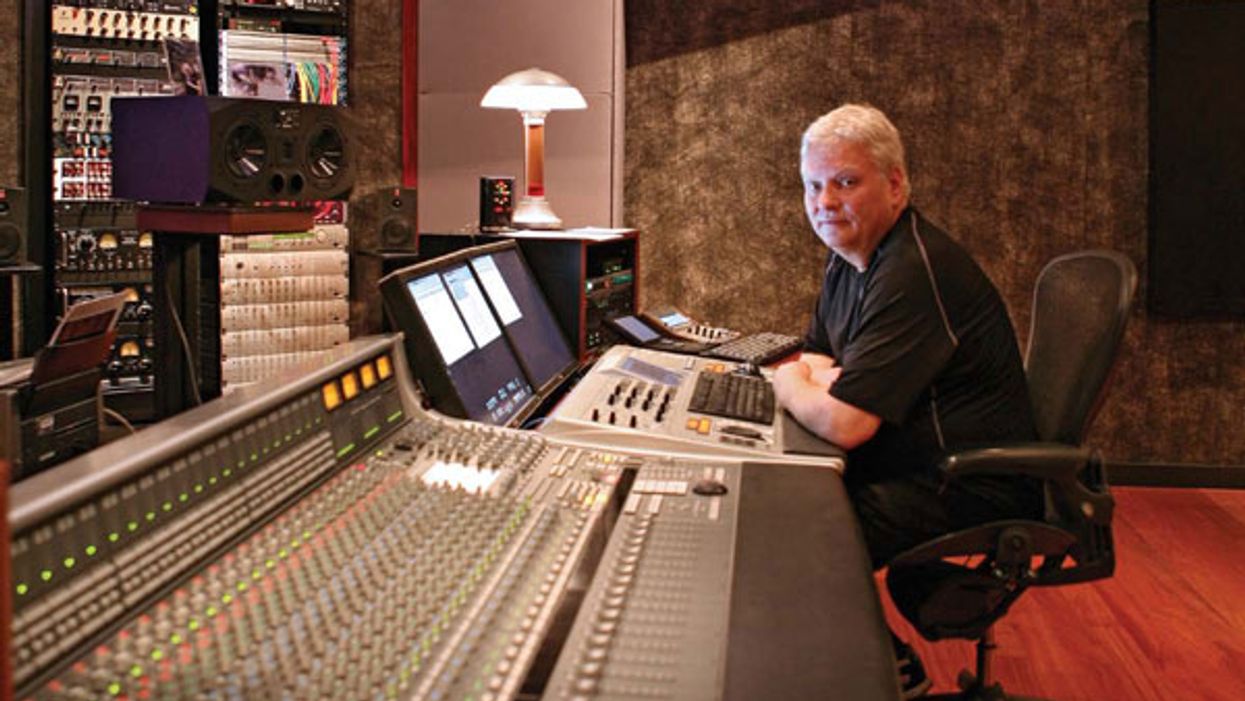
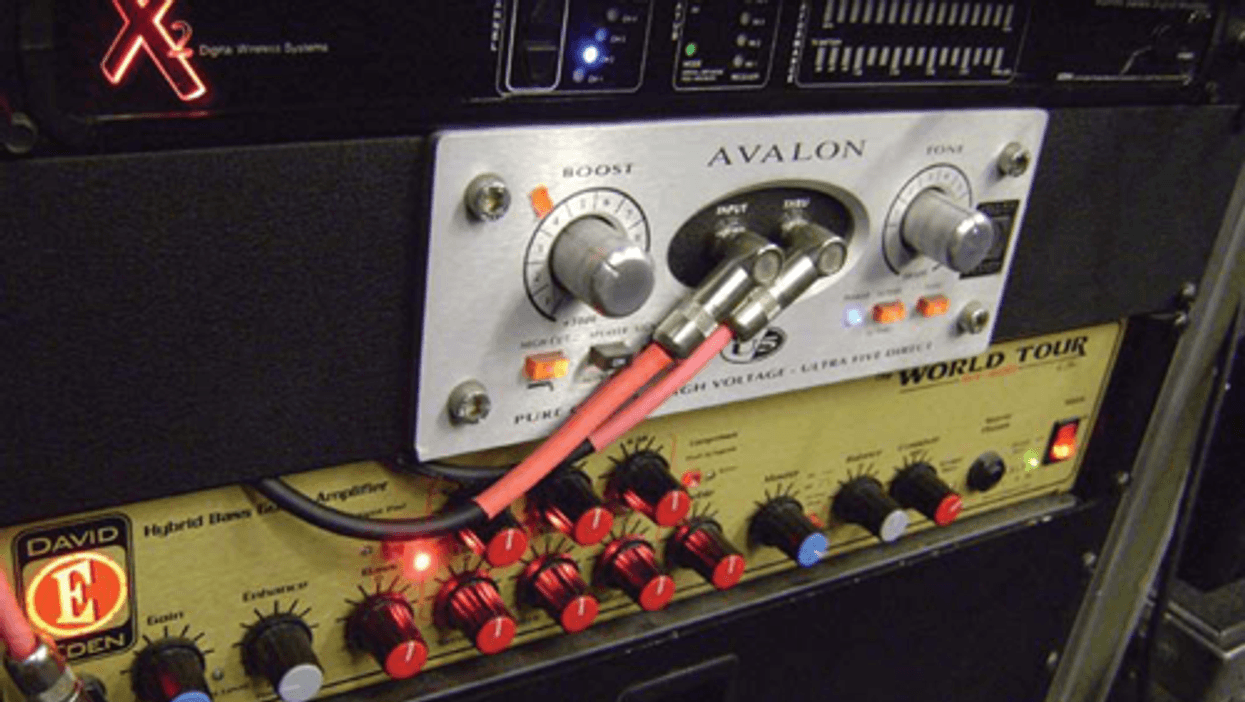
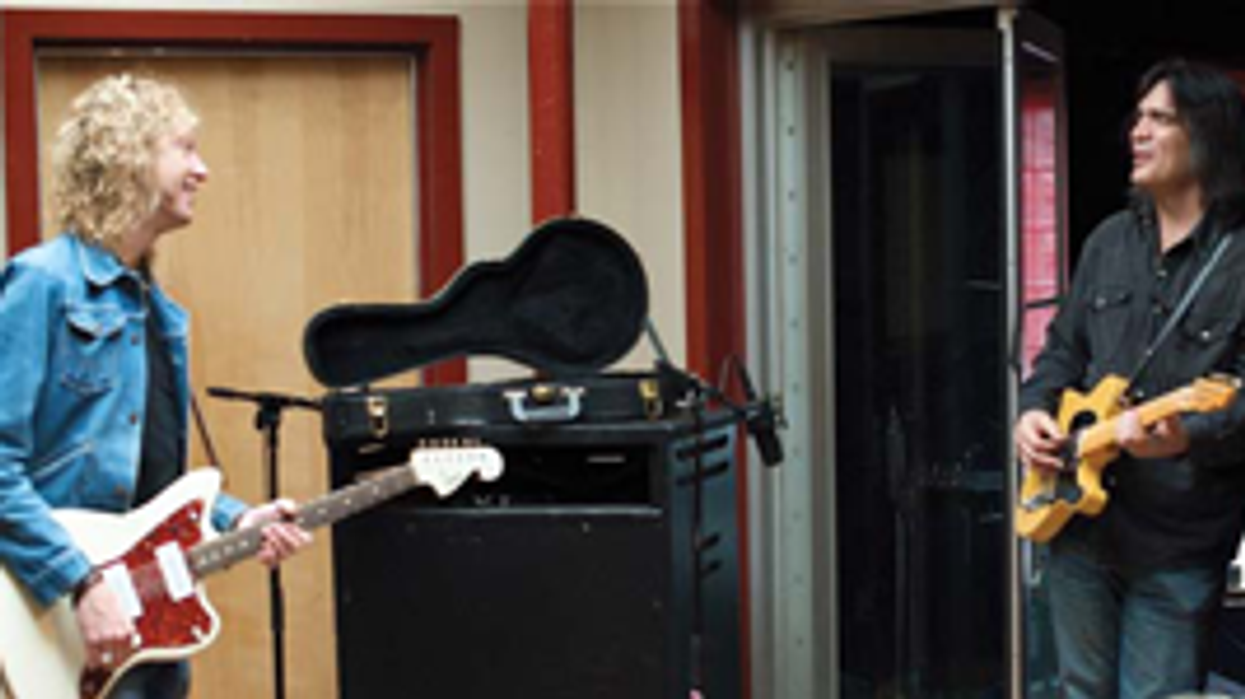
Gear Recording Session Gear Peter Stroud covers the list of gear he brings to recording sessions. Peter Stroud Jul 21, 2009
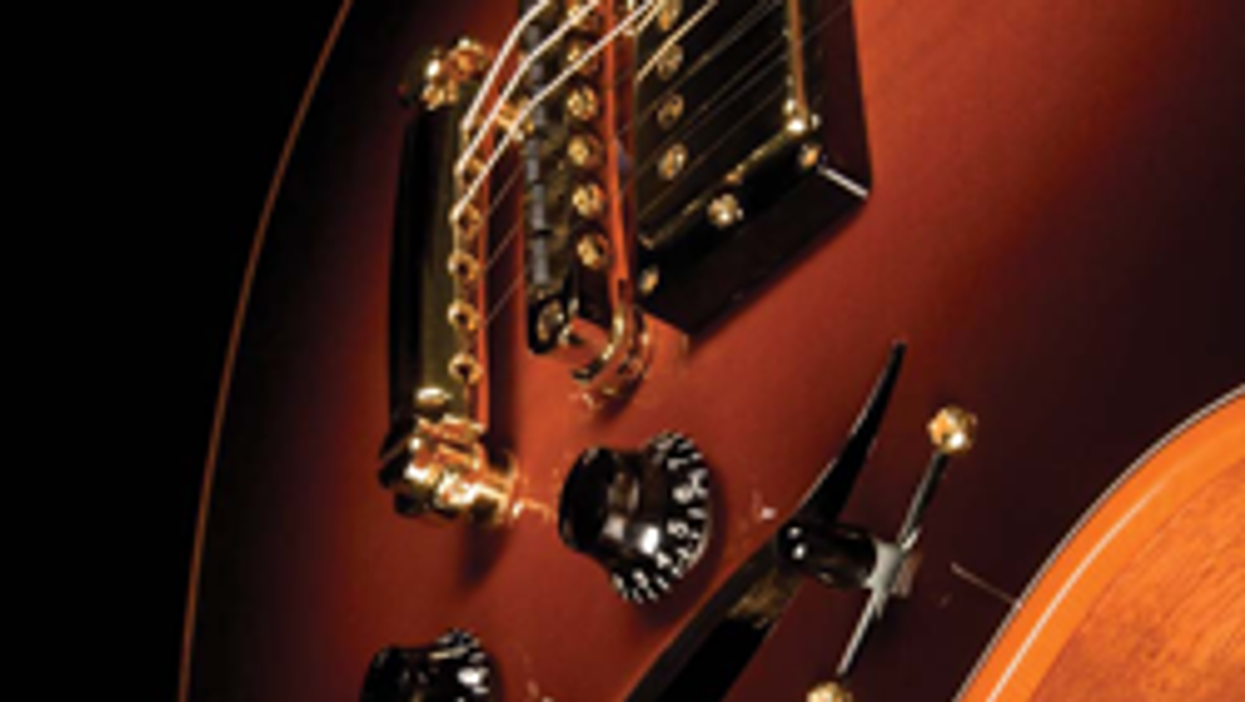
Gear CP Thornton Guitars Professional Acoustic Review Our review of the semi-hollow Professional Acoustic from CP Thornton Guitars reveals myriad reasons to be impressed. Ben Friedman Jul 21, 2009
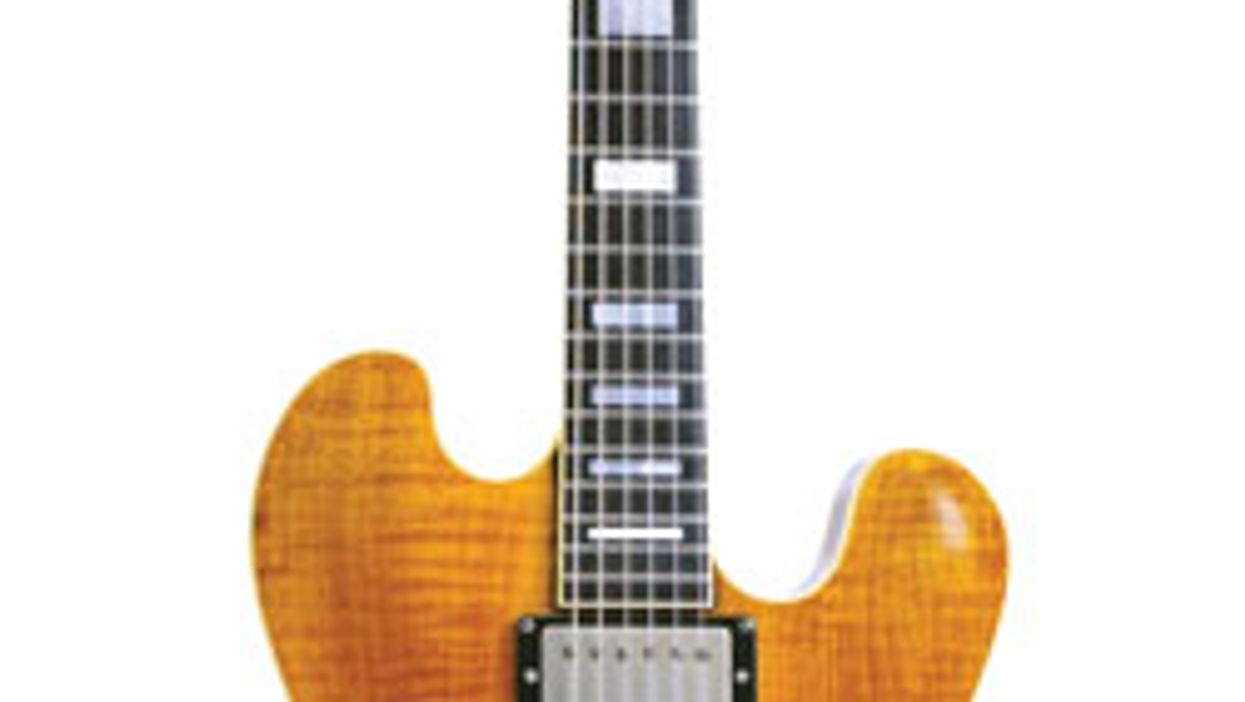
Gear Grosh ElectraJet Standard Review Does the Grosh ElectraJet Standard live up to the fully custom-built legacy of its predecessors? We review it to find out. Chris Burgess Jul 21, 2009
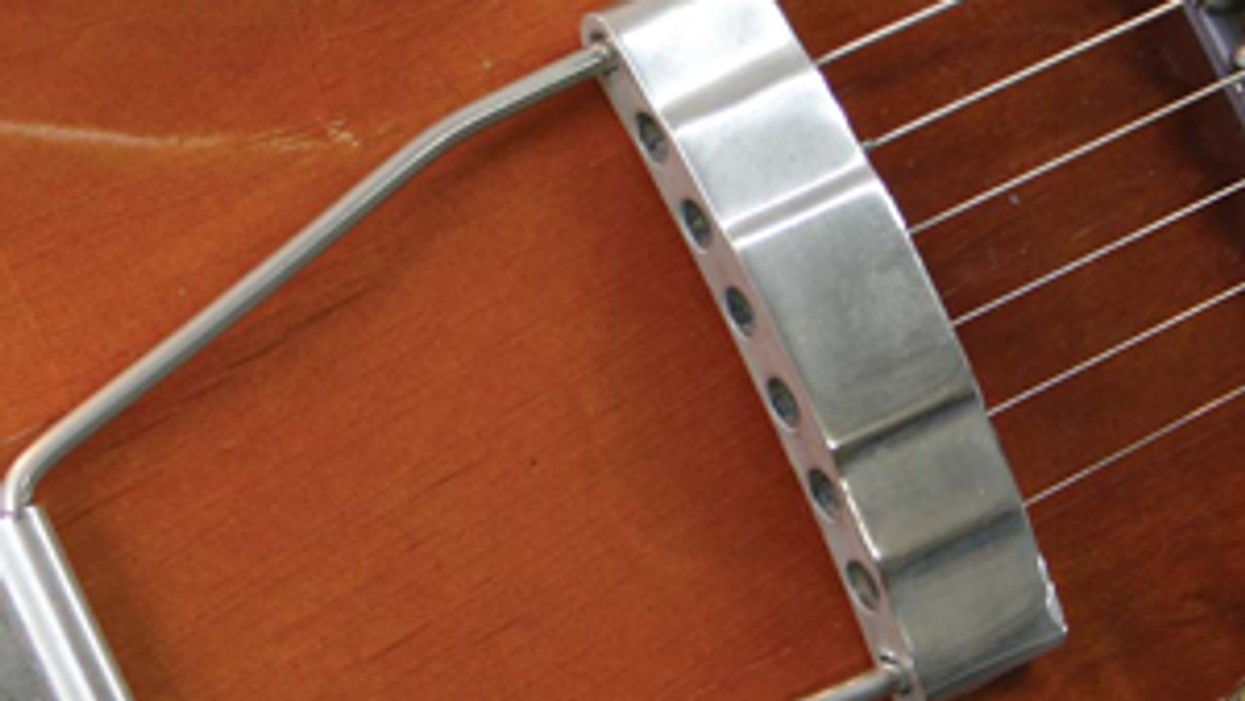
Gear 1958 Rickenbacker 330 A quick overview of Rickenbacker''s history and the model 330 from Dave''s Guitar Shop. Dave Rogers Laun Braithwaite Tim Mullally Jul 21, 2009
DIY 5 Producers You Should Listen To We talk with five producers who''ve done everything from metal and country to soul and blues about producing guitar-driven hits. Elianne Halbersberg Jul 21, 2009