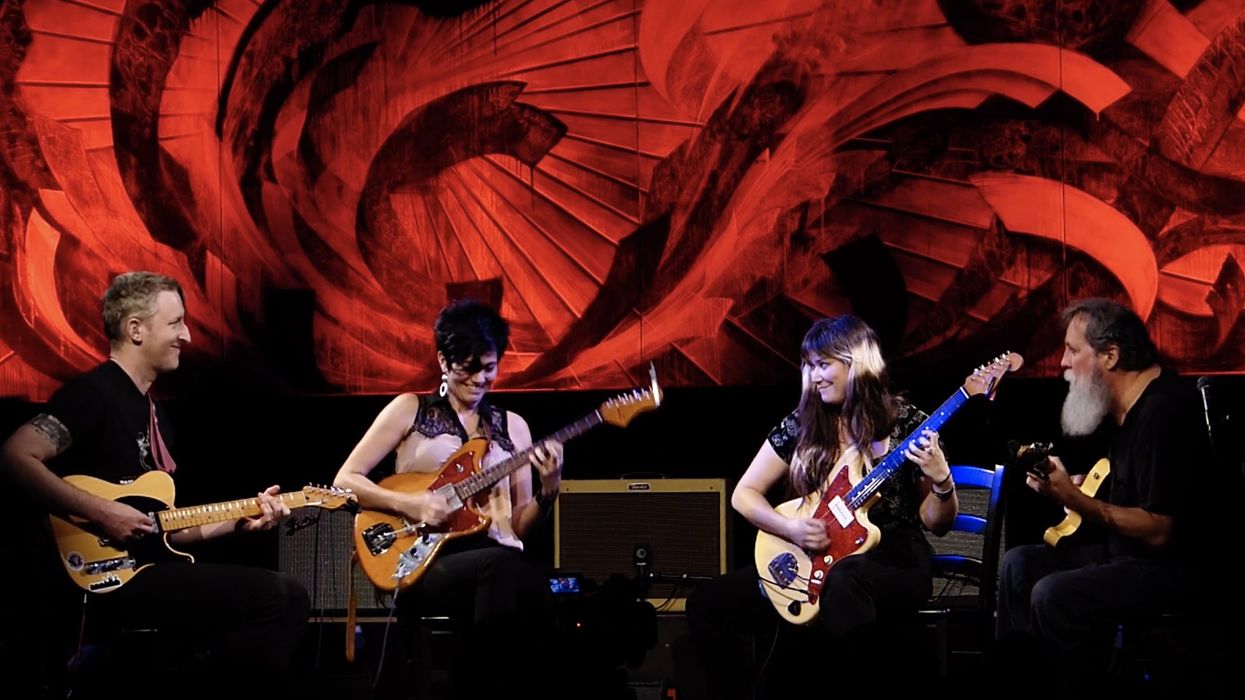
Fifteen watts that sits in a unique tone space and offers modern signal routing options.
A distinct alternative to the most popular 1x10 combos. Muscular and thick for a 1x10 at many settings. Pairs easily with single-coils and humbuckers. Cool looks.
Tone stack could be more rangeful.
$999
Supro Montauk
supro.com
When you imagine an ideal creative space, what do you see? A loft? A barn? A cabin far from distraction? Reveling in such visions is inspiration and a beautiful escape. Reality for most of us, though, is different. We’re lucky to have a corner in the kitchen or a converted closet to make music in. Still, there’s a romance and sense of possibility in these modest spaces, and the 15-watt, 1x10, all-tubeSupro Montauk is an amplifier well suited to this kind of place. It enlivens cramped corners with its classy, colorful appearance. It’s compact. It’s also potent enough to sound and respond like a bigger amp in a small room.
The Montauk works in tight quarters for reasons other than size, though—with three pre-power-section outputs that can route dry signal, all-wet signal from the amp’s spring reverb, or a mixture of both to a DAW or power amplifier.
Different Stripes and Spacious Places
Vintage Supro amps are modestly lovely things. The China-made Montauk doesn’t adhere toold Supro-style motifs in the strictest sense. Its white skunk stripe is more commonly seen on black Supro combos from the late 1950s, while the blue “rhino hide” vinyl evokes Supros from the following decade. But the Montauk’s handsome looks make a cramped corner look a lot less dour. It looks pretty cool on a stage, too, but the Montauk attribute most likely to please performing guitarists is the small size (17.75" x 16.5" x 7.5") and light weight (29 pounds), which, if you tote your guitar in a gig bag and keep your other stuff to a minimum, facilitates magical one-trip load ins.
Keen-eyed Supro-spotters noting the Montauk’s weight and dimensions might spy the similarities to another 1x10 Supro combo,the Amulet. A casual comparison of the two amps might suggest that the Montauk is, more-or-less, an Amulet without tremolo and power scaling. They share the same tube complement, including a relatively uncommon 1x6L6 power section. But while the Montauk lacks the Amulet’s tremolo, the Montauk’s spring reverb features level and dwell controls rather than the Amulet’s single reverb-level knob.
“High reverb levels and low dwell settings evoke a small, reflective room with metallic overtones from the spring sprinkled on top—leaving ghostly ambience in the wake of strong, defined transient tones.”
If you use reverb a lot and in varying levels of intensity, you’ll appreciate the extra flexibility. High reverb levels and low dwell settings evoke a small, reflective room with metallic overtones from the spring sprinkled on top—leaving ghostly ambience in the wake of strong, defined transient tones. There are many shades of this subtle texture to explore, and it’s a great sound and solution for those who find the spring reverbs in Fender amps (which feature no dwell control) an all-or-nothing proposition. For those who like to get deep in the pipeline, though, the dwell offers room to roam. Mixing high level and dwell settings blunts the amp’s touch sensitivity a bit, and at 15 watts you trade headroom for natural compression, compounding the fogginess of these aggressive settings. A Twin Reverb it ain’t. But there is texture aplenty to play with.
A Long, Wide Strand
Admirably, the Montauk speaks in many voices when paired with a guitar alone. The EQ sits most naturally and alive with treble and bass in the noon-to-2-o’clock region, and a slight midrange lean adds welcome punch. Even the amp’s trebliest realms afford you a lot of expressive headroom if you have enough range and sensitivity in your guitar volume and tone pots. Interactions between the gain and master output controls yield scads of different tone color, too. Generally, I preferred high gain settings, which add a firecracker edge to maximum guitar volume settings and preserve touch and pick response at attenuated guitar volume and tone levels.
If working with the Montauk in this fashion feels natural, you’ll need very few pedals. But it’s a good fit for many effects. A Fuzz Face sounded nasty without collapsing into spitty junk, and the Klon-ish Electro-Harmonix Soul Food added muscle and character in its clean-boost guise and at grittier gain levels. There’s plenty of headroom for exploring nuance and complexity in delays and modulations. It also pairs happily with a wide range of guitars and pickups: Every time I thought a Telecaster was a perfect fit, I’d plug in an SG with PAFs and drift away in Mick Taylor/Stones bliss.
The Verdict
Because the gain, master, tone, and reverb controls are fairly interactive, it took me a minute to suss out the Montauk’s best and sweetest tones. But by the time I was through with this review, I found many sweet spots that fill the spaces between Vox and Fender templates. There’s also raunch in abundance when you turn it up. It’s tempting to view the Montauk as a competitor to the Fender Princeton and Vox AC15. At a thousand bucks, it’s $400 dollars less than the Mexico-made Princeton ’68 Custom and $170 more than the AC15, also made in China. In purely tone terms, though, it represents a real alternative to those stalwarts. I’d be more than happy to see one in a backline, provided I wasn’t trying to rise above a Geezer Butler/Bill Ward rhythm section. And with its capacity for routing to other amps and recording consoles in many intriguing configurations, it succeeds in being a genuinely interesting combination of vintage style and sound and home-studio utility—all without adding a single digital or solid-state component to the mix.
A terrific twosome or a terrible twinning? It all depends on how you tame your treble.
Rein in those icy high frequencies with these handy tips.
Classic vintage Fender amps are renowned for their clean, shimmering tones. However, dialing in the “sweet spot” isn’t always straightforward, especially when you're playing on a new or borrowed amp. Pair these amps with Fender guitars—also known for their brightness—and the combination can sometimes result in ear-piercing treble and overwhelming volume. An amp that’s too powerful or an unsuitable guitar pairing can easily derail the musical moment you’re trying to create. So, controlling treble is crucial, particularly with louder amps.
In this article, I’ll share my experiences with Fender amps and how I’ve tamed treble issues through guitar tweaks, speaker swaps, amp modifications, and pedals. My goal is to help you achieve those glorious vintage Fender tones without losing your ears—or your audience—in the process.
Backline Bargaining
I’m extra cautious about bringing my brightest Strats or Teles to gigs with rented backline amps. Newer Deluxe Reverbs, for example, can be particularly tricky with dialing in a smooth tone. These amps often feature bright ceramic speakers and the EQ options are limited—there’s no bright switch to dampen the top end and no mid knob to add warmth.
Here’s what I do: I start by turning down the tone knob on my Okko Twinsonic overdrive pedal, which is very transparent. My old Ibanez Tube Screamers naturally rolled off much of the high end, making them easier to pair with brighter amps.
I also adjust the microphone placement set up by the sound crew. The tone gets brighter the closer the mic is to the center of the speaker cone. I angle the SM57 slightly and aim it closer to the outer edge of the cone, leaving a 3–4 cm gap from the grill cloth. Larger 12" or 15" speakers are more forgiving in this process, while smaller 10" speakers are less so. I’ve encountered challenging amps, like a Super Reverb loaded with 10" JBL speakers featuring aluminum dust caps. These amps sounded much harsher through the PA than they did on stage, making mic placement even more critical.
Dimming the Bright Caps
Bright caps are key components in shaping an amp’s treble response. On the Deluxe Reverb, the bright cap is always enabled, which can make brighter guitars sound harsh, especially at low volumes or when using fuzz pedals. Cranking the amp helps by adding more upper mids to the mix.
For my own Deluxe Reverbs, I sometimes disable the 47 pF bright cap or, more often, install a 25k mid pot on the back panel to add warmth. It depends on the tones I’m chasing.
Smaller amps like the Fender Champ and Princeton don’t have bright caps, which naturally gives them smoother tones. But if they sound too dark or muddy, you can add a bright cap. I installed a 100 pF bright cap on my 1966 Princeton Reverb (which has a Jensen C10N speaker from the same year, though not original to the amp). After experimenting, I settled on a 47 pF cap for just the right amount of clarity.
If you’re up for a bit of DIY, experimenting with bright cap values can significantly shape your tone. Black-panel and silver-panel Fenders typically use 120 pF bright caps, with exceptions like the Deluxe (47 pF) and the Princeton and Champ (none).
Guitar Tweaks for Warmer Tones
Your guitar’s setup can also make a big difference. Thin strings combined with pickups set too close to the strings can result in a thin, overly bright tone. Here’s how I address this:
● Lower the pickups slightly. I start with a 2–2.4 mm gap on the high E string and 2.4–3.3 mm gap on the low E, measured between the pickup pole and the string when fretted at the highest fret. Then, I fine-tune by ear to balance output across pickup positions.
● Use thicker strings for a warmer, fuller tone. I tune my guitars down to Eb to deepen the sound and increase sustain. Keep in mind, though, that this can create a looser, flabbier bass response on smaller amps.
● Hotter pickups add mids and bass, naturally reducing treble dominance. Alternatively, lowering the resistance of the volume pot can smooth out the tone by filtering high frequencies. However, changing pot or cap values will alter how your guitar responds when rolling down the tone or volume knobs.
Speaker Swaps
Finally, and perhaps most importantly, speakers play a huge role in shaping your tone. Swapping speakers or experimenting with extension cabinets is one of the most effective ways to adjust treble, mids, or bass. I’ve written extensively about this in previous articles, but it’s worth emphasizing here: The right speaker pairing can make or break your tone.
I hope these insights help you conquer any treble troubles and coax balanced tones from your Fender amps. Happy tinkering!
To measure the bias on his Deluxe Reverb, our columnist lays his amp face-down on the floor for easy access to the bias pot and power tubes.
Here are a few tips to get you started on your way to becoming an old-school Fender amp tech.
Back in 1995, when my journey with vintage Fender amps started, I knew little about tube amps. Over 30 years, I’ve gradually learned the hard way how to acquire, play, service, and give advice. If tube amps are to become a hobby for you, I recommend learning some basic maintenance. You’ll be better off in terms of time and money, and even more important, the knowledge about how circuits and components affect tone will give you a wider array of sounds to play with. But where should you start?
Here’s my list of relevant topics that you should be able to master with a little patience and curiosity. My goal is to get you started on your journey to becoming a Fender amp handyman. The topics are sorted by gravity, and you’ll need in-depth studies from reliable sources on each topic. On my website, fenderguru.com, I’ve tried to explain things easily for musicians, but there are many other good Fender amp resources out there.
Safety. First and foremost: There are lethal voltages inside tube amps, much higher than in transistor amps—even after powering some of them off. Learn how to discharge DC voltages before opening an amp. In my website’s buyer’s guide to vintage Fender amps, I have laid out a procedure on how to safely power off and power up these amps by inserting tubes in a specific order.
Speakers. I strongly recommend learning impedance and wiring methods and experimenting with various internal speakers and cabinets. The mathematical formula 1/Rt = 1/R1 + 1/R2 calculates the total impedance for two speakers coupled in parallel; Rt is the total impedance, and R1 and R2 are the impedances of the two speakers. Remember that all Fender amps can tolerate an impedance mismatch from -50 percent up to +100 percent.
Pots and jacks. Fixing scratchy pots is a common task for all amp owners and is usually solved by a rotating exercise that freshens up the oxidized metal surfaces inside the pots. If it’s sticky, get yourself a contact cleaner like WD-40 and spray inside the pot.
“When you get more advanced, you can calculate specific bias currents based on measured plate voltages and a specific tube’s dissipation factor.”
Reverb tank. Reverb failure is common and often explained by bad phono cables or plugs. It is easy to learn the mechanics of the reverb tank by simply unplugging everything, changing cables, and opening the reverb tank to look for detached reverb springs and broken soldering joints.
Replacing power tubes and adjusting bias. A power tube requires a correct combination of plate voltage and bias current to operate safely and at full power levels. Since there are different tubes, component drift/variation in caps and resistors, and different voltages in houses and buildings, some tube amps come with an adjustable bias pot.
You need a bias-meter tool to measure bias currents or voltages when replacing power tubes, or diagnosing an amp that lacks clean headroom or has nasty distortion. When you get more advanced, you can calculate specific bias currents based on measured plate voltages and a specific tube’s dissipation factor. Until then, a general rule is to aim for 35 mA for 6L6 amps (except for the Vibrolux, which has a higher bias current at 38 mA) and 22 mA on 6V6 amps. Use your ears, too!
Caps. Old, dried-out electrolytic capacitors should be replaced for both tone and safety’s sake. With a soldering iron, it’s very easy to replace each of the 10 to 11 caps in a black- or silver-panel Fender amp, one by one. Be careful with the polarity, and make sure to drain out all DC voltages (see “Safety,” above).
Preamp tubes. Replacing preamp tubes is easy—no bias adjustment is required. Replacing preamp tubes systematically can solve your problem or help you narrow it down. You then need to learn the function of each preamp tube and which channel they serve. If you want to modify your amp, simple tube swaps can easily change the behavior of your amp, like altering the threshold where your preamp or power amp starts breaking up.
Transformers. I rarely come upon damaged transformers, but sometimes I swap them to get a bigger and firmer bass response, or if I want different speaker impedances. By looking at the soldering job, cutting of isolation, wire lengths, and layout, I can easily spot an amateur’s work. To prevent all kinds of safety, hum, and interference problems, a transformer replacement must be done cleanly and robustly. The risks are high.
Understanding the signal chain. If you have more complex problems that tube replacement doesn’t solve, you must learn how to inspect an amp and isolate problems to various circuit functions. This will require you to learn some circuit theory and schematics. The good news is that since Fender amps are all very similar, once you learn to work on one, you can easily learn to work on them all.