
Tonewood Teardown: Headstock Health
Our guitar makeover nears the end as we fine-tune our tuners, nut, and string tree.
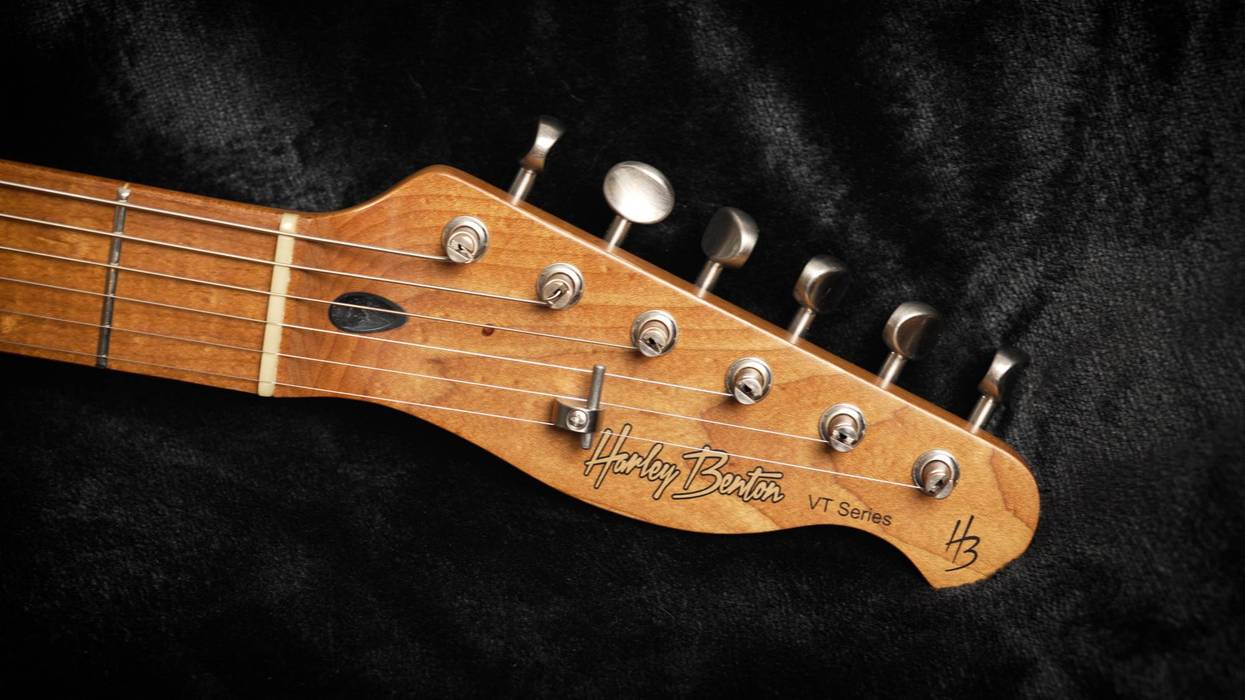
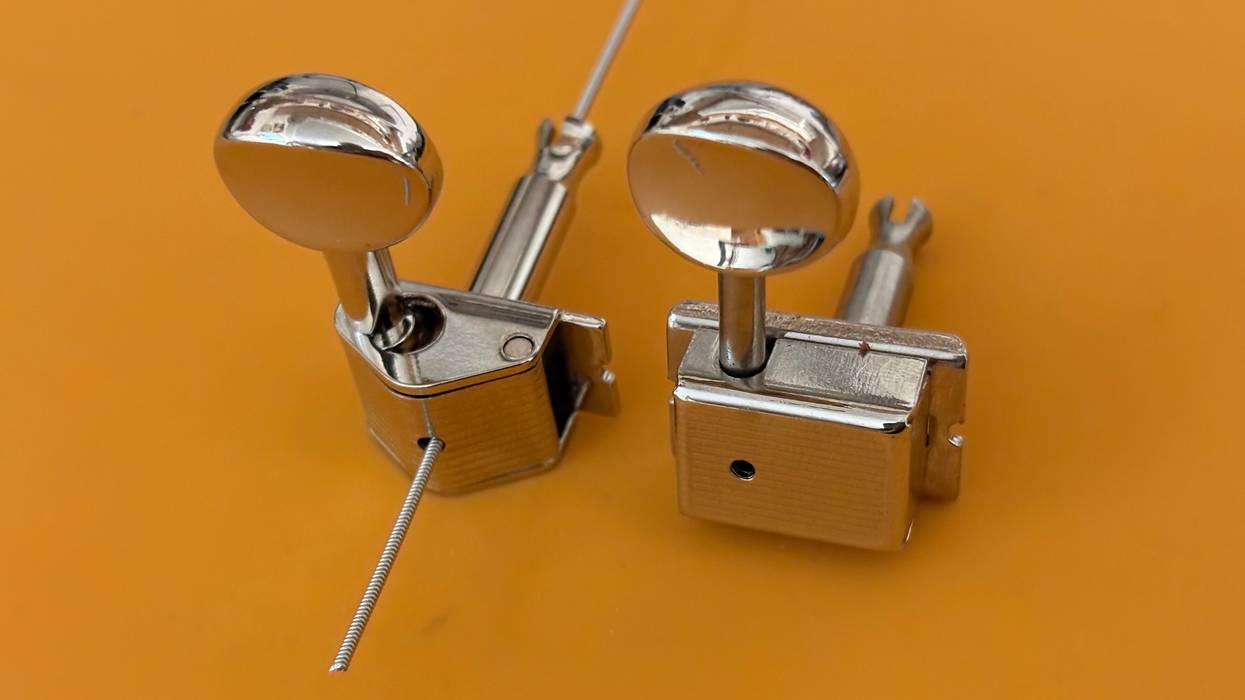
Hello, and welcome back to Mod Garage! After preparing the headstock of our Harley Benton guitar for a new set of tuners, we will now install the bushings of the tuners in the enlarged holes.
This sounds like an easy task, but it’s important to keep some key things in mind. Most people push their new bushings in using a hammer and maybe a small wooden block to protect the new hardware. While this can work, it’s not a great idea, especially if you’re a novice at this sort of work; following this installation method, chances are good that your bushings won’t be set flush on the headstock afterwards. Crooked bushings can put you into serious trouble when installing the tuners, and can of course damage your headstock. Thankfully, there’s a much better way to perform this operation.
You can buy a specialised luthier tool for just about any task nowadays, and bushing-installation is no exception; you can buy specialised clamps, presses, installation helpers, and the like, and they all have their right to exist. Before you buy them, though, ask yourself how often you’ll use such tools. More often than not, an inexpensive DIY stand-in will do the trick!
Do you have access to a stationary drill press? Excellent—all you’ll need to build yourself a top-notch bushing-installation tool is a hexagon-headed screw, preferably with a shank and small self-adhesive rubber feet. Glue the rubber feet on top of the hex-headed screw, and fasten it in the chuck of your drill press so the head of the screw faces downwards. There you have it: your very own bushing-installation tool, for less than the price of a Coke. I’ve used this setup for many years without issue.