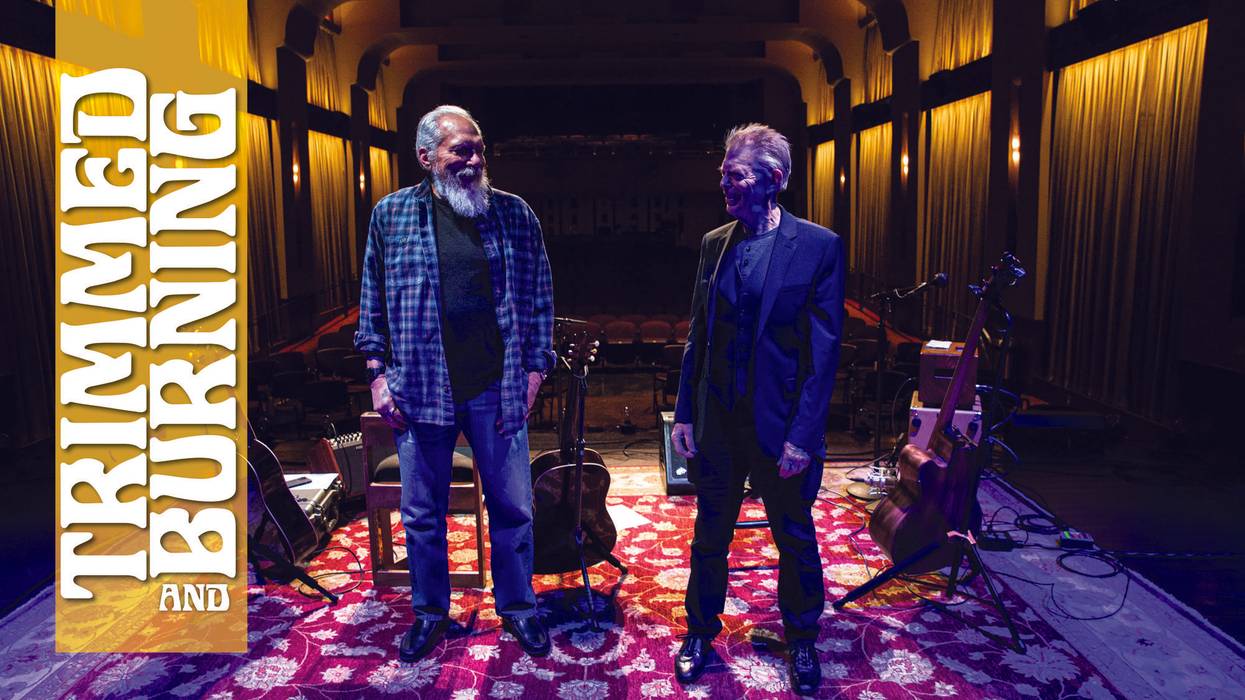
Dhani Harrison and Nigel Godrich have joined forces as Dragonflies and will release their self-titled debut album September 18, 2026 via Dark Horse Records/BMG. The project unites Harrison—known for his acclaimed music career, spanning his solo work, collaborations with thenewno2 and Fistful of Mercy, as well as his film and television scoring—with acclaimed producer Nigel Godrich, renowned for his work with Radiohead, Beck, and IDLES, as well as a founding member of Atoms for Peace and Ultraísta.
Two years on from the mesmeric Nell' Ora Blu, their synth-laden soundtrack for an imaginary Giallo movie, orphic Cambridge heaviesUncle Acid & The Deadbeats return with their seventh full-length, Shapes Of Midnight. A brilliantly macabre concept album partly inspired by Edgar Allen Poe's The Masque Of The Red Death and the too-real nightmares of our modern age, Shapes Of Midnight refines the group's "Evil Beatles" sound: A thrilling, expertly composed fusion of eerie harmonies, pop hooks, Thin Lizzy-esque twin-guitar brilliance, and the kind of fleet-footed heaviness that's become their trademark.
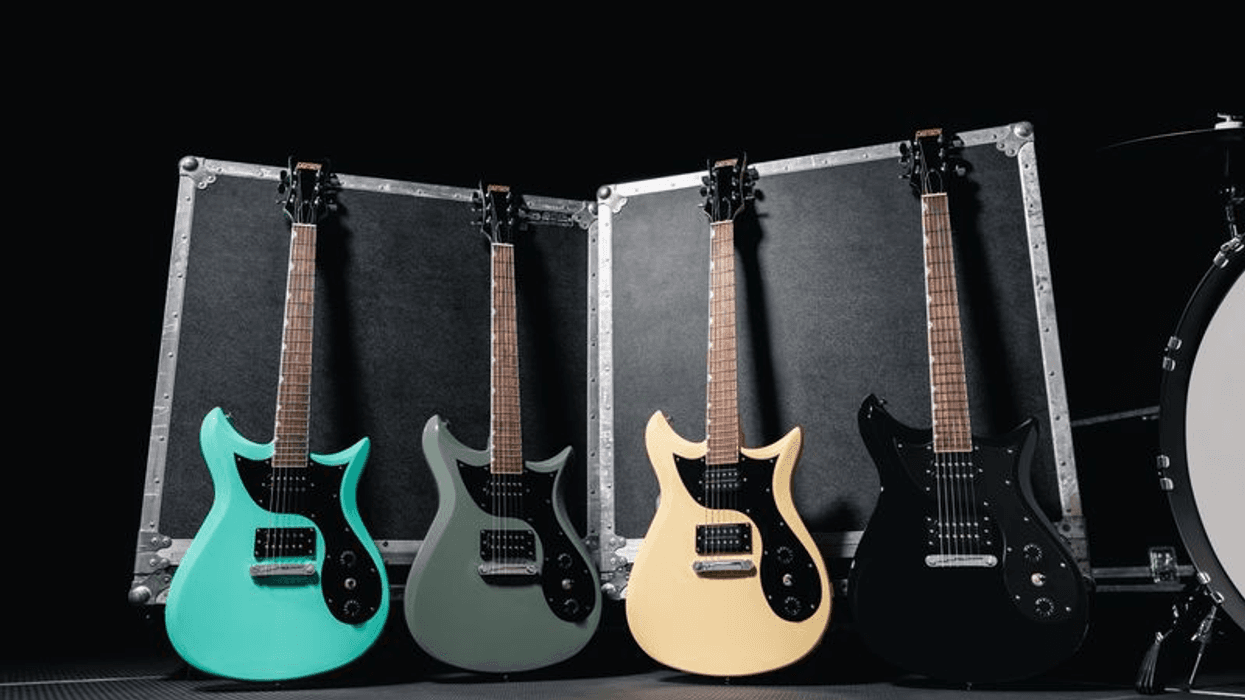
Gretsch is launching theThe Streamliner™ CVT available in four bold finishes: Jet Black, Sea Foam Green, Aged White and Olive Drab. This no-nonsense tone machine delivers exceptional performance, easy playability and rock-solid tuning stability at an incredible value.
A: Tony Levin comes to mind right away, for his musicality, inventiveness, pocket, and creative voice and approach to his instrument. I think he’s my favorite bass player of all time. I’m going to go with “Sledgehammer” by Peter Gabriel—how funky and sick is this bass line? I cannot help but dance every time it comes on! Can you hear Tony’s joy in the records he’s made? I think I can.
Obsession: Lately I’ve been obsessed with ’90s trance music, especially “For an Angel” by Paul van Dyk. If anyone has recs for me from this era, please send them to my email address.
Erick Bertin, Reader
A: As a singer-songwriter who plays bass and guitar to write songs, I’ll go with Thin Lizzy’s “Waiting for an Alibi” as my favorite bass line!
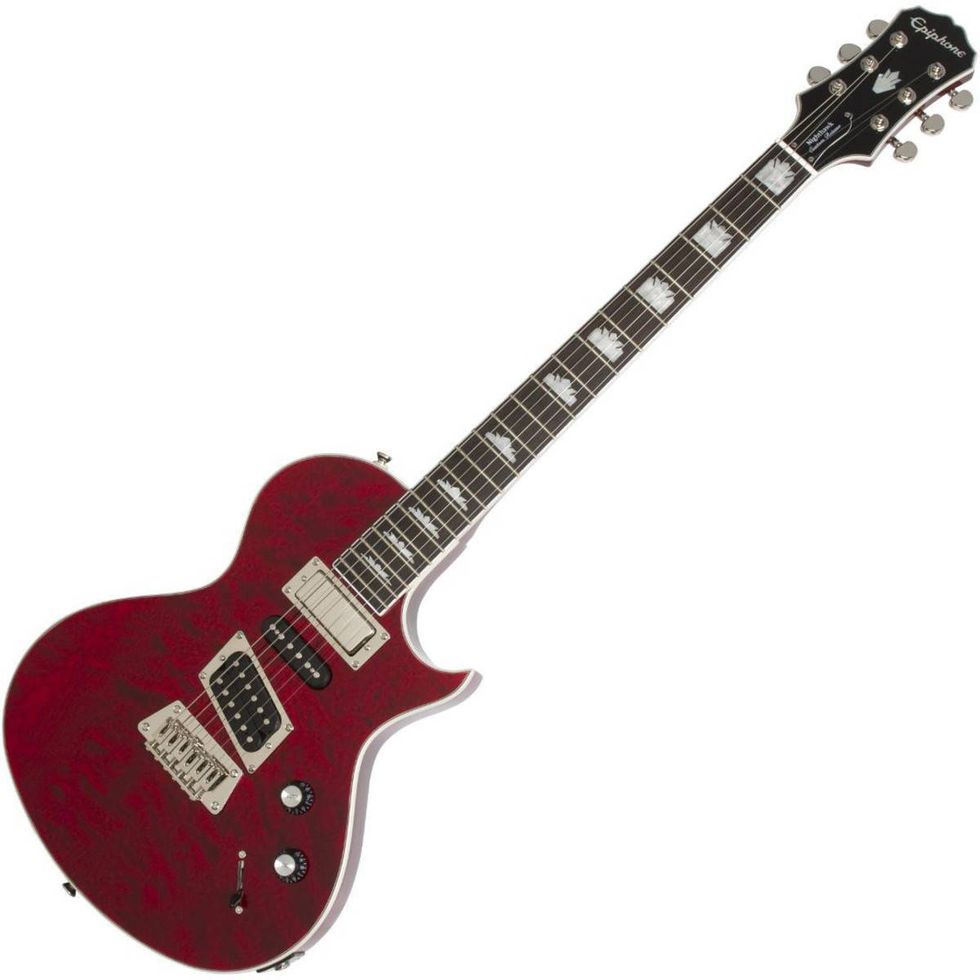
Obsession: As far as obsessions go, I’ve been trying forever to get my hands on a flame top/sunburst Explorer guitar and an Epiphone Nighthawk!
Jon Levy, Publisher
A: There are so many amazing bass lines—I can’t name just one because I change my mind every 15 seconds. Here are two faves: One defines the song, and one defines the player. Roger Waters’ instantly identifiable line on “Money” is the backbone for the Pink Floyd masterpiece. Paul McCartney’s “Penny Lane” exemplifies his genius with the Beatles and as a solo artist: bouncy-yet-moody, effortlessly navigating multiple key changes, and perfectly supporting the main melody.
Obsession: The Wrecking Crew. I recently watched Denny Tedesco’s documentary on the famed Los Angeles session players and was reminded of their collective, gobsmacking brilliance. I have been in a miles-deep rabbit hole ever since.
Luke Ottenhof, Associate Editor
A: Few basslines excite me as immediately as Adam Yauch’s opener in “Sabotage” by the Beastie Boys. That perfectly gnarly tone, the slide up to the first tone, the syncopated strumming, the tension of the interval between the two notes; bass riffs like this have a unique power that 6-string electric parts can’t touch. That bass part will always compel me to hurl bricks or get into some other sort of mischief.
Obsession: The Toronto Blue Jays’ implosion from World Series competitors to last place in the abjectly awful AL East. I really think this team ought to be studied as an example of the damage visited upon a collective of human brains by being thatclose to winning it all and watching it slip away. At least there’s Kazuma Okamoto!
“The mere fact that you’re enveloped in the middle of an onslaught of decibels, in front of big stacks of amplifiers … it’s a whole different ball game altogether.”