
We’ve spent the last two columns exploring neck relief and truss rods (“Straight or Bowed Neck?” and “The Magic Truss Rod”), but there remains one important point we need to consider when adjusting the neck. Even some luthiers are unaware of this particular detail.
Let’s start by reviewing the basics: The neck has a centered truss rod surrounded by an equal amount of wood under both the lower and higher strings. Assuming the strings have roughly the same tension pulling against a tightened truss rod, this symmetrical construction would lead to an equal neck curvature below all strings. But is this actually what we want?
We’re used to seeing a lower bridge height for the higher strings when a bass is adjusted for low action. So why shouldn’t we expect a similar height difference built into the neck itself? The smaller deflection of the higher strings is easily observable, and this is the main reason why the bridge height can be lowered and neck curvature reduced for these strings.
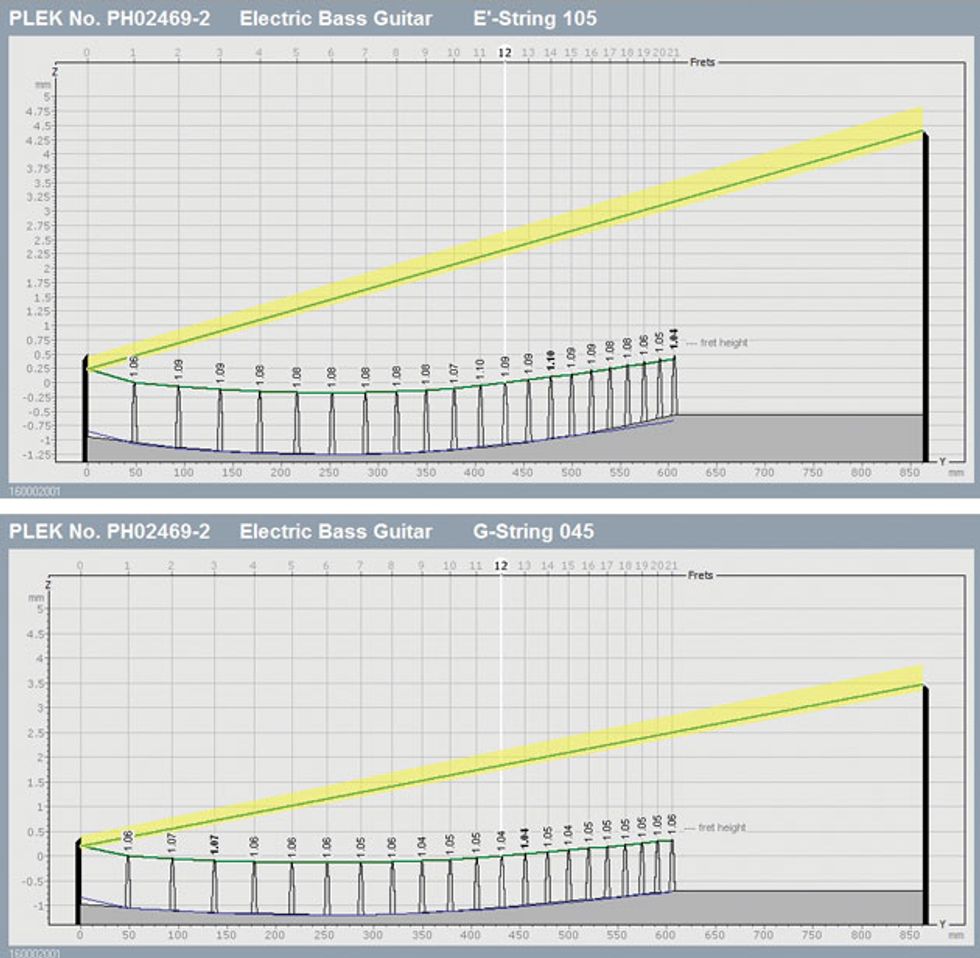
When a string is plucked with a constant force, the amount of its deflection is determined by these combined factors: string tension, mass, and core stiffness. Of course, one could calculate the optimal neck relief for each string, but it’s a complicated mathematical task. We’ll skip that here, as it would make none of us better players—maybe even the opposite! And more importantly, others have already done this work. For example, the German company Plek has written these algorithms into a software program that measures and controls their computerized fret-leveling Plek machine.
Plek’s founder Gerd Anke calls the path of a string’s maximum deflections its “envelope,” which is the key parameter used to calculate the optimized curvatures. “If you observe a plucked string under slow motion,” Gerd says, “you will see that pulses of energy travel up and down the string. Taken together, the outermost points of these pulses can be regarded as an envelope curve, thicker in the middle and tapering towards the ends.
This curve indicates the amount of space required for the string to vibrate freely. Naturally, the shape of the neck and frets—if there are any frets below the string—must take this envelope into account. The neck must give the string enough room to move, which is why the neck needs to have a curve. The calculation of this curve forms the basis of the entire Plek technology.”
The Plek machine is designed to dress the frets in a way that creates different neck curvatures. You can see this in Image 1, which shows the optimized neck curvature for the 4th and 1st strings on a 4-string bass after the instrument has been analyzed and had its frets dressed by the Plek machine. Notice how the E string has a more pronounced curve than the G string. This technology actually uses fret height to simulate a slightly tilted neck.
Some luthiers are aware of this and dress their frets (with varying levels of precision) to compensate for differences in string deflection. Still, this is far from common knowledge and there are many who are not even aware of it. One example: The owner of a 5-string bass visited an experienced luthier for a setup. After checking the neck relief, the luthier found it to be less below the higher strings than the lower strings. So he sent the customer away, saying he couldn’t do a proper setup on what he called “a tilted neck.”
If the luthier had tried the two-step setup we explored last month, he could have made this observation while checking the instrument’s open strings: All of them would have started buzzing nearly simultaneously during the adjustment. If you want to get an impression of how well your instrument accommodates various string deflections, follow Step 2 of last month’s quick setup guide and tighten the truss rod while plucking all the open strings until they buzz. The more they start buzzing at the same time, the better the neck compensates for the strings’ different amplitudes.


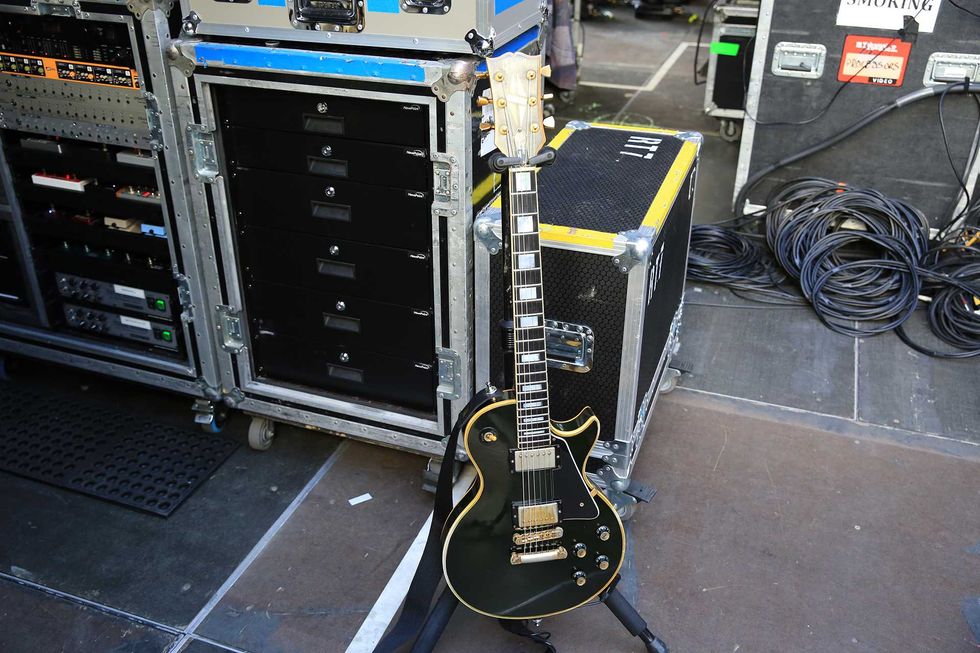
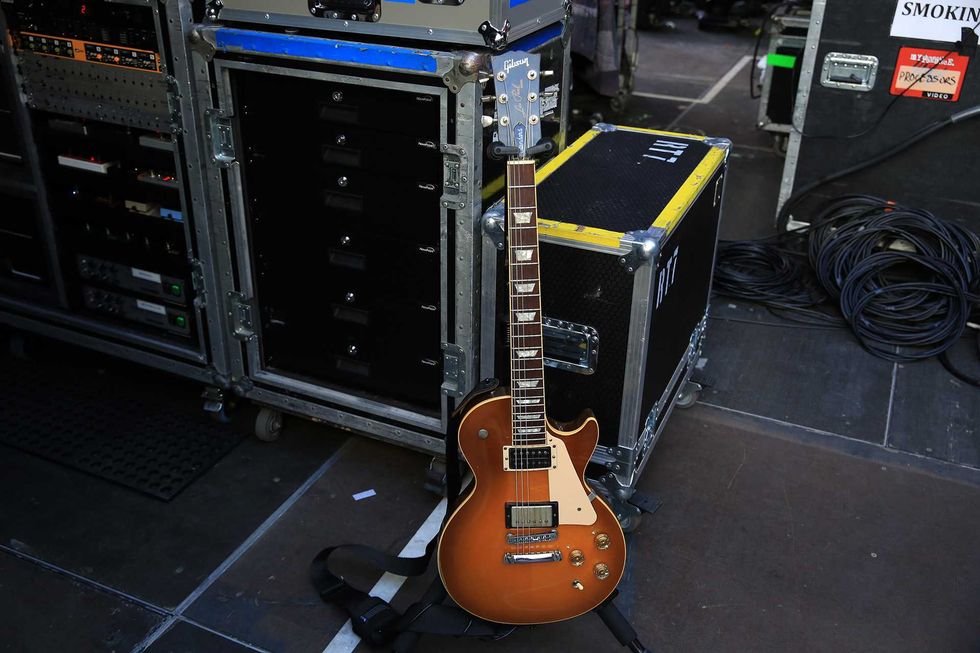
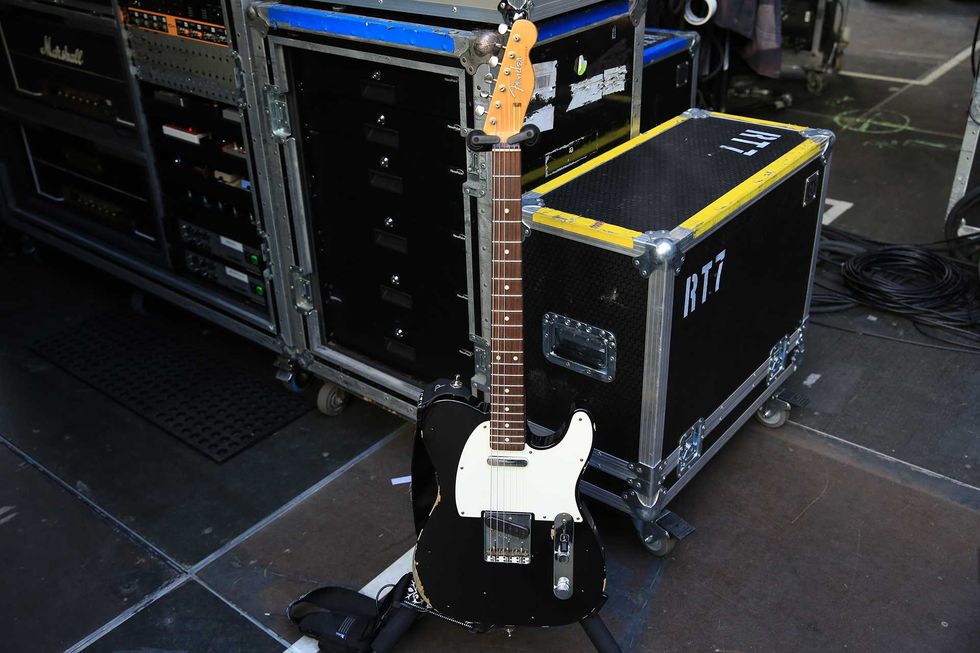
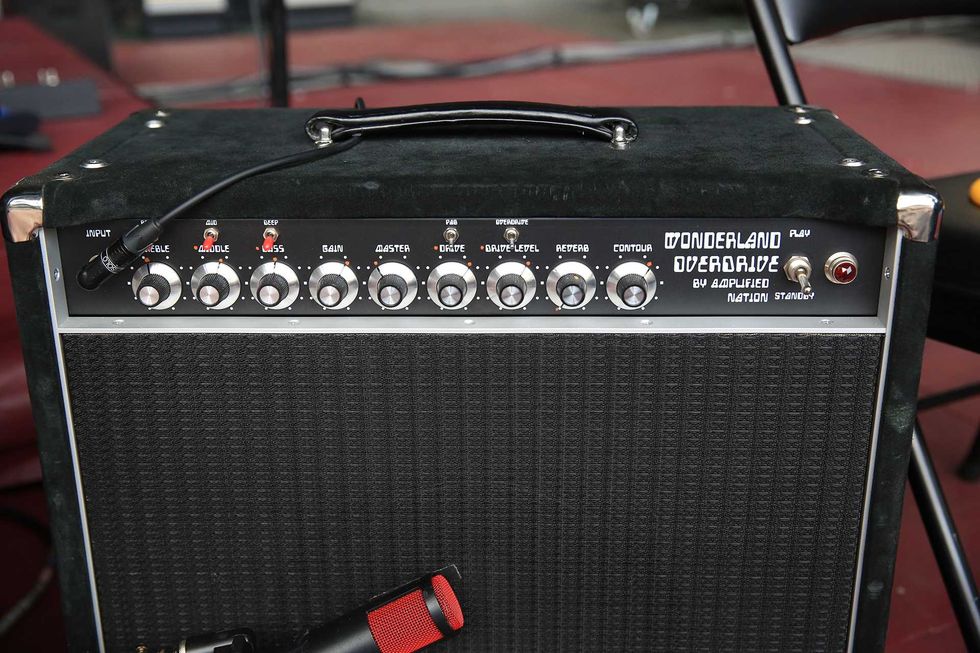
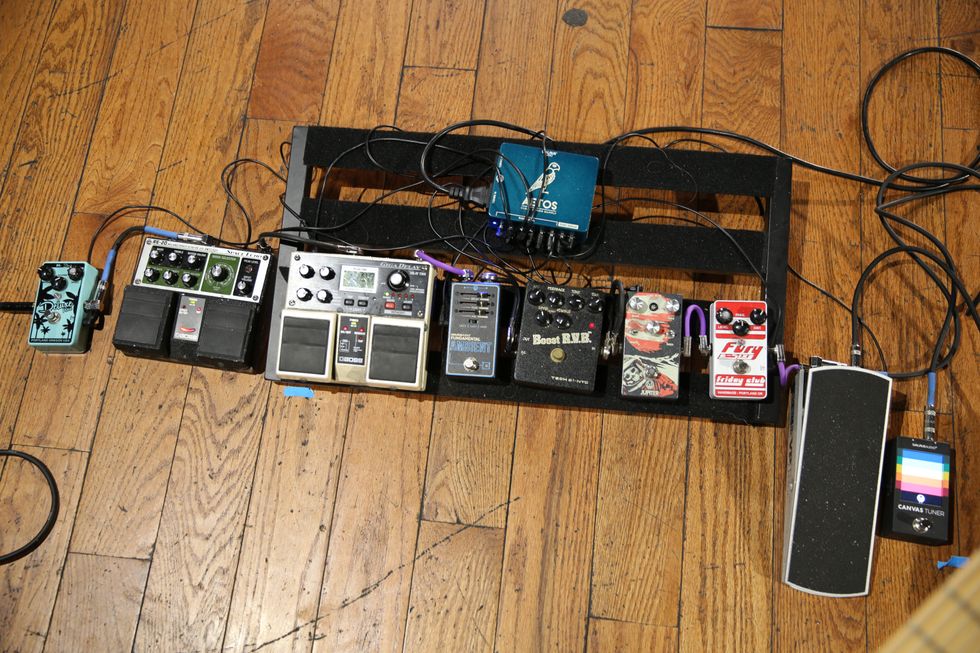
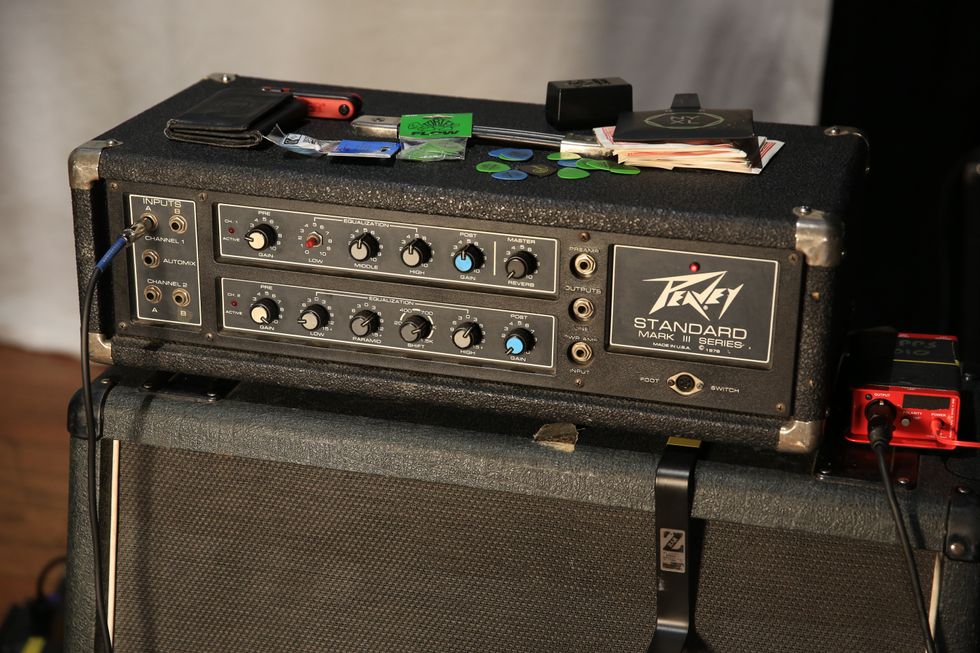
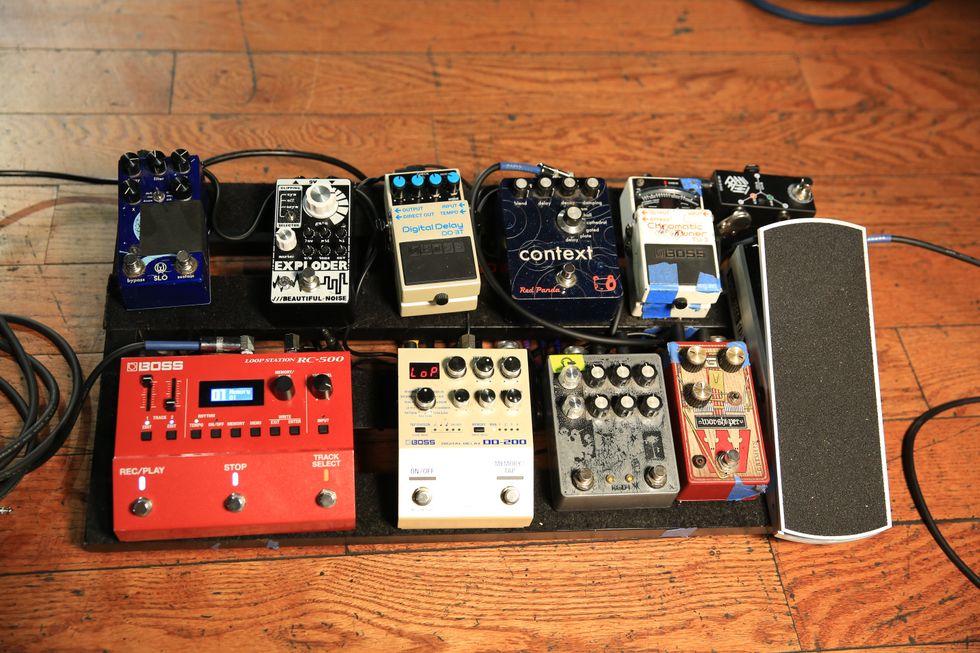
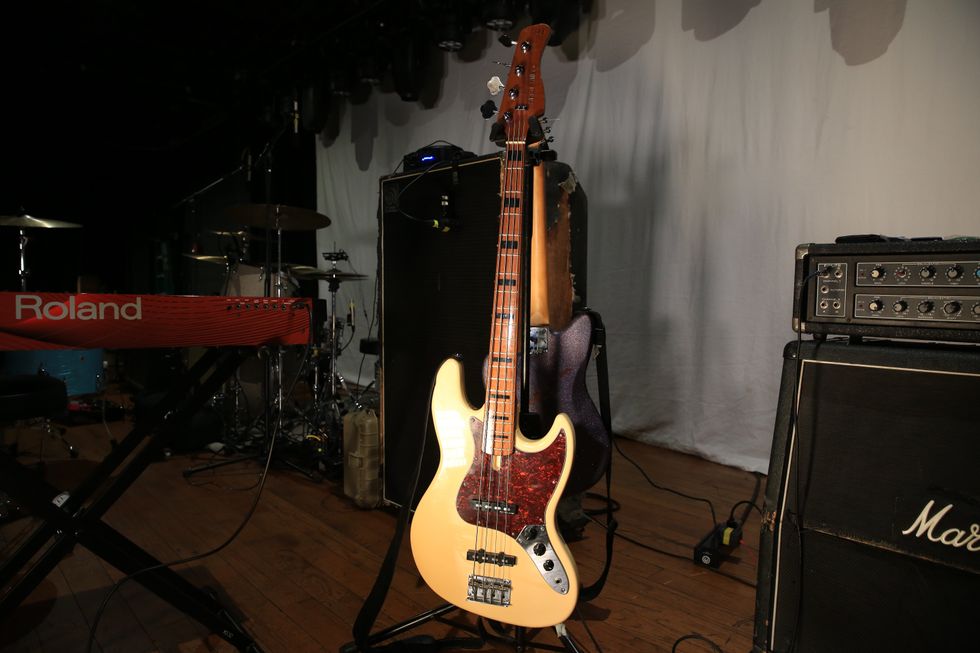
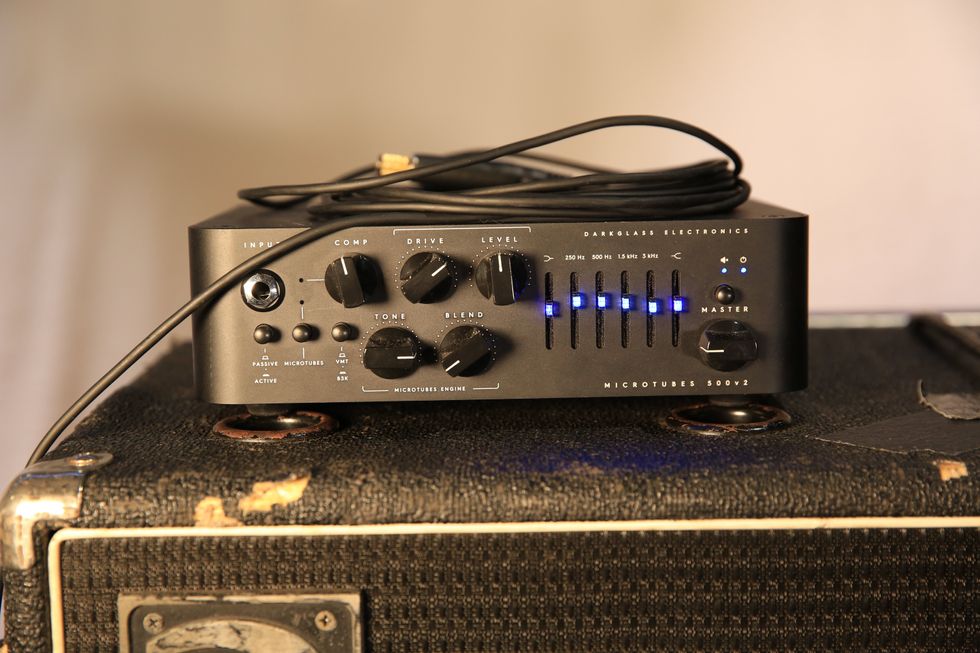
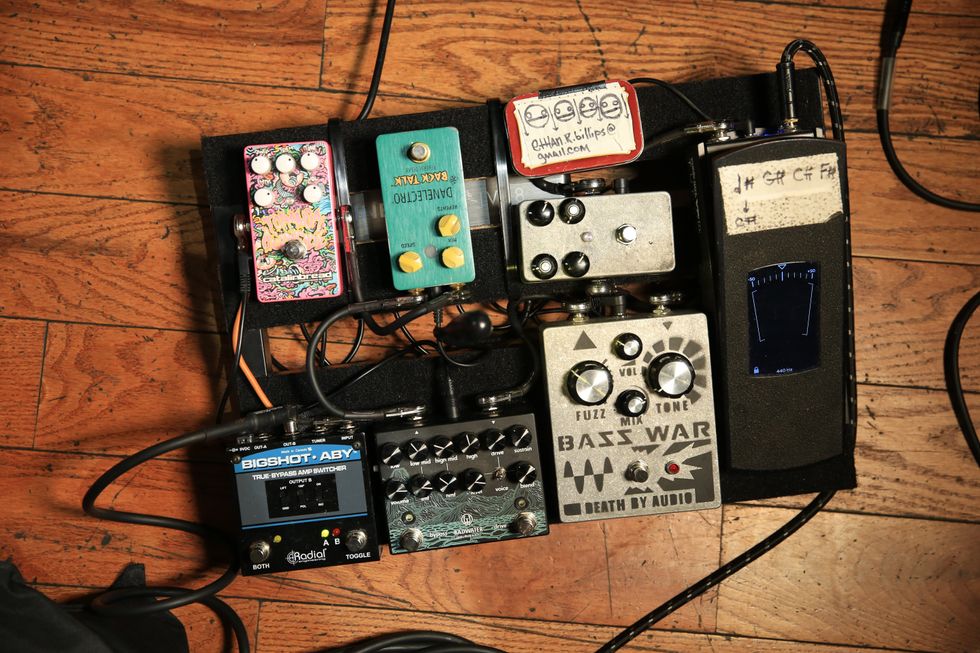
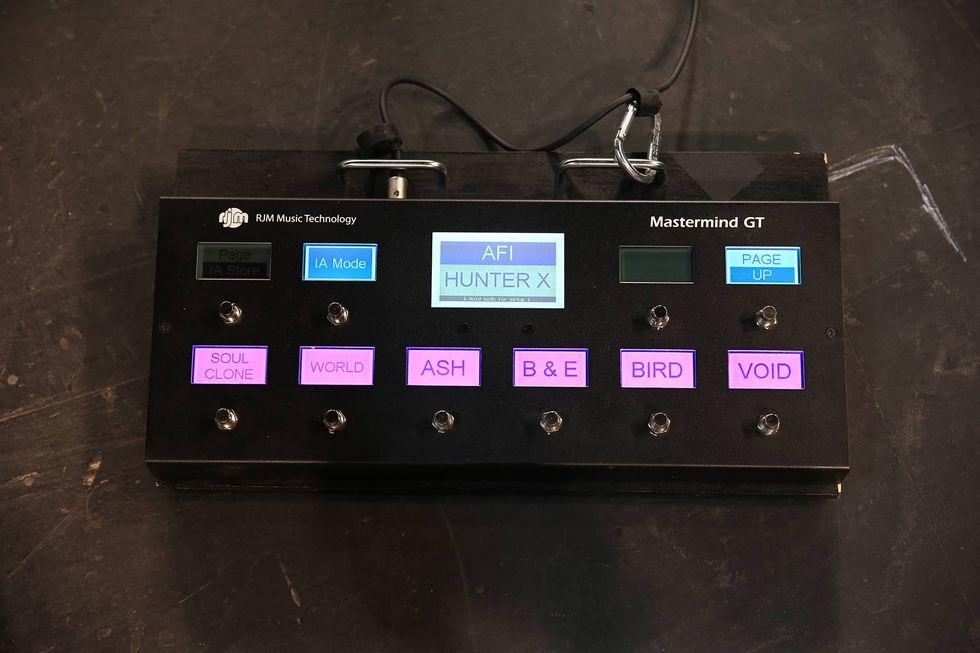
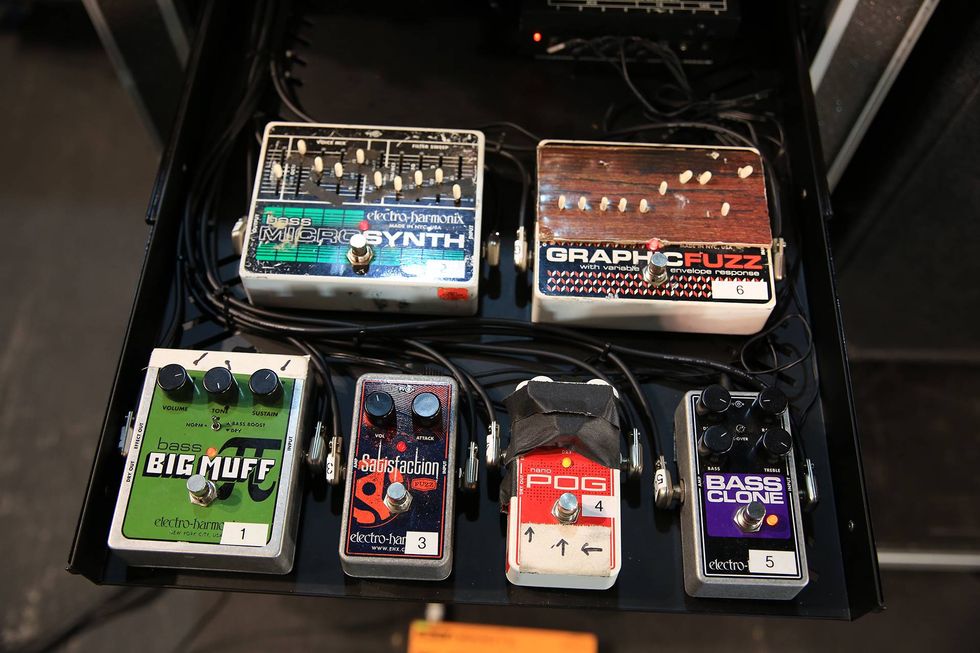
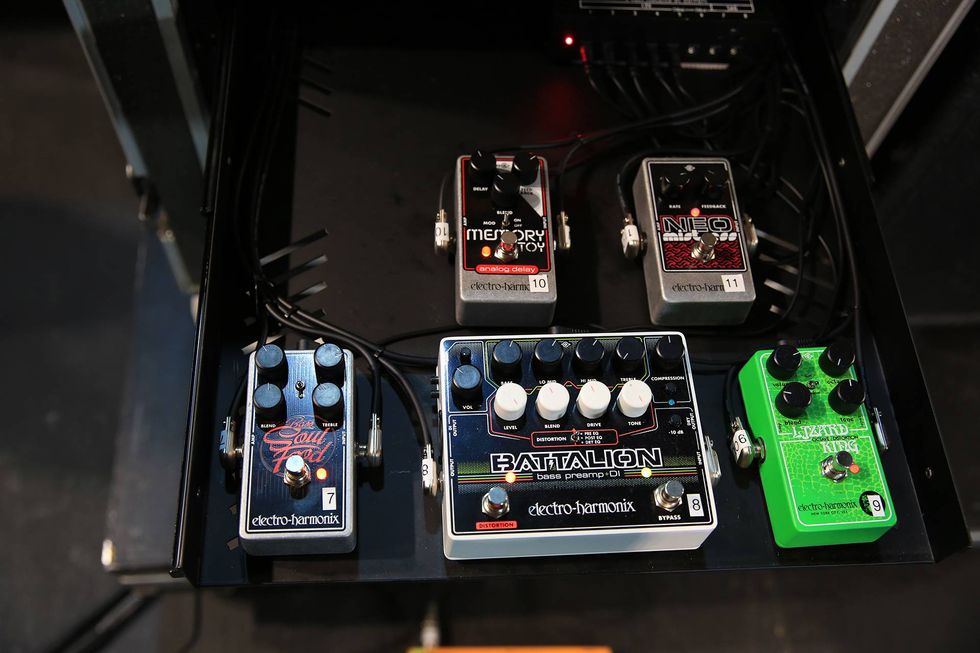
![Rig Rundown: AFI [2025]](https://www.premierguitar.com/media-library/youtube.jpg?id=62064741&width=1245&height=700&quality=70&coordinates=0%2C0%2C0%2C0)

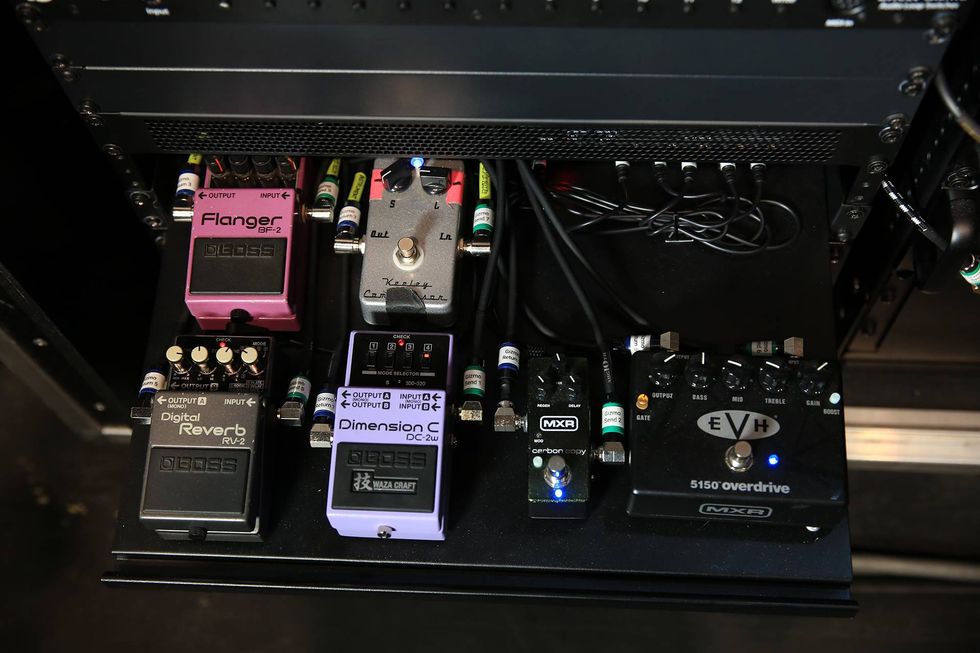
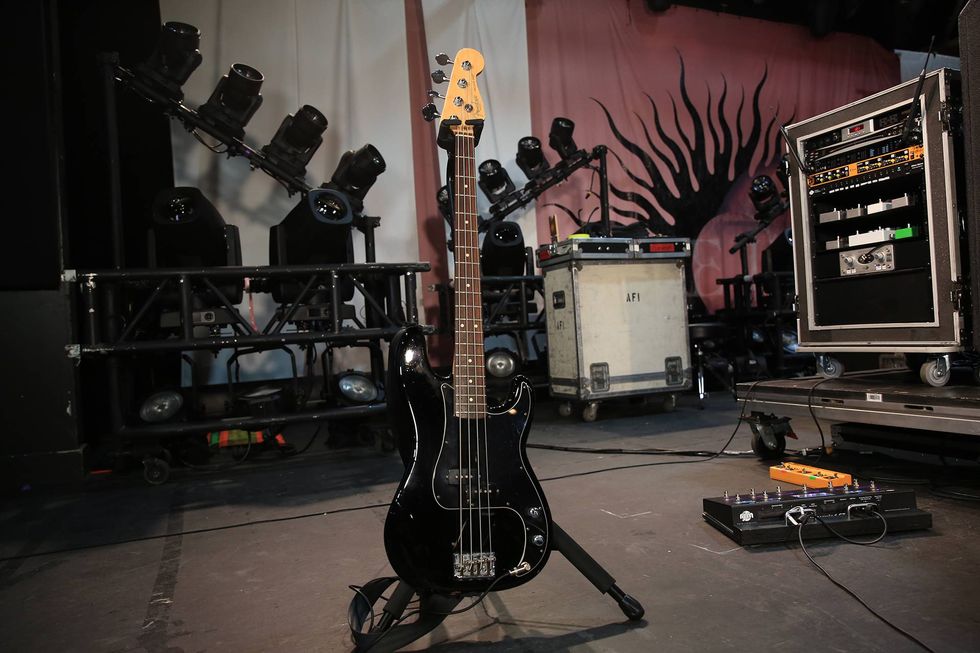
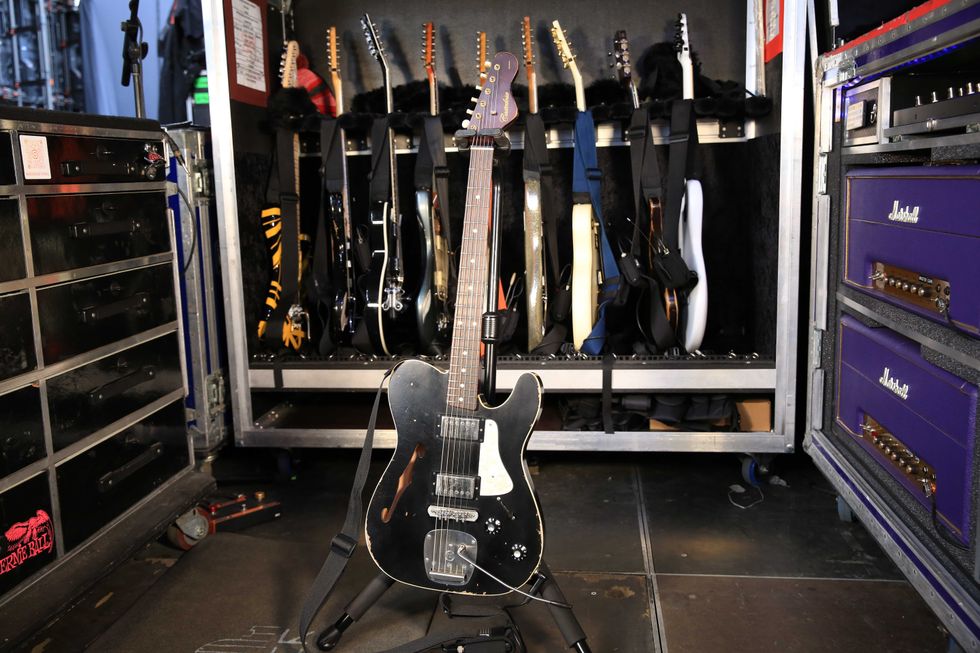
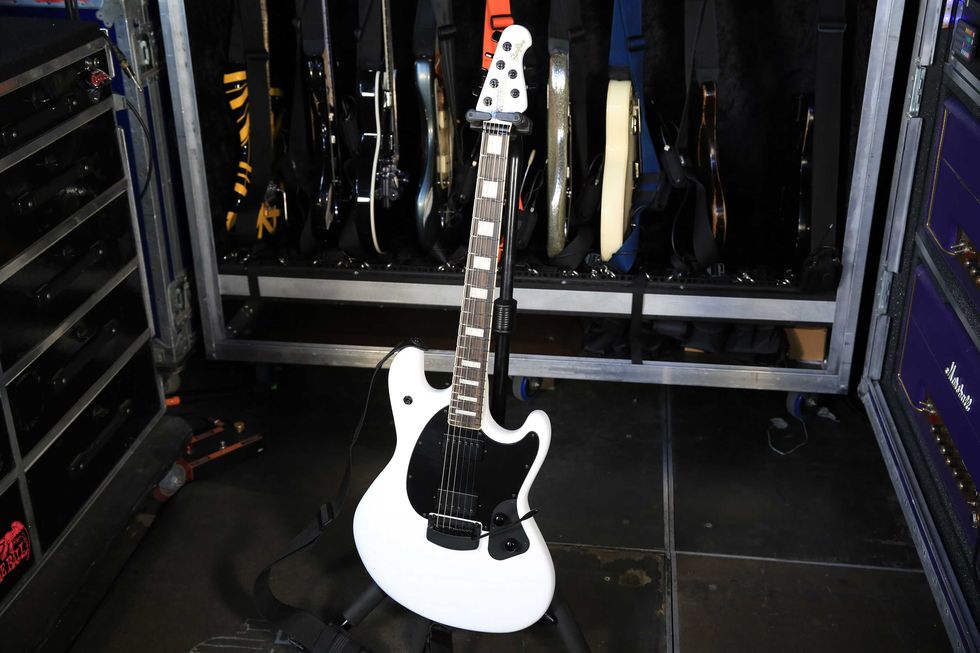
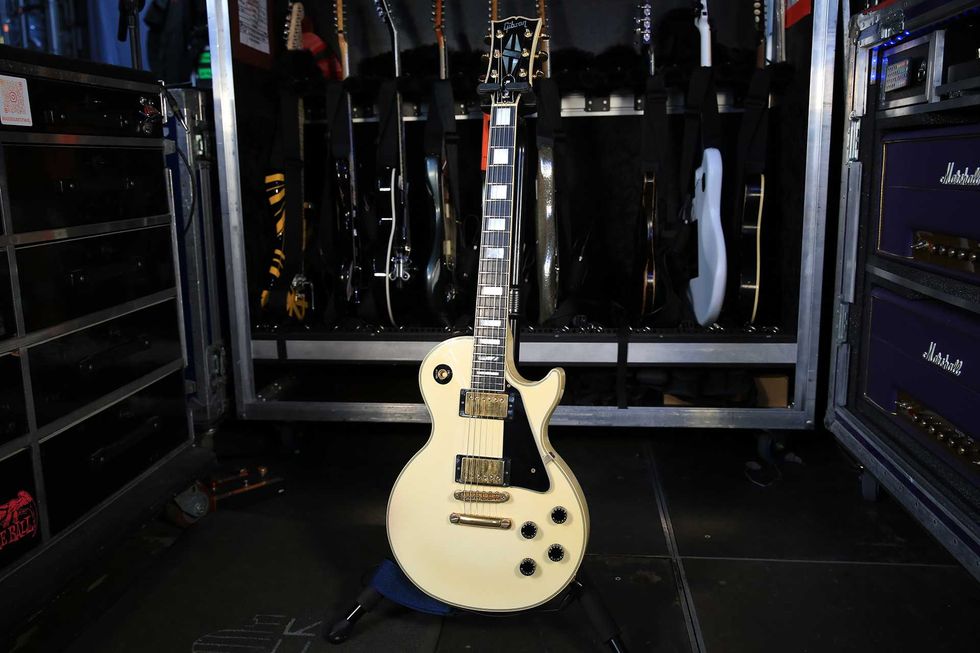
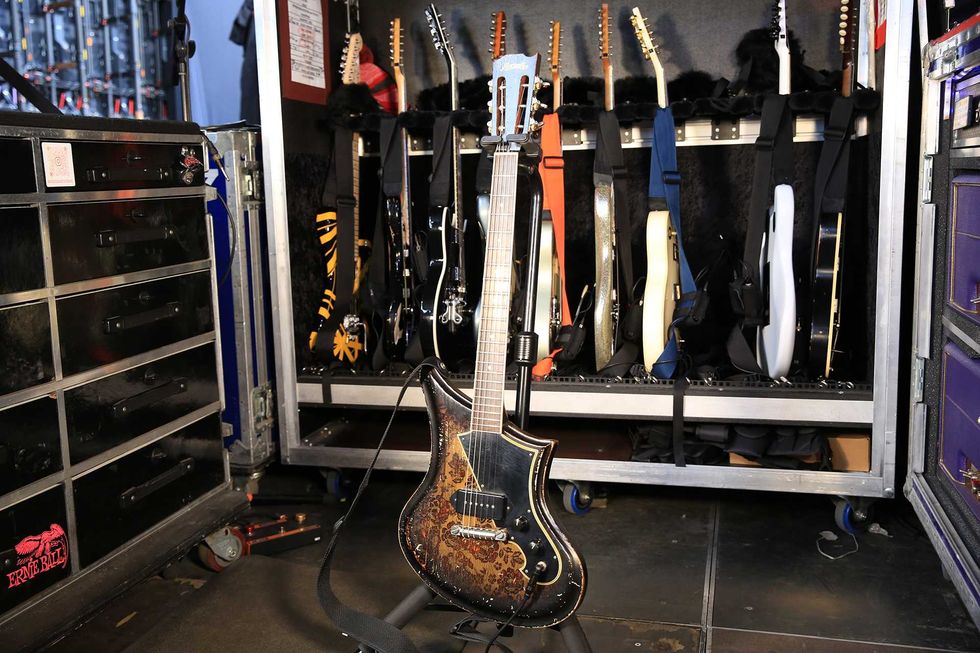
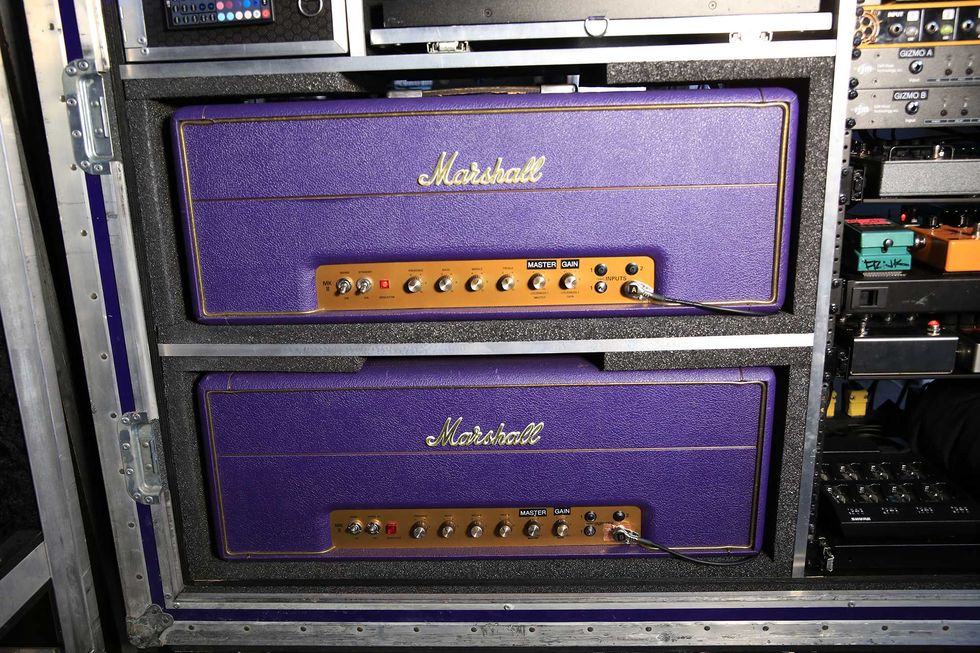
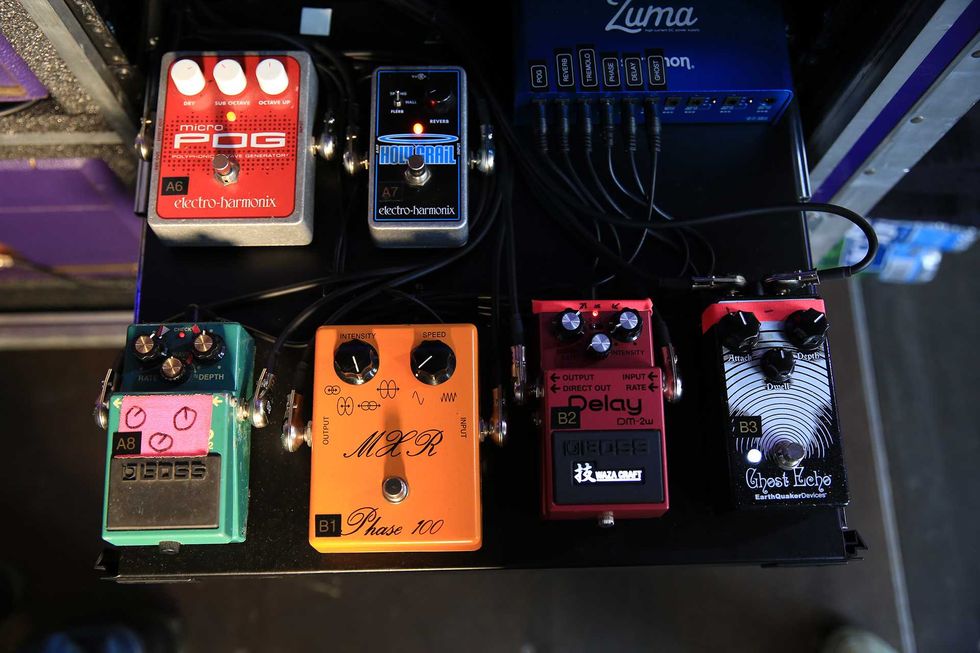
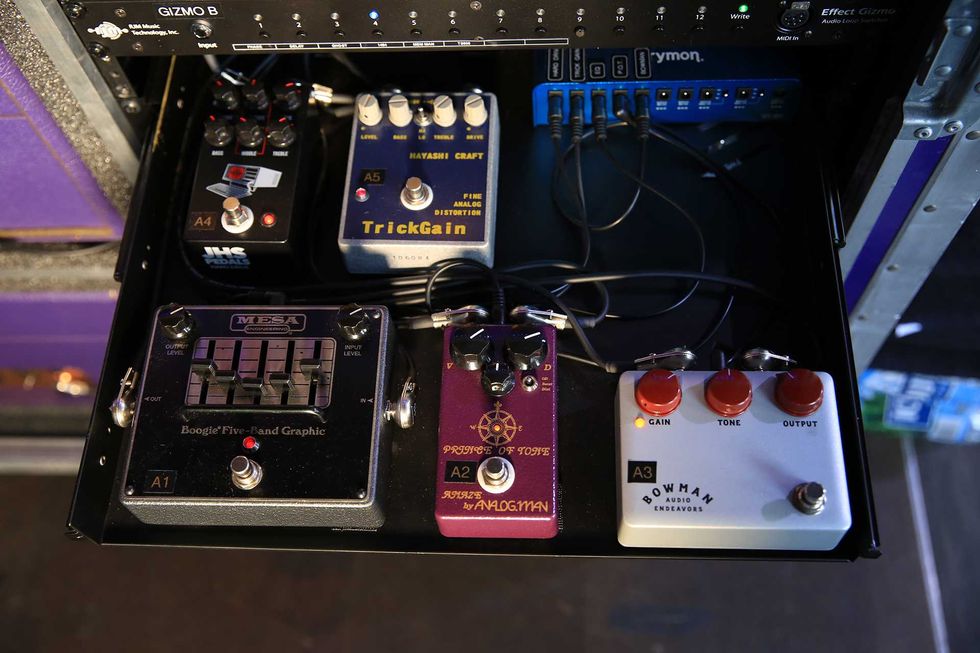
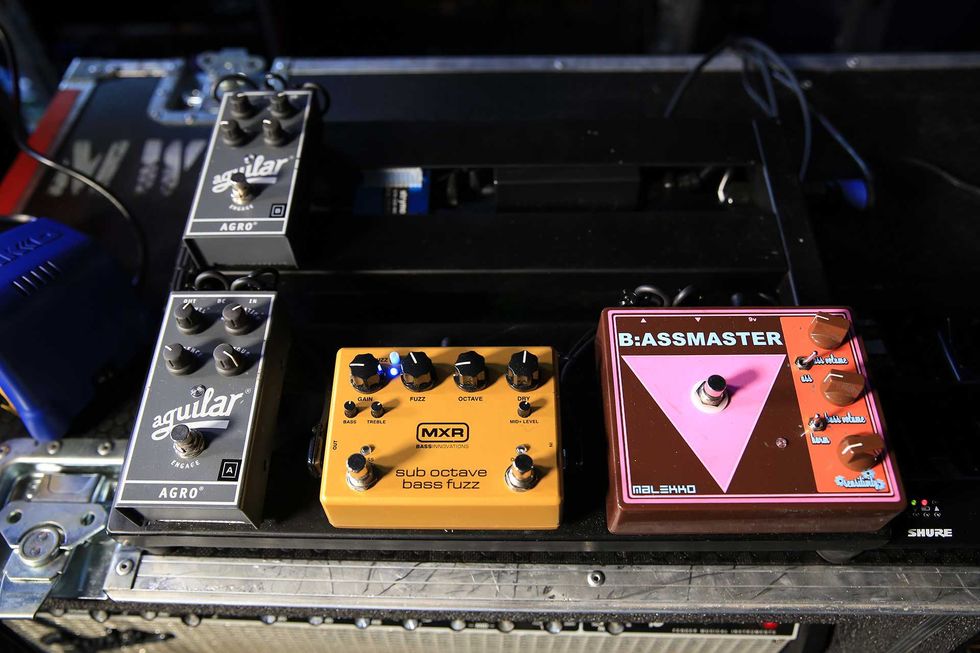
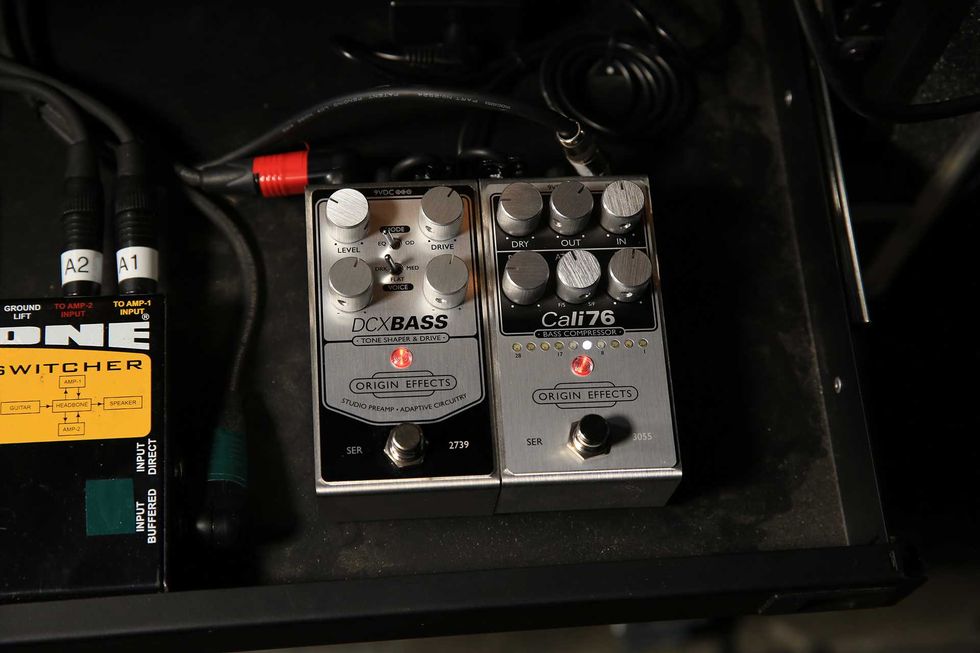
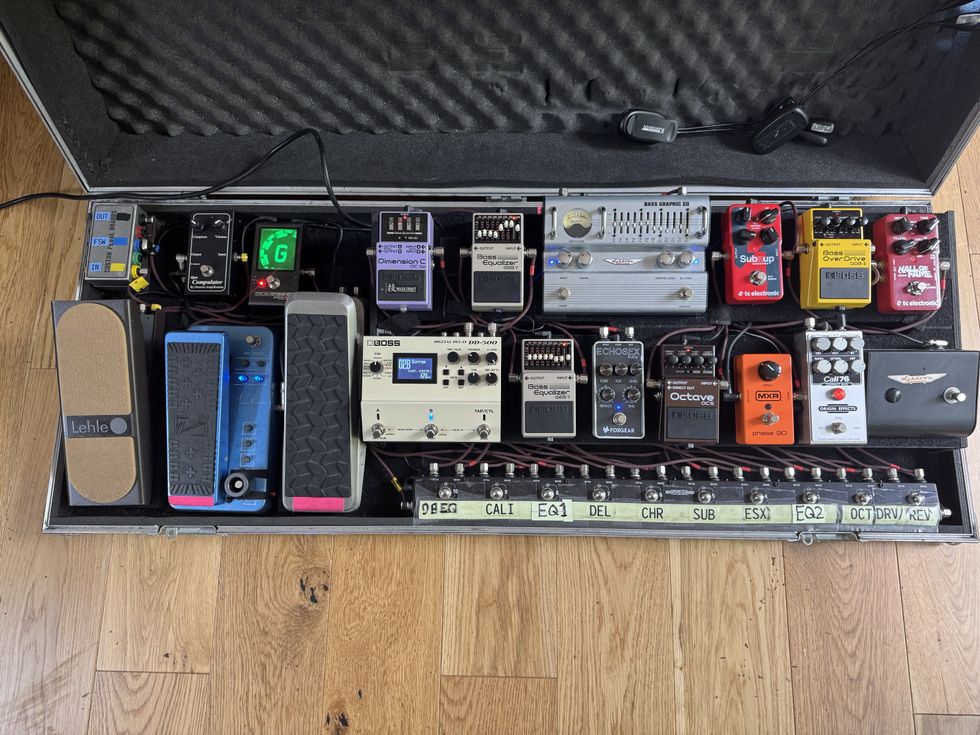
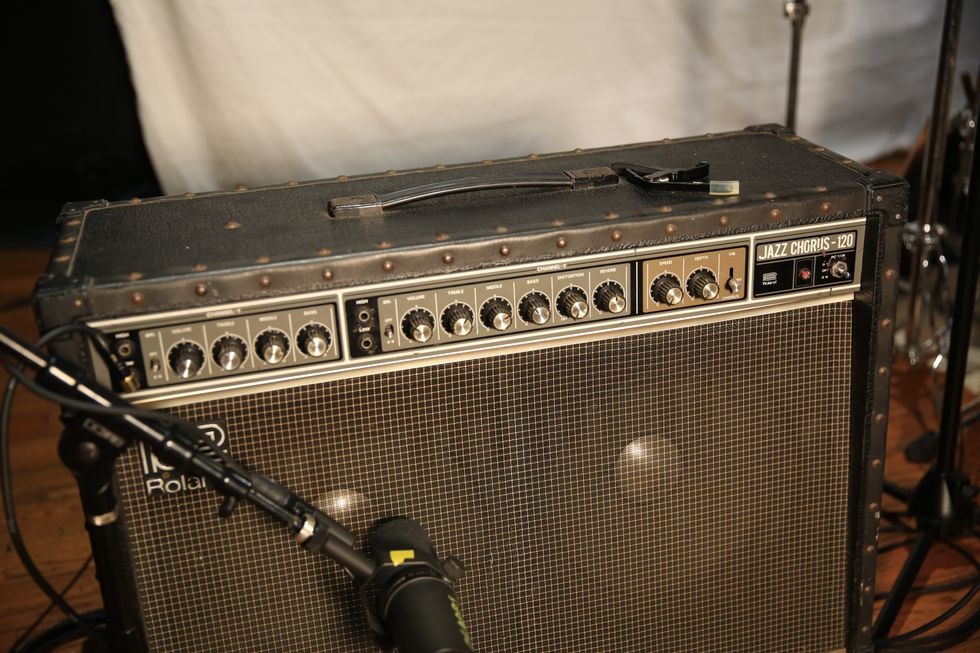
 Shop Scott's Rig
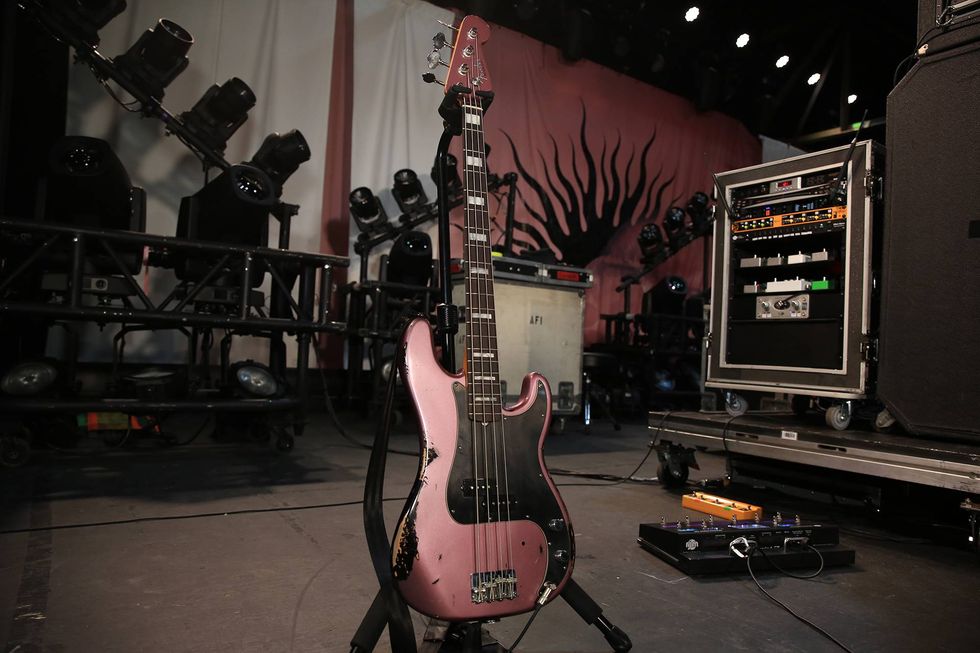
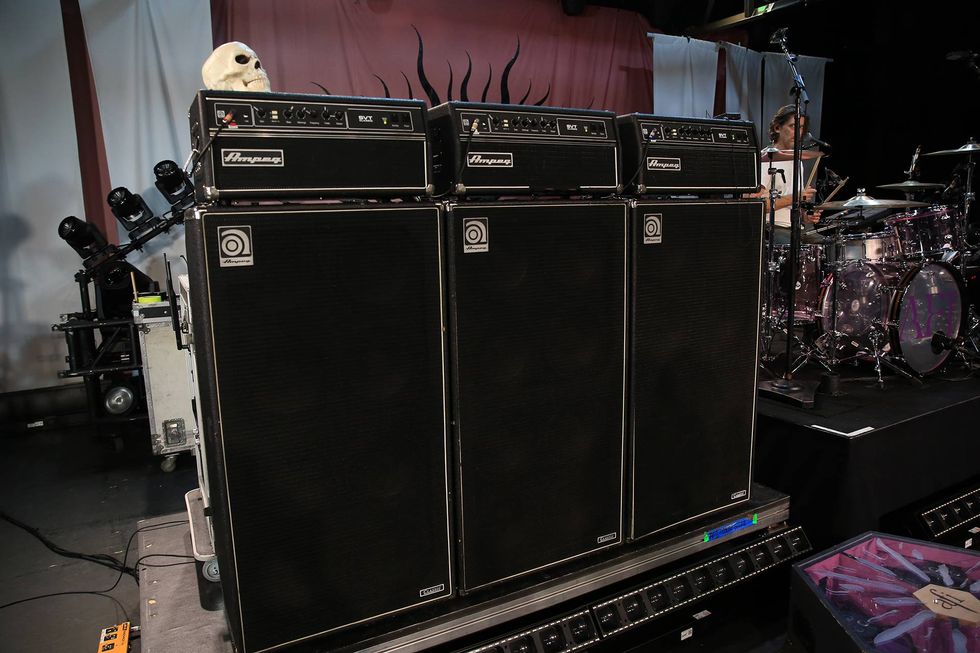